The Greeting Farm Preview Day 1

15941487_10209315962749677_5383642479232999787_n

Today starts DAY 1 of Previews for our JANUARY Release, which will be available for purchase in The Greeting Farm Store on Sunday, January 15th. This release is so adorable and we can’t wait to show off these new stamps! Be sure to stop back by tomorrow and the 13th so you get more sneak peeks of the new stamps with coordinating dies. Don’t forget, we will have a New Release Blog Hop on the 15th, where 1 lucky winner will receive all 3 sets!

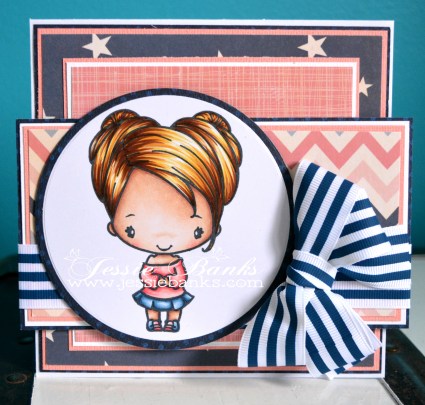
Today we are previewing LITTLE PARTY. Oh my gosh this set is the sweetest thing ever!

tgf-little-party-wm

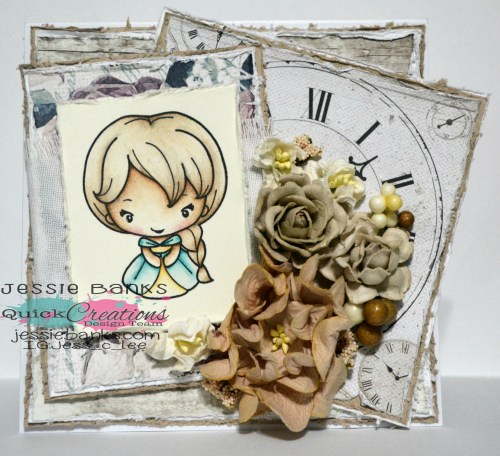
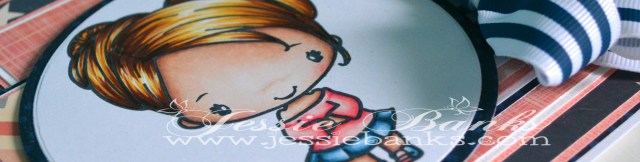
This little set is absolutely terriffic! I coloured them up with copic markers, and cut them out with the dies.
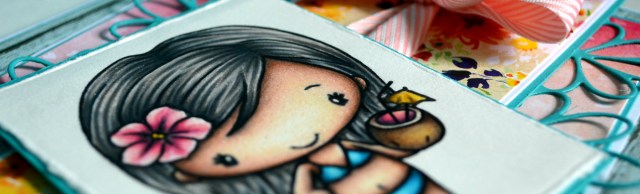
Wavy Hair Girl –
Skin – E04, E13, E11, E21, E00, E000, R20
Hair – E41, E42, E43, E44
Blue – BG49, BG45, BG10
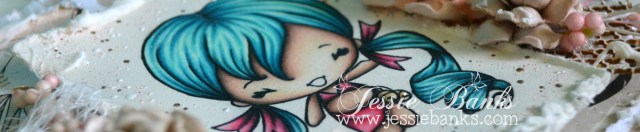
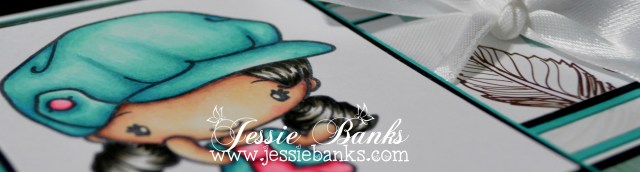
Curly Hair –
Skin – E59, E57, E35, E23
Hair – 110, W9, 5, W3
Pink – BV25, RV29, RV25, RV23, RV21

Banner –
RV69, RV66, RV63, V000
B18, B16, B04, B01

Table –
C7, C3, C0
BG09, BG07, BG05. BG02, BG000

Cake –
E59, E57, E55
E55, E53, E51
V06, V05, V01
R89, R24

I die cut a circle and blended on some distress inks, then splatterd some water, gouache, and Heidi Swapp Colour Shine. Layered all my pieces onto it and added the Happy Birthday sentiment from the Little Party set below and this card was complete!

This Little Party set is really fabulous and so versatile. Those mini girls have stolen our hearts! Check back in tomorrow when we’ll be previewing a new Anya.

Thanks for stopping by,
hugz,
Jess

Little Fairies

little-fairies-2

Hey everyone! Jessie here today with my first DT project of the new year! I am absolutely thrilled to be a part of The Greeting Farm’s team!

For my card today I coloured all of the fantastic fairies and other little bits from the Little Fairies stamp set then cut them out with the coordinating dies.

I used another die (the top note) from La-la Land Crafts. Stamped the sentiment in the middle of the white panel that I ink blended some tiny circles onto, and layered all my little pieces on for this fun sweet little card!

Copics Used:

Yellow Fairy
Skin – E23, E11, E21, E51, E50, R21
Hair – V09, V06, V05, V01, V000
Yellow – YR24, Y17, YY15, Y13, Y11

Peach Fairy –
Skin – E23, E11, E21, E51, E50, R21
Hair – BG10, BG13, BG15, BG09
Peach – YR04, YR02, YR01, YR000

Purple Fiary –
Skin – E23, E11, E21, E51, E50, R21
Hair – C3, C5, B16, B99, C9, 110
Purple – BV08, BV04, BV02, BV01

Blue Fiary –
skin – E23, E11, E21, E51, E50, R21
Hair – RV29, RV25, RV23, RV21
Blue – B18,B05, B04, B02, B01, B000

LG Mushroom – BV29, BV25, BV23, BV20

SM Mushrooms – E77, E74, E71, E70

Lady Bug – R89, R27

Thanks for stopping by,
Hugz,
Jess

Mini Remix Brewtiful

Hey everyone! I am back and Happy New Year! 2016 went out with me going on a 10 day holiday to Calgary, which was fantastic, and much needed to recharge my batteries! It sure worked the ideas are flowing like crazy.

Today I am being featured on The Greeting Farm blog and Youtube Channel! I am so thrilled to be part of their DT for 2017!

Brewtiful.jpg

I coloured up these cuties from the Mini-Remix Brewtiful stamp set, it also comes with matching dies.

I have a process video for this card for you all, it is a long one as it was when my mic was broken and I couldn’t do a voice over. Hope you still enjoy it!

Thanks for stopping by,
Hugz,
Jess

Ever After

Hey everyone, I am here again with a post for Quick Creations! I coloured up one of the darling princesses from The Greeting Farm – Ever After Kit, with my inktense pencils.

TGF Ever after kit 1.jpg

I used up some of my older scraps of paper and then added some Wild Orchid Crafts flowers and some berries to finish it off.

TGF Ever after 2

Thanks for stopping by,
Hugz,
Jessie

Aloha 2

PPCF and TGF 1

Hey everyone, today I have a card to share with you using tone of the new Creative Basic Dies. I used the Fancy Rectangles & Layering Die Set to cut the front pannel, I then used some masks cut from various dies in my stash and my Clarity Stencil Brushes with my Distress ink to create the back ground.

PPCF TGF 2

I coloured up one of the sweet girls in the Aloha Kit from The Greeting Farm with my coloured pencils.

Colours used: (all Prismacolor Pencils)
Skin – Dark Brown, Sienna Brown, Burnt Ocher, Peach, Light Peach, Eggshell, White
Hair – Putty Beige, Peach Beige, Light Umber, Expresso, White
Green – Limepeel, Apple Green, Olive Green, Kelp Green, Black, White
Purple – Black, Black Grape, Black Cherry, Dark Purple, Mulberry, White
Pink – Magenta, Pink, Blush Pink, Black, White

I then folded a piece of cardstock in half and ran the same die from the Fancy Rectangles and Layering Die set though die cutter a couple of times and make a shaped card base and put the card front on top to finish off the card.

PPCF TGF 3

Thanks for stopping by,
Hugz,
Jess

Magicals

TGF Magicals Kit 1.jpg

Hey everyone! I have had this hankering to do some shabby chic lately, so you will be seeing a fair bit of it! So today I have one of the images out of The Greeting Farms Magical kit (I know its available at Quick Creations) I coloured her up with my Prismacolour coloured pencils.

Colours used:
Skin -(PC) Dark Brown, Burnt Sienna, Burnt Ocher, Peach, Light Peach, Eggshell, White
Hair – (PC) Peacock Blue, Aquamarine, Light Aqua, Light Green, White, Black.
Clothing – (FC)Alizarine Chrimson, Pink Carmine, Rose Carmine,
(PC) White, Black
Yellow – (FC) Cream, Yellow Ocher
(PC) White, Black

TGF Magicals kit 2

I used up some old Prima paper from my stash, some Scrapenic chipboard, the lovely view die cut, Wild Orchid Crafts Flowers, cheese cloth, and some berries.

This card was super fun, if you are interested in purchasing this or any other cards of mine my etsy store will be back up and running this weekend.

TGF Magicals 3

Thanks for stopping by,
Hugz,
Jess

Aloha

Aloha 1

Hey everyone! Today I am sharing my first DT project for Quick Creations! I coloured up this little cutie from The Greeting Farms Aloha kit, with my Prismacolor (PC) and my Faber-Castell Polychromos (FC) coloured pencils.

Aloha 2

Colours used :
Skin – PC- Dark brown, Dienna Brown, Burnt Ocher, Peach, Light Peach, Eggshell, White
Hair – PC – Black, French Grey 90%, 70%, 50%, 20%, 10%
Coconut – FC – Dark Sepia, Walnut Brown, Burnt Sienna, Nougat, Raw Umber,
PC – White
Flower/Juice – FC – Light Flesh, Medium Flesh, Dark Flesh, Fuschia, Pink Carmine
PC – White
Bathing Suit – FC – Blueish Turquoise, Cobalt Turquoise, Cobalt Green Light
PC – White
Umbrella – FC – Brown Ocher, Green Gold,  Dark Naples Ocher, Naples Yellow

The card is done using the Bo Bunny Calendar Girl paper , May arts ribbon, and La la Land Crafts Flower Elements Border Set Dies.

Aloha 3

Thanks for stopping by,
hugz,
Jess

Cutesy Anya

TGF Cutsey Anya 1.jpg

Hey everyone! Today I am sharing with you my final Guest DT project for The Greeting Farm. A HUGE THANK-YOU to the team over there for having me this month! It has been a an honour!

I coloured up Cutesy Anya with my copic makers, unfortunately I do not have a list of the colours I used but I do have a colouring video to share with you all!

This is certainly not the last time you will see me playing with The Greeting Farm stamps, I have more projects already scheduled to go up! But I kept it rather Clean and simple for my last one with some patterned paper and a big bow!

TGF Cutsey Anya 3

Thanks for stopping by,
hugz,
Jess

Cheeky Geeky

TGF Cheeky Geeky 1

Hey everyone! I am back with my second Guest Designer post for The Greeting Farm. This time I coloured up Cheeky Geeky with my Copic markers. I just love these Cheeky girls.

Copics used:
Skin – E04, E13, E11, E21, E00, E000, R22, R20
Hair – E29, E37, E35, E33, E31
Red – R39, R37, R35, R32, R30
Brown – E79, E77, E74, E71, E70

I used up some of my Glitz Design Cashmere Dame hoard, I still love this paper. a little bit of Twinery Twine, and enamel dots finished of the front of this card.

TGF Cheeky Geeky 3

Thanks for stopping by,
Hugz,
Jess

Loveable Anya

Loveable Anya 1

Hey everyone! Today I am here with a fun card using The Greeting Farm – Loveable Anya. I coloured her up with my copic markers and I have another colouring video! Only sped up to 1.5x original speed, so almost real time for you all, yay!

I recently caved and ordered six or seven new 12×12 pieces of paper, gotta give in sometimes right? lol. I used 4 of them on this card! A few flat back pearls, and some satin ribbon finish off the front of this clean card.

Loveable Anya 3

You can purchase this card here.

Thanks for stopping by,
Hugz,
Jess