
Hey bloggers! I’ve taken over Jess’s blog for today to share a Christmas Card I made!

Firstly though, I must thank Jess for giving us a chance to kick our butts into gear! By hosting this October Christmas Card Blog Jess has forced us to start making our Christmas cards BEFORE the silly season is upon us!
Secondly, and this one’s the hardest for me, is to get us to use our electronic die cutting machines! I must tell you I have had my Silhouette for a couple of years now and I’ve probably count the amount of times I’ve used it on one hand (I know, right!). So when I switched it on this time, the LED display menu would not work 😦 This happened to me when I first switched on my Cameo for the first time. After a while the menu appeared though – this time it did not 😦 So I just worked blindly by pressing the down button and enter to make it load or unload LOL.
So…..I forgot how to convert the files I wanted to use (my own) in order to cut them. I converted the pics to svg files but from then on everything went blank *sigh*. So I just got out the ONE Christmas cartridge I owned for my Cricut and tried to cut the intricate designs but alas it just shredded the cardstock 😦 *sigh*.
So….I resorted to the graphics that came with the Silhouette Designer Edition software and just used the tree outline, looks like I failed miserably LOL.
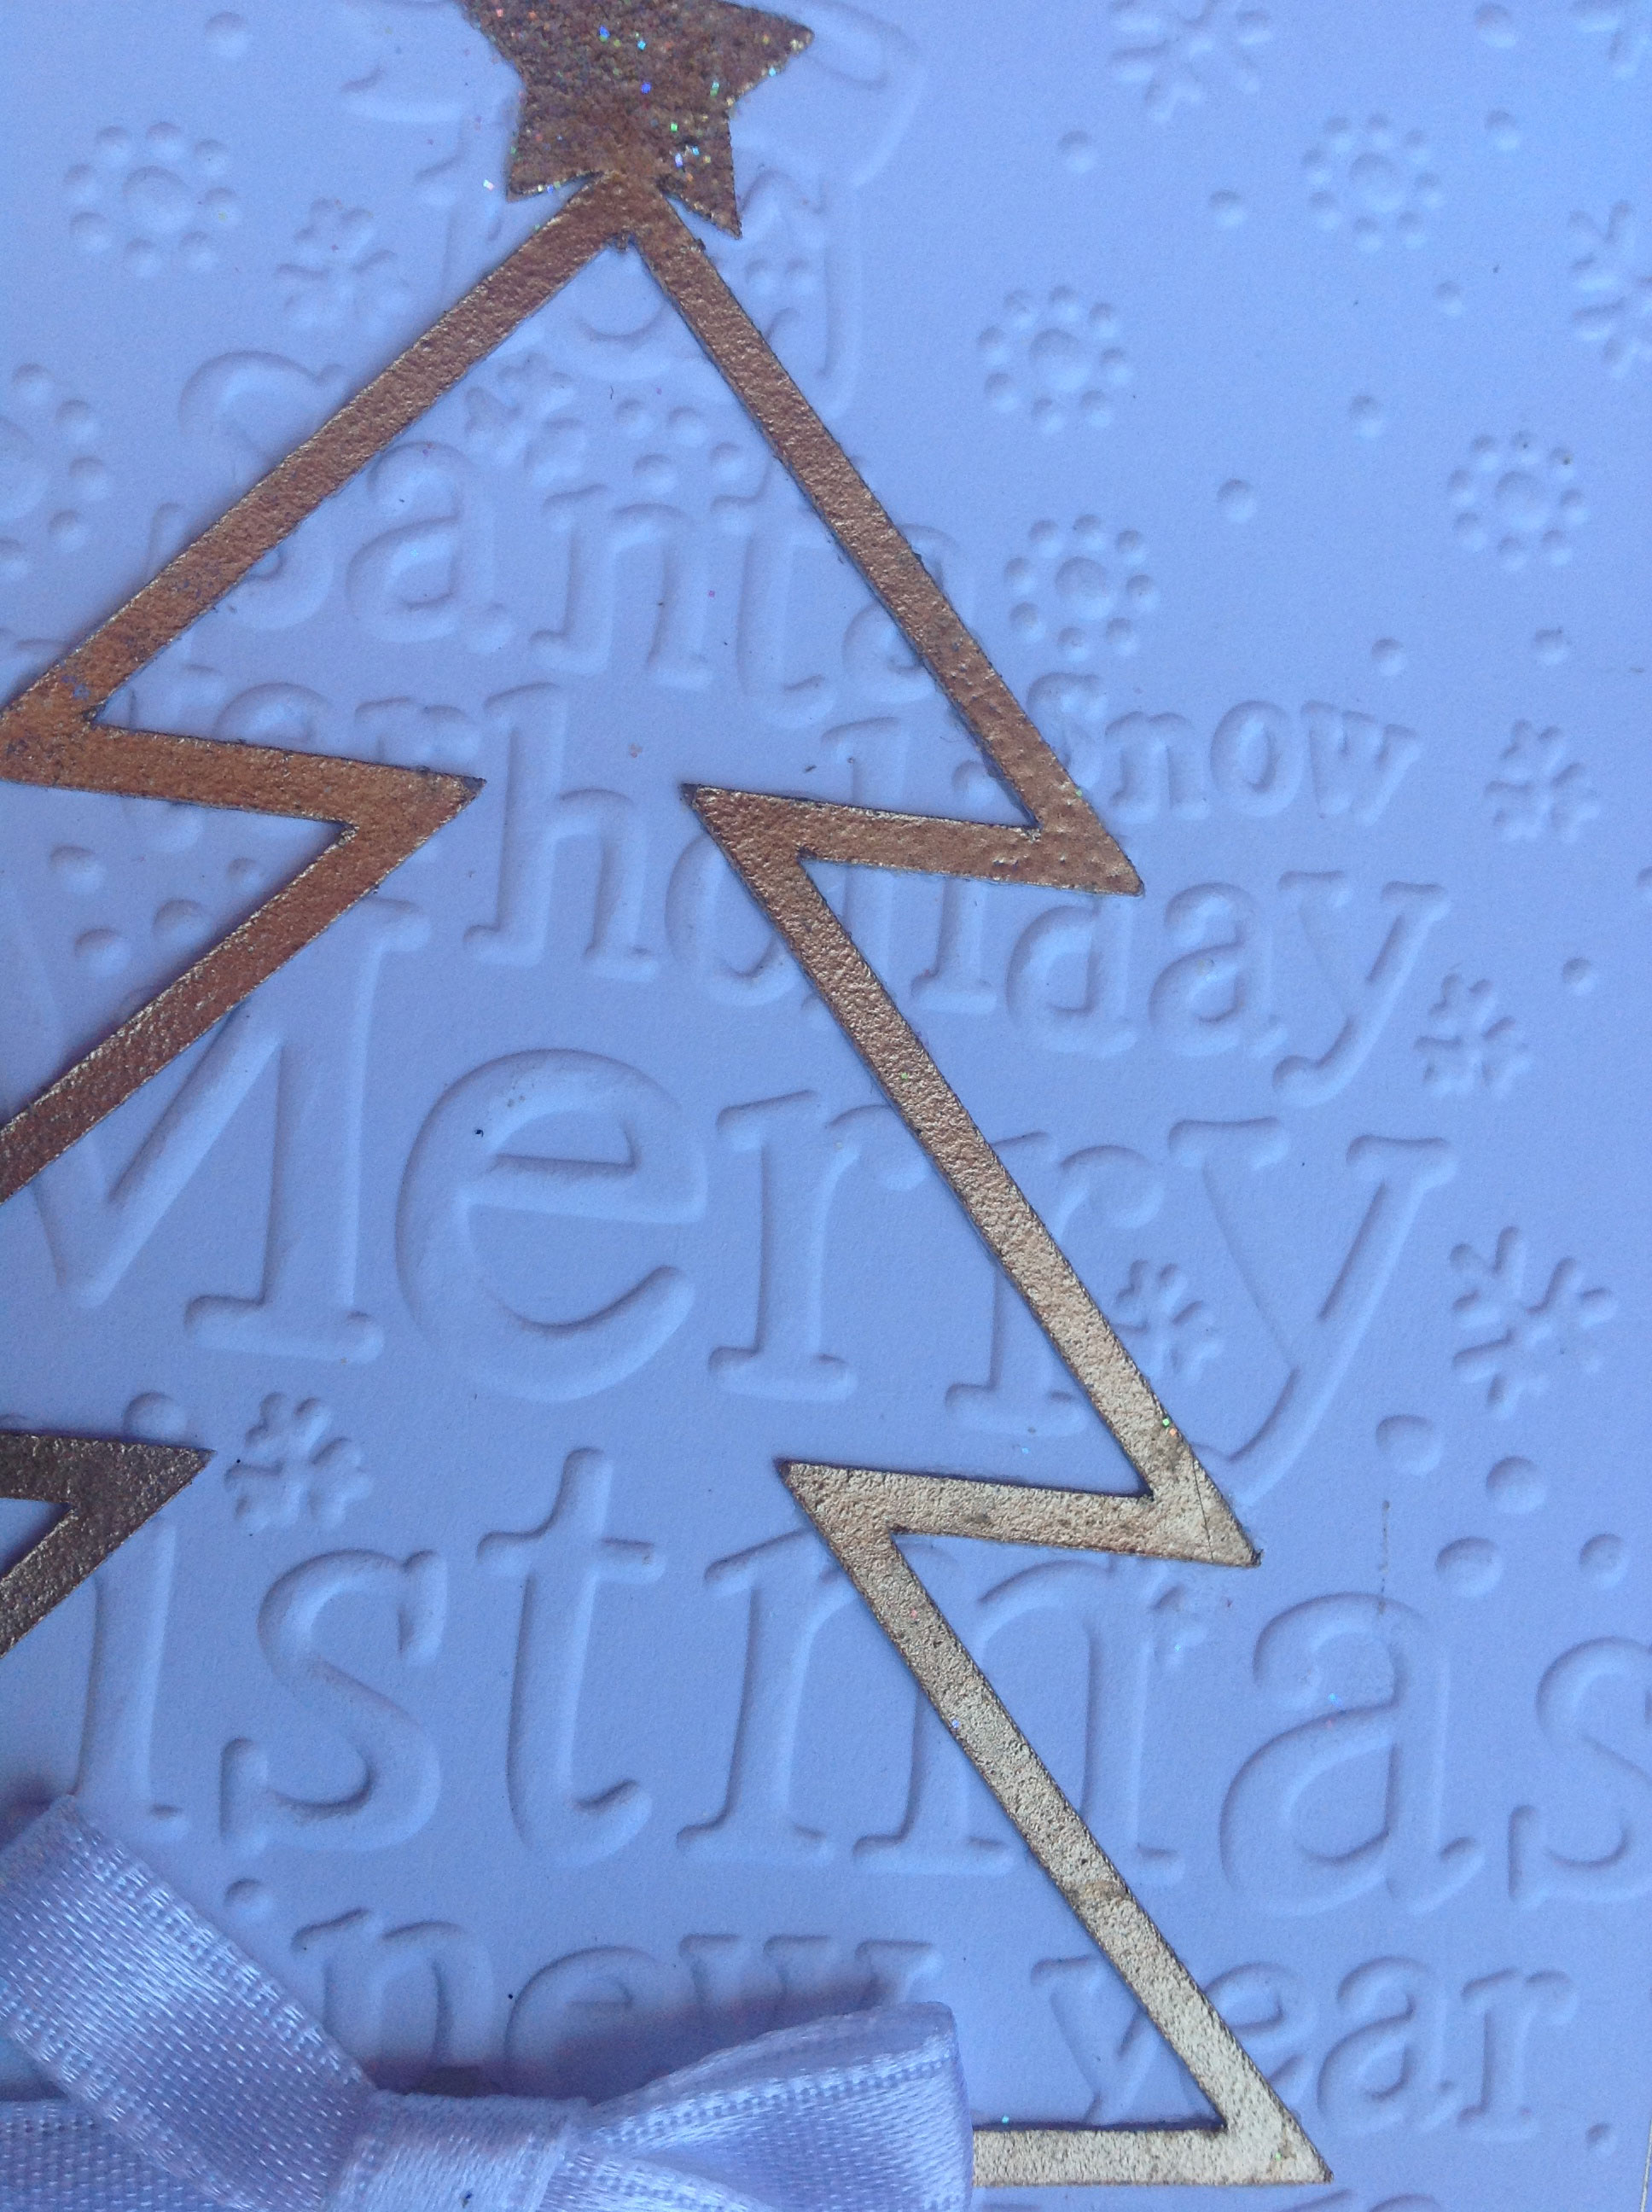
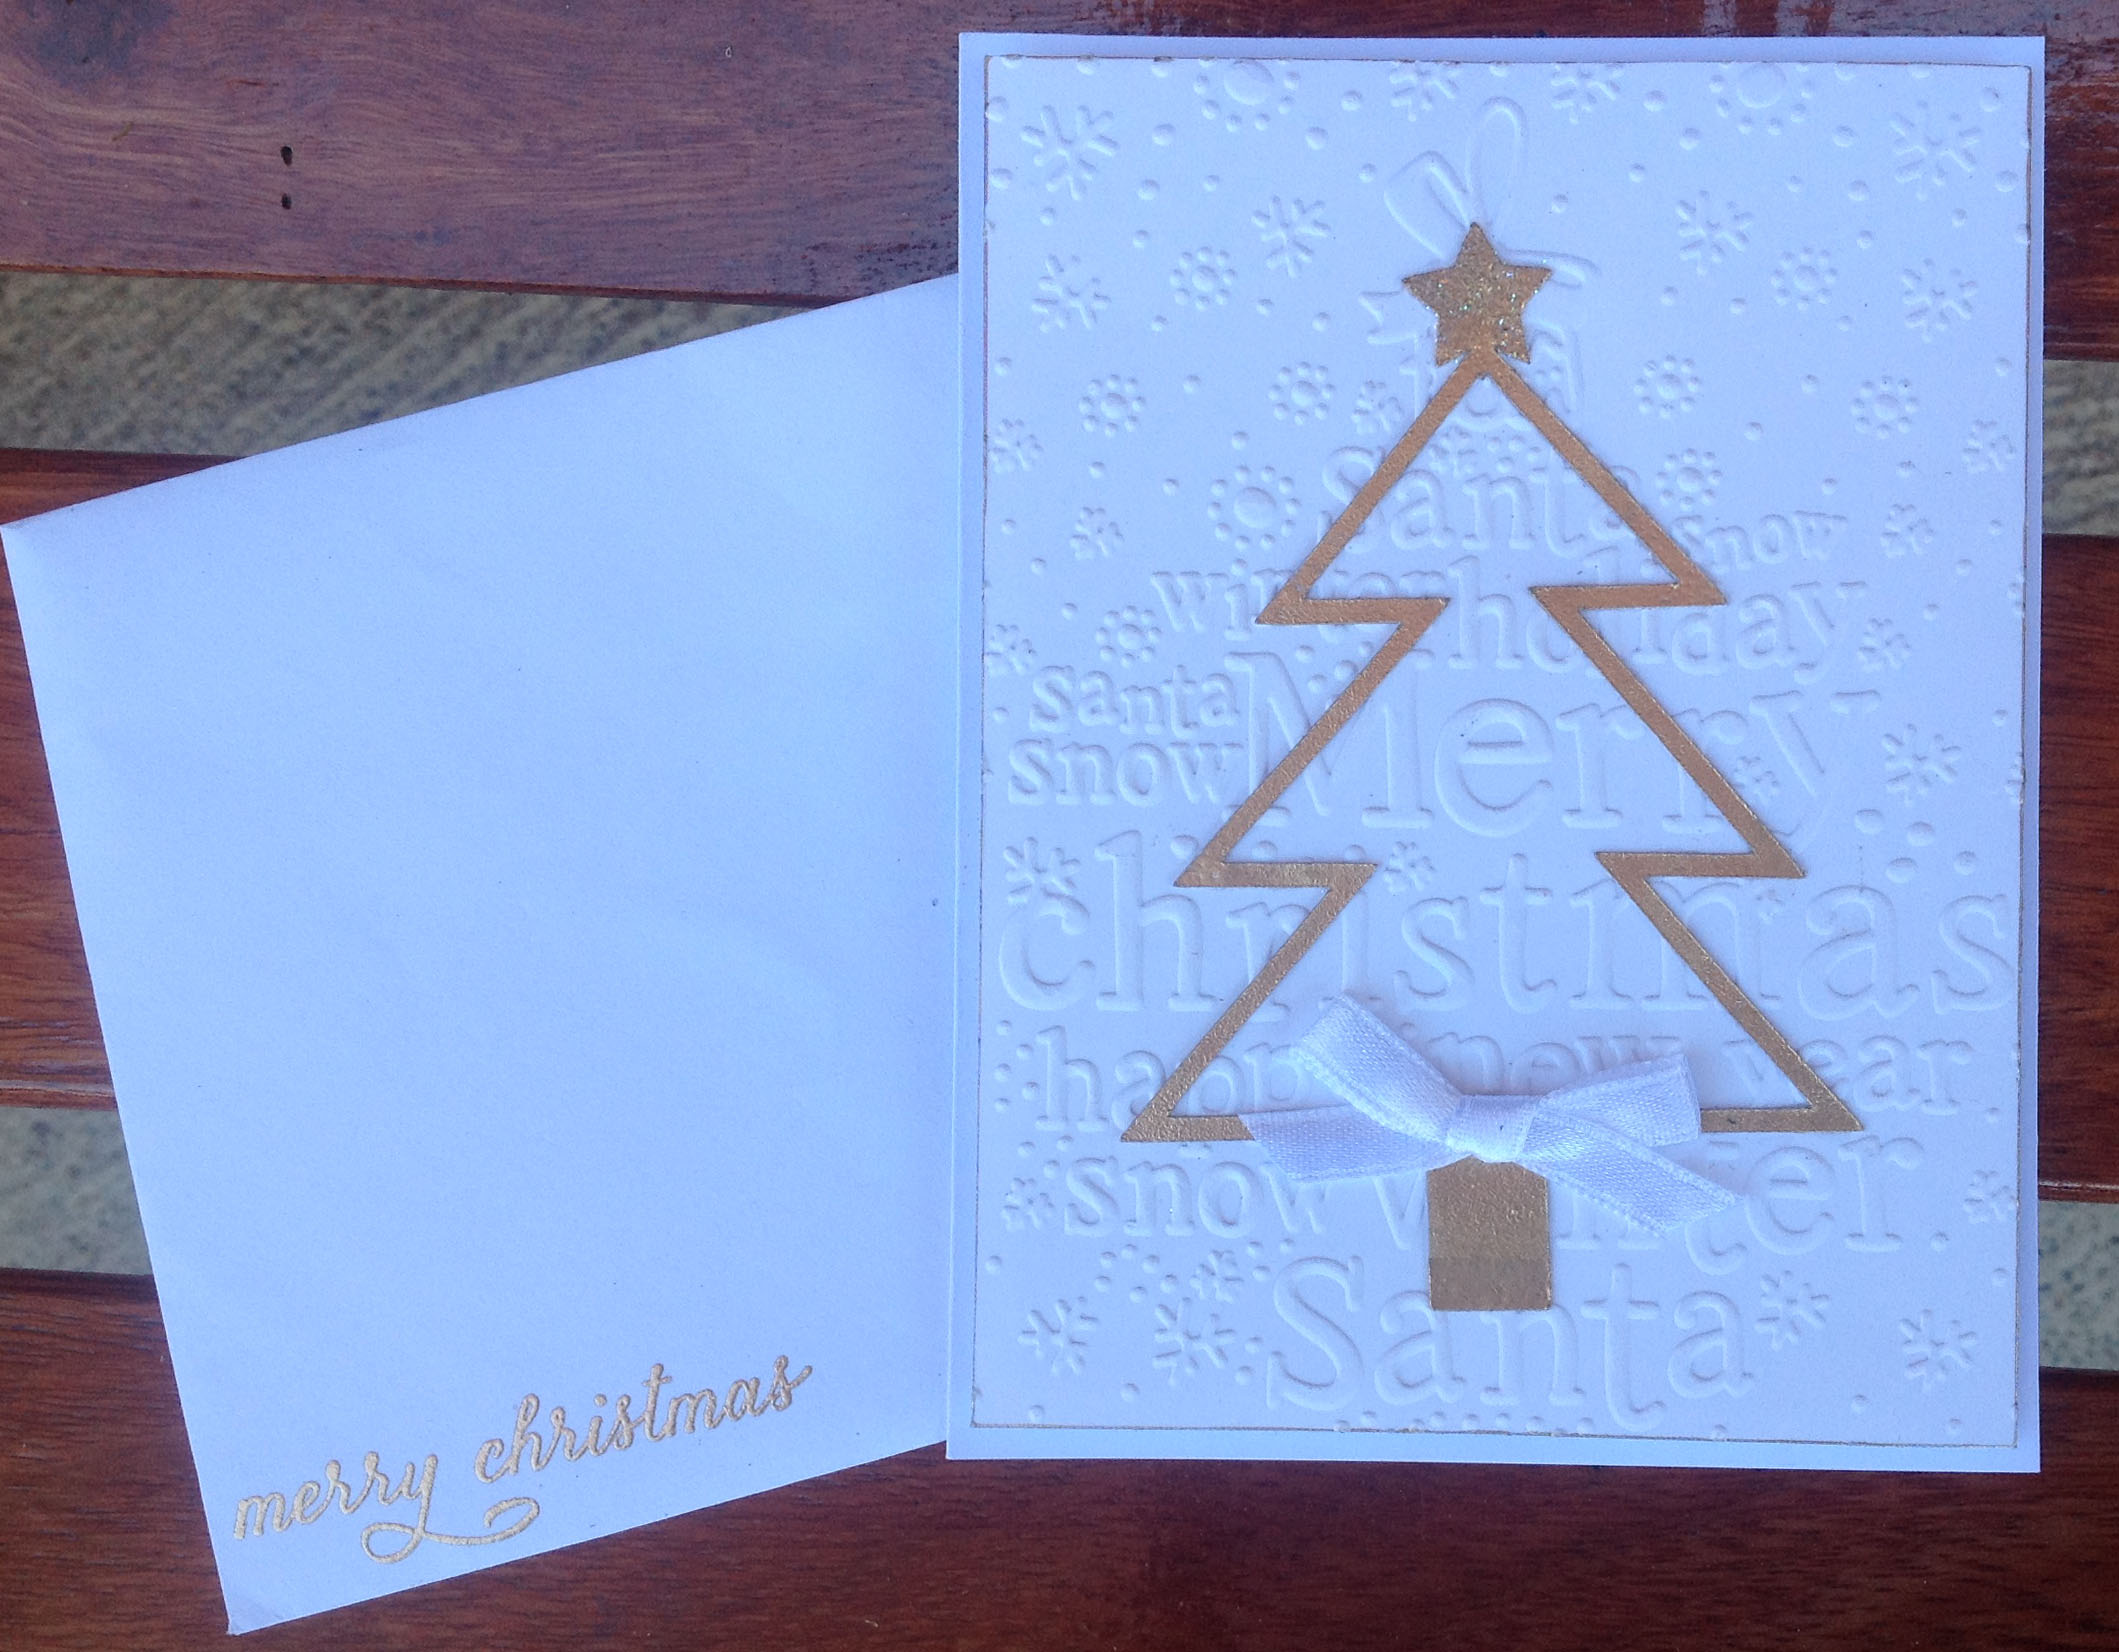
I used an 8 1/2″x5″ piece of white cardstock for the card base. I cut another piece of the same white cardstock for the card topper to 4″x5 1/4″, embossed it with the Message in a Tree embossing folder by Couture Creations. I adhered this piece to the card base using pop dots.
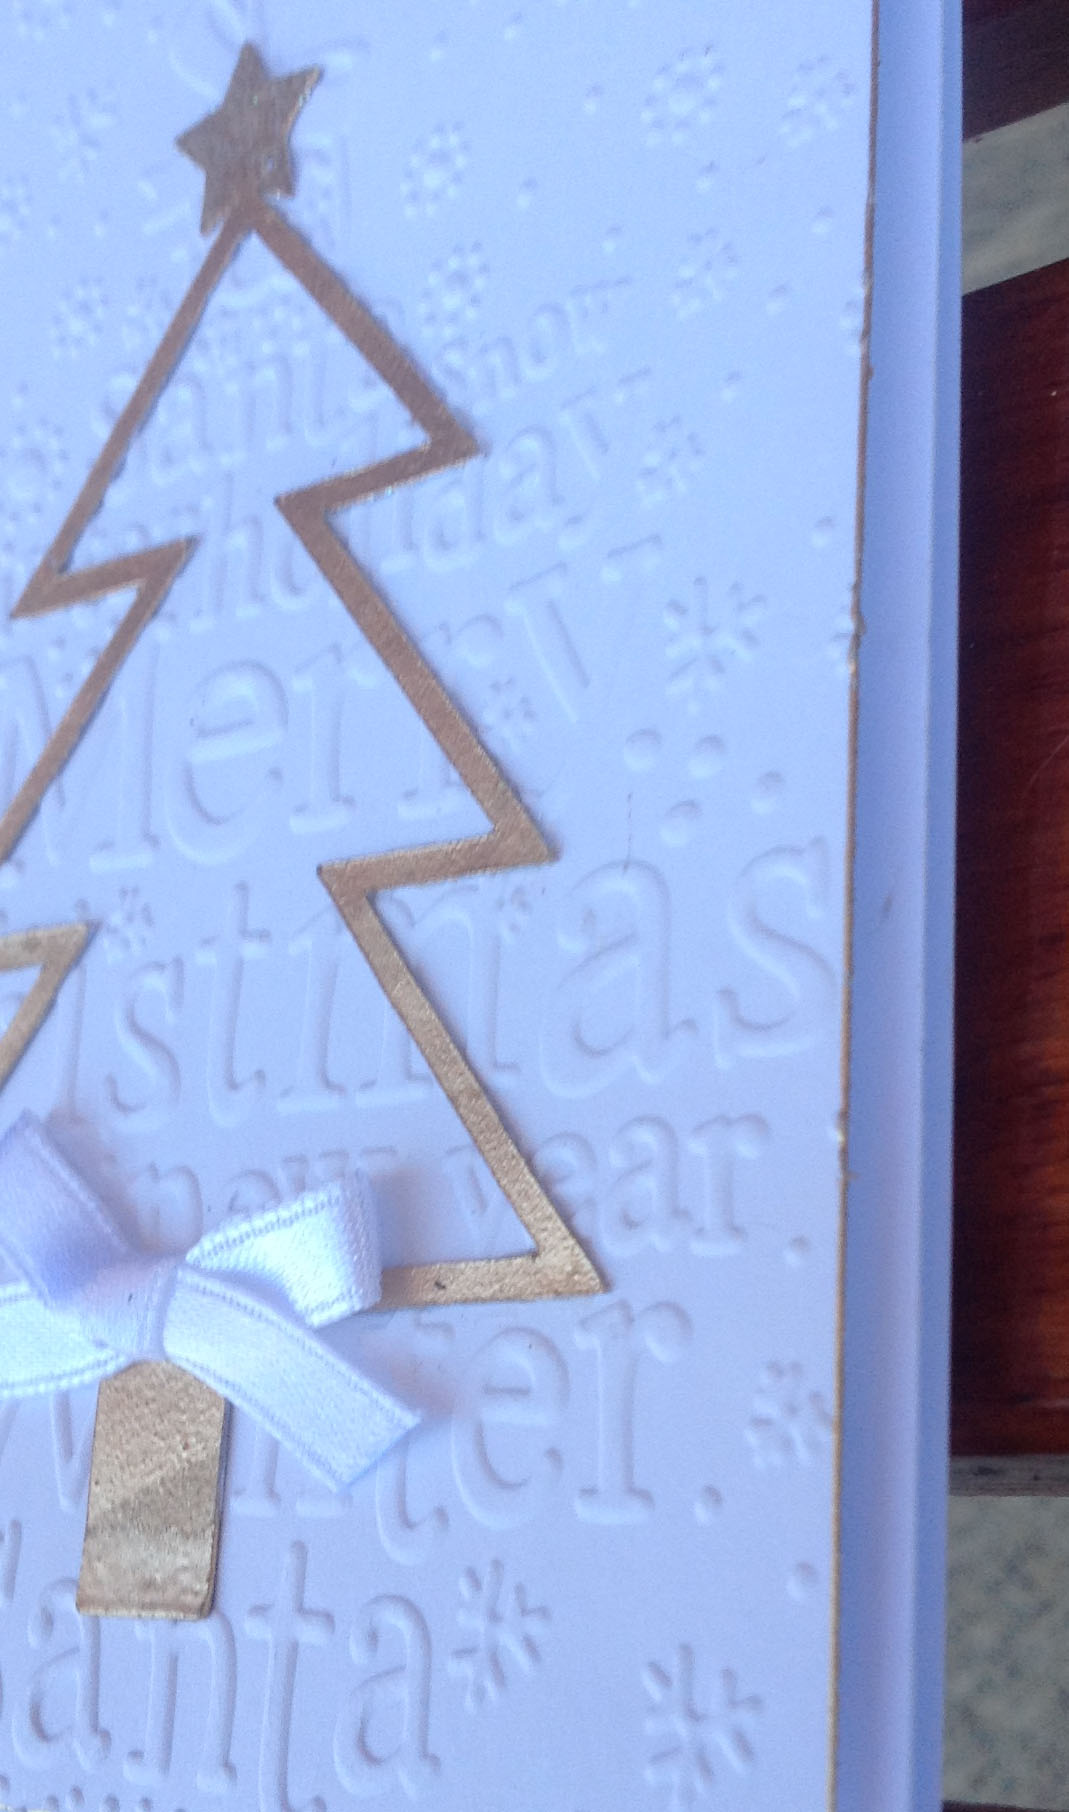
Once the tree shape was cut I heat embossed it using Ranger’s Queen’s Gold embossing powder, along with the tree trunk. I heat embossed the star using Ranger’s Gold Tinsel embossing powder (love that stuff)!
I adhered the trunk, tree and finally the star using Tombo Mono Multi Liquid Glue, then took a strip of white ribbon, tied it into a bow and adhered it to the base of the tree using a glue dot.
I always add sentiments to the inside of my cards (sorry, no pic) as well as making a matching envelope. Here you can see I have added Merry Christmas by heat embossing it with the gold embossing powder.
Well that’s my post! Don’t know if I’ll go back any time soon to my Silhouette – unless someone wants to show me how to use it properly LOL.
I have been inspired to make more Christmas cards though, thanks to Jess’s idea and all the amazing cards I’m seeing here! Thanks for stopping by! Why not go check out my blog to see if there’s anything there that might inspire you!
Smiles
Jen
(ozegran)
PS: So sorry about the quality of the pics! I am going to do some research into how to make a light box and how to photograph my pics so that they actually look any good!
