It’s Your Bday

Its your bday1


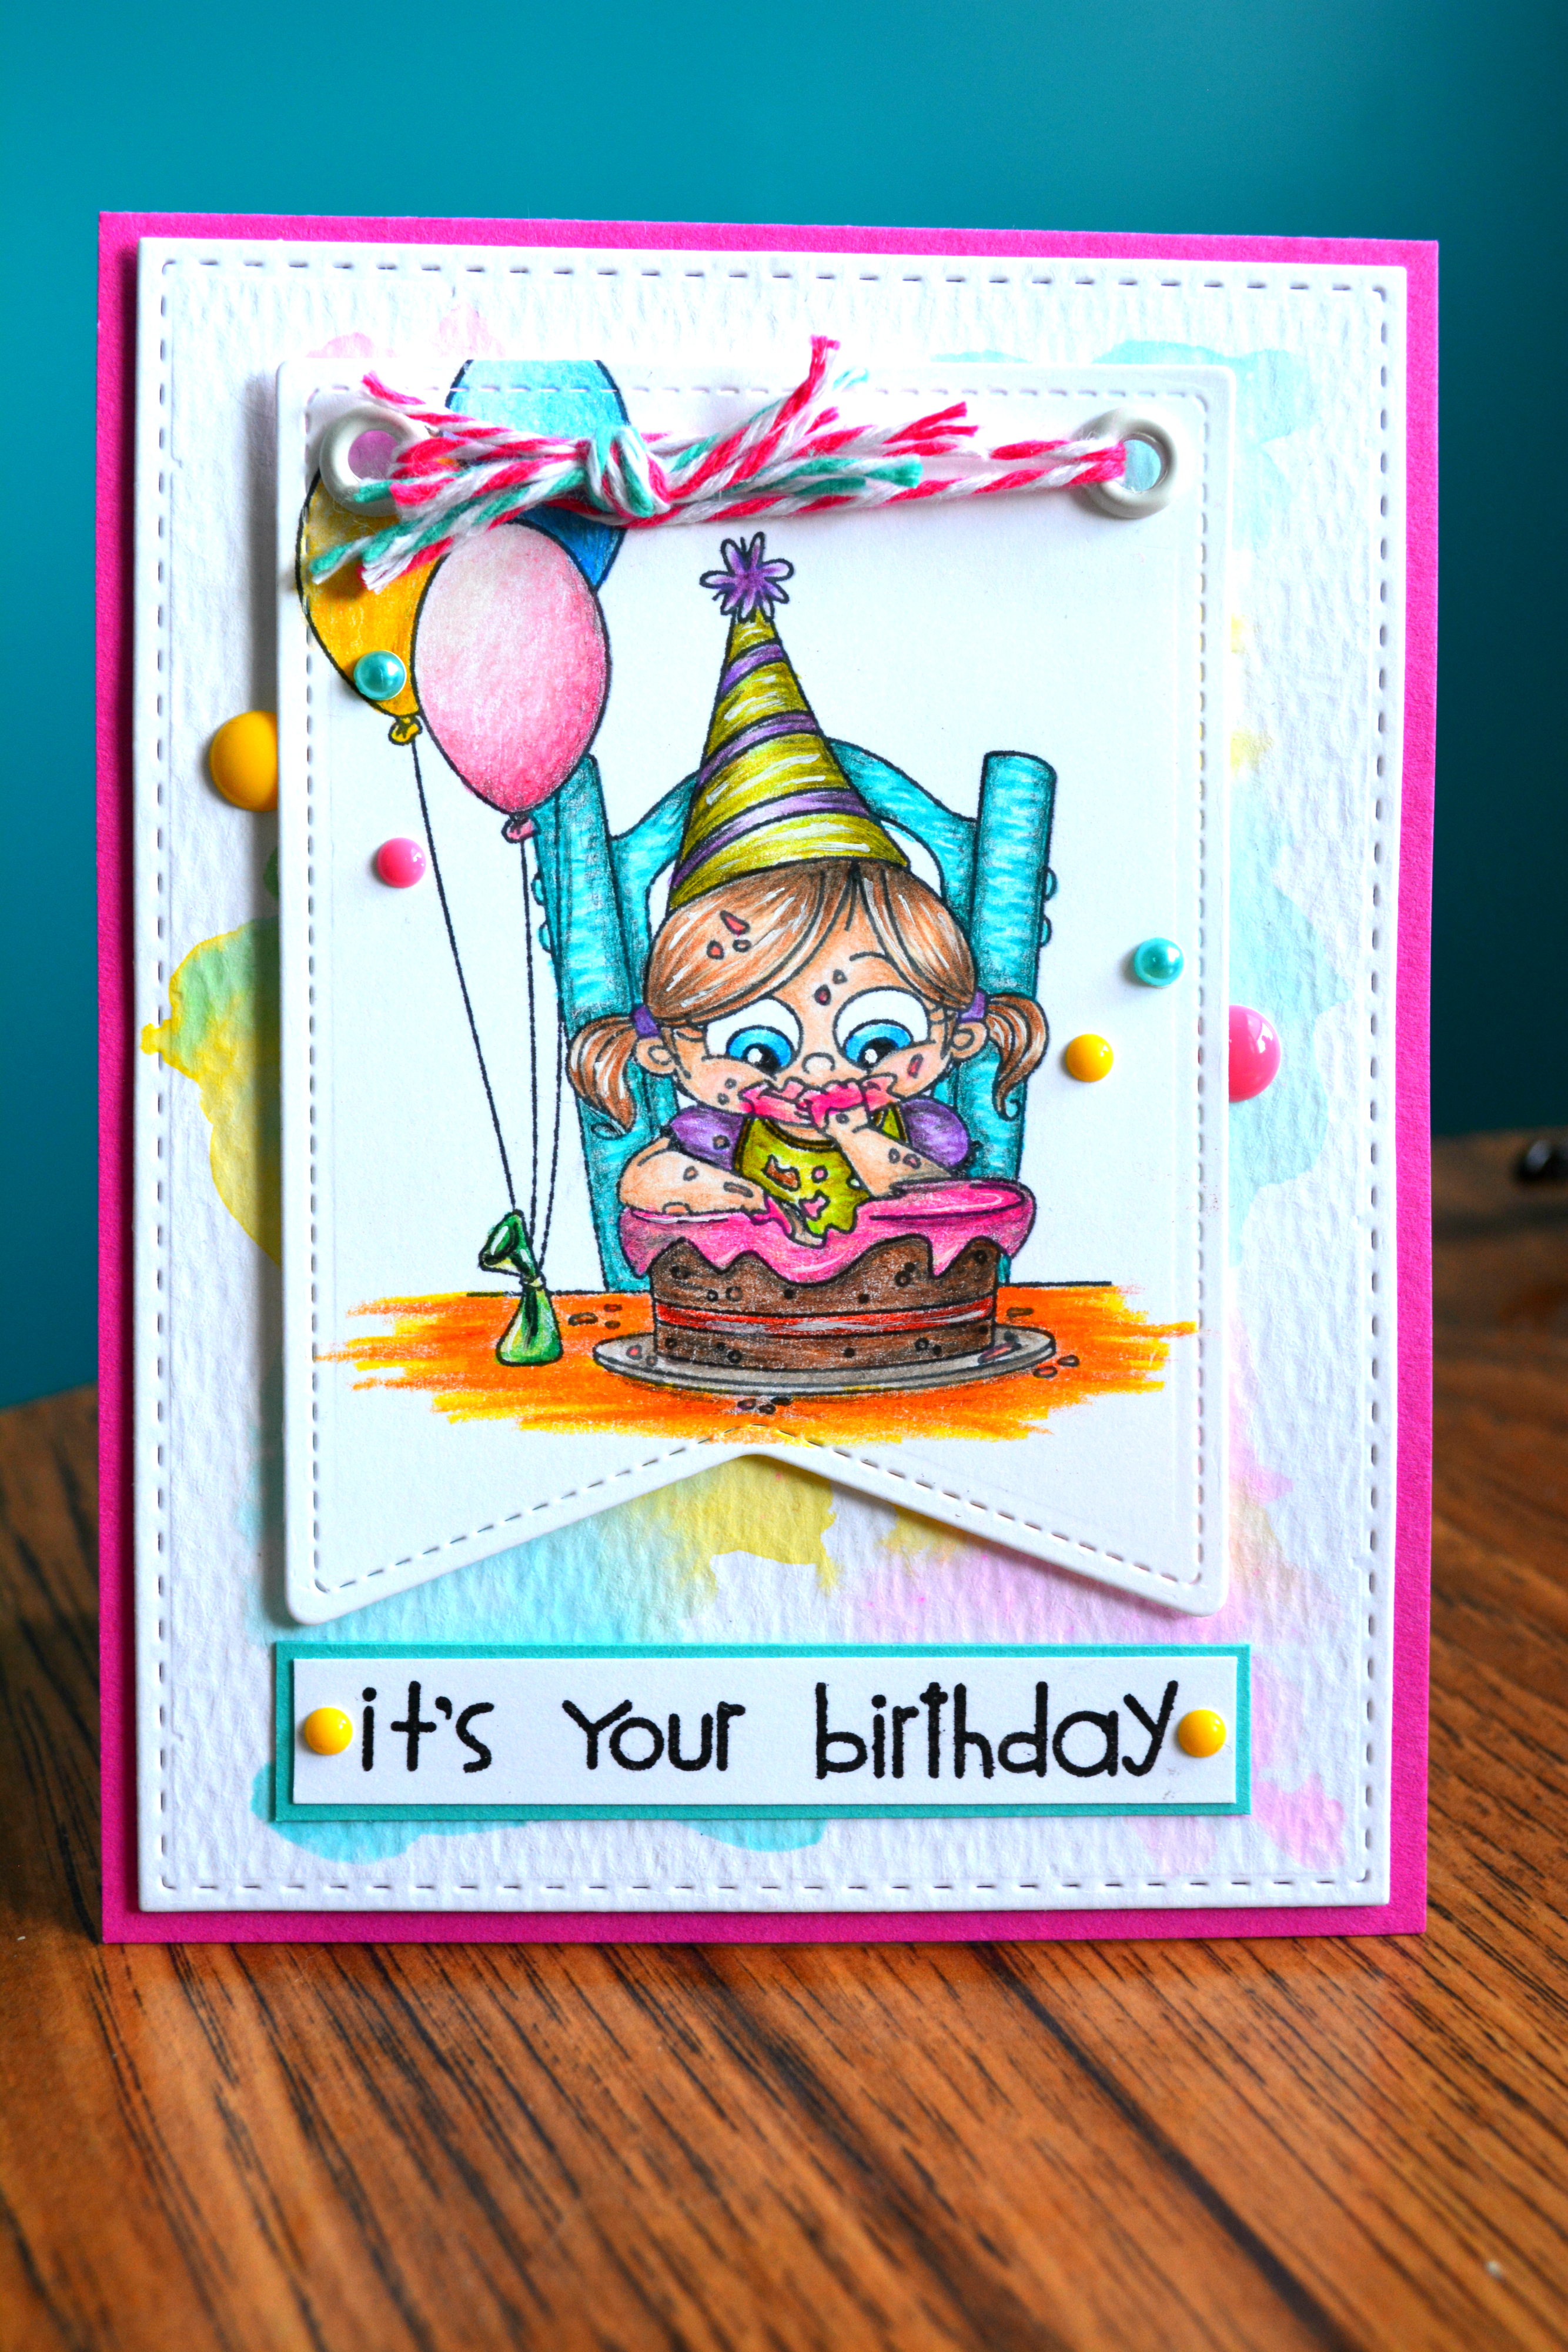
Welcome back, I am up with my first card of the year. This sweet little image from Kraftin Kimmie Stamps, was so fun to colour. I decided to go a different way with this image and coloured it using only my Prismacolors. Supplies and colours will be listed at the end of the post.

Its your bday 2


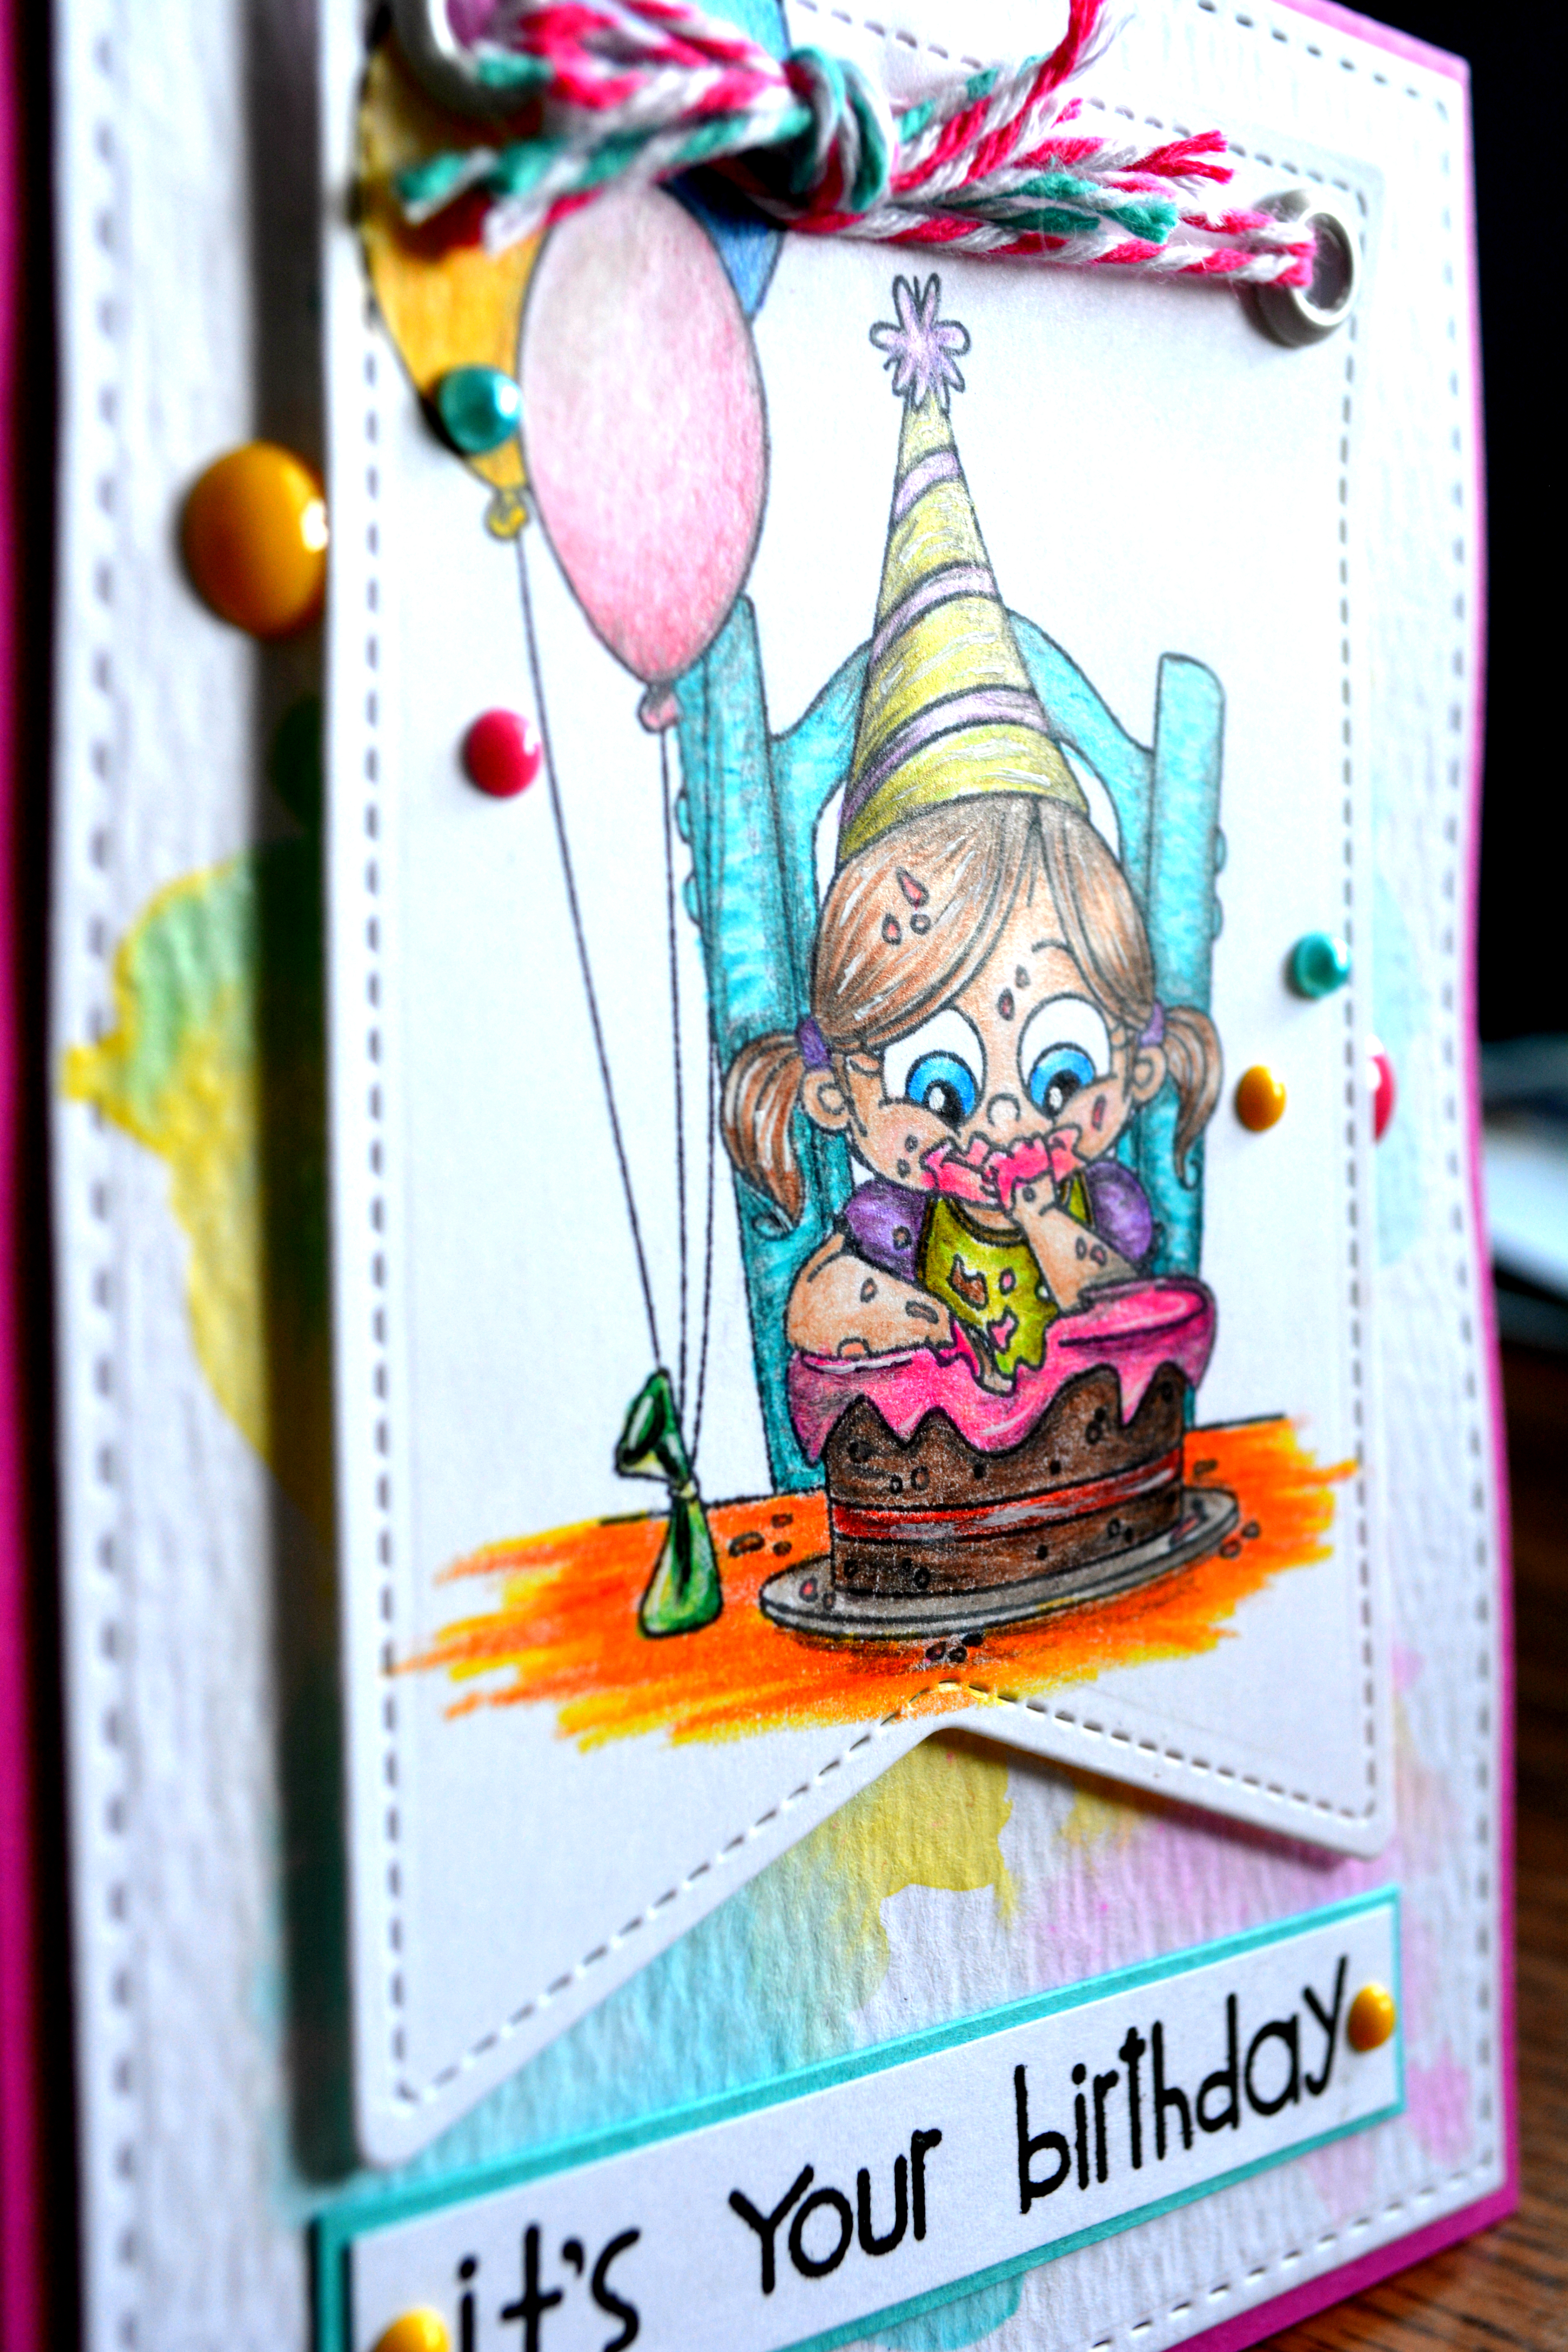
Kept this card rather simple with just a little watercolour and a simple black sentiment. A little twine and some enamel dots for embellishing.

Its your bday 3


Supplies used:

Kraftin Kimmie Stamps – Birthday Buddies (Can no longer find it on the site)

Ranger watercolor paper

SSS Bundle of Stitched Shapes

Lawn Fawn Stitched Party Banners

White Large Eyelets- Westtrim Crafts

Twinking h2o’s – Sunflower , Luv-u-pink, Bashful Blue

Twinery Teal Twine

My Minds Eye – Miss Caroline – Pink Twine,

Versafine Onyx Black

Paper Smooches Party Posse

Prima Sugar Dots – The Optimist

Neenah Solar White 80lbs

SSS Birthday Messages (inside sentiment)

Memento Tuxedo Black

Golden Titanium White heavy body acrylic paint

Prisma colours used:

Skin – PC 997, PC927, PC939, PC928, PC941

Hair – PC997, PC1093, PC1080, PC948

Chair – PC992, PC905

Green – PC989, PC912, PC1005, PC1091

Purple – PC1026, PC934, PC1008, PC1078

Cake – PC1080, PC1082, PC946, PC947

Icing – PC1001, PC929, PC994, PC930,

 Jellyfilling – PC922, PC923

Plate – PC1070, PC1074

Balloons – Blue – PC1086, PC 1088, PC902, PC903

Yellow – PC940, PC916, PC1003, PC917, PC1002

Pink – PC1092, PC930, PC1030

Green weight – PC1005, PC909, PC907

Table Top – PC916, PC1002, PC918, PC921, PC1032

Shadows all over image PC935 (black)

Thanks for stopping by

Hugz

Jess

For the Christmas in Cricut – Linda Holloway

unnamed

Hi Jess and friends! Its Linda here today!
Thank you for including me in your October Christmas Card Series. I am honoured to be included among all of these very talented card artists.
To create this card I used my trusty old Cricut Personal Electronic Cutter with a 6 inch wide mat. I love this machine and am constantly going back to it even though I have other cutters.
I used the Cricut Artbooking Cartridge and cut the images of the deer, doily, snowflakes and poinsetta from cardstock. The snowflakes were covered with Stickles Rock Candy and set aside to dry.
The base  paper is from the Close To My Heart Seaside Collection with the edge inked in Saddle Brown.  The second paper layer is edge distressed and from CTMH Yuletide Carol Collection. They were attached to the card base with liquid adhesive. Then the doily was glued down.
The manilla shipping tag was from my stash and edged in Saddle Brown ink. The bow is seam binding ribbon. I glued down the reindeer and used dimensional tape to attach the tag to the card. The reindeer nose is itty bitty bling.
The three snowflakes covered in Rock Candy Stickles  were attached to the card with liquid adhesive. Then the green pinwheel shape was glued down. I layered the two red pinwheels with dimensional tape and then glued the smalles snowflake on top.
The complete list of supplies used can be found on my blog : http://mrshollowaylovesstamps.blogspot.ca/
Happy Card Making!
Linda

White Christmas by Jen (ozegran)

Hey bloggers! I’ve taken over Jess’s blog for today to share a Christmas Card I made!

IMG_1771

Firstly though, I must thank Jess for giving us a chance to kick our butts into gear! By hosting this October Christmas Card Blog Jess has forced us to start making our Christmas cards BEFORE the silly season is upon us!

Secondly, and this one’s the hardest for me, is to get us to use our electronic die cutting machines! I must tell you I have had my Silhouette for a couple of years now and I’ve probably count the amount of times I’ve used it on one hand (I know, right!). So when I switched it on this time, the LED display menu would not work 😦 This happened to me when I first switched on my Cameo for the first time. After a while the menu appeared though – this time it did not 😦 So I just worked blindly by pressing the down button and enter to make it load or unload LOL.

So…..I forgot how to convert the files I wanted to use (my own) in order to cut them. I converted the pics to svg files but from then on everything went blank *sigh*. So I just got out the ONE Christmas cartridge I owned for my Cricut and tried to cut the intricate designs but alas it just shredded the cardstock 😦 *sigh*.

So….I resorted to the graphics that came with the Silhouette Designer Edition software and just used the tree outline, looks like I failed miserably LOL.

I used an 8 1/2″x5″ piece of white cardstock for the card base. I cut another piece of the same white cardstock for the card topper to 4″x5 1/4″, embossed it with the Message in a Tree embossing folder by Couture Creations. I adhered this piece to the card base using pop dots.

20141005-4

Once the tree shape was cut I heat embossed it using Ranger’s Queen’s Gold embossing powder, along with the tree trunk. I heat embossed the star using Ranger’s Gold Tinsel embossing powder (love that stuff)!

I adhered the trunk, tree and finally the star using Tombo Mono Multi Liquid Glue, then took a strip of white ribbon, tied it into a bow and adhered it to the base of the tree using a glue dot.

20141005-2

I always add sentiments to the inside of my cards (sorry, no pic) as well as making a matching envelope. Here you can see I have added Merry Christmas by heat embossing it with the gold embossing powder.

IMG_1775

Well that’s my post! Don’t know if I’ll go back any time soon to my Silhouette – unless someone wants to show me how to use it properly LOL.

I have been inspired to make more Christmas cards though, thanks to Jess’s idea and all the amazing cards I’m seeing here! Thanks for stopping by! Why not go check out my blog to see if there’s anything there that might inspire you!

Smiles

Jen
(ozegran)

PS: So sorry about the quality of the pics! I am going to do some research into how to make a light box and how to photograph my pics so that they actually look any good!

Snowman

DSC_0078


Hey everyone, did you see yesterday guest post.. if you didn’t you should really go back and look at it! Today I am back and this card could be a cop out… lol. But I really like it anyway. I used some paper out of my scrap bin and stuck it through my cameo to cut square mats (What can I say my creativity was a no show this day cut me a break. Then when I didnt like the square edges I rounded them with my 1/2″ corner chomeer from We R Memory Keepers.


DSC_0079


I used my Tim Holts Distress Paint in Picket Fence to white wash the Scraptastic woodveneers. The sentiment is stamped in Archival ink the colour is Potting Soil, and the Sentiment is from my trusty Hero Arts Christmas stamp. I finished it all off with some of my May Arts Natural jute twine.


DSC_0080


Thanks for stopping by,

Hugz,

Jess

My sister is getting married!!

Dana wedding


Hey everyone, my sister is getting married this Saturday, so I made her a lovely little card, which also happened to fit the SSS Wednesday challenge. It all started with about 4 SSS stamp sets, Life is a Journey, Thinking of You, Handwritten Greetings, and Favorite Flowers.

dana wedding 2

I embossed all the flowers and greenery in the backround using Hero Arts White Embossing Powder, on Ranger Watercolor Paper. Then it was all coloured with Peerless Watercolor Bonus Pack. The sentiments were embossed on vellum with Hero Arts Gold Embossing powder.

dana wedding 3


Thanks for stopping by,

Hugz

Jess