Smooth Move

Smooth Move 1.jpg

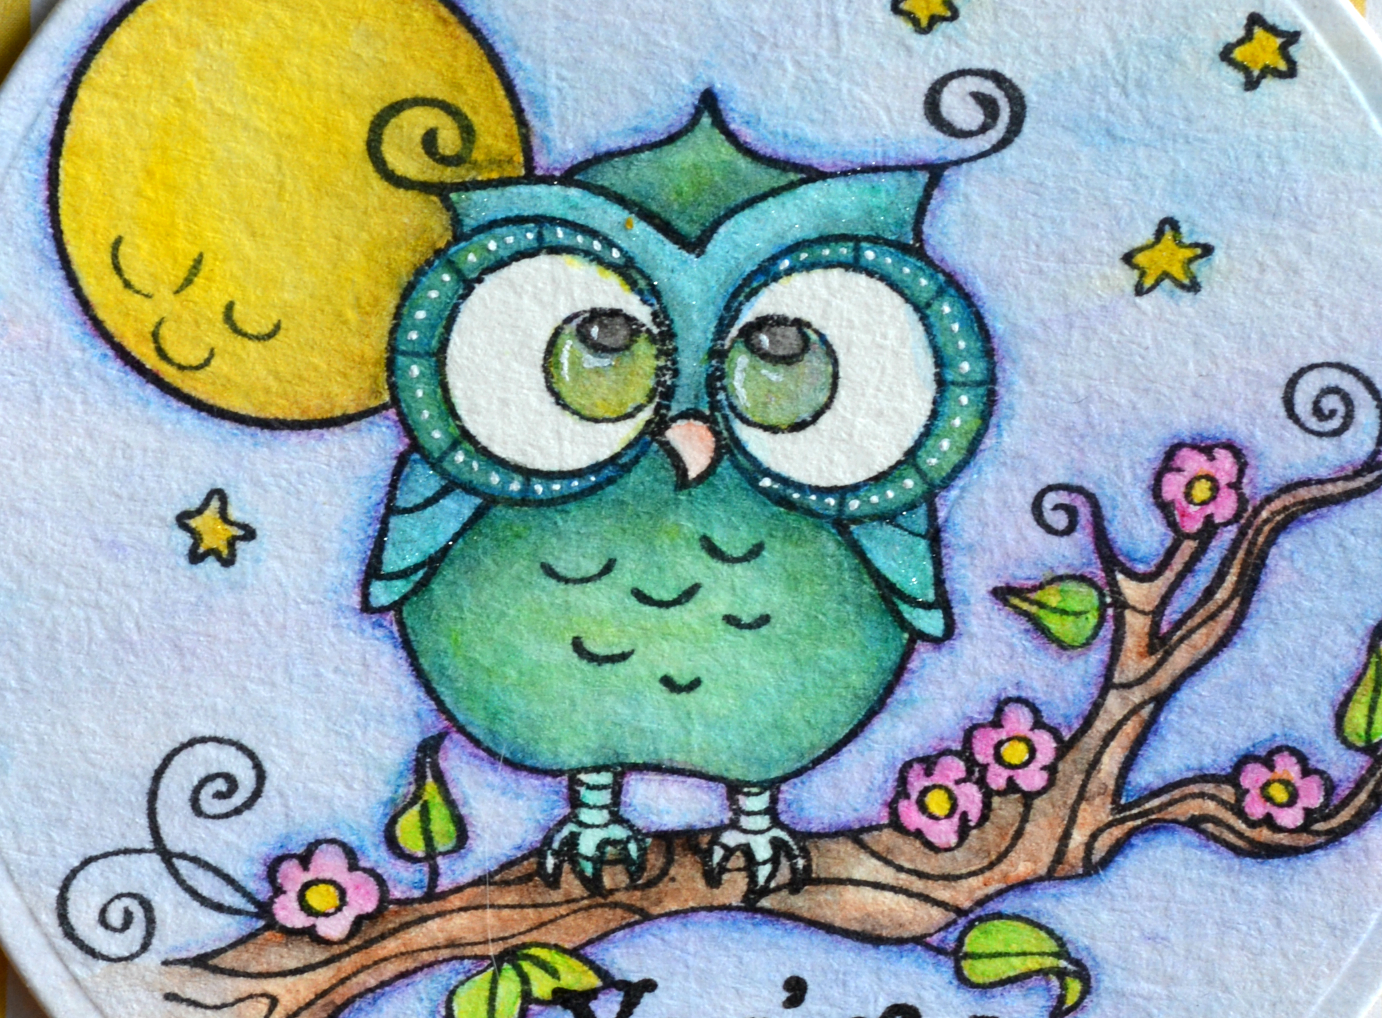
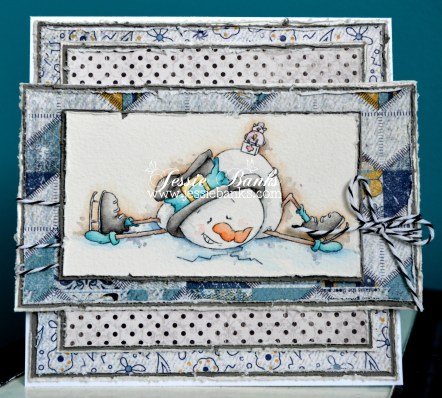
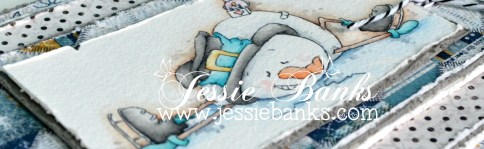
Hey everyone! I live in bitterly cold Saskatchewan, Canada and my son is 5 and still learning how to skate, he spends plenty of time looking like this snowman does so I just had to colour it up! The image is Smooth Move from Sassy Cheryl Stamps, and is painted on Arches 140lbs Coldpress watercolour paper with my inktense pencils.

Smooth Move close up.jpg

Unfortunately I did not write down what colours I use to paint this image.

Smooth Move 2.jpg

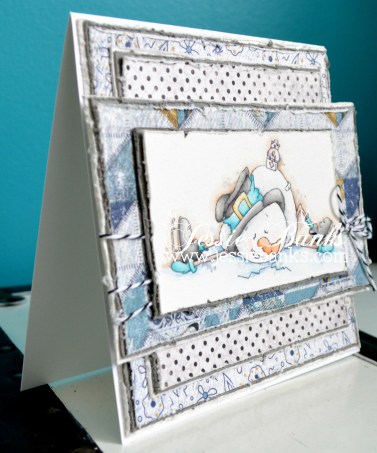
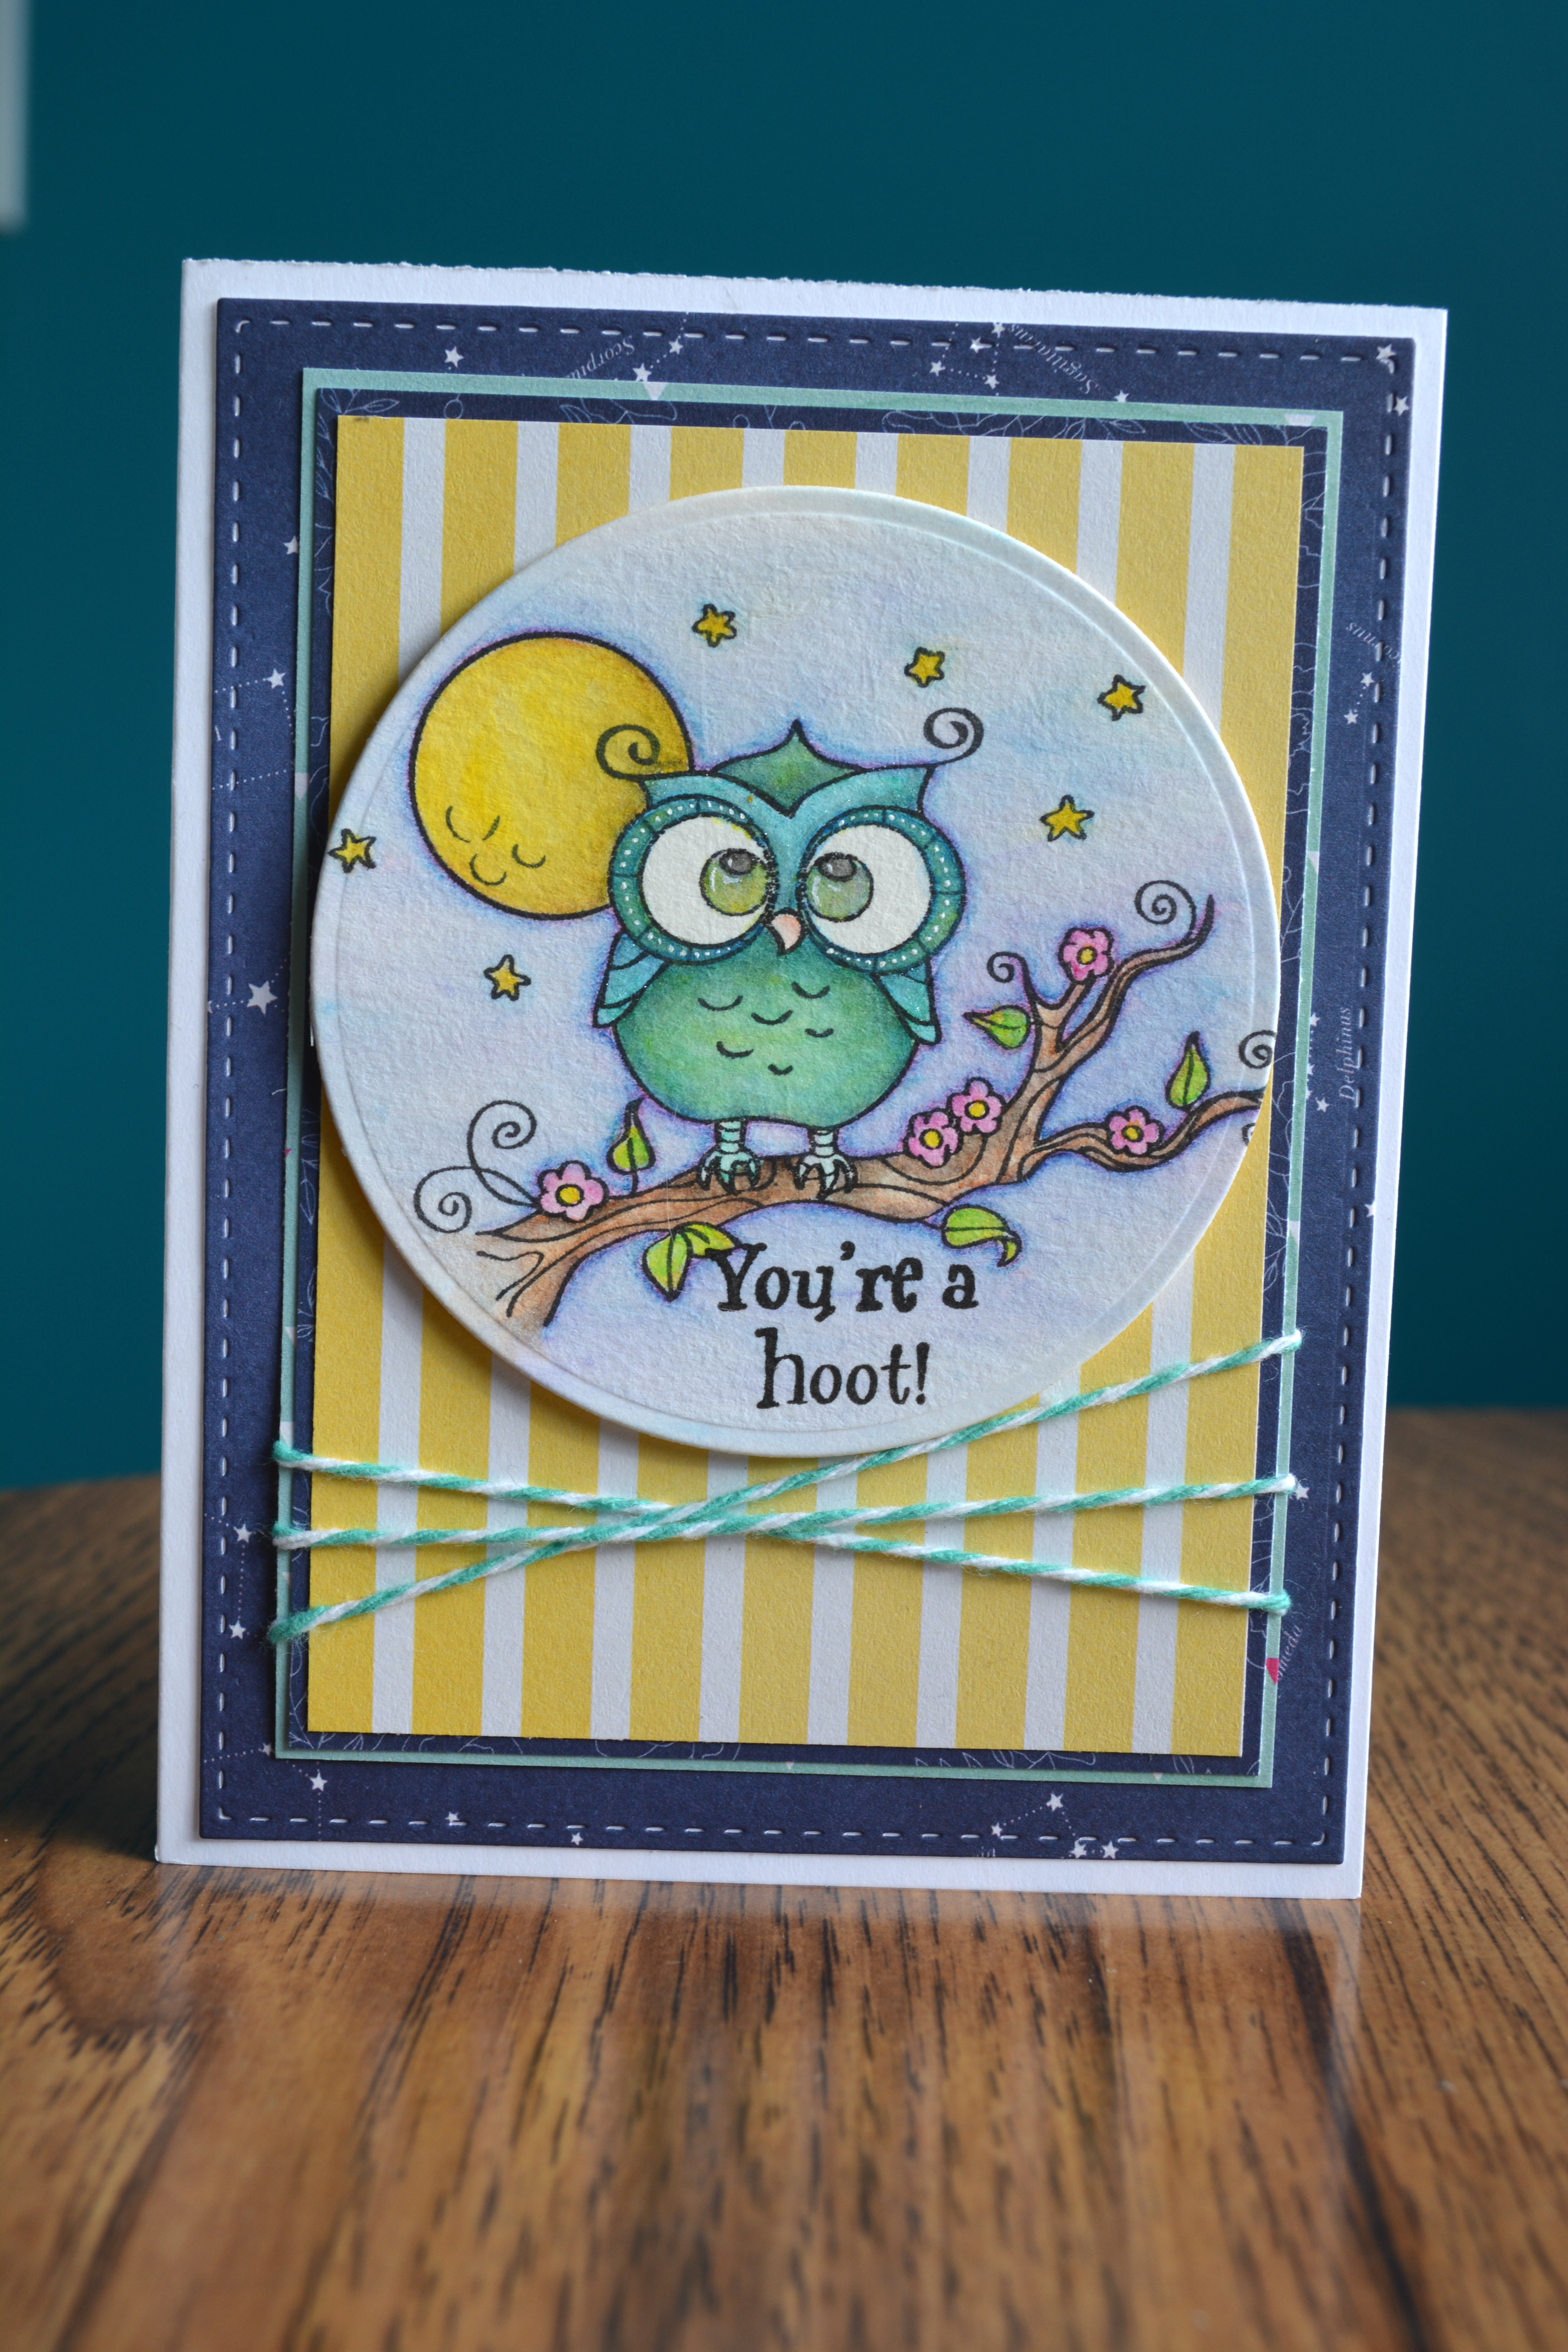
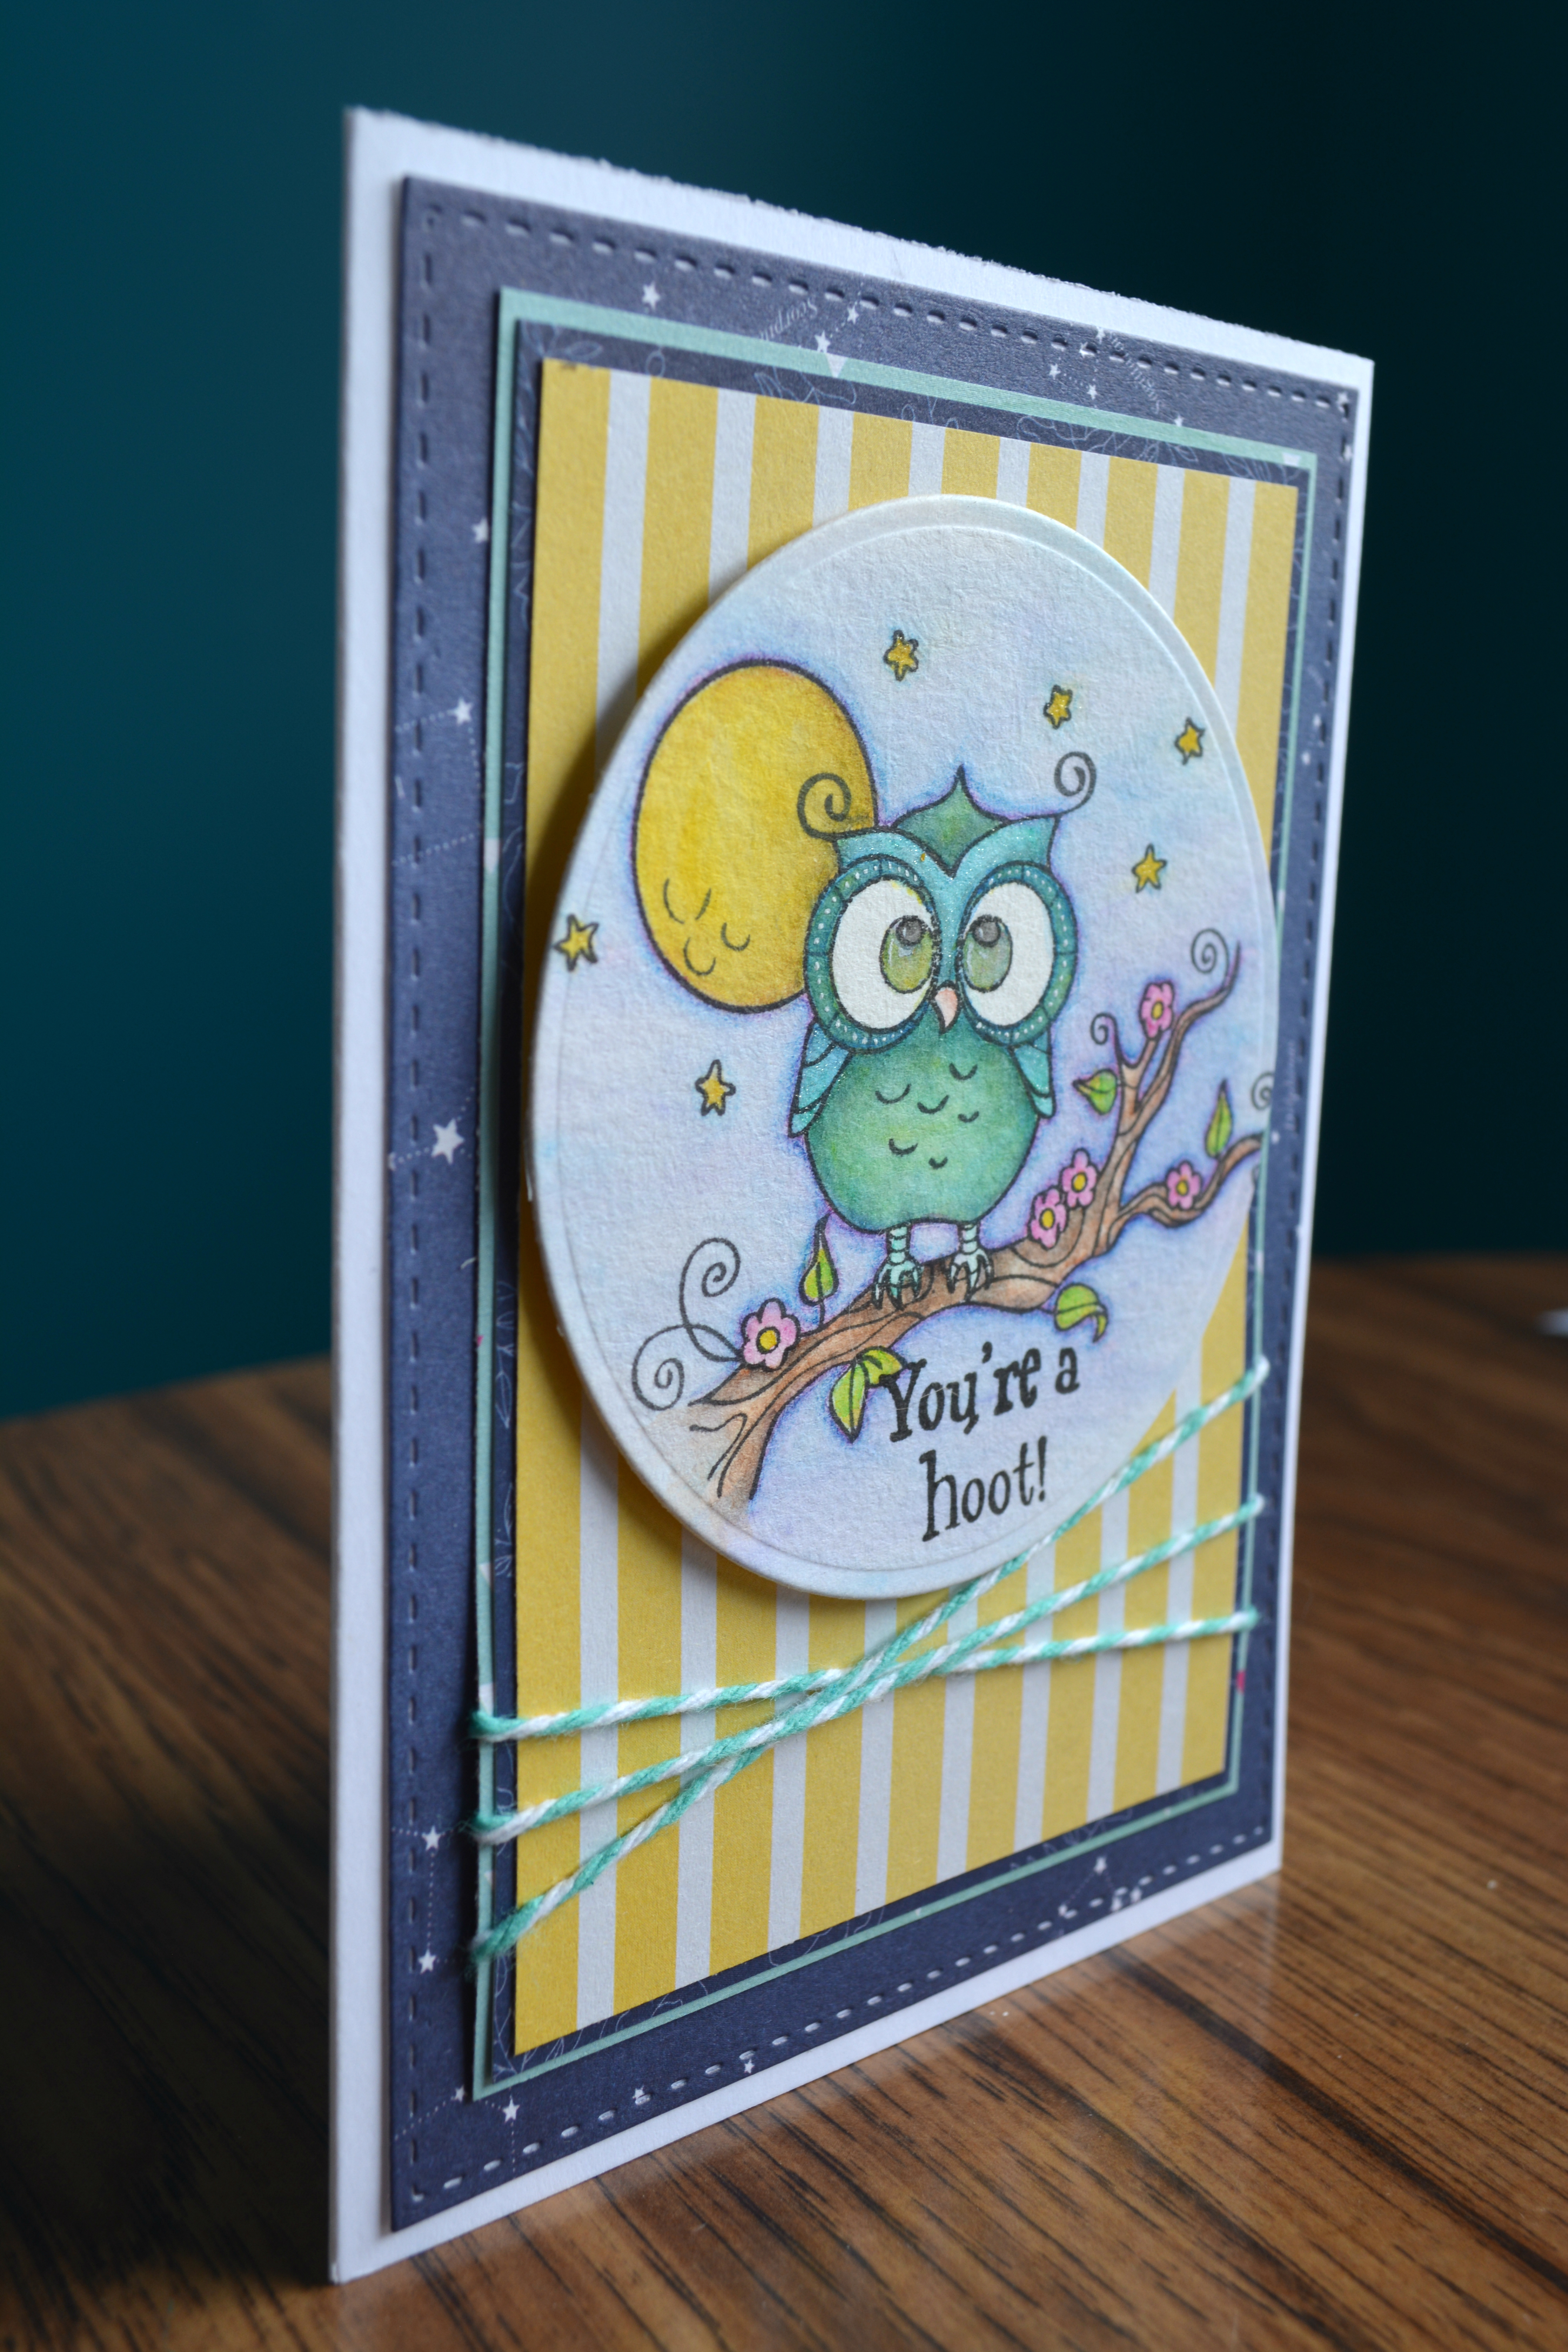
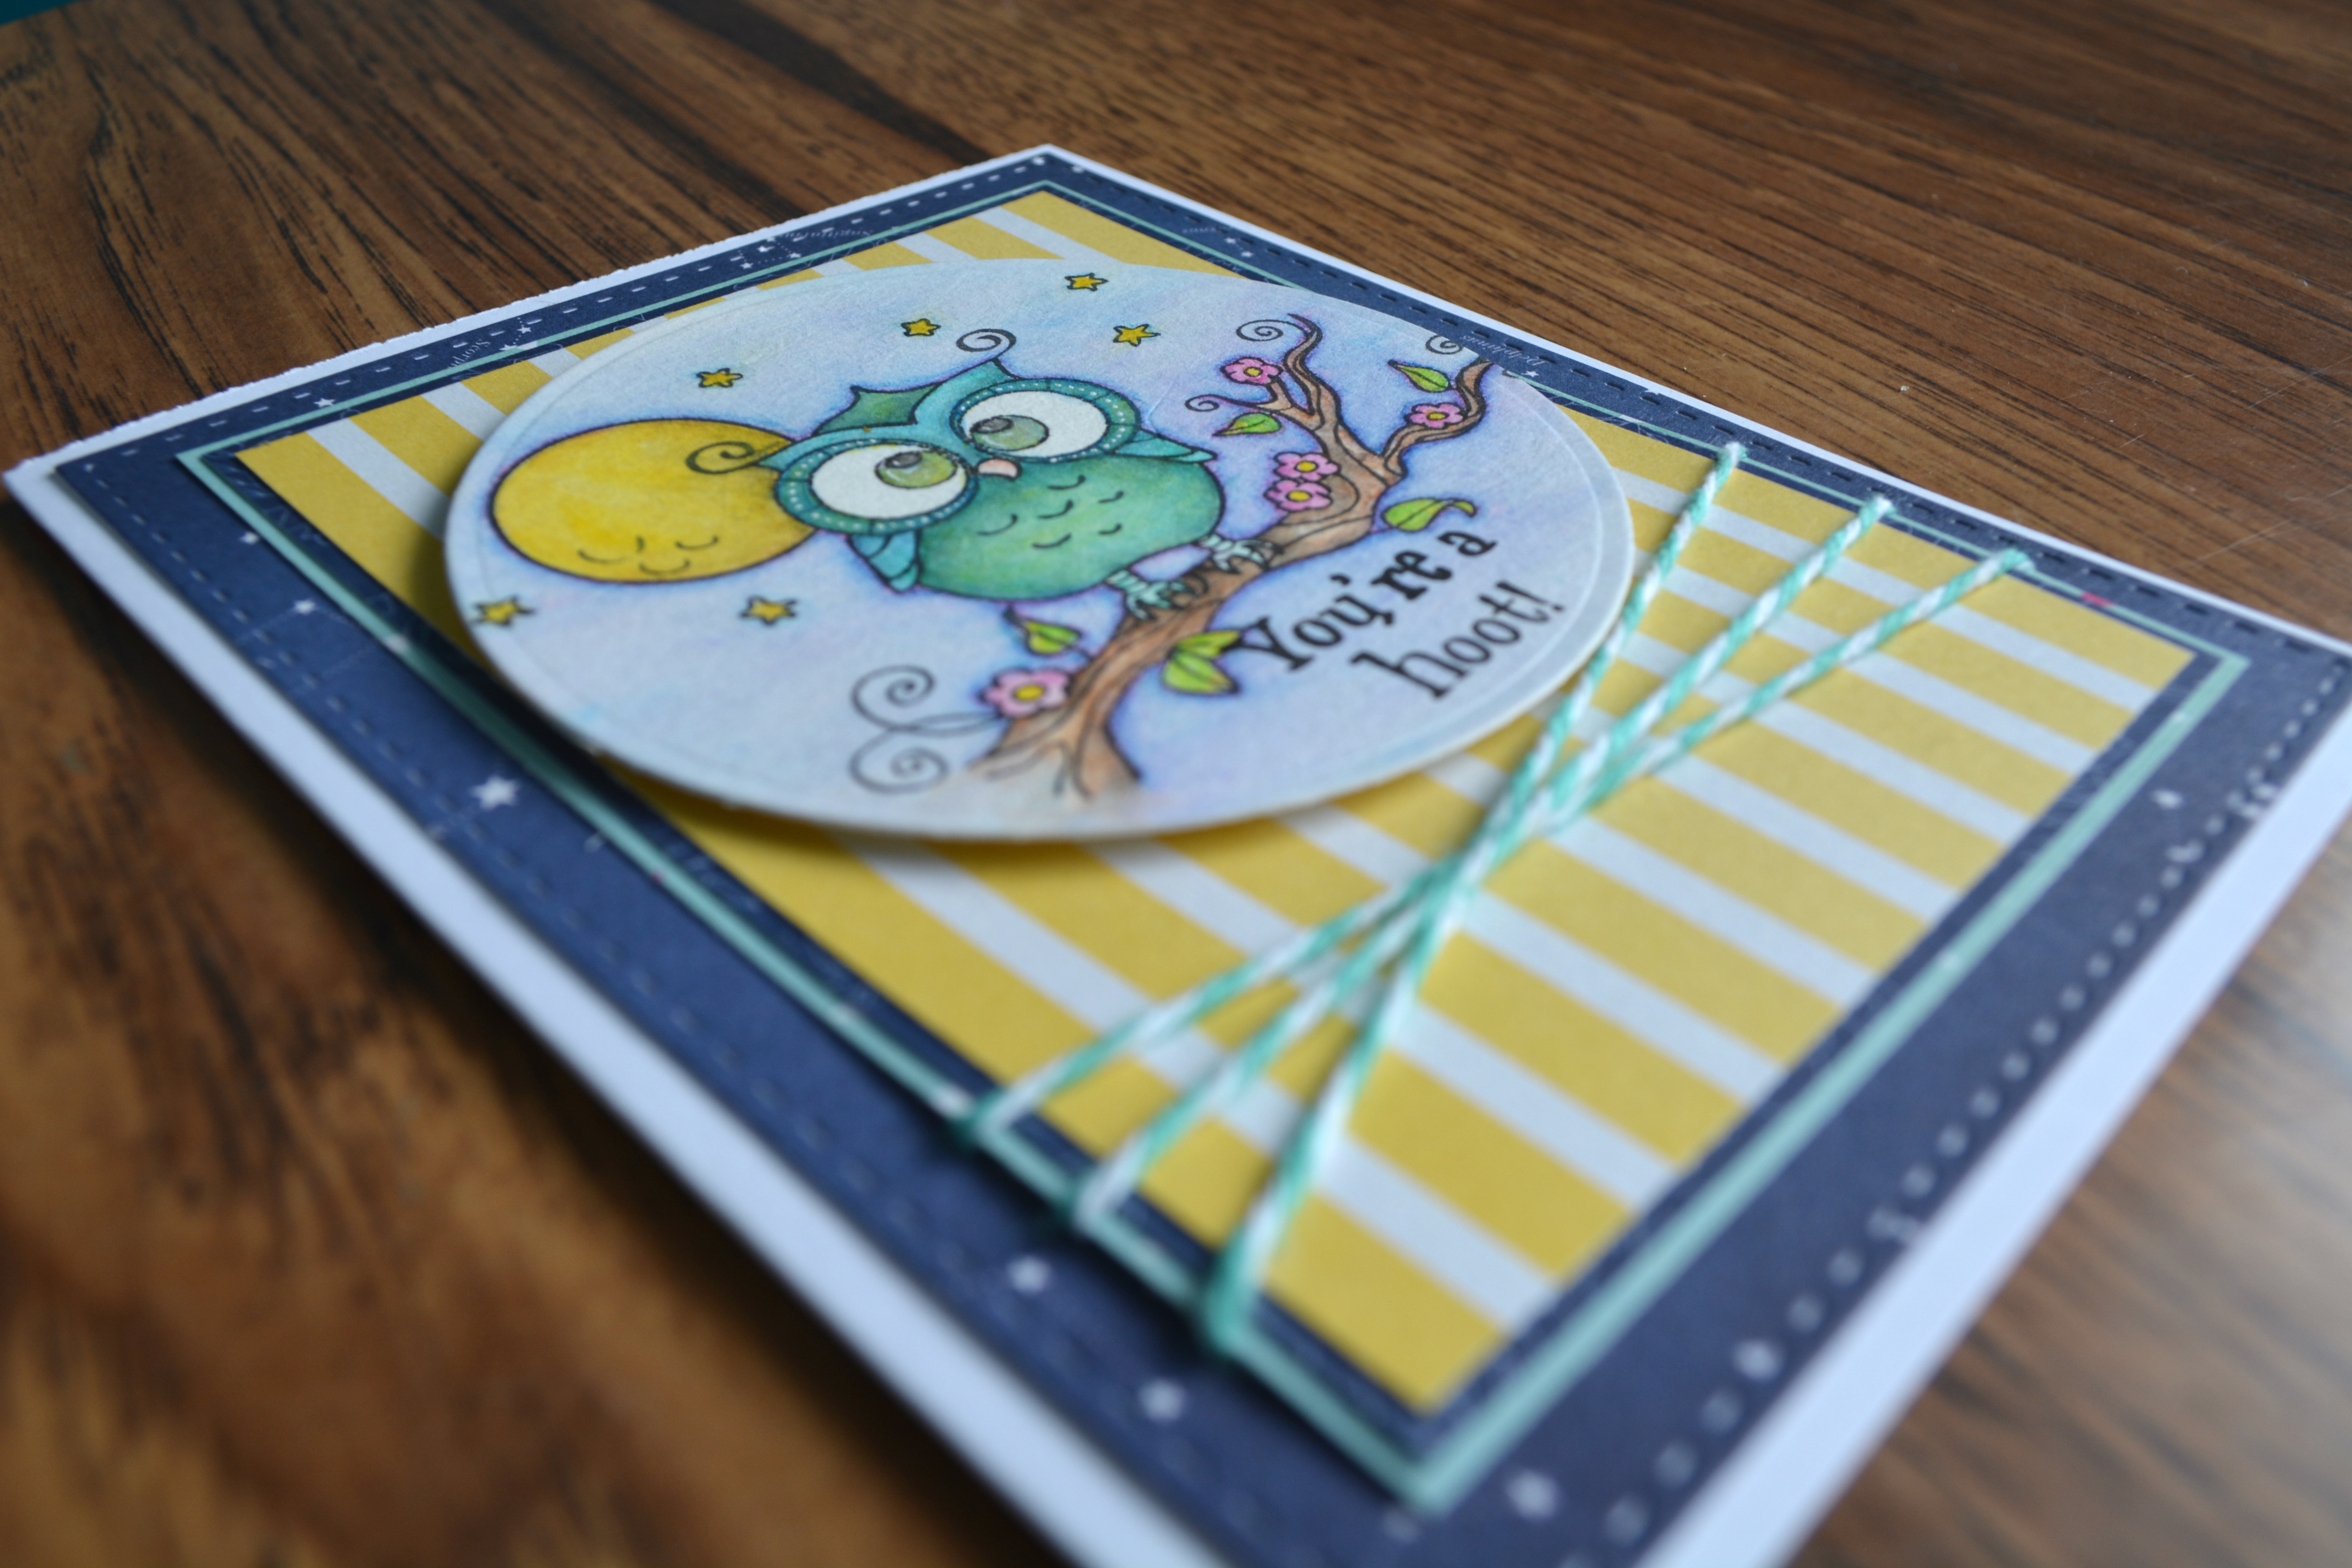
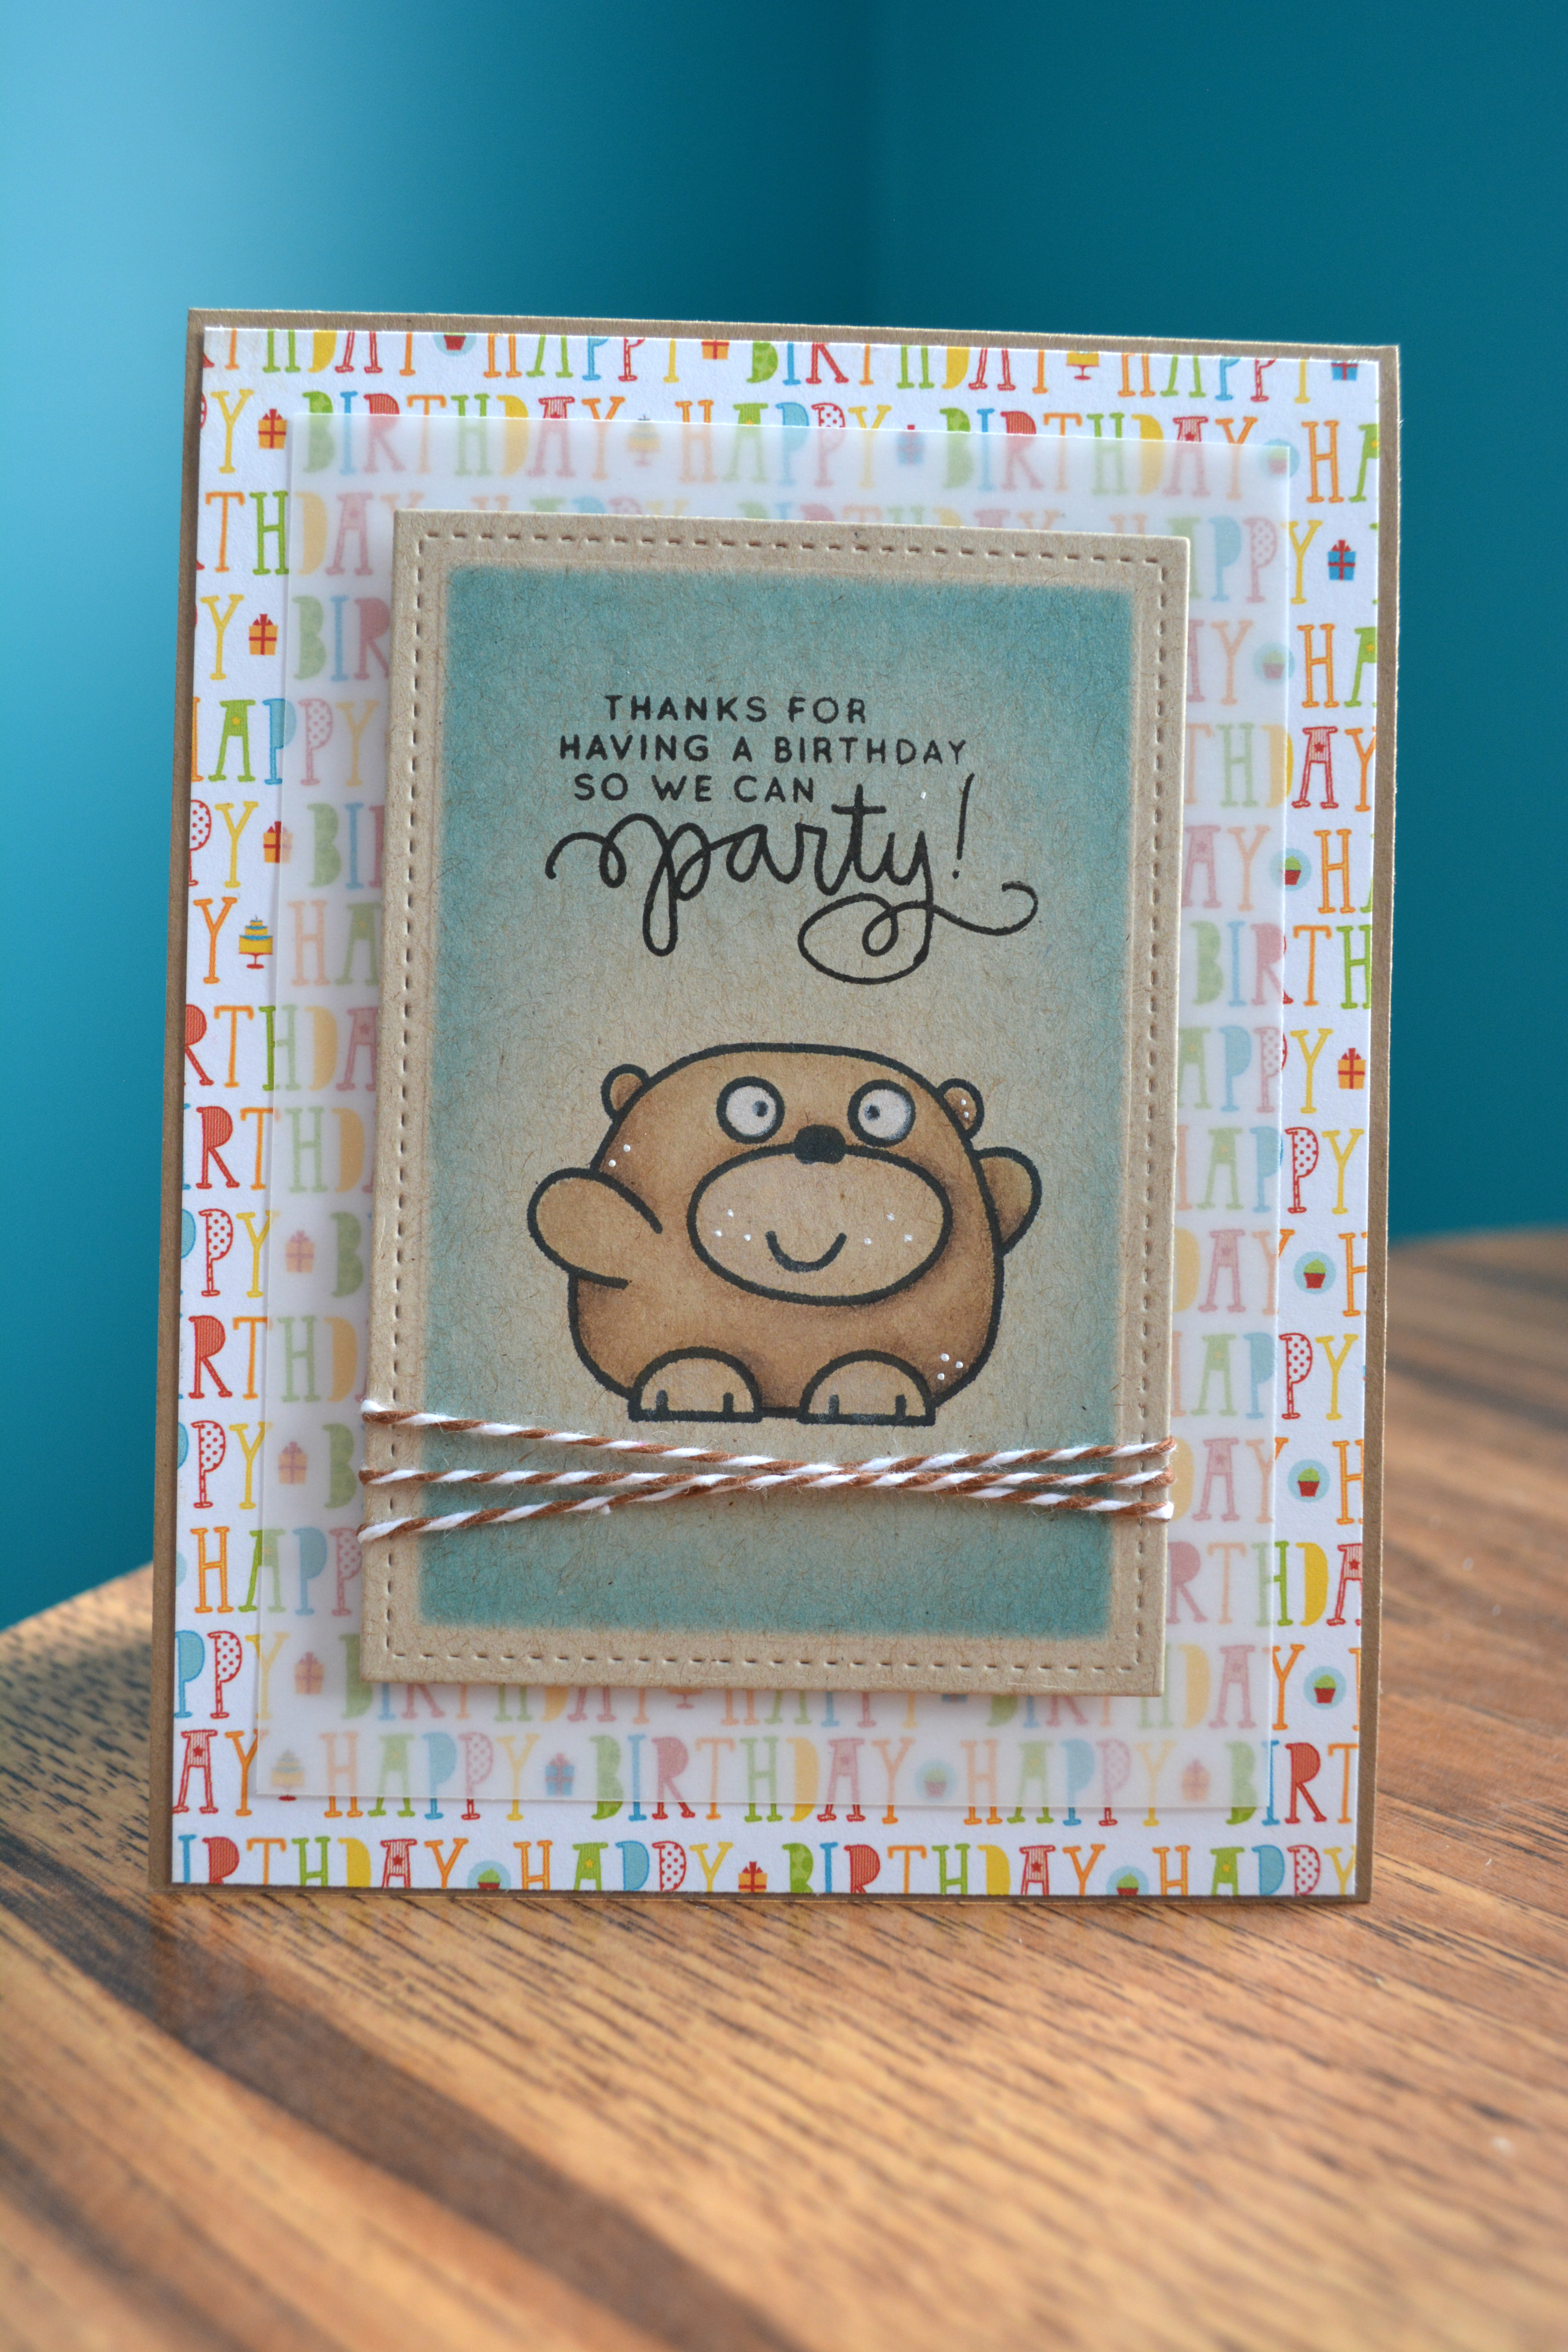
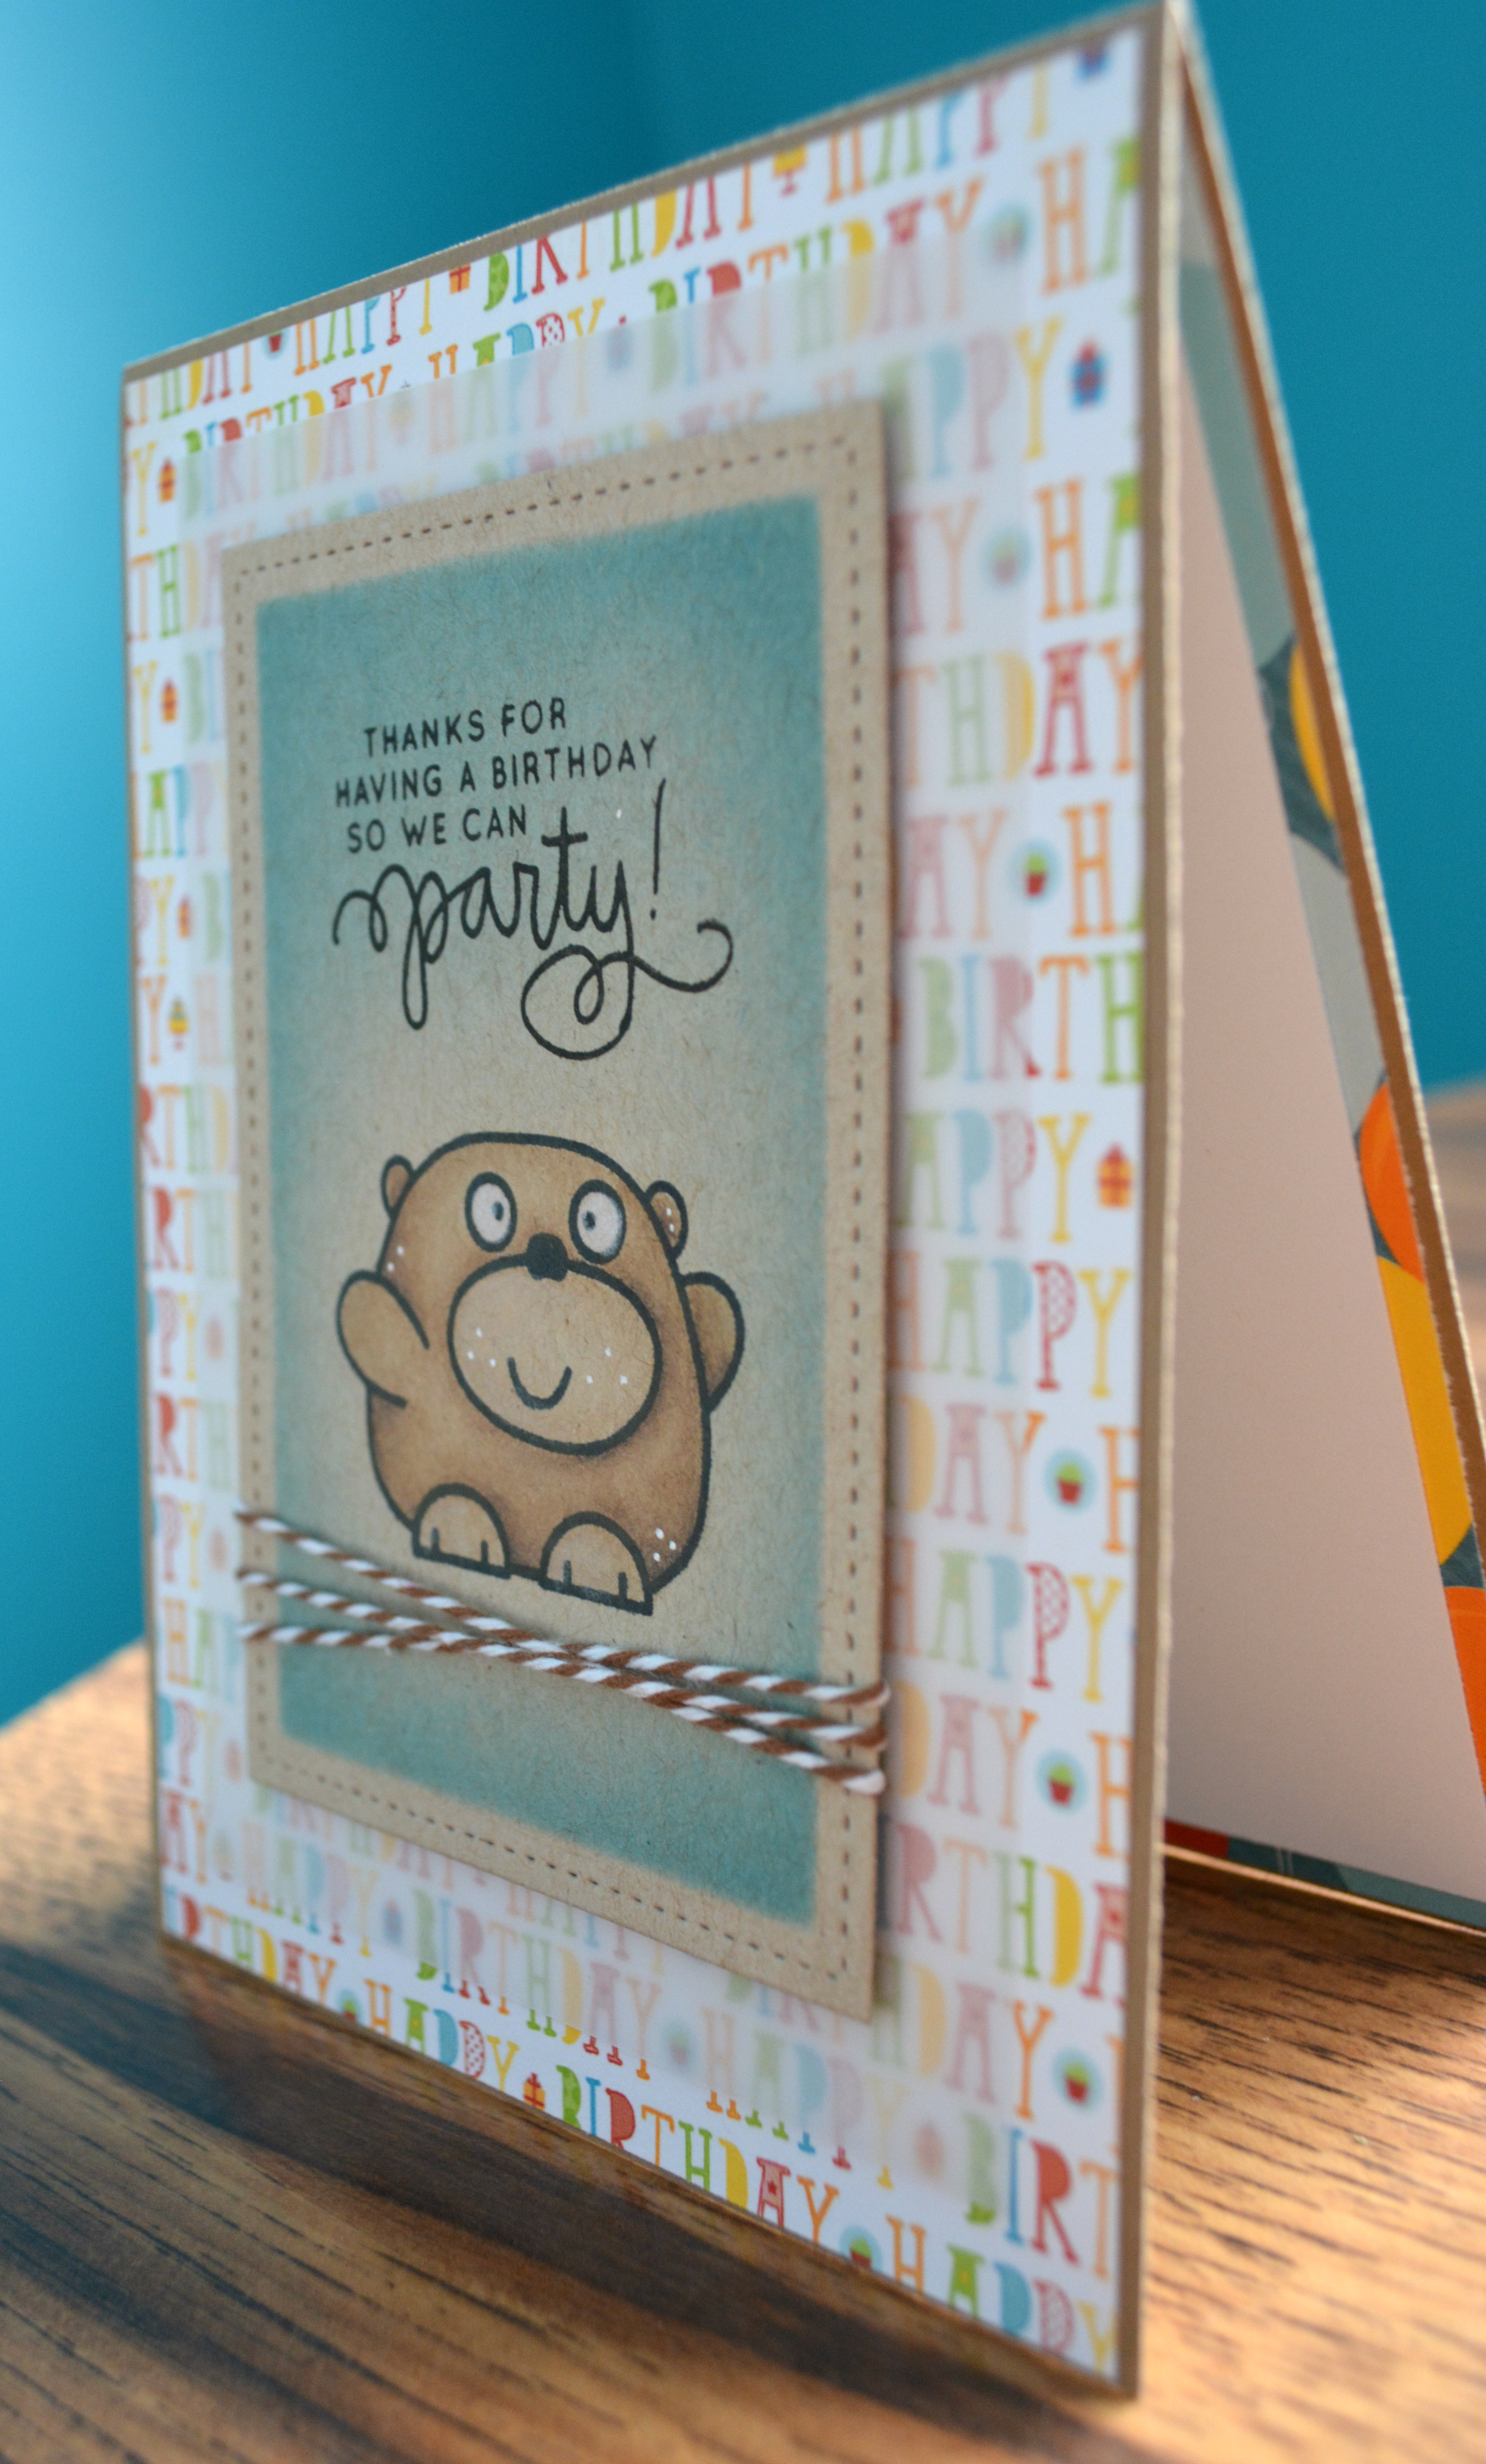
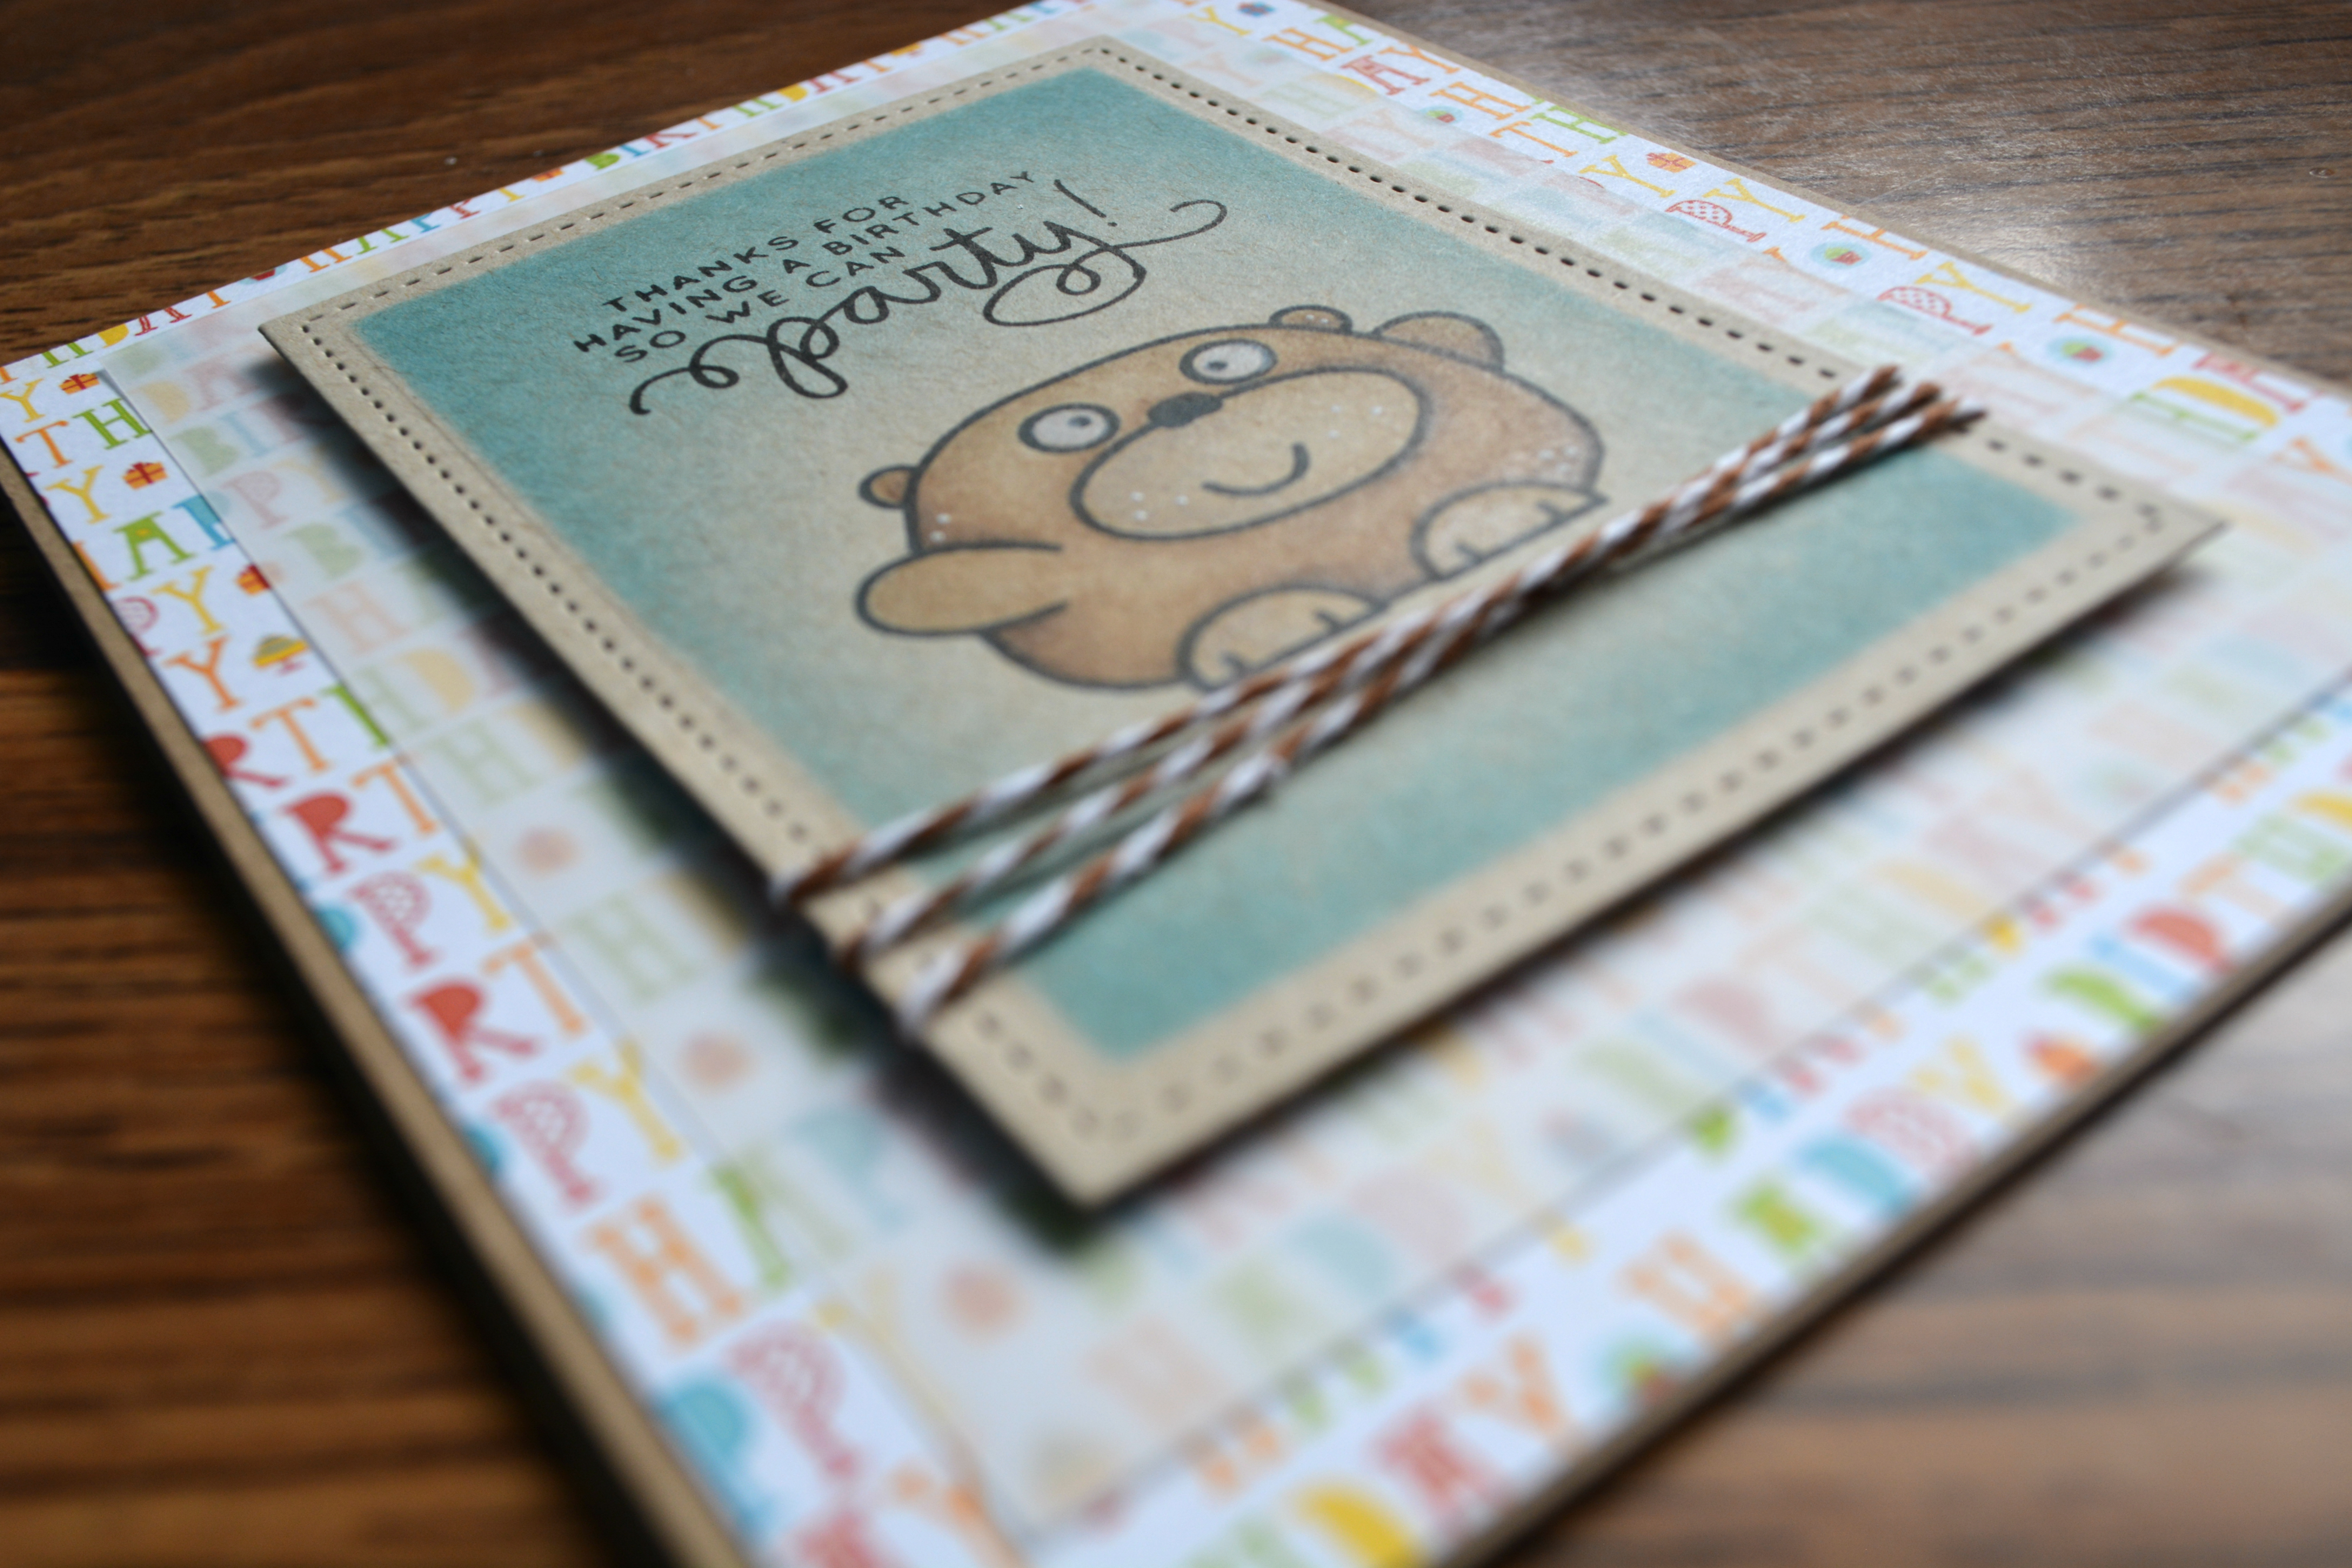
I used some of my older Authentique paper’s and the polkadot paper is out of my scrap bin, and a bit of twinery twine finished off the front of this card.  Still on this use up some of what I have in my stash so I can buy more stuffs!

Smooth Move 3.jpg

You can purchase this card here.

Thanks for stopping by,

Hugz,

Jess

Charlie with Teapot

Charlie with Teapot 1

Hey everyone! Isn’t she just cute with her little tea pot! I stinking love her! This is Charlie with Teapot from Little Blue Button Stamps. I coloured her up with my copic markers and then enhanced the colouring with my Polychromos Coloured Pencils.

Charlie with Teapot close up

Copics used:

Skin – E15, E13, E11, E21, E51, E50, R20, R22

Hair – YR000 YR02, E09, E59

Green & Eyes – YG67, YG17, Y03 YG01

Yellow – YR04, Y17. Y15, Y13

Purple – V17, V15, V12, V01

Charlie with Teapot 2

A few layers of patterned paper from Graphic 45 and Prima, some purple twine and enamel dots finished off the front of this card.

Charlie with Teapot 3

You can purchase this card here.

Support me on Patreon here. 

Thanks for stopping by,

Hugz,

Jess

Rudy

Reindeer 1

Hey everyone! I am back with my last Christmas card for this year! The current challenge over on the Polkadoodles challenge blog  is Anything Goes. So for this card I reached for the Work & Play 5 Hollybobs Collection. In this collection you will find some extra digital images aside from the main characters and that is where I found Rudy, this gem of a reindeer! You will also find all of the patterned paper I used on this card in that collection as well! It really is a fantastic holiday collection.

Reindeer close up

The image was printed out onto kraft coloured cardstock and coloured with my Faber-Castell Polychromos Pencils. I didn’t write down the colours I used as this was one of the first images I coloured up with them and I wasn’t entirely sure that it would turn out (that will teach me to always write them down!)

Reindeer 2

I used two of the lovely patterned papers from this collection and layered them on kraft and white cardstock. I had this wood veneer in my stash (probably came from Micheals) and painted it white then cut my image down to fit inside of it. The twine and lace are also from my stash.

Reindeer 3

Hugz,

Thanks for stopping by!

Jessie

You’re a hoot

Your a hoot 1


Hey everyone! This card was tons of fun, I have been eyeing this stamp set from Kraftin’ Kimmie Stamps for a long time (link is in the products used), I was absolutely thrilled to get my hands on it!

Your a hoot 2


I used the Serendipity 6×6 pad that came in the Hip Kit January color add on, to create the layers in the backround. The bottom layer was cut with a stitched die from Simon Says Stamp. The twine is out of my stash I would assume from the twinery but it is the last of it so I can’t be sure.

Your a hoot 3

I stamped the image with versafine onyx black in then coloured it with my Gansai Tambi watercolours (I have the 24 colour set). THe white highlights are done with a small brush and Golden Titanium White heavybody Acrylic.

Your a hoot 4

Products used:

Kraftin’ Kimmie Stamps- You Know Whooo!

Hip Kit Club – January Color add on

Versafine Onyx Black

Spellbinders – Standard Circles Large (second larges die)

Zig Kuretake Gansai Tambi 24 color set

Simon Says Stamp – Bundle of Stitched Shapes

Teal Twine

Golden Titanium White Heavy Body Acrylic

Thanks for Stopping by,

Hugz,

Jess

Bear Birthday

Paper smooches bear 1


Sometimes cute and simple just works for me. I love this little bear from the Paper Smooches Chubby Chum Pals stamp set. I kept it simple and just coloured him in with my Prismacolour Pencils on Neenah Desert Storm kraft cardstock.

Paper Smooches bear 2


The white dots put on the image were done with a Golden Titanium white heavy body acrylic paint. I die cut that panel with the Lawn Fawn small stitched rectangles dies, I left the die in place and inked it with distress ink then wrapped the twine around the bottom. I layered a panel of vellum behind the image over top of the birthday paper from the Bo Bunny Surprise collection.

Paper smoochess 3


Thanks for stopping by,

Hugz,

Jess

PS. Let me know if you prefer the links to product below or just the list. Thanks


Finished the card.

DSC_0271


Last weekend I posted a picture of a fun little image I had coloured while visiting some family, and this week I finally got the card finished!!

DSC_0273


So I took the image, cut it down to the size I wanted, I die cut the poppy stamps grass die and the Papertrey Ink cloud dies out of some Copic Mask it paper and created the backround by latering the masks and using distress ink.


DSC_0275


Of course, in my typical fashion, a little twine and my own melted perler bead “enamel dots” and she is finished.


Thanks for stopping by

Hugz

Jess


Supplies:

Neenah Solar White Cardstock 110lbs

Copic X-press it Blending card

Simple Stories DIY 6×6 patterned paper

Some Odd Girl – Balloon Kaylee

Copic Markers

Distress Ink – mowed lawn, peeled paint, crushed olive, salty ocean, peacock feathers, broken china, weathered wood

Twine from Americian Crafts

Wood veneer *I think its from Freckled Fawn*

Glossy accents