Merriest Berries

Hey all! Today is new release day for Power Poppy! I love that Marcella has both clear and Digital images for us to play with, and today is a digital one, so you can pick it up now and use it now!

InstantGarden_ReleaseWeekGraphic_Sept2017

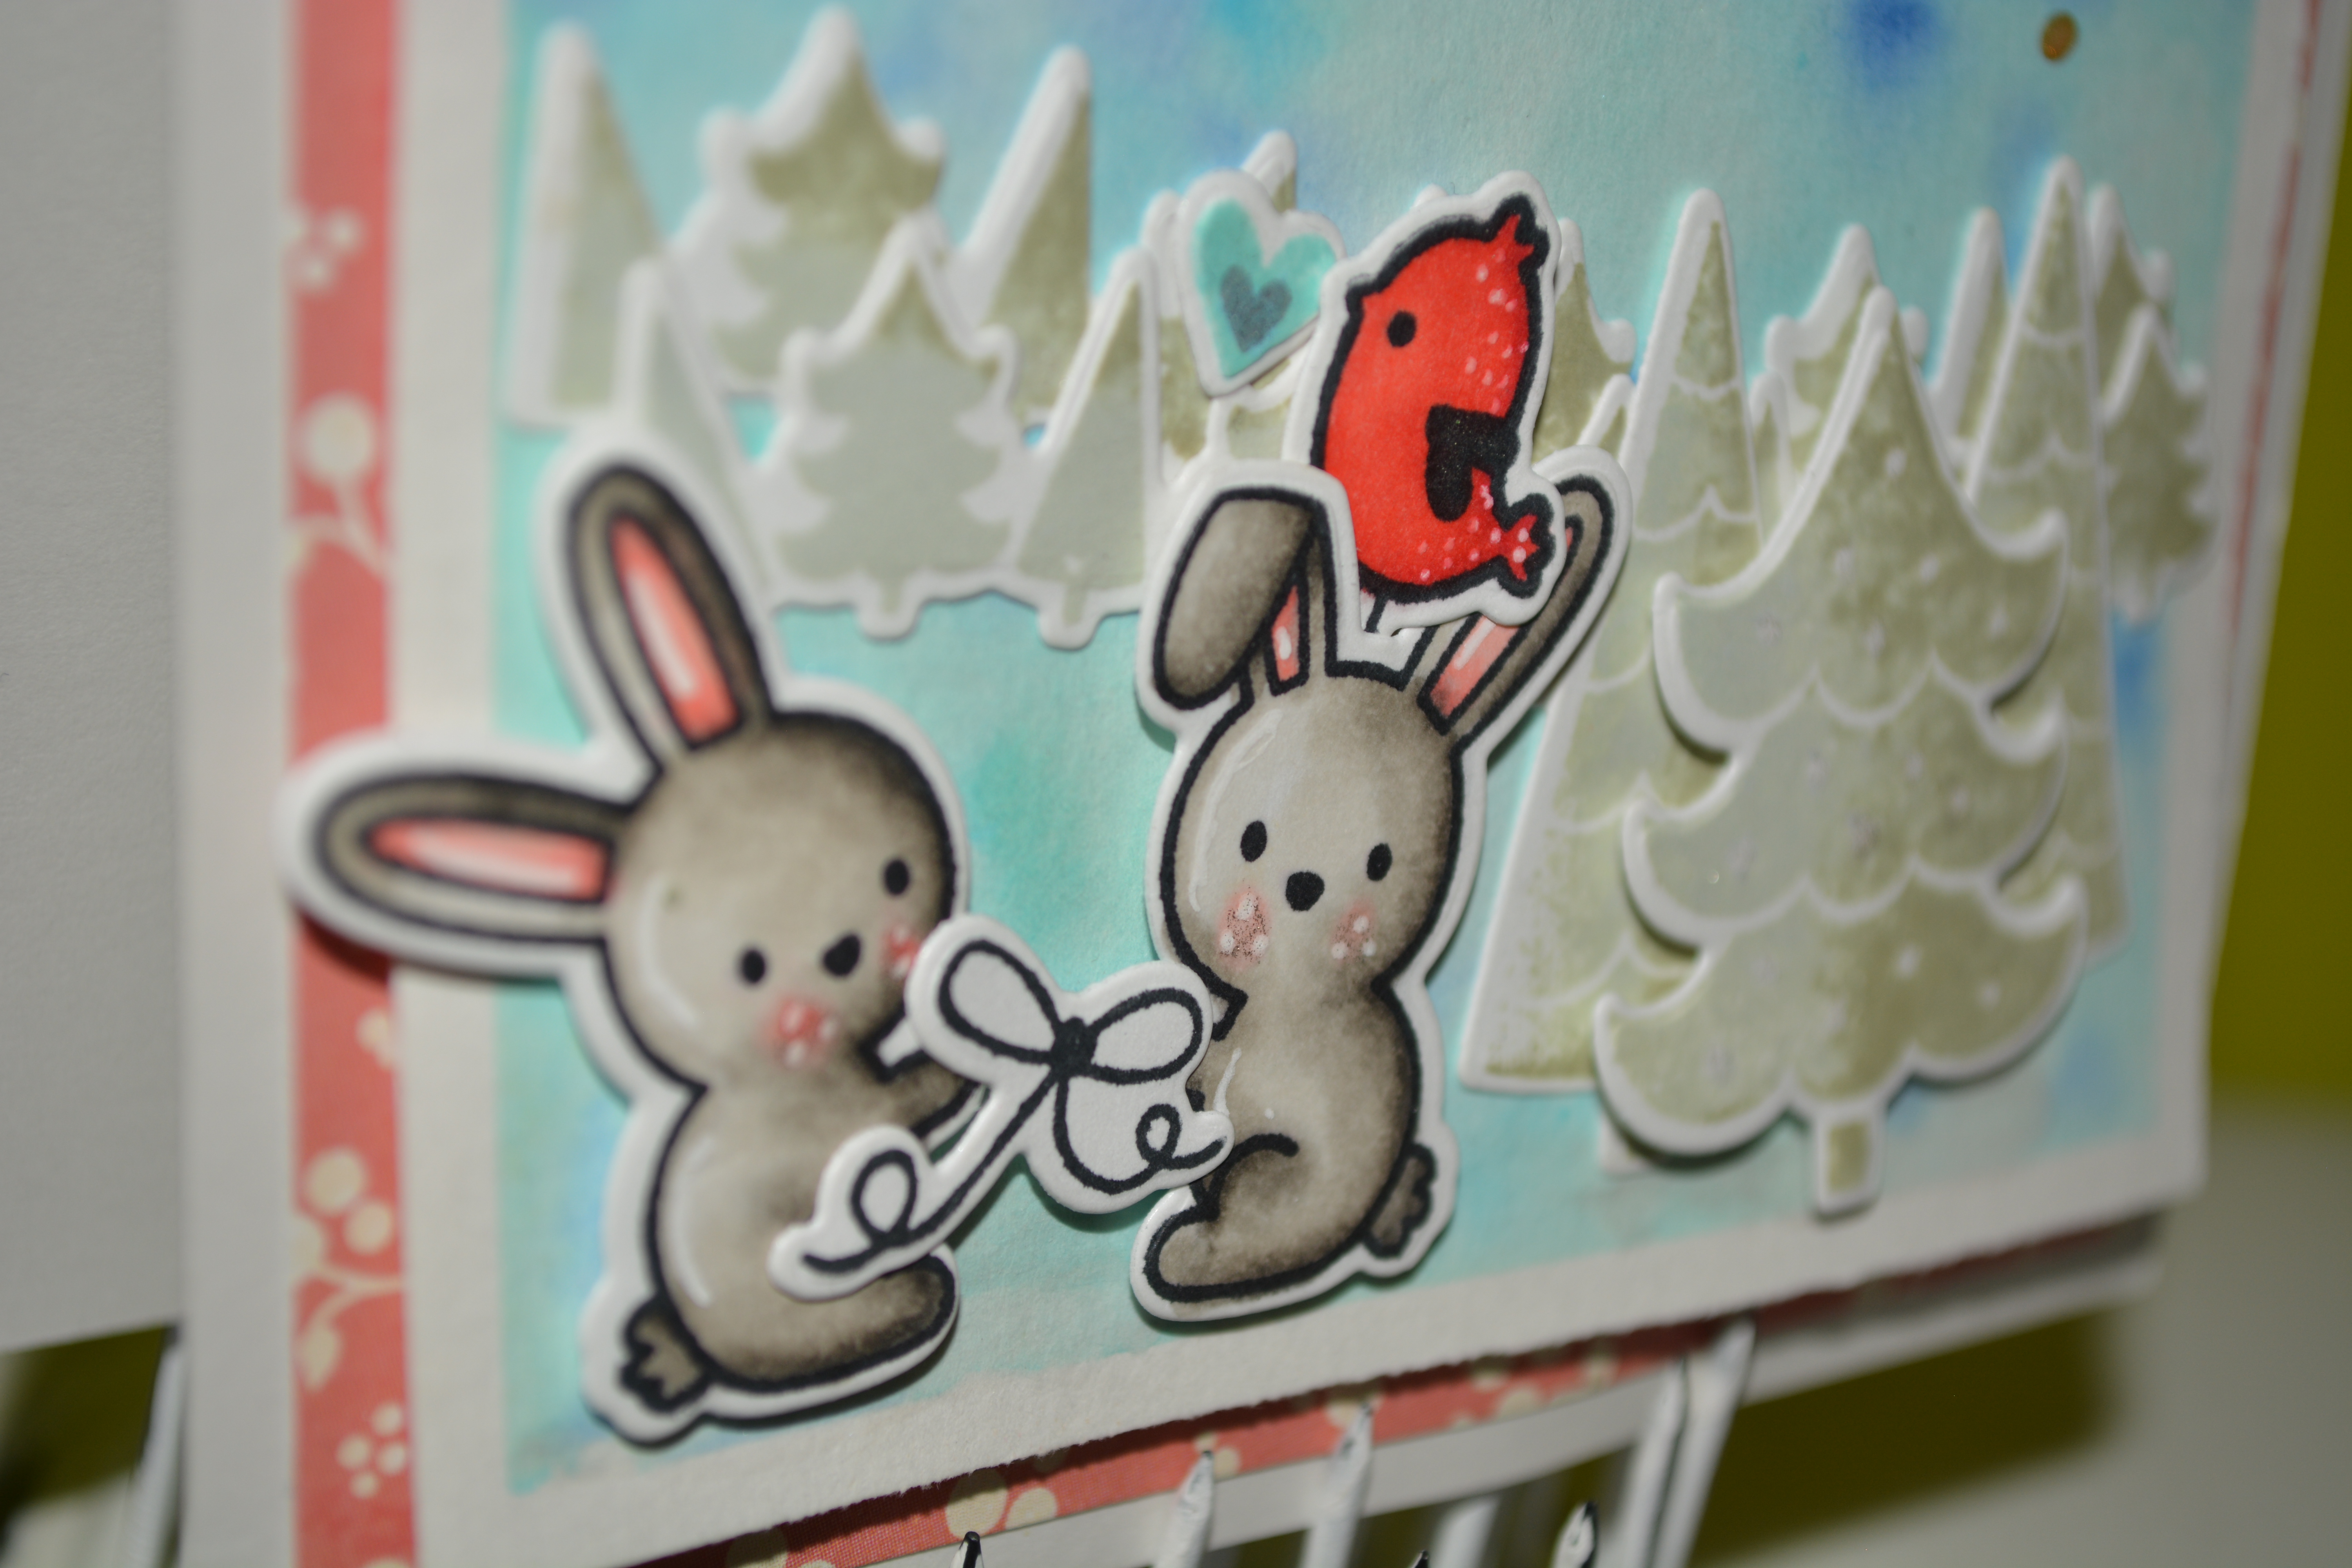
Isn’t this adorable, and there are a few different versions so you don’t have to use the candy cane, one has a bow instead of just the bow tails (that is so not the proper word but it is the one I am going with lol)

Power Poppy - Merries Wishes - Jessie Banks

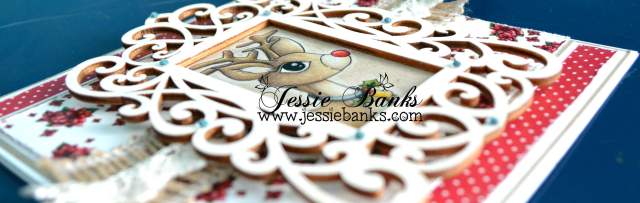
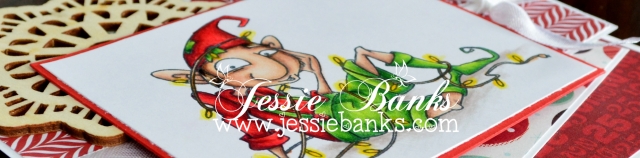
I did my usual thing, I enlarged the image and added a great sentiment and then coloured it up, I always find the Power Poppy images look so good when they are huge! once I was done colouring it, I added some clean Nuvo drops over the berries, as you would glossy accents or something of that nature and then called it done!

Copics used:
Red – R89, R29, R08, R05, R02
Green – YG99, YG67, YG63, YG61, Y21
Yellower Green – YG97, YG95, YG93, Y11
Blue – B05, B04, B02, B01, BV25, BV23, BV20

Thanks for stopping by,
Hugz,
Jessie

Rudolph

Hey everyone! Before I get into today’s card I thought I would pass along that I am having a Black Friday sale over on my etsy store! The code Black30 will get you 30% off all the cards listed there till Monday night!

Onto today card! I am using a Wee Stamps image called Rudolph you can pick it up in rubber here or in Digital form here!

wee-stamps-rudolph-1

I coloured him up with copic markers, again I do not have the colours I used on him. I really do have to get better at that! He is such a darling little guy!

wee-stamps-rudolph-2

I used up a little bit more of some Maja Design paper that has been in my stash for a while now, a little string and a button to finish off this card!

wee-stamps-rudolph-3

You can purchase this card on etsy (don’t forget the code at the top of this post!)

Thanks for stopping by,
Hugz,
Jess

Rudy

Reindeer 1

Hey everyone! I am back with my last Christmas card for this year! The current challenge over on the Polkadoodles challenge blog  is Anything Goes. So for this card I reached for the Work & Play 5 Hollybobs Collection. In this collection you will find some extra digital images aside from the main characters and that is where I found Rudy, this gem of a reindeer! You will also find all of the patterned paper I used on this card in that collection as well! It really is a fantastic holiday collection.

Reindeer close up

The image was printed out onto kraft coloured cardstock and coloured with my Faber-Castell Polychromos Pencils. I didn’t write down the colours I used as this was one of the first images I coloured up with them and I wasn’t entirely sure that it would turn out (that will teach me to always write them down!)

Reindeer 2

I used two of the lovely patterned papers from this collection and layered them on kraft and white cardstock. I had this wood veneer in my stash (probably came from Micheals) and painted it white then cut my image down to fit inside of it. The twine and lace are also from my stash.

Reindeer 3

Hugz,

Thanks for stopping by!

Jessie

Deck The Halls

KKS Deck the halls 1

Hey everyone! Today I have a fun christmas card for you all! I used Kraftin’ Kimmie Stamps Deck the Halls (get it while you can, its a rubber stamp and once its sold out there will be no more.)

KKS Deck the halls close up

I coloured him up with my copic markers and my Polychromos Pencils, I may have gone a bit to far with the pencils. LOL.

KKS Deck the halls 2

I used Shimelle’s Christmas Magic paper pad, seam binding, a wood veneer (I got it at Michaels) and some little square pieces out of my stash to finish off the front of this card.

KKS Deck the halls 3

Thanks for stopping by!

Hugz,

Jess

This video was up on my patreon page 2 days ago! If you would like sneak peeks of what I am working on, and access to my videos before anyone else have a look at my patreon page and consider supporting me!

Just a simple Christmas.

DSC_0134

Hey everyone! Jess here again, have you been looking at the cards for the past few days! It is astounding how talented these wonderful people are.

So while I was planning out my cards for this series, I decided that not everything that you cut on your machine has to be a detailed cut, sometimes you can cut something as simple as the bottom piece for this card, just a simple half circle cut at the bottom. Honestly, unless you are cutting chipboard, or something of that nature, you can do all of your die cutting with an electronic die cutter.

So this card is rather simple, on top of the piece I cut on the cameo, I attached a green polka dot strip, and then took a piece of white cardstock that I punched with a Martha Stewart punch (sorry the name of the punch escapes me at the moment). Then I tied some chocolate brown bakers twine around that.

DSC_0135

Then I stamped the Season’s Greeting sentiment from my go to Hero Art’s stamp set, matted that on patterned paper then added a white banner behind it, added some faux stitching around the bottom panel and put it all on a standard size, top folding card base.

DSC_0139

That’s it for today’s card.

Thanks for stopping by

Hugz

Jess

For the Christmas in Cricut – Linda Holloway

unnamed

Hi Jess and friends! Its Linda here today!
Thank you for including me in your October Christmas Card Series. I am honoured to be included among all of these very talented card artists.
To create this card I used my trusty old Cricut Personal Electronic Cutter with a 6 inch wide mat. I love this machine and am constantly going back to it even though I have other cutters.
I used the Cricut Artbooking Cartridge and cut the images of the deer, doily, snowflakes and poinsetta from cardstock. The snowflakes were covered with Stickles Rock Candy and set aside to dry.
The base  paper is from the Close To My Heart Seaside Collection with the edge inked in Saddle Brown.  The second paper layer is edge distressed and from CTMH Yuletide Carol Collection. They were attached to the card base with liquid adhesive. Then the doily was glued down.
The manilla shipping tag was from my stash and edged in Saddle Brown ink. The bow is seam binding ribbon. I glued down the reindeer and used dimensional tape to attach the tag to the card. The reindeer nose is itty bitty bling.
The three snowflakes covered in Rock Candy Stickles  were attached to the card with liquid adhesive. Then the green pinwheel shape was glued down. I layered the two red pinwheels with dimensional tape and then glued the smalles snowflake on top.
The complete list of supplies used can be found on my blog : http://mrshollowaylovesstamps.blogspot.ca/
Happy Card Making!
Linda

Non Traditional colours- DarcieGlam

1-P1030357-001


A big hug and thank you to Jess for asking me to participate in the Christmas Card Challenge! I decided to go with a retro theme (go figure) and use non-traditional colors. I designed and made the tree using the basic shapes in Open Office Impress, a free program, and made the inside pieces too. Then I printed them in black and scanned the page into my Brother Scan N Cut. The shapes were cut out of pink card stock.

I found the perfect paper in my stash from an old GSD line and a coordinating paper from WeR Memory Keepers. I didn’t expect to use classic paper lines but the colors were so great!
The white background is Wendy Vecchi embossing paste through a Claudine Hellmuth stencil. After placing the tree on top, I embellished with bling and it was done.
1-P1030359-001
For the inside of the card, I placed two coordinating strips of paper on each end and added my cut shapes. I placed paper circle accents on top and a gemstone in the star. The sentiment was printed on my computer. I don’t usually have the patience to cut and line up letters!
1-P1030366-001
Hope you enjoy my card and are having a great time seeing all the wonderful creations Jess is assembling. Happy Cardmaking! XX DarcieGlam
You can find Darcie and her sister Johnna’s wonderful mini albums here.

Lawn Fawn Christmas

DSC_0128


Hey everyone! Did you see Jani’s card yesterday (and the file that was in it) if you didn’t you should really go check it out!

So I am continuing with my breaking of the using digital files thing for the month, I am so in love with this stamp set that I am still using it! So again this is using the Snow Day stamps and dies from Lawn Fawn. So I stamped 2 of the cute bunnies and coloured them with copics (W00, W01, W03, W05, W07, R20, R22), and the little bird (R22, R24, R27, R29). I then stamped the trees using Soft Leaf ink from Hero Arts, and Olive ink from Creative Memories, and the bow is stamped in Memento Tuxedo Black.

DSC_0129


The background for my little scene is on Canson watercolour paper, painted with Peerless Watercolors. I then splattered it with Heidi Swapp Gold Lame ink and put it on a patterned paper stash from my Simon Says Stamp card kit patterned paper stash (in otherwords I can not remember who this paper came from lol), put it on a grey card base and called it finished,

DSC_0130


Thanks for stopping by

Hugz

Jess


Snowflake Window Cards by Jani Lewis

snowflake-cutout-card--01

Hello, My name  is Jani and I love snowflakes and making my own cut files. I have a couple of easy Snowflake Window Cards with with svg files that I made.

Let me show you how they go together and then you can find the link to download the cut files at the bottom of the post.

For the first card…

The file for the 8 1/2 by 5 1/2 inch card base is included but you could also just cut it yourself.

The card top has a snowflake cut.  I placed it directly to the card base. You could also pop it up using foam squares.

card 1  pict

All the pieces were cut from Neenah 110 pound cardstock. I used Lindy’s Stamp Gang Sprays to color them. I list the colors in the video below.

The card top shimmers but unfortunatelysnowflake-cutout-card--21 it does not show up well in pictures.

I stacked the snowflakes over the cutout area in this order.

snowflake order card 1 snowflake-cutout-card-2I added a little bling.

For the second card…

Both the card base and card top have snowflake shapes cut out to make a nice window.

card 2  pict

I did the snowflakes a little differently on this one.

snowflake order card 2

snowflake-cutout-card-22I added some Stickles and a gem in the center.

Here is a look at the finished cards.

snowflake-cutout-card--01snowflake-cutout-card--30

Check out the video I made showing how I put the 2 cards together.

You can download the cut files HERE

The supplies will be listed on mu blog, Paper Compulsions.

Thanks so much for watching. I hope you enjoy the files and create some wonderful cards.

Simple trees

DSC_0111


Hey everyone! Jess here again using the same stamp and die set as yesterday, the Snow Day set from Lawn Fawn,  This card I kept rather simple stamping the tree outline and colouring them in with my Copic’s, G111, G14, G17, and G28, then cut them out with the coordinating die.


DSC_0112


I then wrapped some May Arts twine around the white panel and stamped my sentiment in Versafine Onyx Black Ink, and attached my trees with foam tape. Then finished off the twine by tying it in a bow over top.

I dug in my Scraptastic Life Noted card stash and found this fun triangle one and cut it down to fit behind the white panel. Noticing that it looked rather plain on the Neenah Solar white card base I took out my most used and loved stencil (Tim Holtz Spatter stencil) masked off the areas I didn’t want to use and then used distress ink in Peacock Feathers, and picked raspberries through the stencil to create a lovely backround. Attatched my focal panel on some foam tape and it was complete.

DSC_0114


Thanks for stopping by,

Hugz

Jess