My sister is getting married!!

Dana wedding


Hey everyone, my sister is getting married this Saturday, so I made her a lovely little card, which also happened to fit the SSS Wednesday challenge. It all started with about 4 SSS stamp sets, Life is a Journey, Thinking of You, Handwritten Greetings, and Favorite Flowers.

dana wedding 2

I embossed all the flowers and greenery in the backround using Hero Arts White Embossing Powder, on Ranger Watercolor Paper. Then it was all coloured with Peerless Watercolor Bonus Pack. The sentiments were embossed on vellum with Hero Arts Gold Embossing powder.

dana wedding 3


Thanks for stopping by,

Hugz

Jess

Star Birthday

sss bday


Hey everyone! It has been a while, I am hopefully going to be here and be blogging more frequently. But today I am here with a fun card!!!


The back round of this card was made with Hero Arts Gold embossing powder, and the flowers from the SSS Life is a Journey stamp set, I then took a piece of card stock slightly larger and covered the edge of it in the gold embossing powder as well and layered it in behind.


sss bday2


The shaker card was made using Doodle Bug Peacock Vellum, the large star inside is from Heidi Swapp’s Colour Magic star chipboard pieces (I don’t know if these are still available anywhere, I then filled the rest of the shaker card with Studio Calico tiny star wood veneers, and studio calico sequins in aqua and pink.

To close the shaker I put a piece of acetate on tip and wrapped washi around to hide the foam tape, the washi tape is from an older My Minds Eye line.


SSS Bday 3


The sentiment is from SSS Birthday Messages stamp set, again embossed using the Hero Arts Gold embossing powder. I, then, cut a slit on either side of the shaker element and fed a piece of May Arts Sheer ruffle edge ribbon in turquoise and tied it in a bow.


Hugs,

Jess

Star Birthday

stars


Hey everyone! Here is a fun card I made inspired by the one Kristina Werner did on Jennifer McQuires blog a while back. I started with a piece of Neenah Desert Storm Paper that I folded into an A2 size card. I then took a Prima Star Stencil, and inked it with white ink, let that dry thoroughly then used Distress ink in, Mustard Seed, Salty Ocean, and Dusty Concord through the same stencil with it being slightly offset.

stars 2


I then took a piece of vellum from my stash (it is provocraft vellum but Bazzil would work wonderfully), Heat embossed a happy birthday sentiment and a boarder from some stamp sets from my stash (I can’t remember which ones as I forgot to write them down, I appologize.) Cut a flag into the one side and glued it on, I then used white Scrappers Spool thread and wrapped it around a few times tying a bow. The sequins are from Neat and Tangled

stars 3


Thanks for stopping by,

Hugz,

Jess


Fantastic Feathers

Feathers 1


Yay for more birthday cards, its that time of year that I am doing trade shows and these are a big seller for me

I die cut the largest feather out of the Spellbinders  Shapeabilities Feathers in craft foam, I then took some Gelatos and mixed a small amount of them in a blue and a pink into some Golden light molding paste. I think adhered my craft foam stamp onto a block using temporary adhesive (this stamp is reusable as long as you clean it). I coated my “stamp” using a pallet knife with my tinted molding paste and stamped the feather, then dried it and stamped the second flower.

Feathers 2


I used a happy birthday sentiment from the Simon Says Stamp Birthday Balloons Set  using Hero Arts Charcoal Shadow ink. Took the Prima Color Bloom Spray in Sunshine  and randomly splattered the color on the backround (I can not find the link for this in my list for at the bottom but I know SSS has it in stock)


Feathers 3


Finished it off with adding some random enamel dots from my stash


Thanks for stopping by,

Hugz,

Jess

June Faves

My 3 Favourites for the month of June are…


Spellbinders Shapeablities Feathers

faves feathers


I really love this die set.. they are so pretty they cut and emboss, beautiful detail. And if you cut them out of craft foam they make amazing stamps!


Spellbinders Shapeabilities Peacock Feathers

peacock feathers


This follows the same reason why I love the one above. These dies from spellbinders simply stunn me (there is a blog post for tomorrow using this die)


Distress Glitter

distress glitter


This is the best, chunky, vintage glass looking glitter ever. Without it being glass! I truly love this stuff the colours are phenomenal, and they are ink-able which makes them even better!! Just try them, trust me.


Happy Crafting,

Hugz,

Jess

Just a little white..

white card 1


So here is the card I made to enter the Simon Says Stamp Monday Challenge W is for White. My card base is Neenah Desert Storm 80lbs cardstock, then I cut a layer of Neenah Solar White cardstock and  used the Prima Butterfly stencil (I can’t find a link for) and inked it with Distress ink in Seedless Preserves, and Peacock Feathers.

A piece of Simon Says Stamp Woodgrain Cardstock,edged it in seedless preserves, and tor a piece of Bazzill 40lbs vellum and tore it slightly larger.


white card 2


A banner cut out of DCWV Burlap paper and covered it in many layers of Picket Fence Distress Paint, and layered a vintage Doily under it. Die cut 2 of the Spellbinders Shapeabilities Peacock Feathers and watercoloured them with Distress ink. Die cut and stamped the sentiment from the All Occasion Banners set.


white card 3


Thanks for stopping by,

Hugz,

Jess

For the love of glitter

Distress glitter 1


Glitter is such a wonderful thing. Which is still odd for me to stay I was always so opposed to it for so long until I discovered microfine glitter… Then Distress Glitter entered my world and now I love all things that sparkle and shine and make me look like a walking disco.

I started with my favourite Tim Holtz Rays Stencil, using Golden Light Molding Paste through it. I then added the Mustard Seed Distress Glitter to the bottom part of the rays tapping it lightly with my finger to push it into the molding paste, then dumping the excess off. I repeated the same on the top half with Picked Raspberry Distress Glitter.

Distress glitter 2

I then cut a tag using Spellbinders Fancy Frame Tags 3 and coloured it as well as the back panel with Peacock Feathers Distress Ink. I stamped the Happy Birthday sentiment from the SSS Birthday Messages stamp set in Versamark ink and embossed it with Hero arts White embossing powder.


Distress Glitter 3


I then took Studio Calico Star Burst wood veneer (I can not find a link to these) and painted them with Distress Ink in Picked Raspberry, and Mustard Seed.


Thanks for stopping by

Hugz,

Jess


Sizzling Summer Blog Hop

Welcome to the last day of the Scrapadabadoo Blog hop! You should have come here from Zandra’s Blog.  If you are coming here first you should really go back to the beginning at Scrapadabadoo’s blog and start from there to play along!!


Isn’t it wonderful what everyone has done with their Prima Bikes so far? I am just floored with everyone’s creativity!


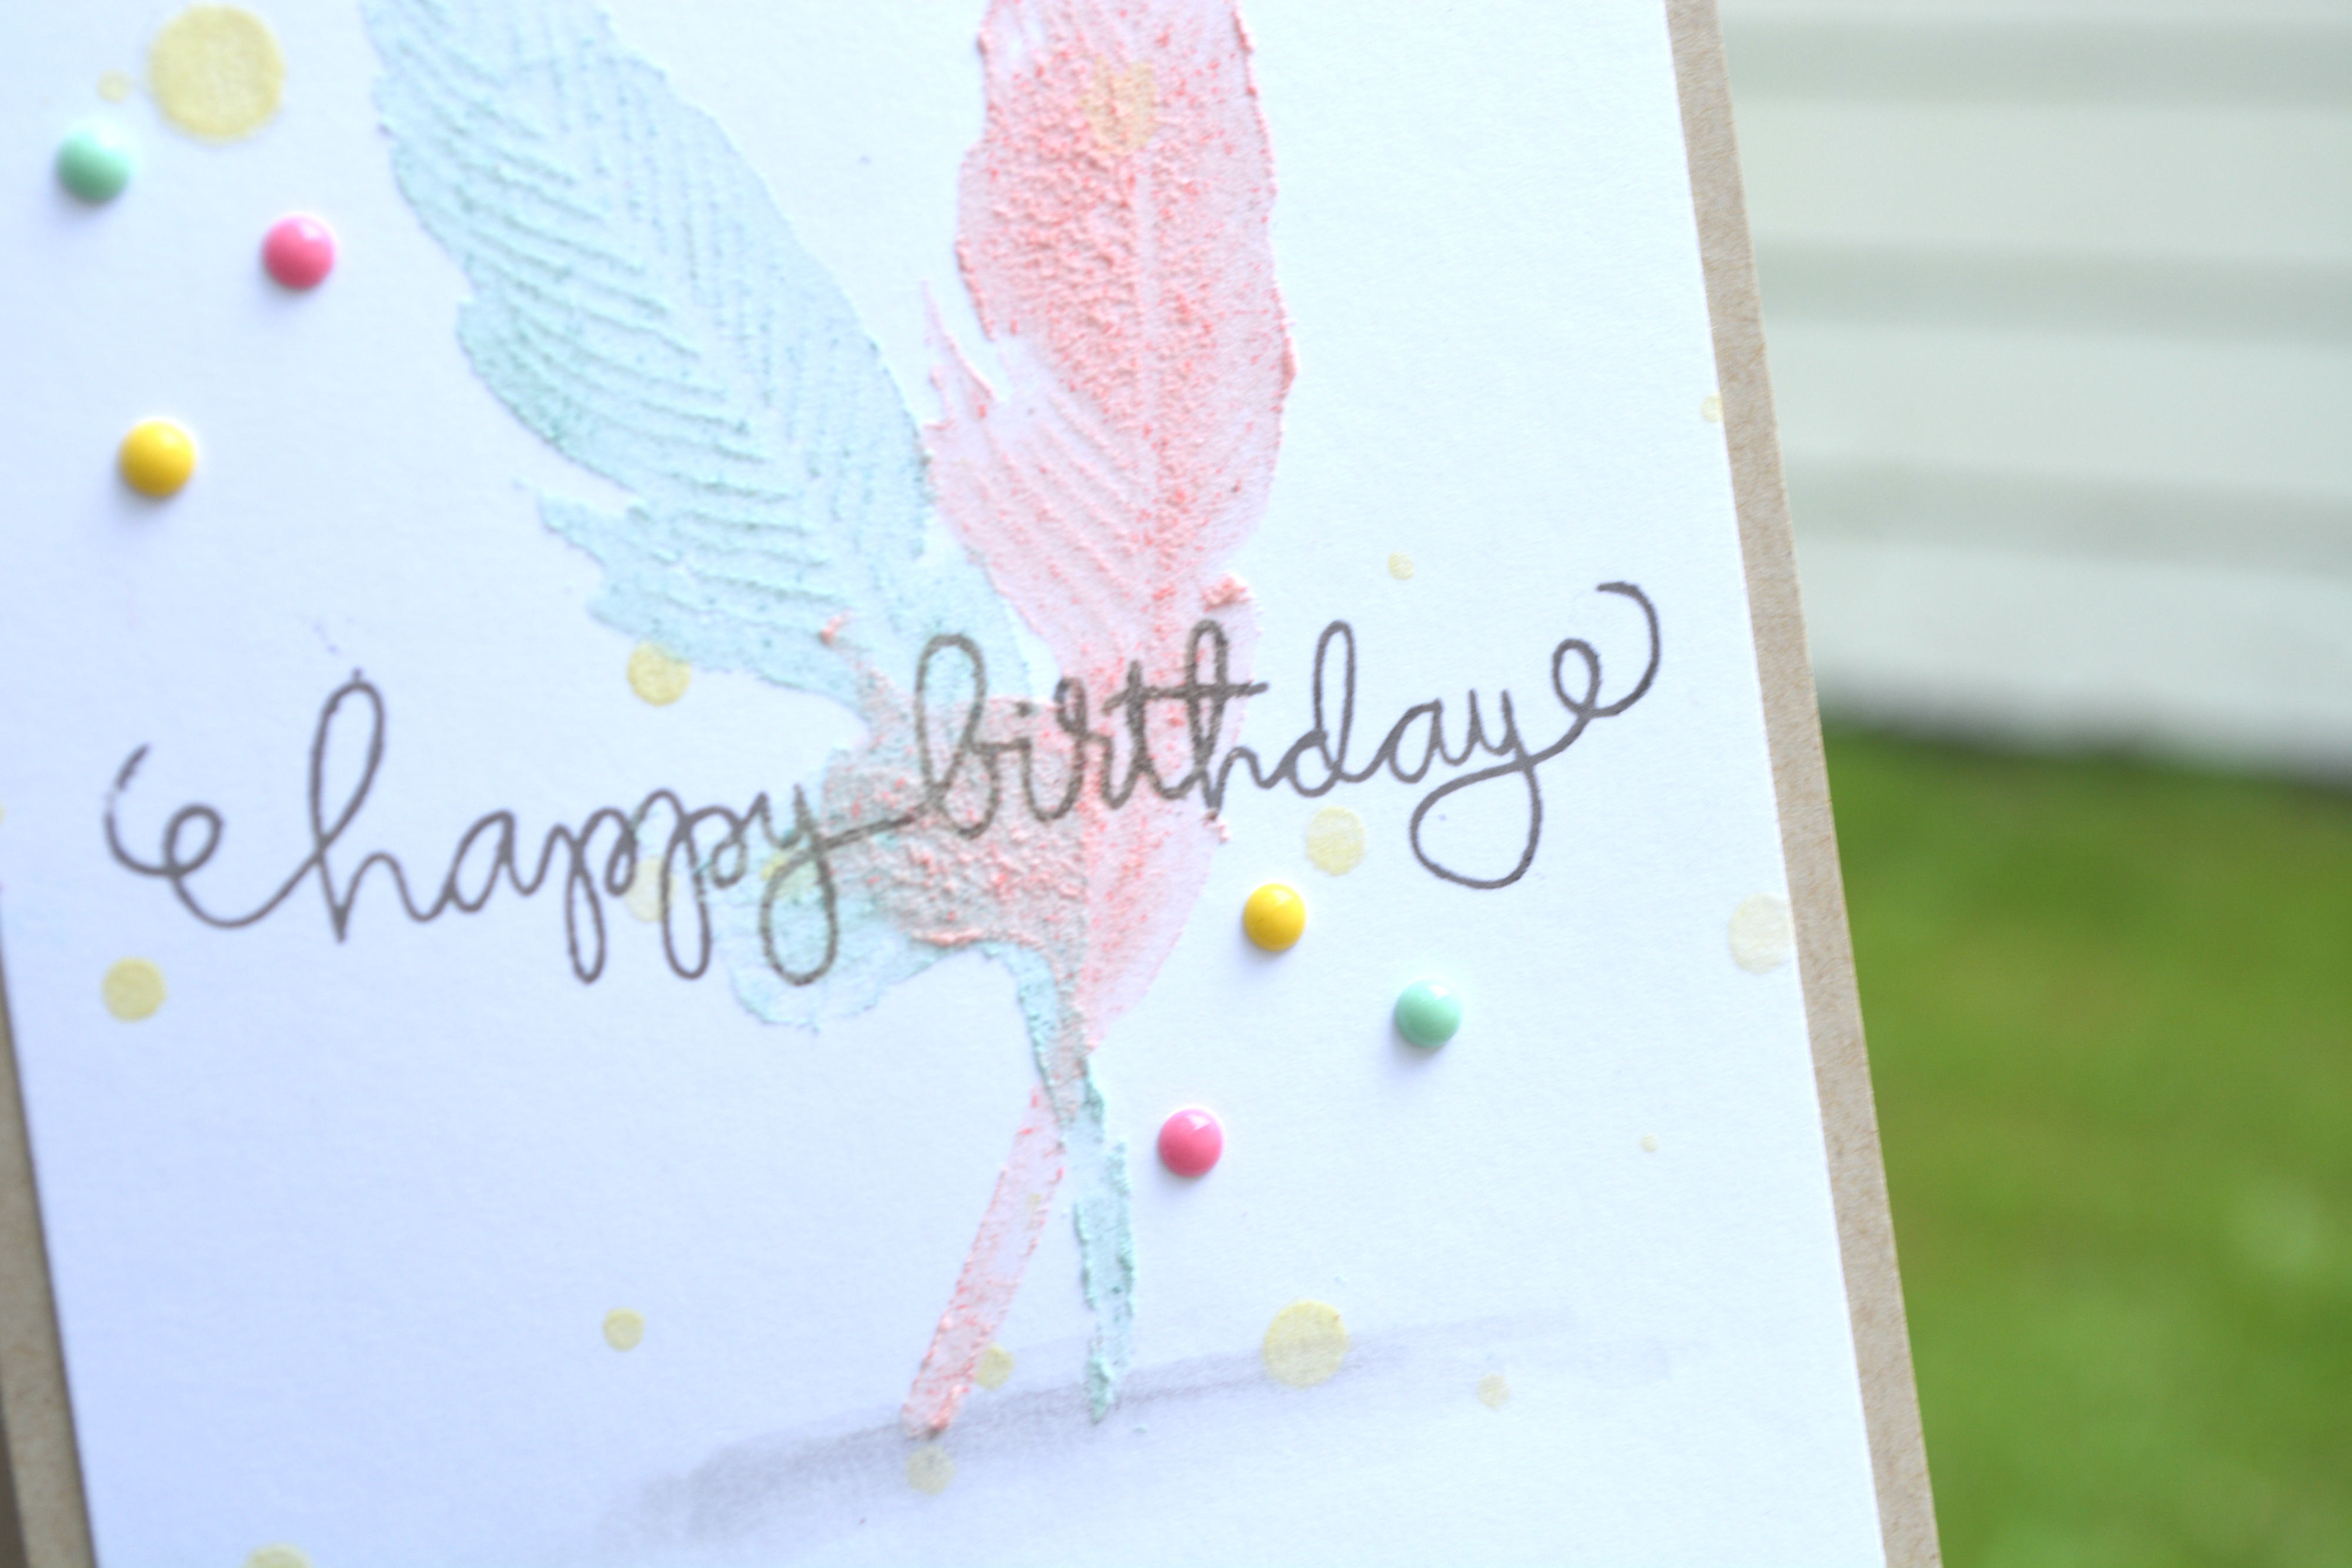
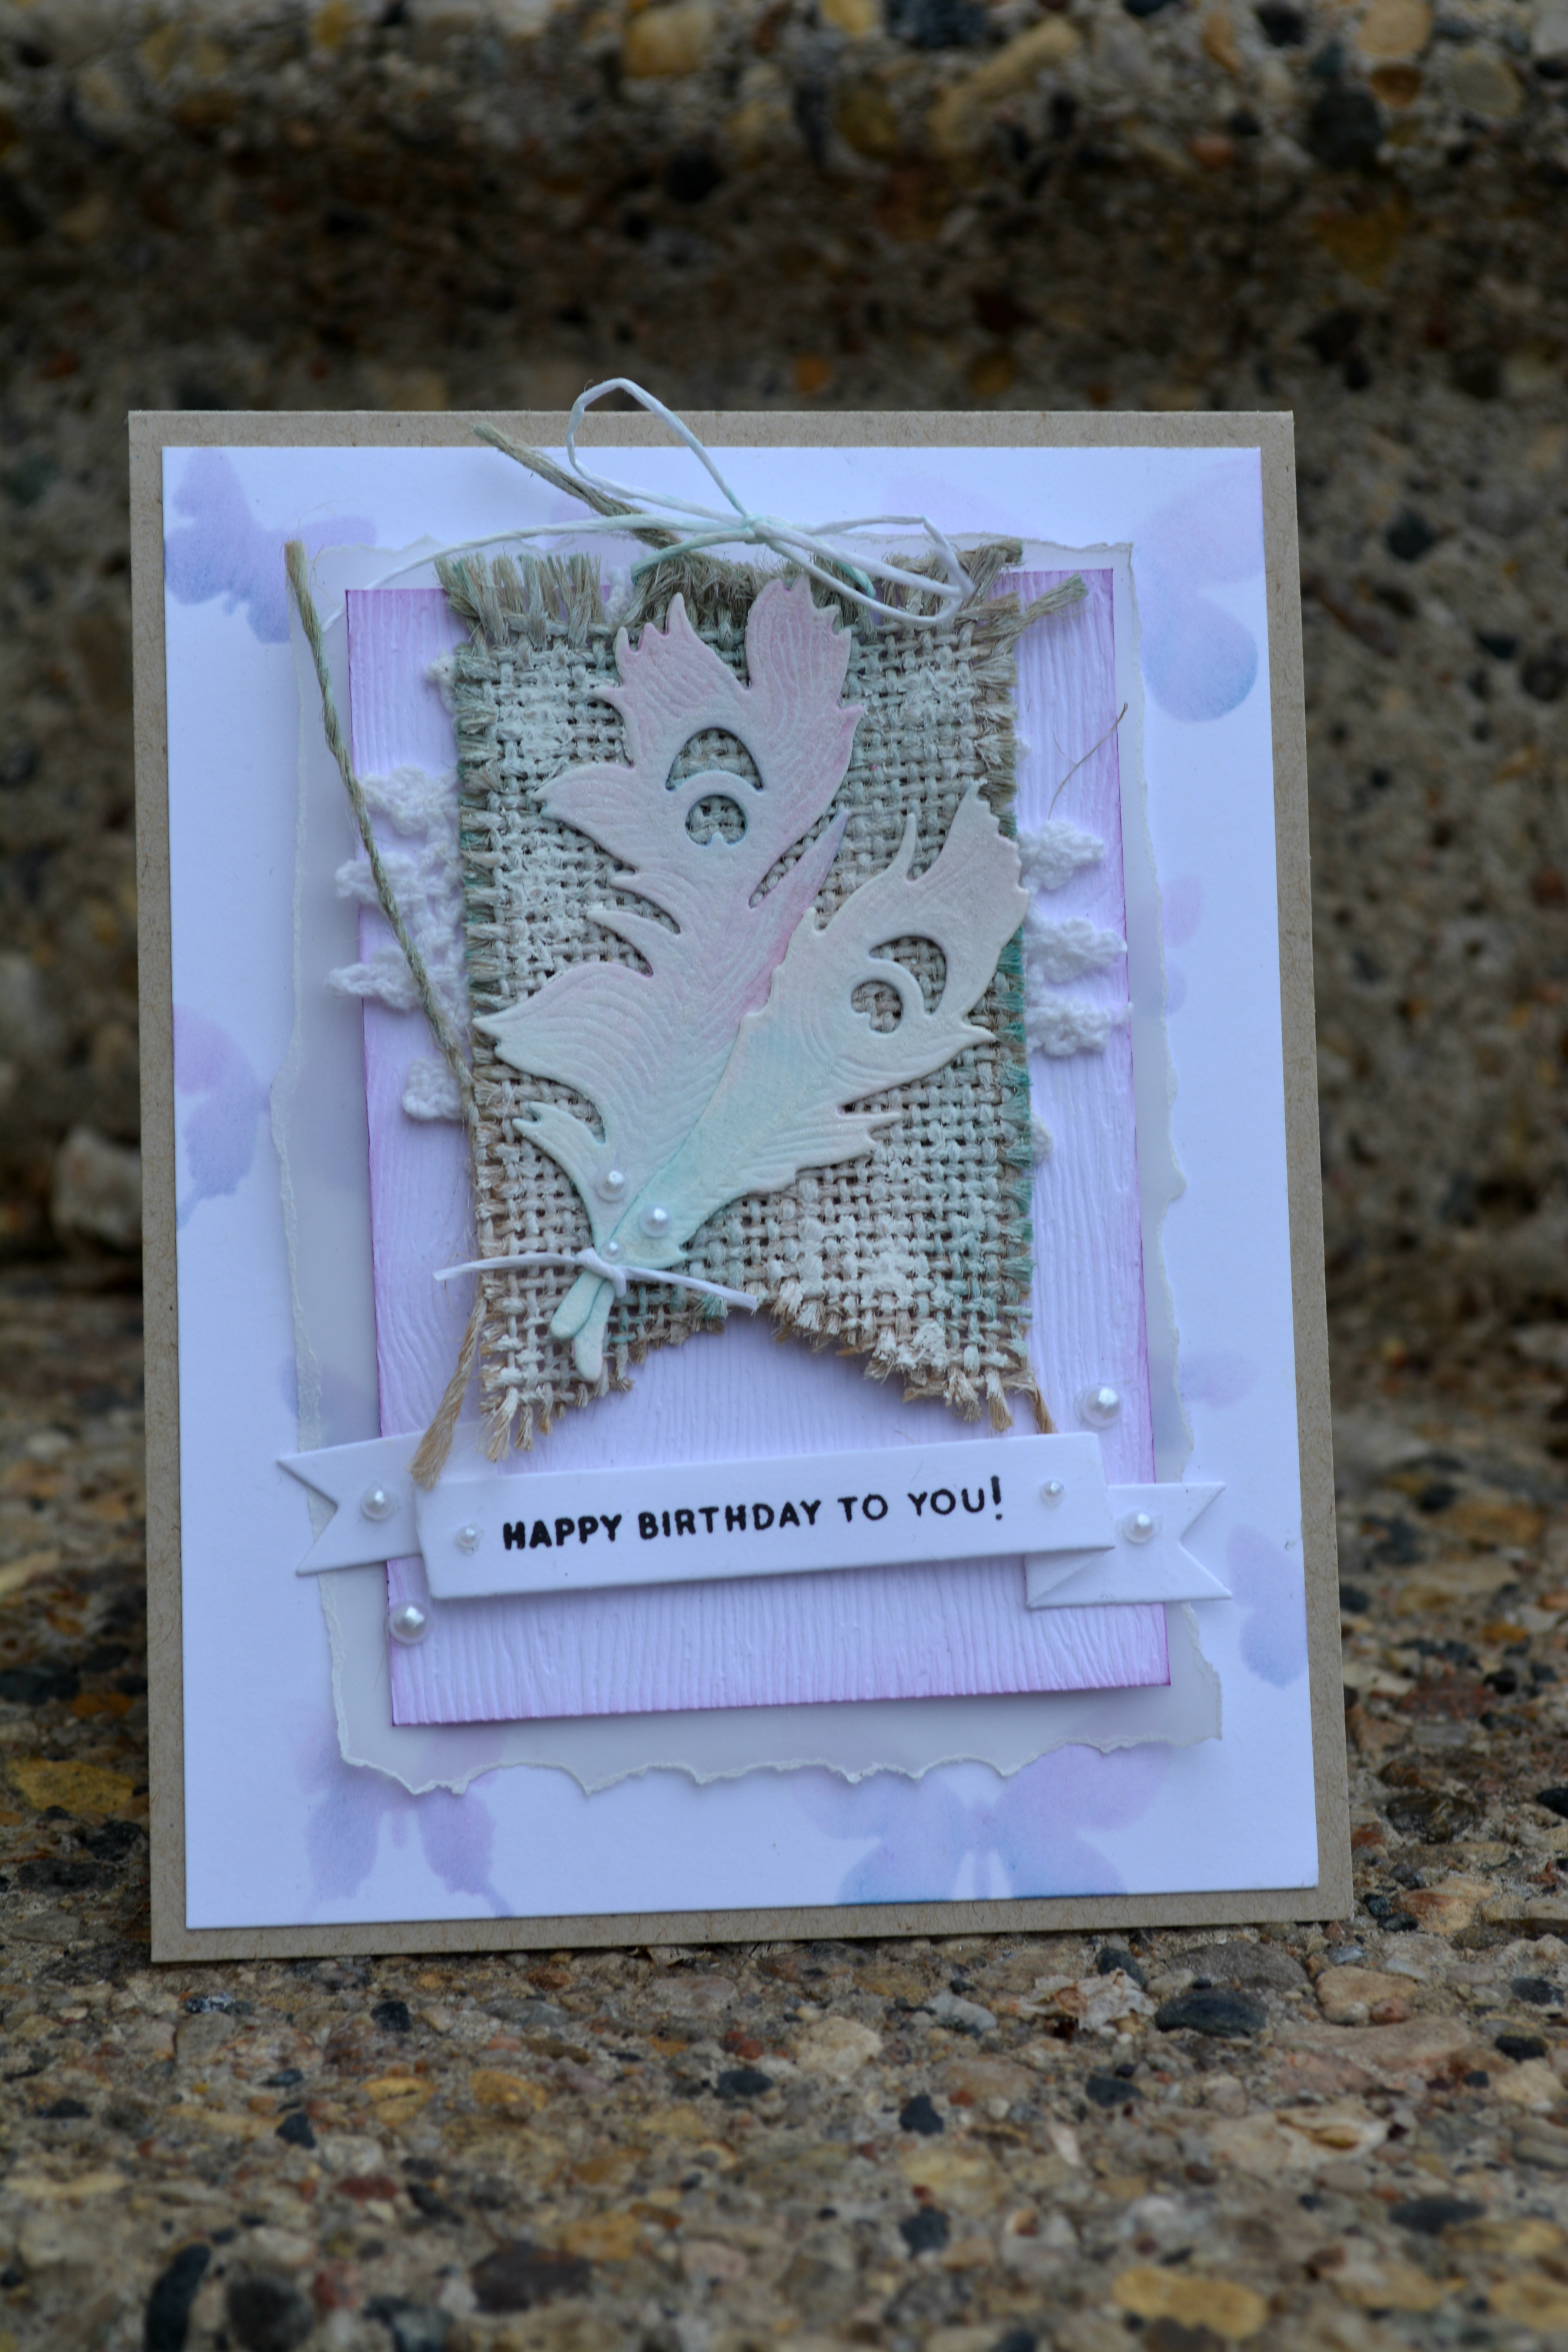
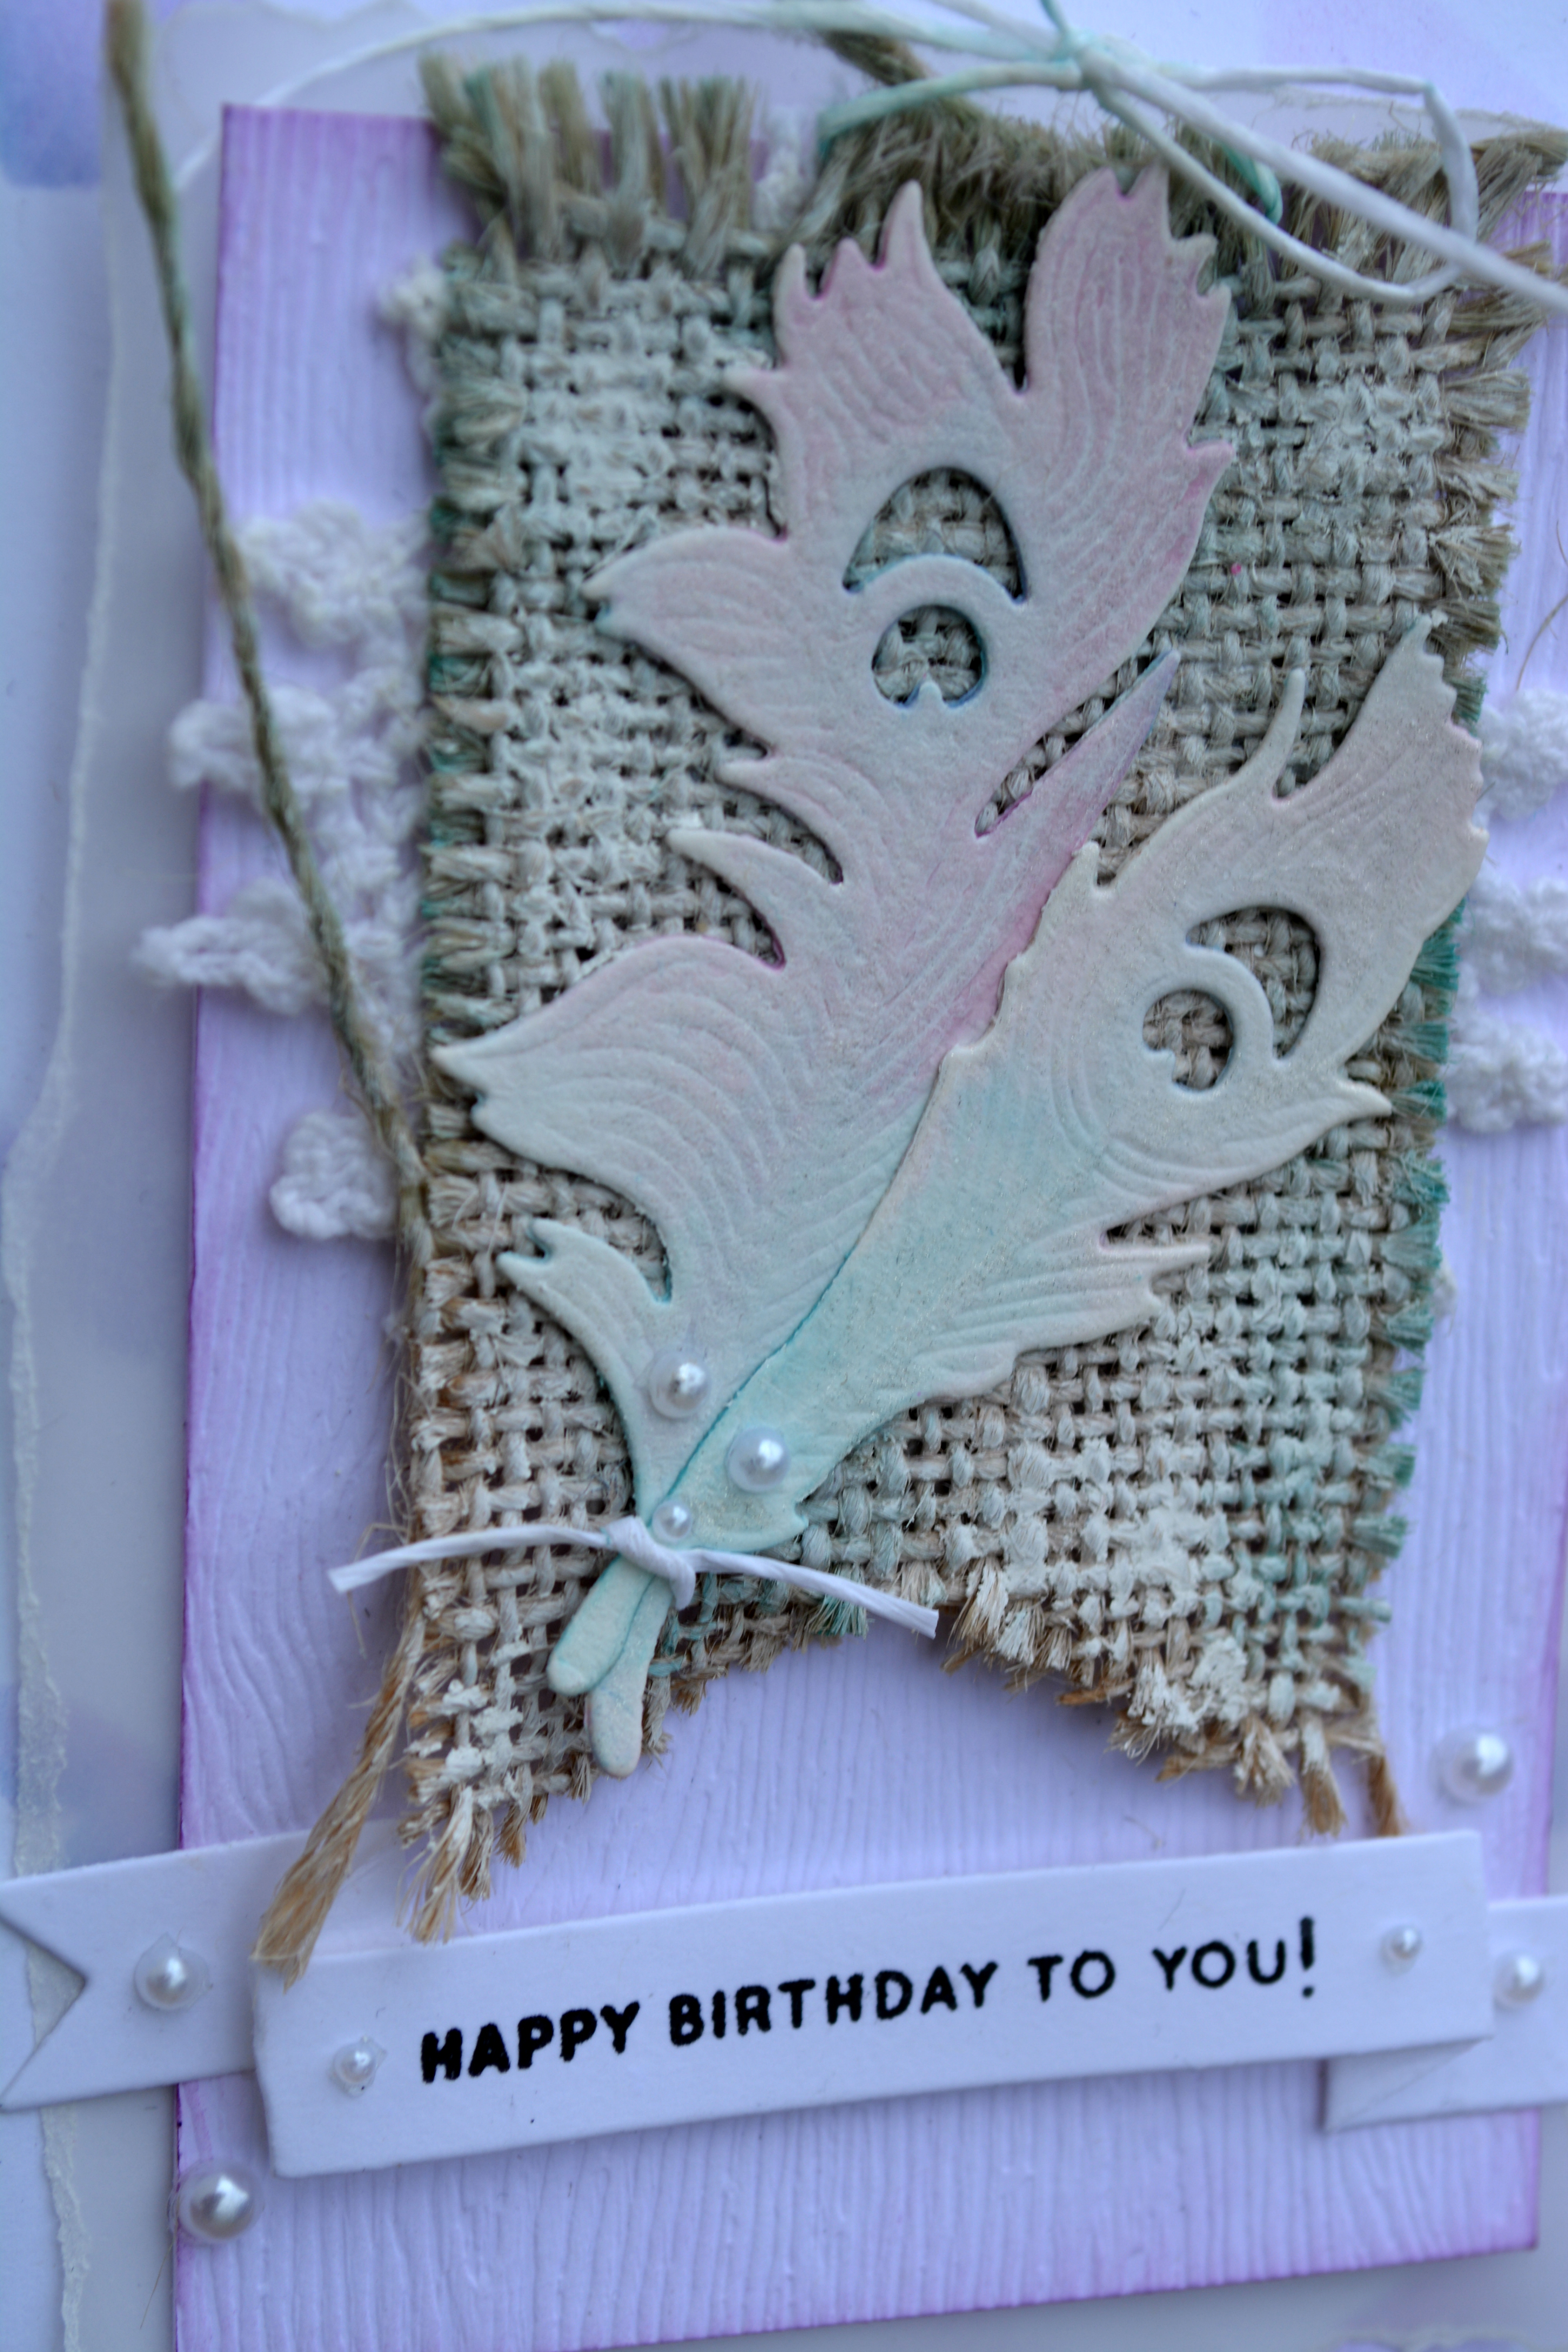
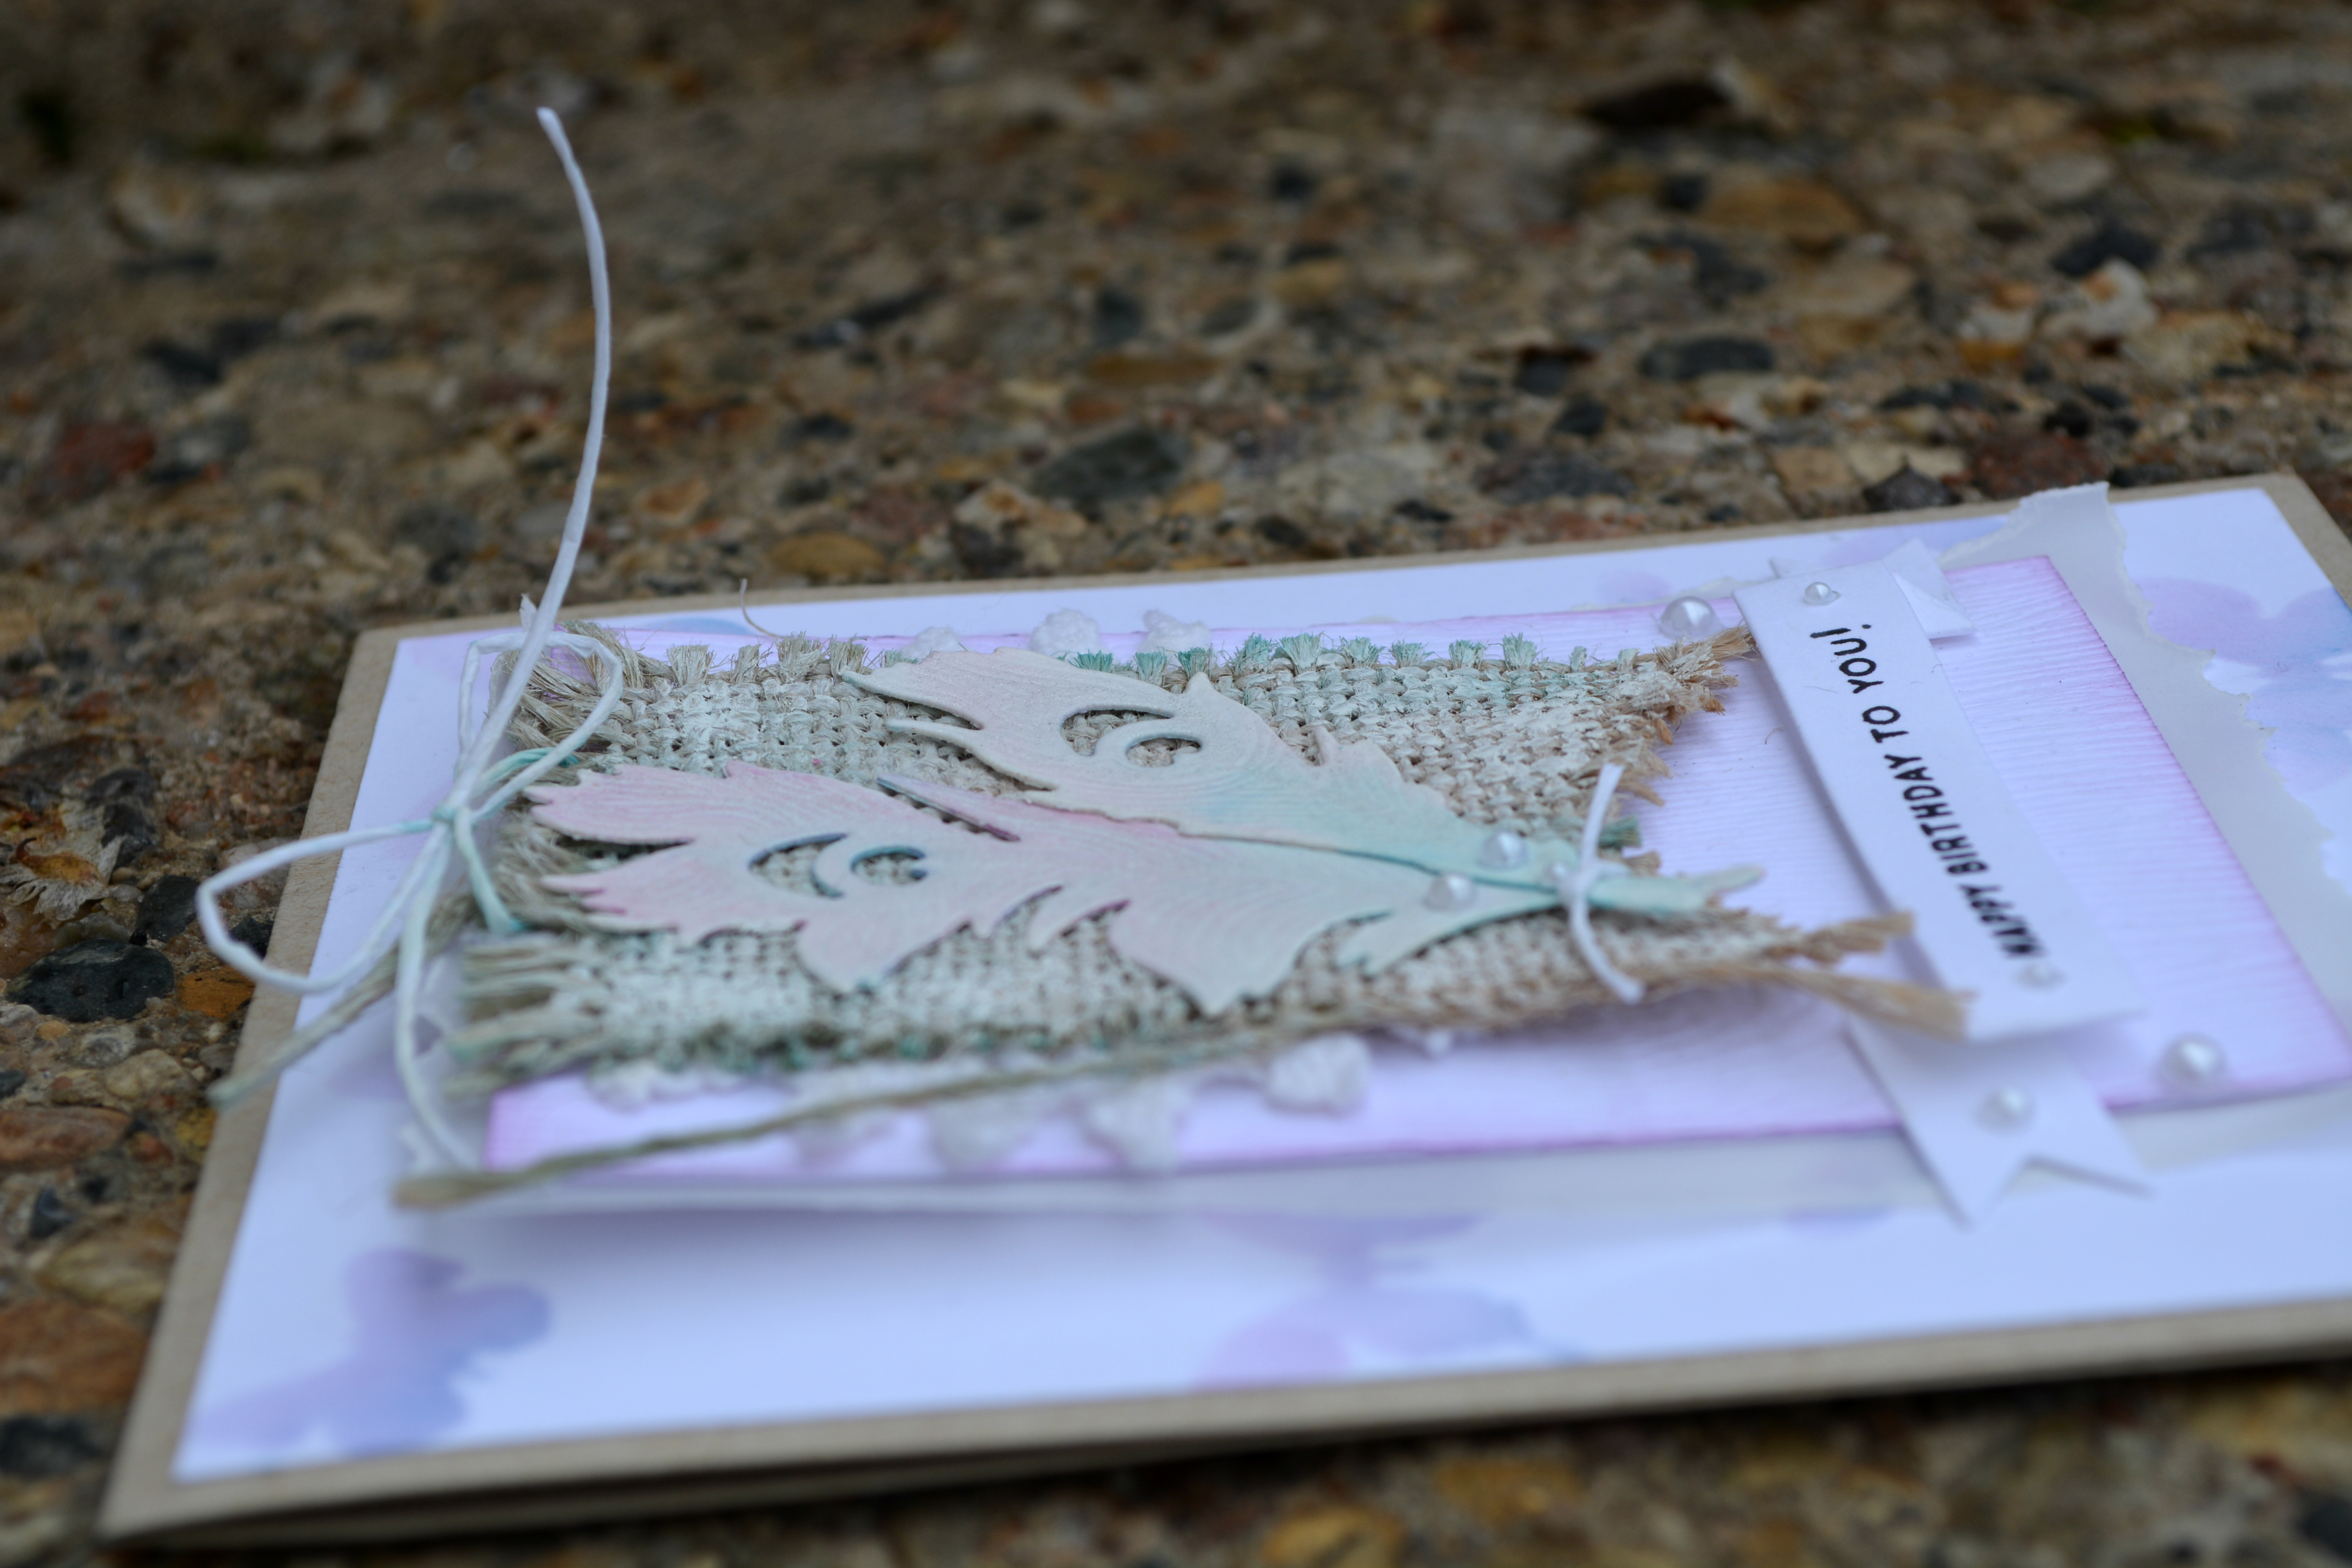
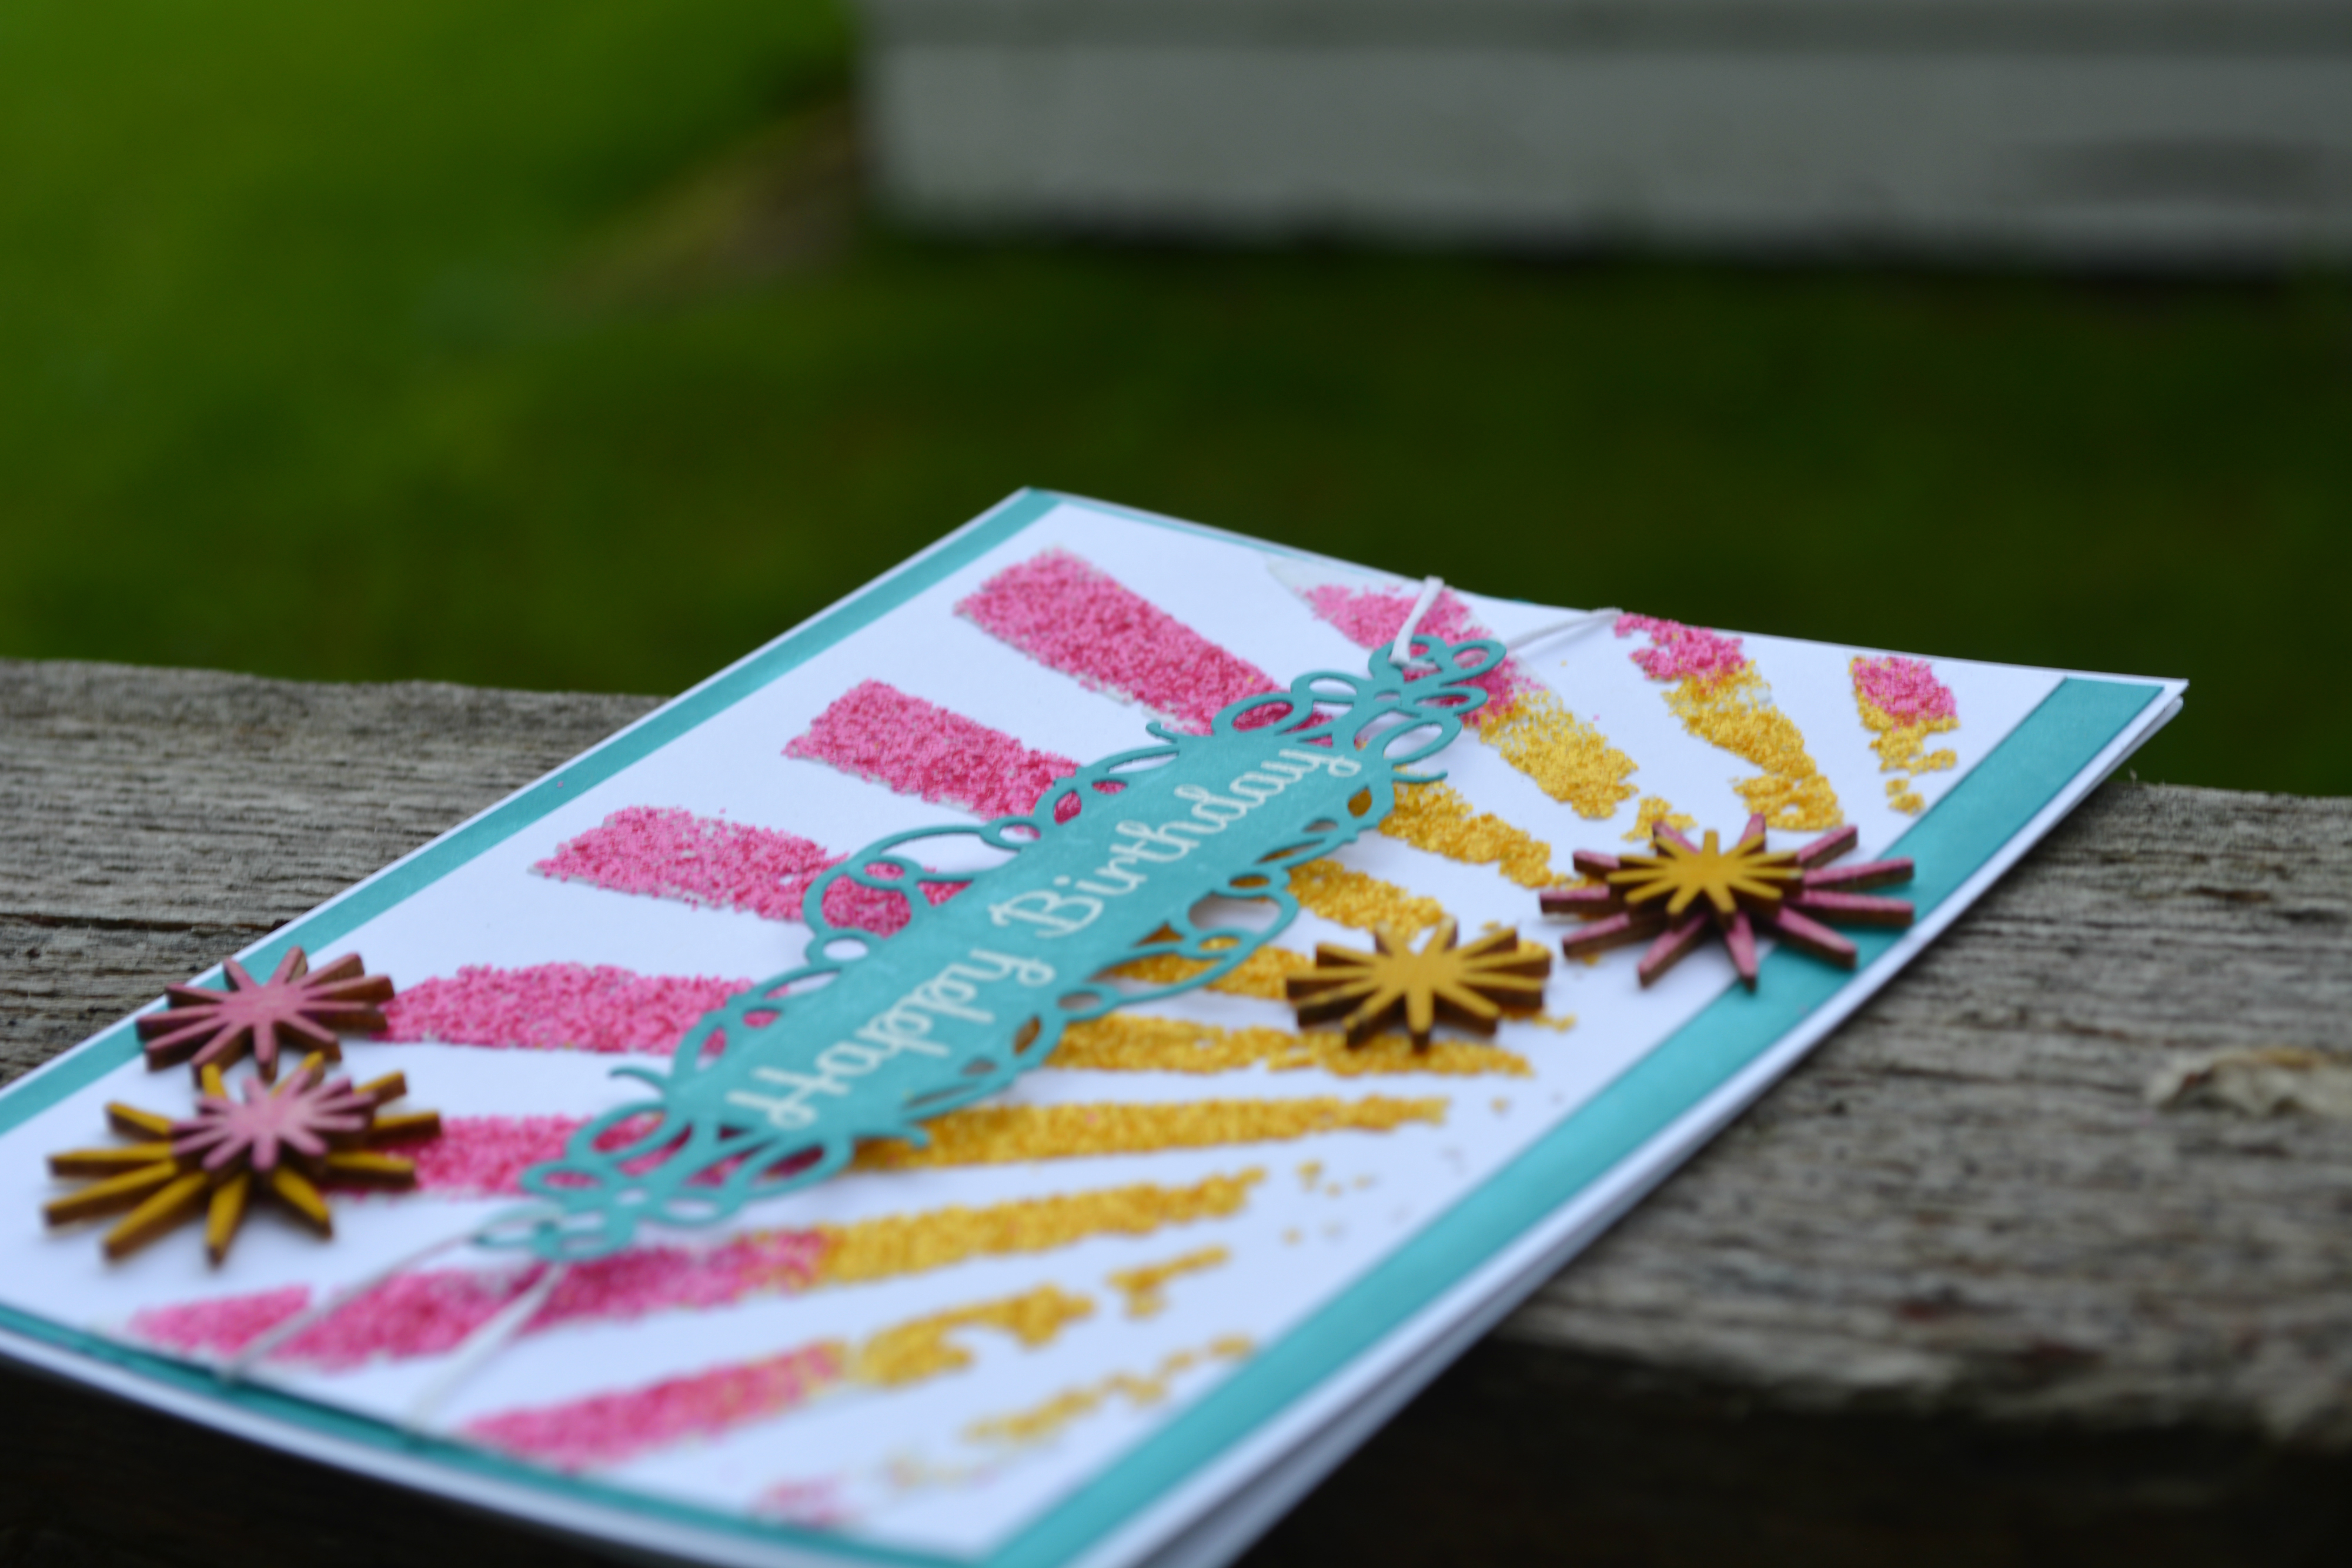
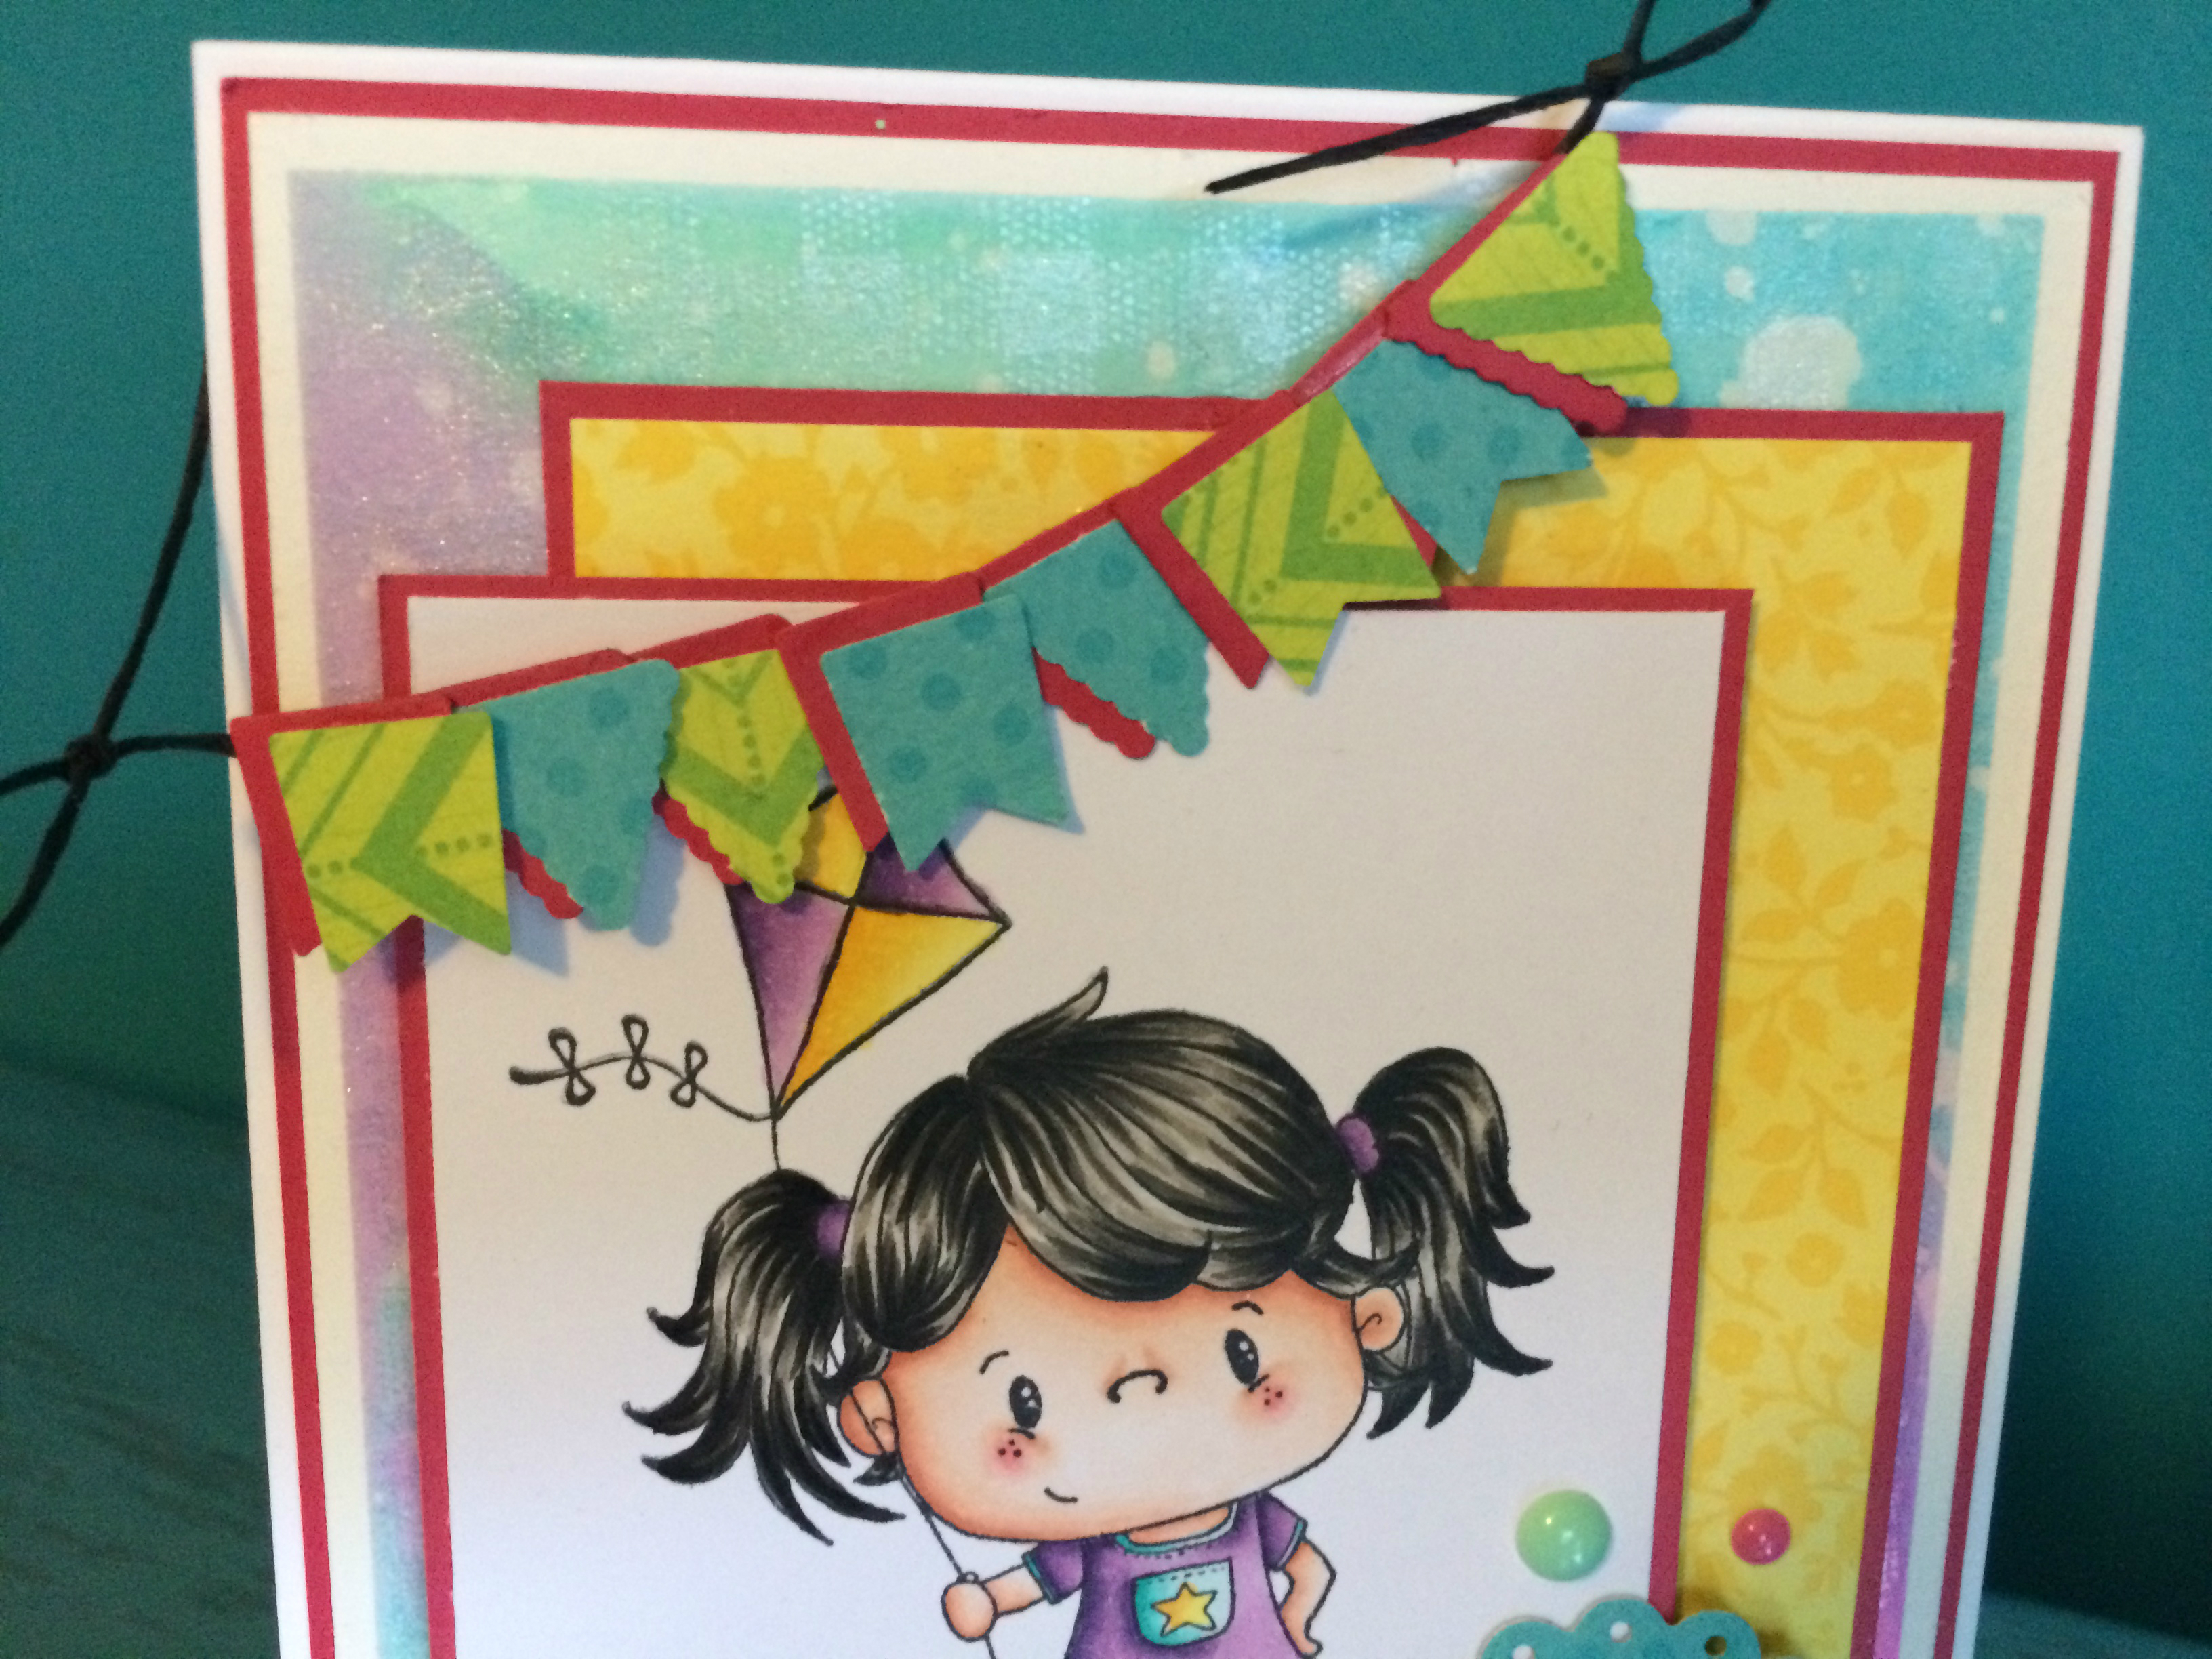
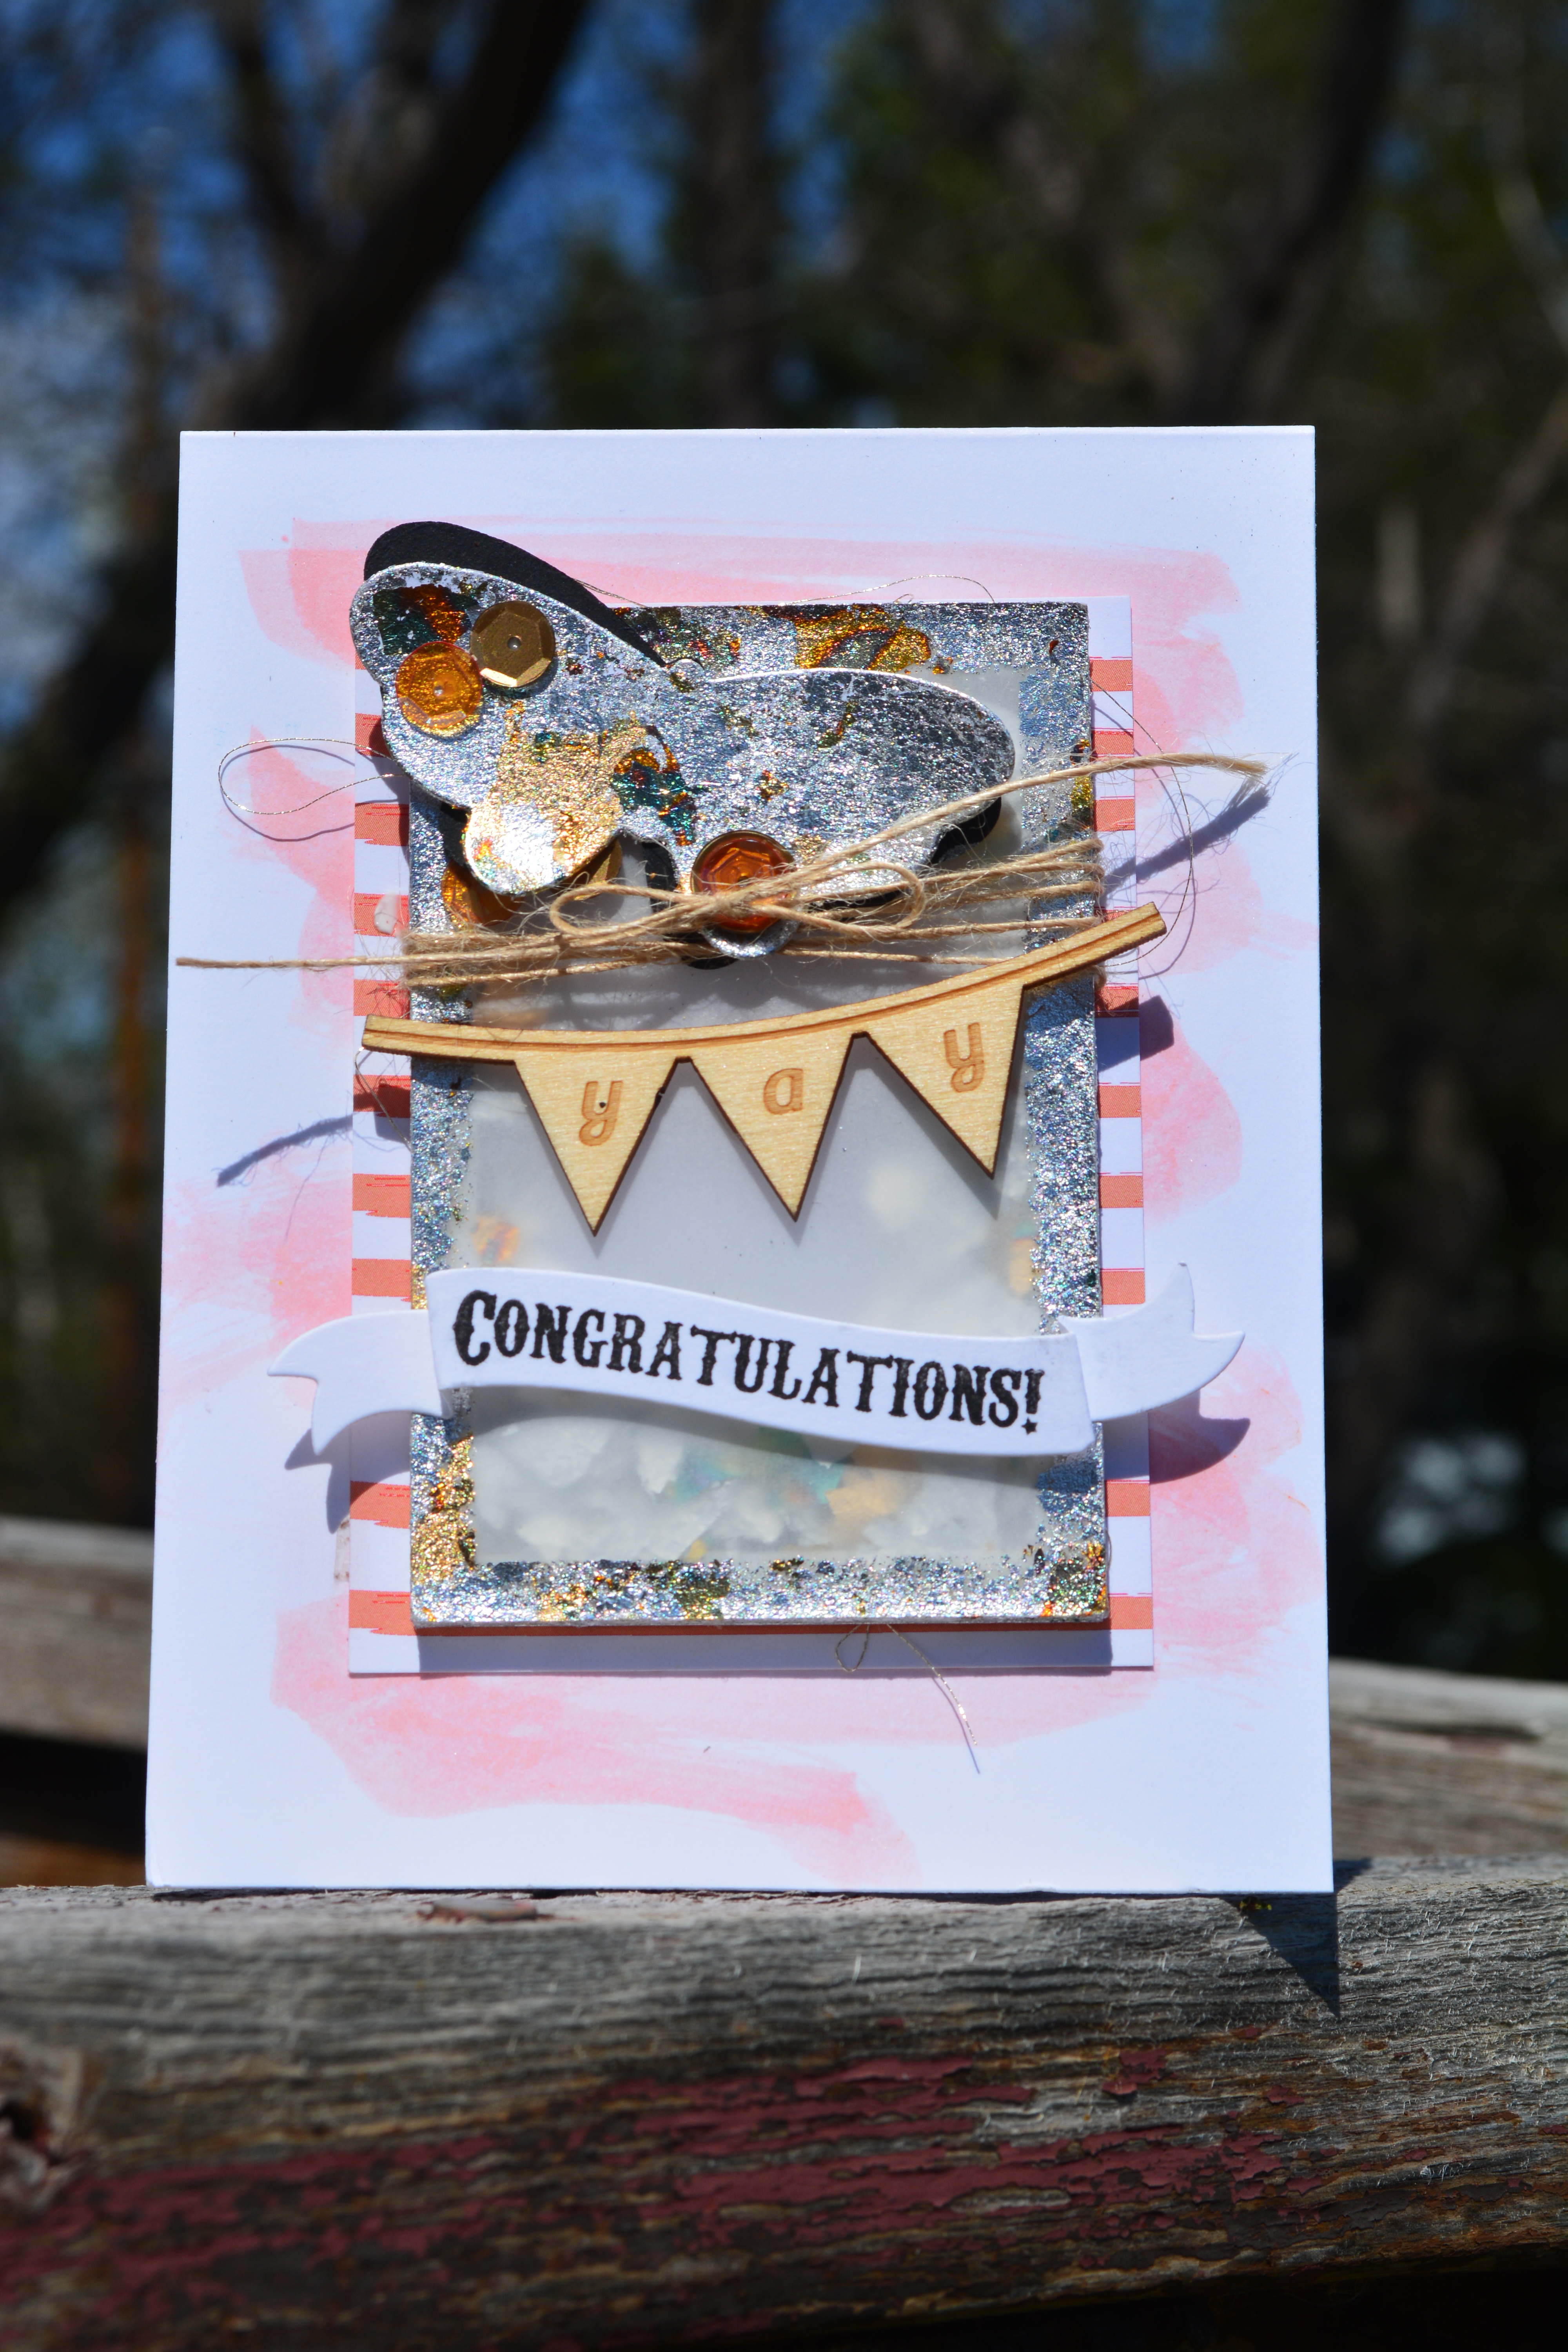
I am a card maker, most of you know that… so this is so far out of my comfort zone, Barrie and Carol really threw me for a loop with this one.


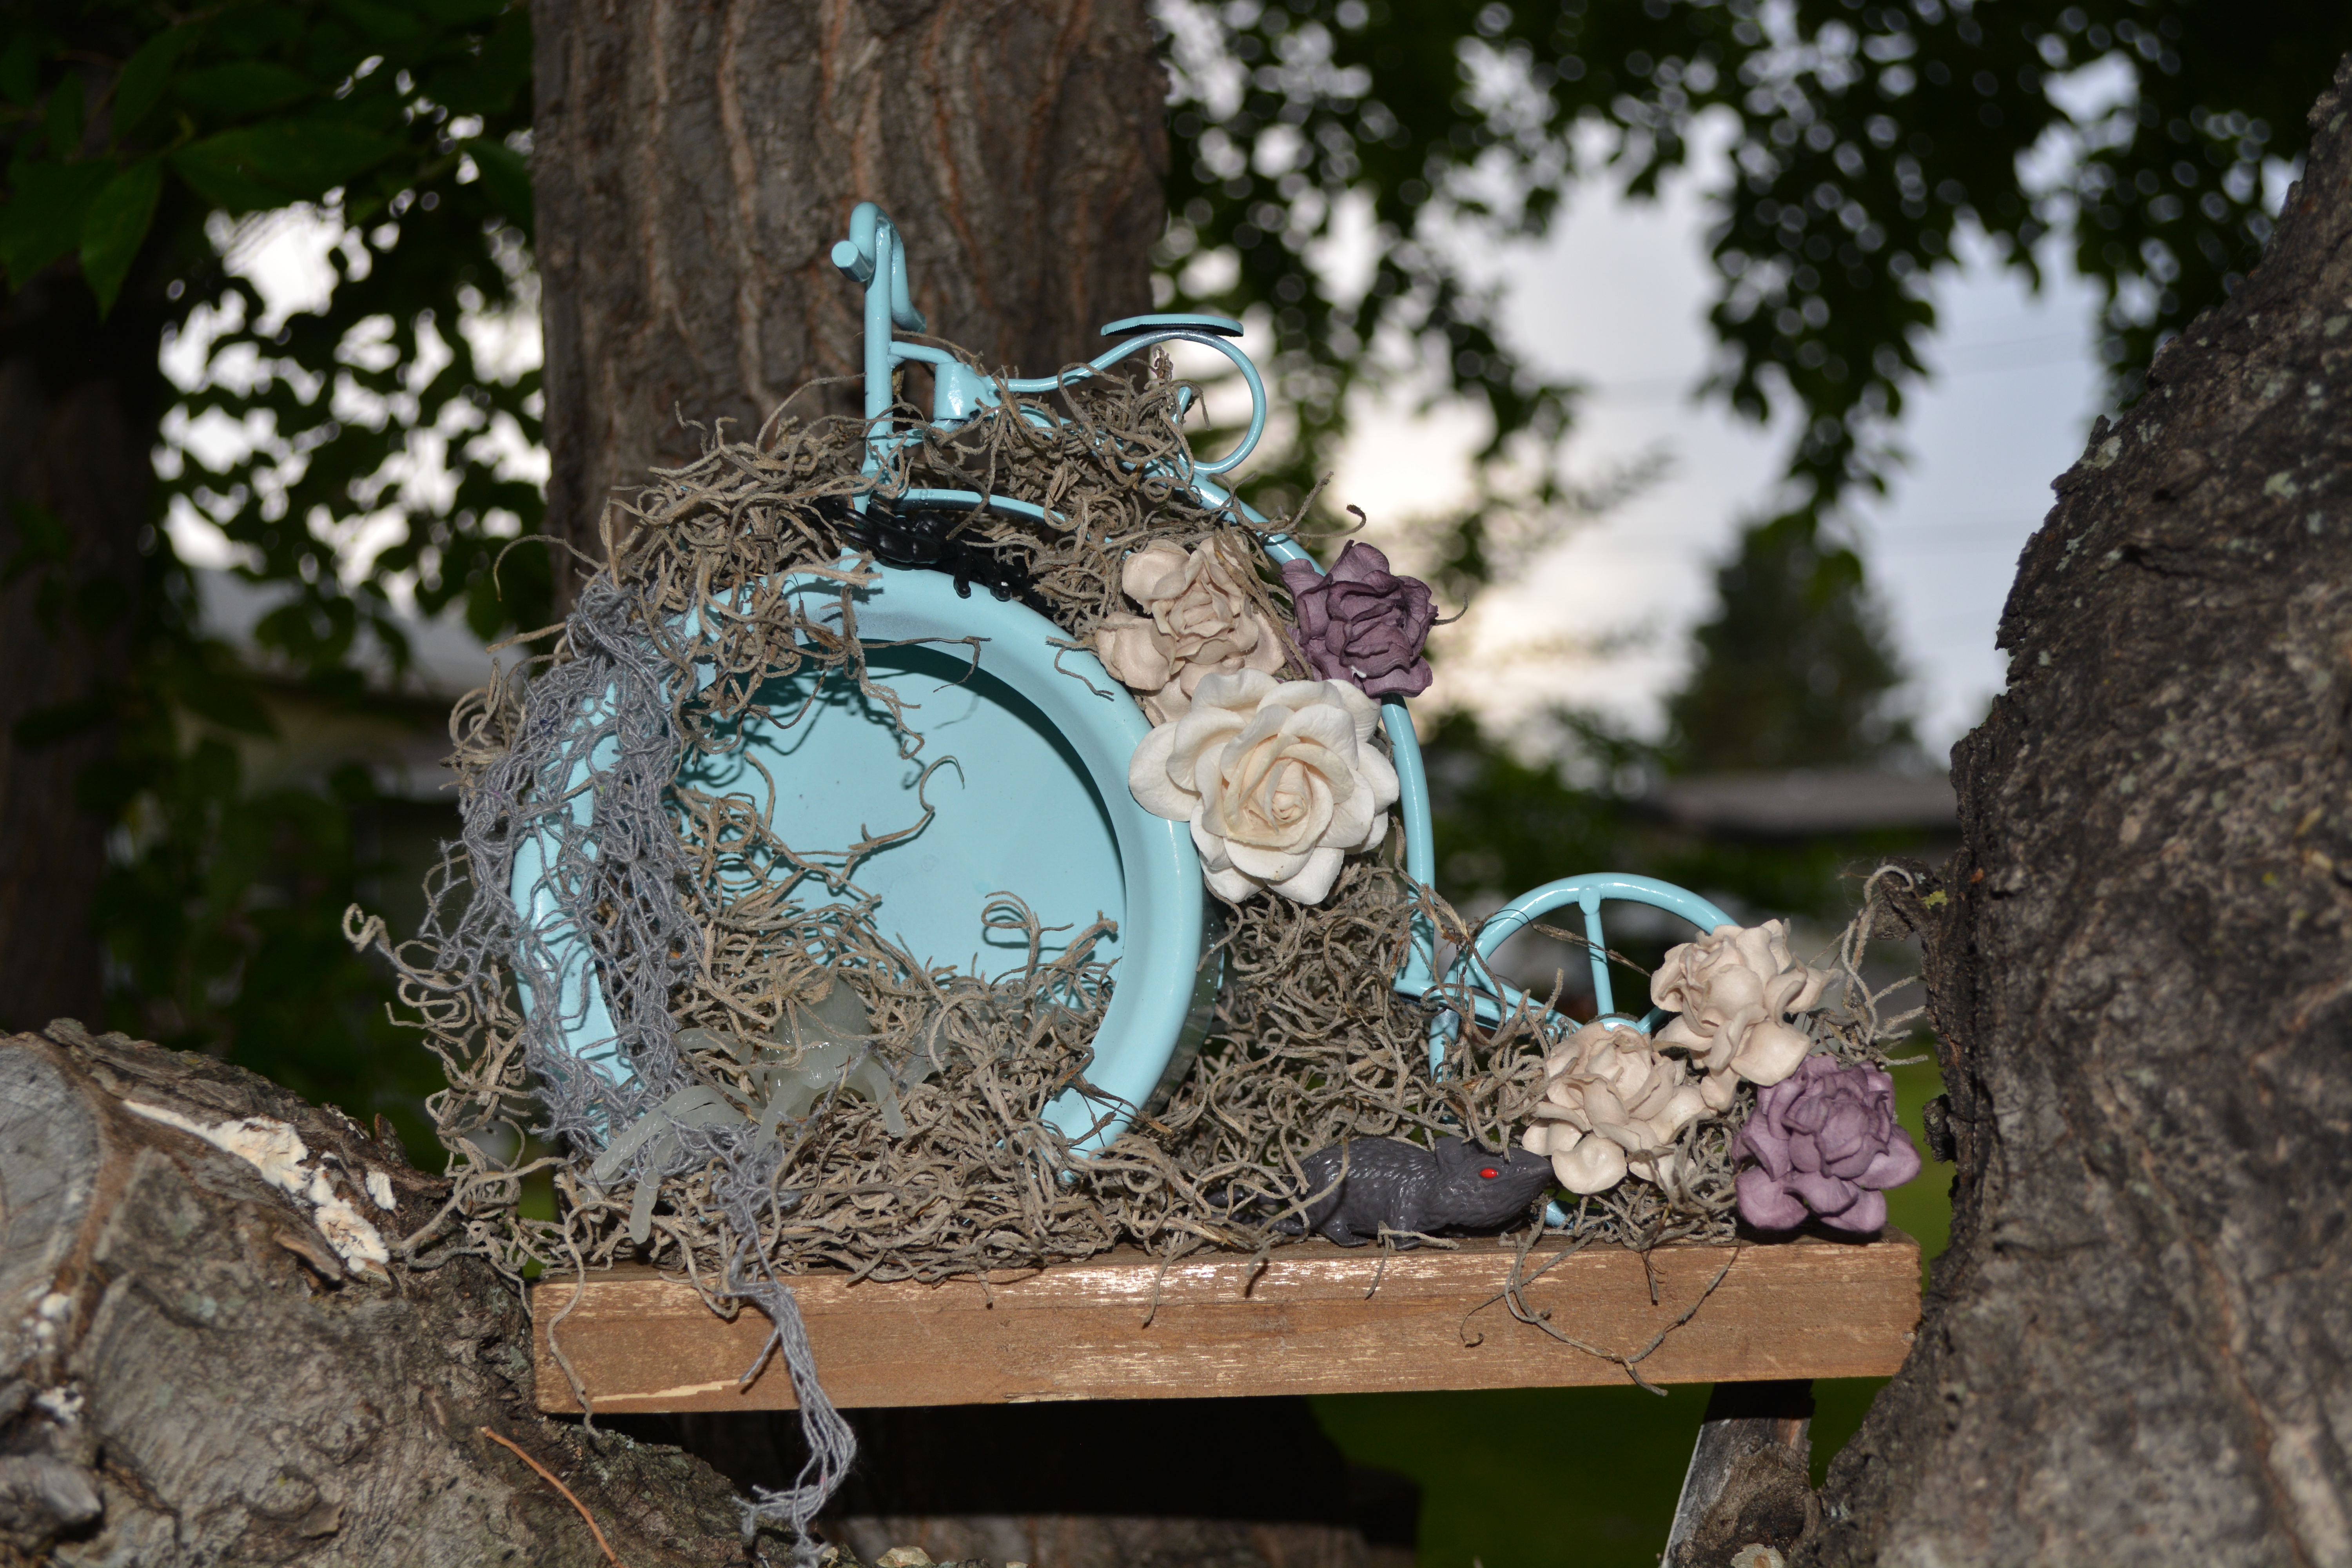
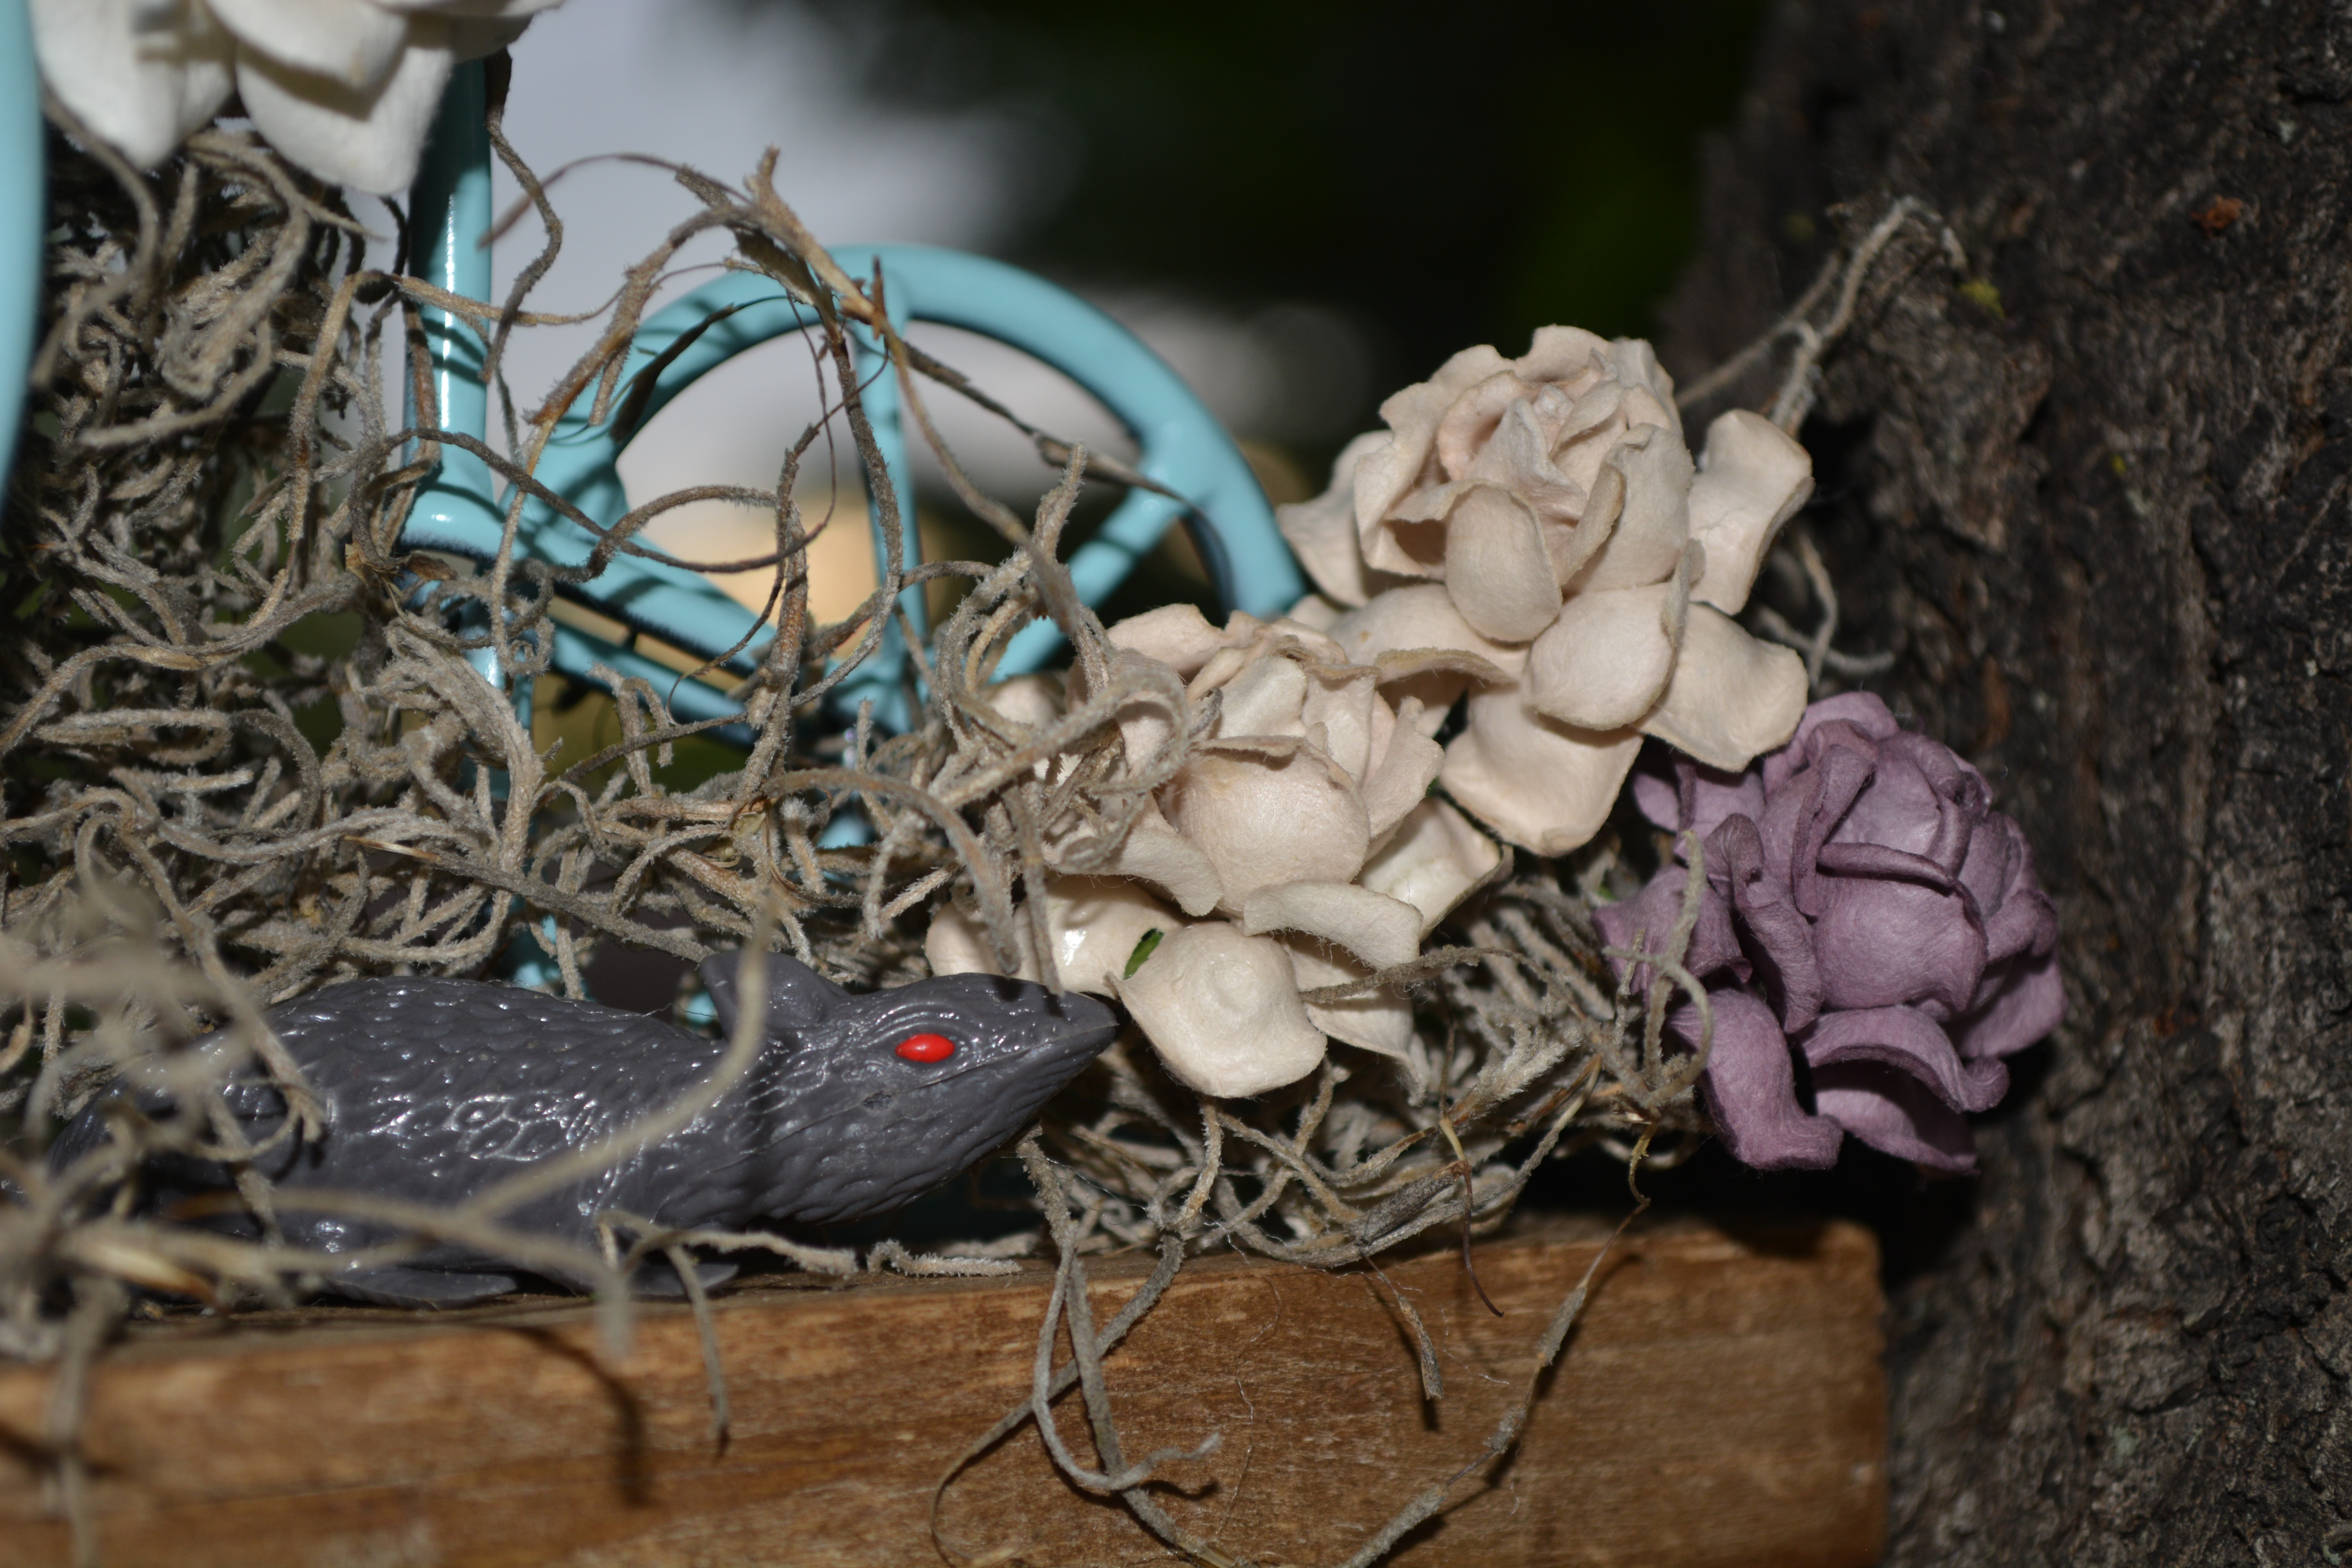
My mind works in different ways (go figure!), when it comes to me “altering” or decorating something my mind goes to one place… Halloween (yes, YES! I know it’s summer and I am a few months early but that is okay… right?) When I decorate for Halloween I always think like overgrown house in the middle of forest, and that is how I decorate my house at that time of the year… so I ran with it… pretty with some twisted and creepy things thrown in.


DSC_0308


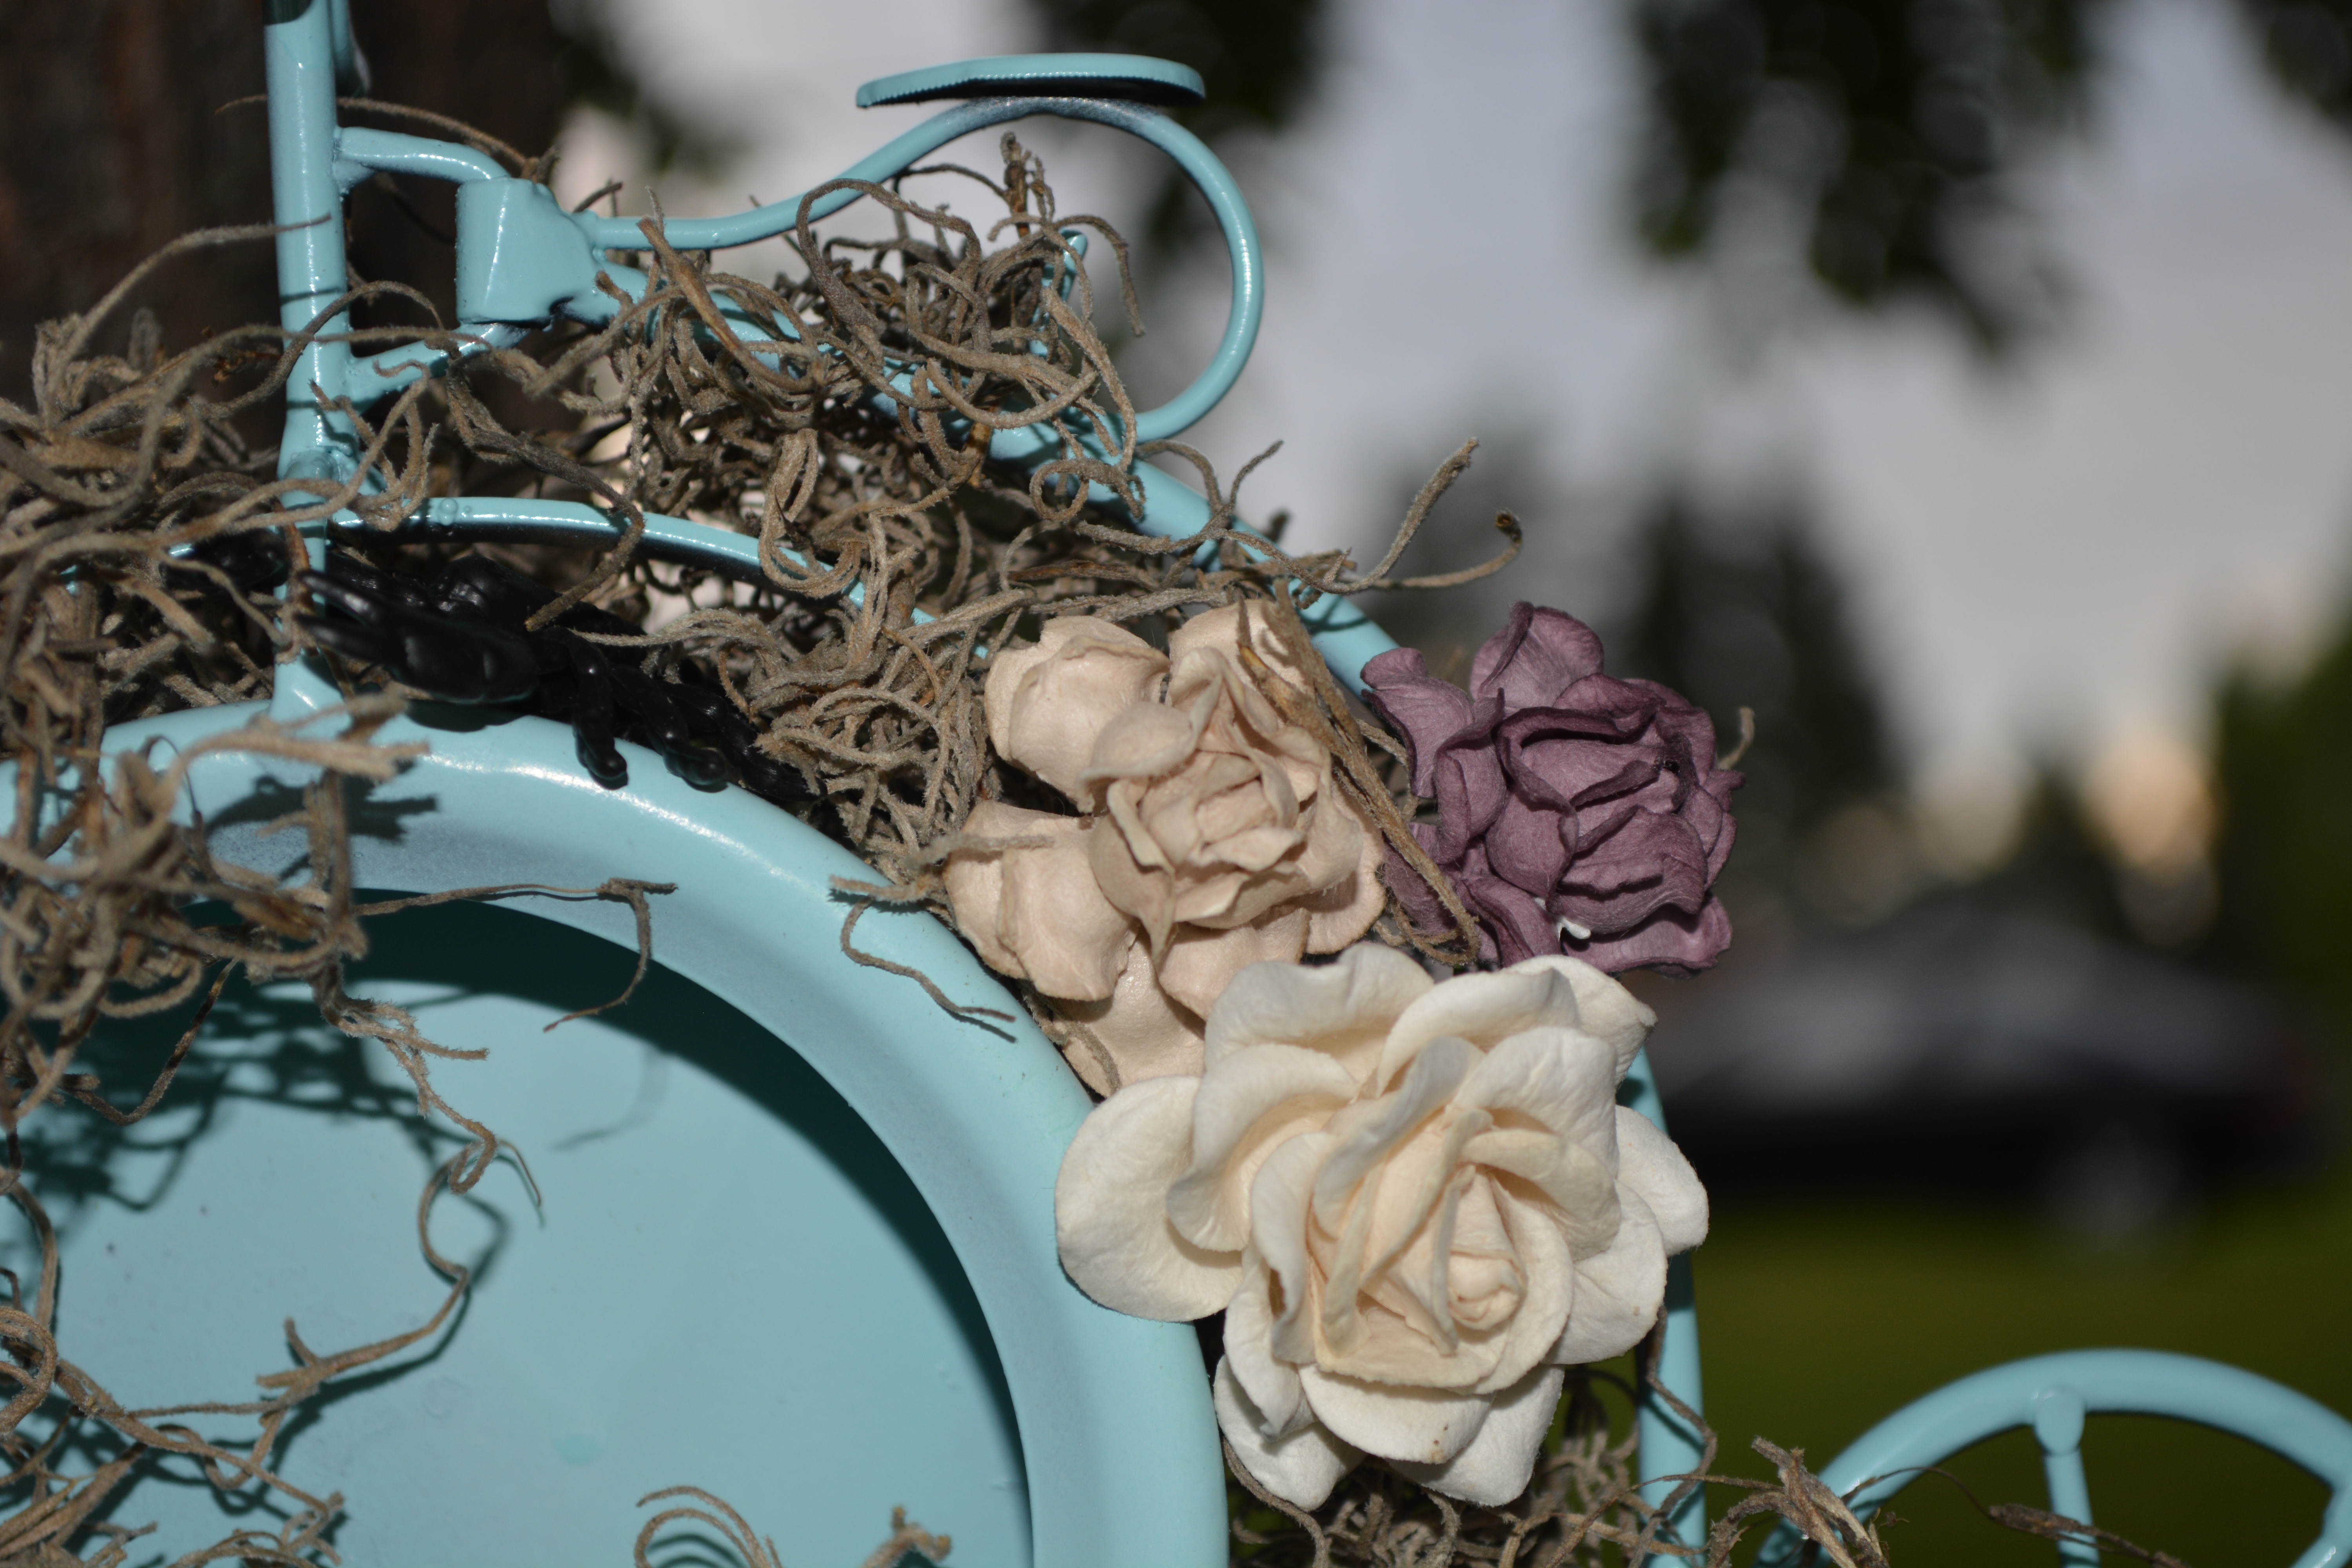
So it all started with me spray painting the bike with Krylon Colormaster paint and primer in one in the colour Blue Ocean Breeze, after a couple coats of that and letting it dry I was ready to have some fun… I picked myself up a bag of Spanish moss from Dollarama (Canadian dollar store) and covered the bike in it.. giving it that over grown feel. I then took some “Creepy cloth” out of my halloween decorations and cut myself off a chunk. The cloth is like a heavy cheese cloth with large holes in it, I draped that over the front end of the bike.

I used Wild Orchid Craft Flowers, the store has plenty of options, but the ones I used were from my stash and are Dove Grey Cottage Roses 1 1/4″ (FM-00208), Walnut Cottage Roses 1 1/4″ (FM-00113), Ivory Trellis Roses 1 1/2″ (FM-00382).

DSC_0309

I then added some of my fun Halloween little decorations, can you spot the Scorpion?


DSC_0311


My little red eyed rat friend came out to play.


DSC_0310

My inconspicuous 8 legged friend just relaxing in a hole.


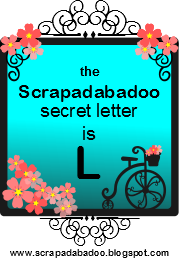
Along the way you will want to collect the letter that is on each blog, and also leave a comment on every blog along the way. After you have collected all of the letters.. you will then unscramble the letter to form a word or words. Once you have unscrambled the letters send your word or words in an e-mail to Scrapadabadoo@comcast.net . For your chance to win a great prize!

secret letter sign L

Now hope along on our little ride at Patti’s Blog!d

Hugz. Jess


Yay!

yay


Well here it is! I love this card! The layout is based on the bi-weekly challenge over at the Scrapadabadoo Facebook Page.


biweekly challenge This is the sketch for the card!


I used a fun little image Pollycraft Breeze Rubber Stamp from CC Designs, she is coloured with my Copic Markers. All the patterned paper used in this card is from Bo-Bunny Lemonade Stand 6×6 paper pad.

yay 2


The backround paper is made using my Peerless Watercolours.  The banner is made with the EK Success Mini Pennant Punch Set .


yay 3


The little doilies on here are so cute, I love that die! The Cottage Cutz Mini Doily Die (there is one left in stock on the garage sale at Scrapadabadoo at the time of writing this blog post for $2!)

The enamel dots I used were from Prima, and are now sold out but there are lots of different ones in the store like these from Teresa Collins that would work wonderfully.

Congratulations…

DSC_0263

Here it is folks! My first project for the Scrapadabadoo Design Team. I got to play with the Indigoblu Kit in a Box, the gilding this creates is simply stunning and I am in love. Did you take notice that I made a shaker card with a vellum front and filled it with the mega flakes? I think it is so awesome that you can see them through, they move around its awesome.   DSC_0264   The shaker part of the card is 2 1/2″ x 3 3/4″, I used foam squares around the outside that are 1/4″ wide then created a mask for the center out of scrap paper 2″ x 3 1/4″, so that I could use flitterglue around it and on the sides of the foam and use the mega flakes on that as well. DSC_0265   The butterfly was covered in Flitterglu then I used the Mega Flakes on it as well. I then wrapped and tied some Twine, similar to the Burlap String around the shaker element and tied a pretty bow. The wood veneer saying yay is from my stash, I am not sure if you can use any fun little element here. Below it I stamped my sentiment on a banner I had die cut ages ago, you could easily cut a strip of paper, cut a V in each end and fold it to create a similar look.   DSC_0266   I then adheared the whole shaker onto a piece of scrap striped patterened paper, it looked like the cardbase needed something more to it so I took some Distress ink in Dried Marigold, and Worn Lipstick. Mixed those together and added a bunch of water and just did a light scribble of it with a brush right on the card base.   Thanks for stopping by Hugz Jess