Bike Kid Boy Card

Bike Kid 1


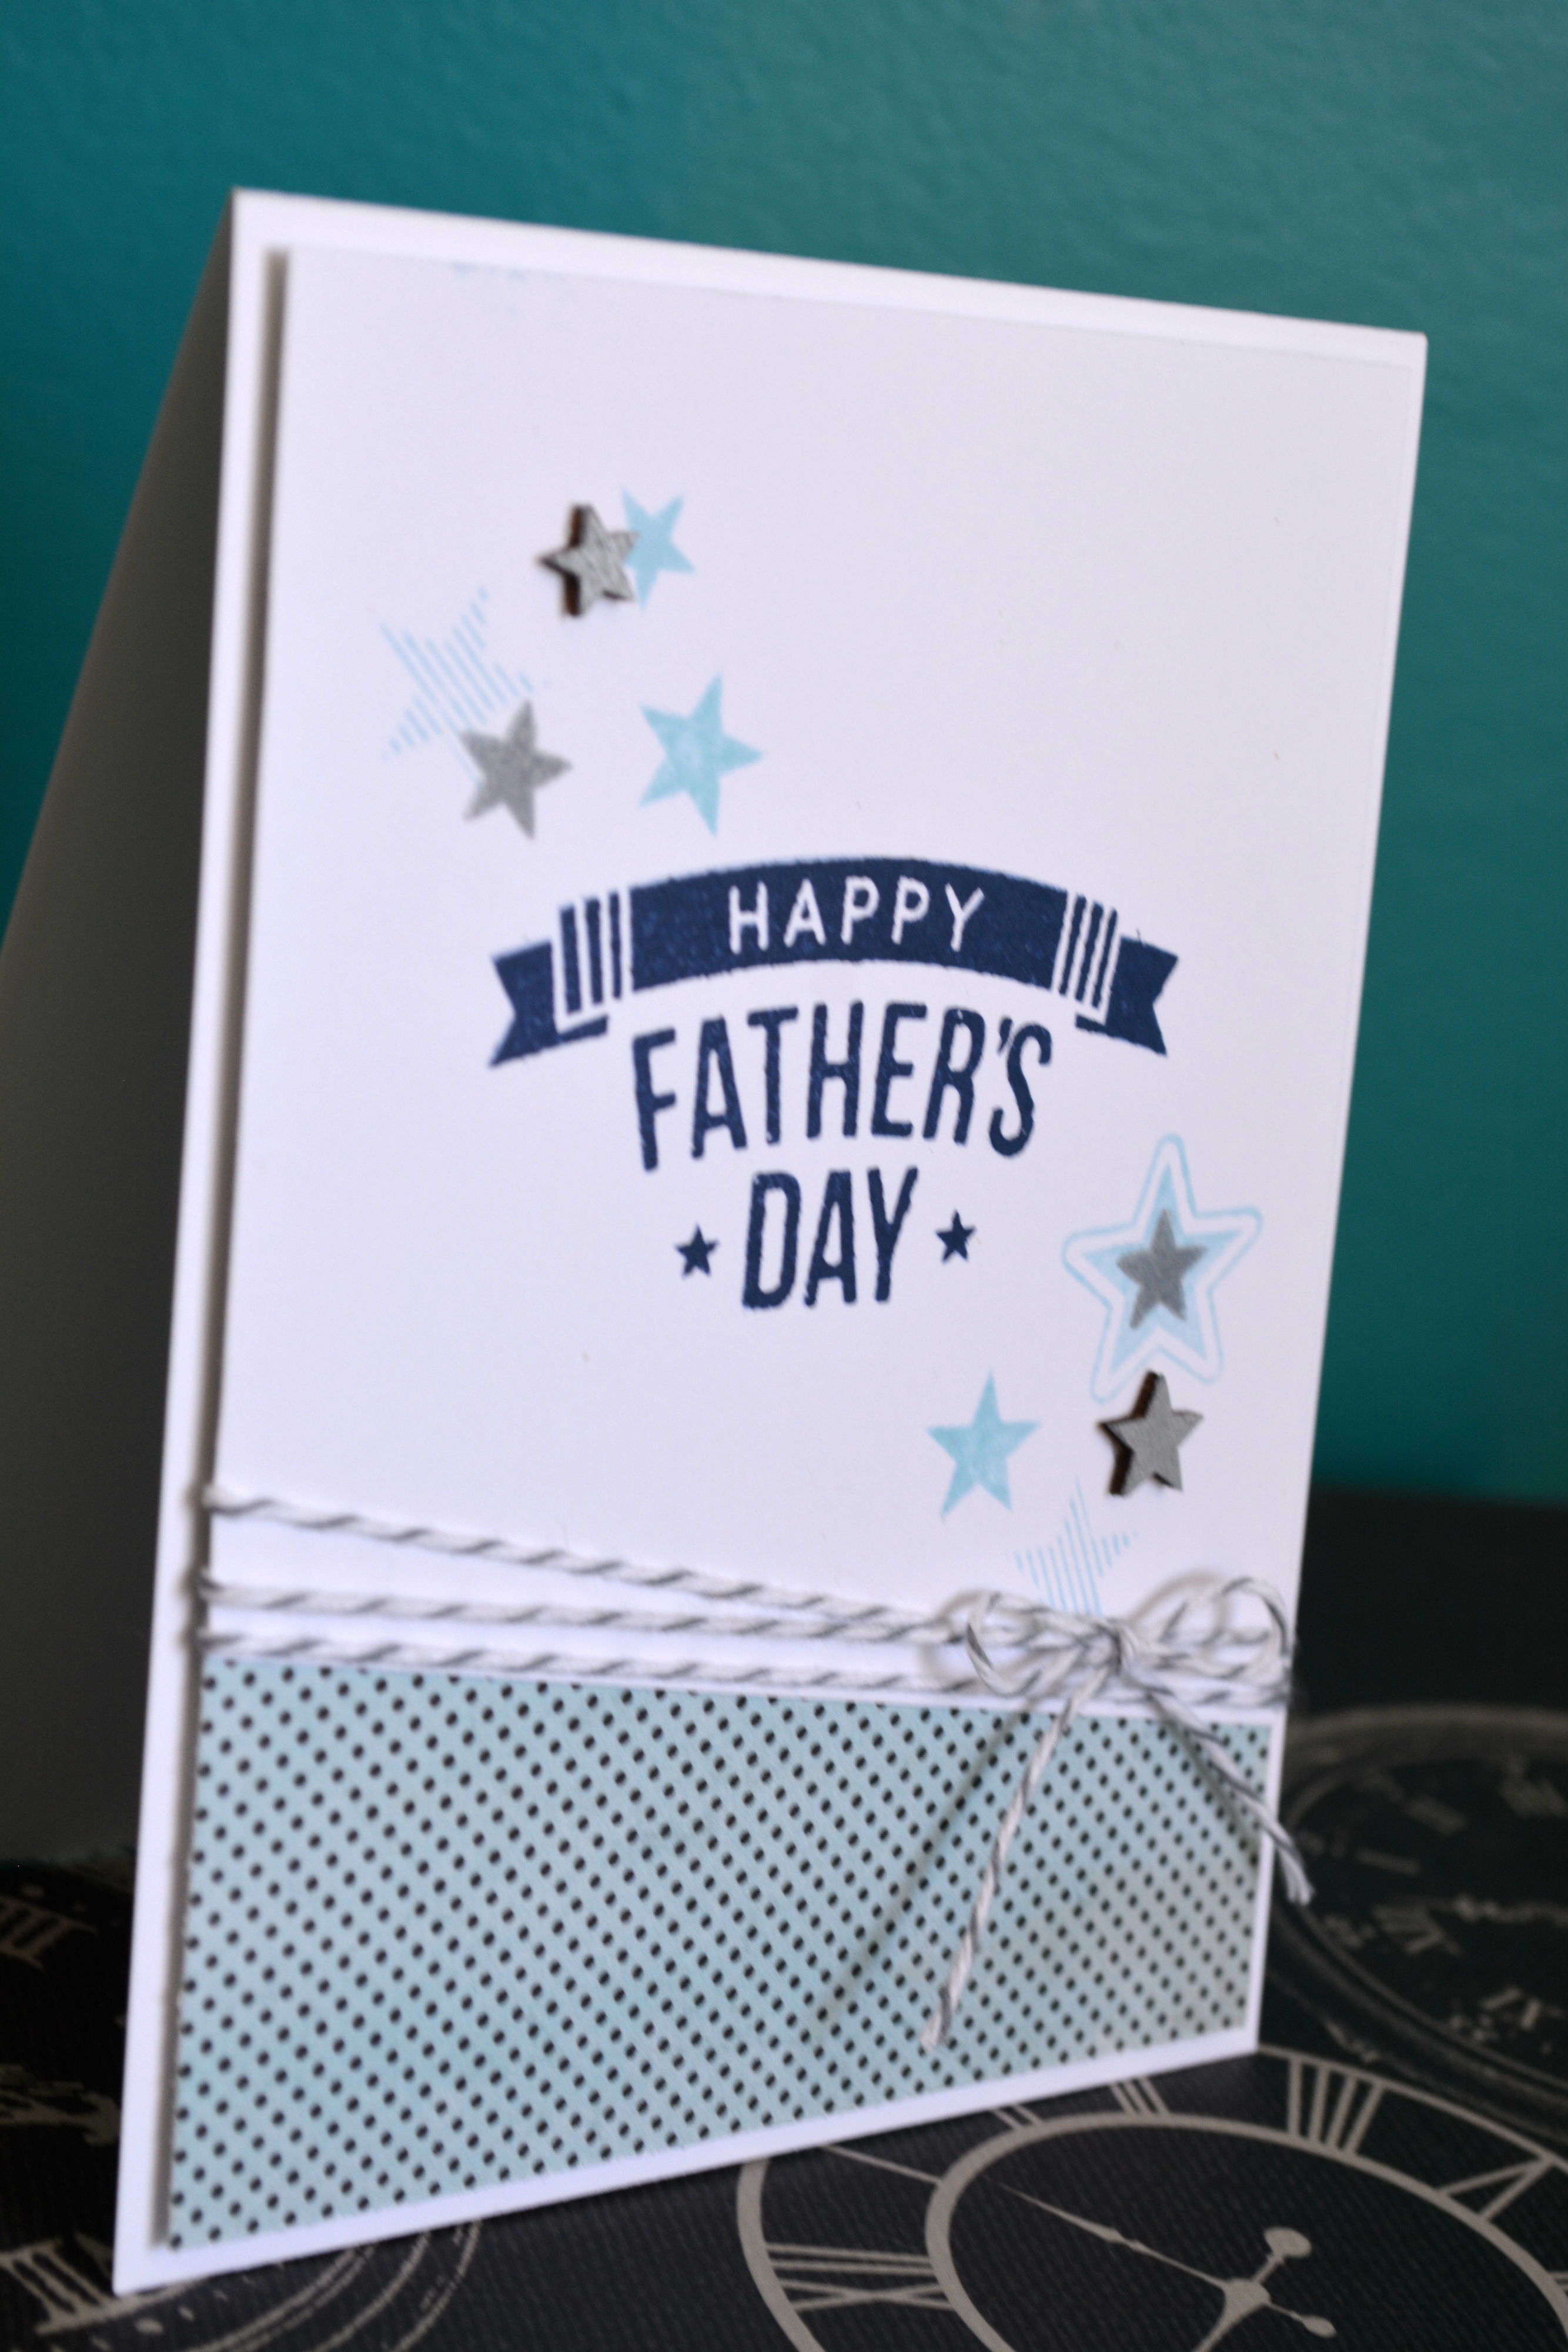
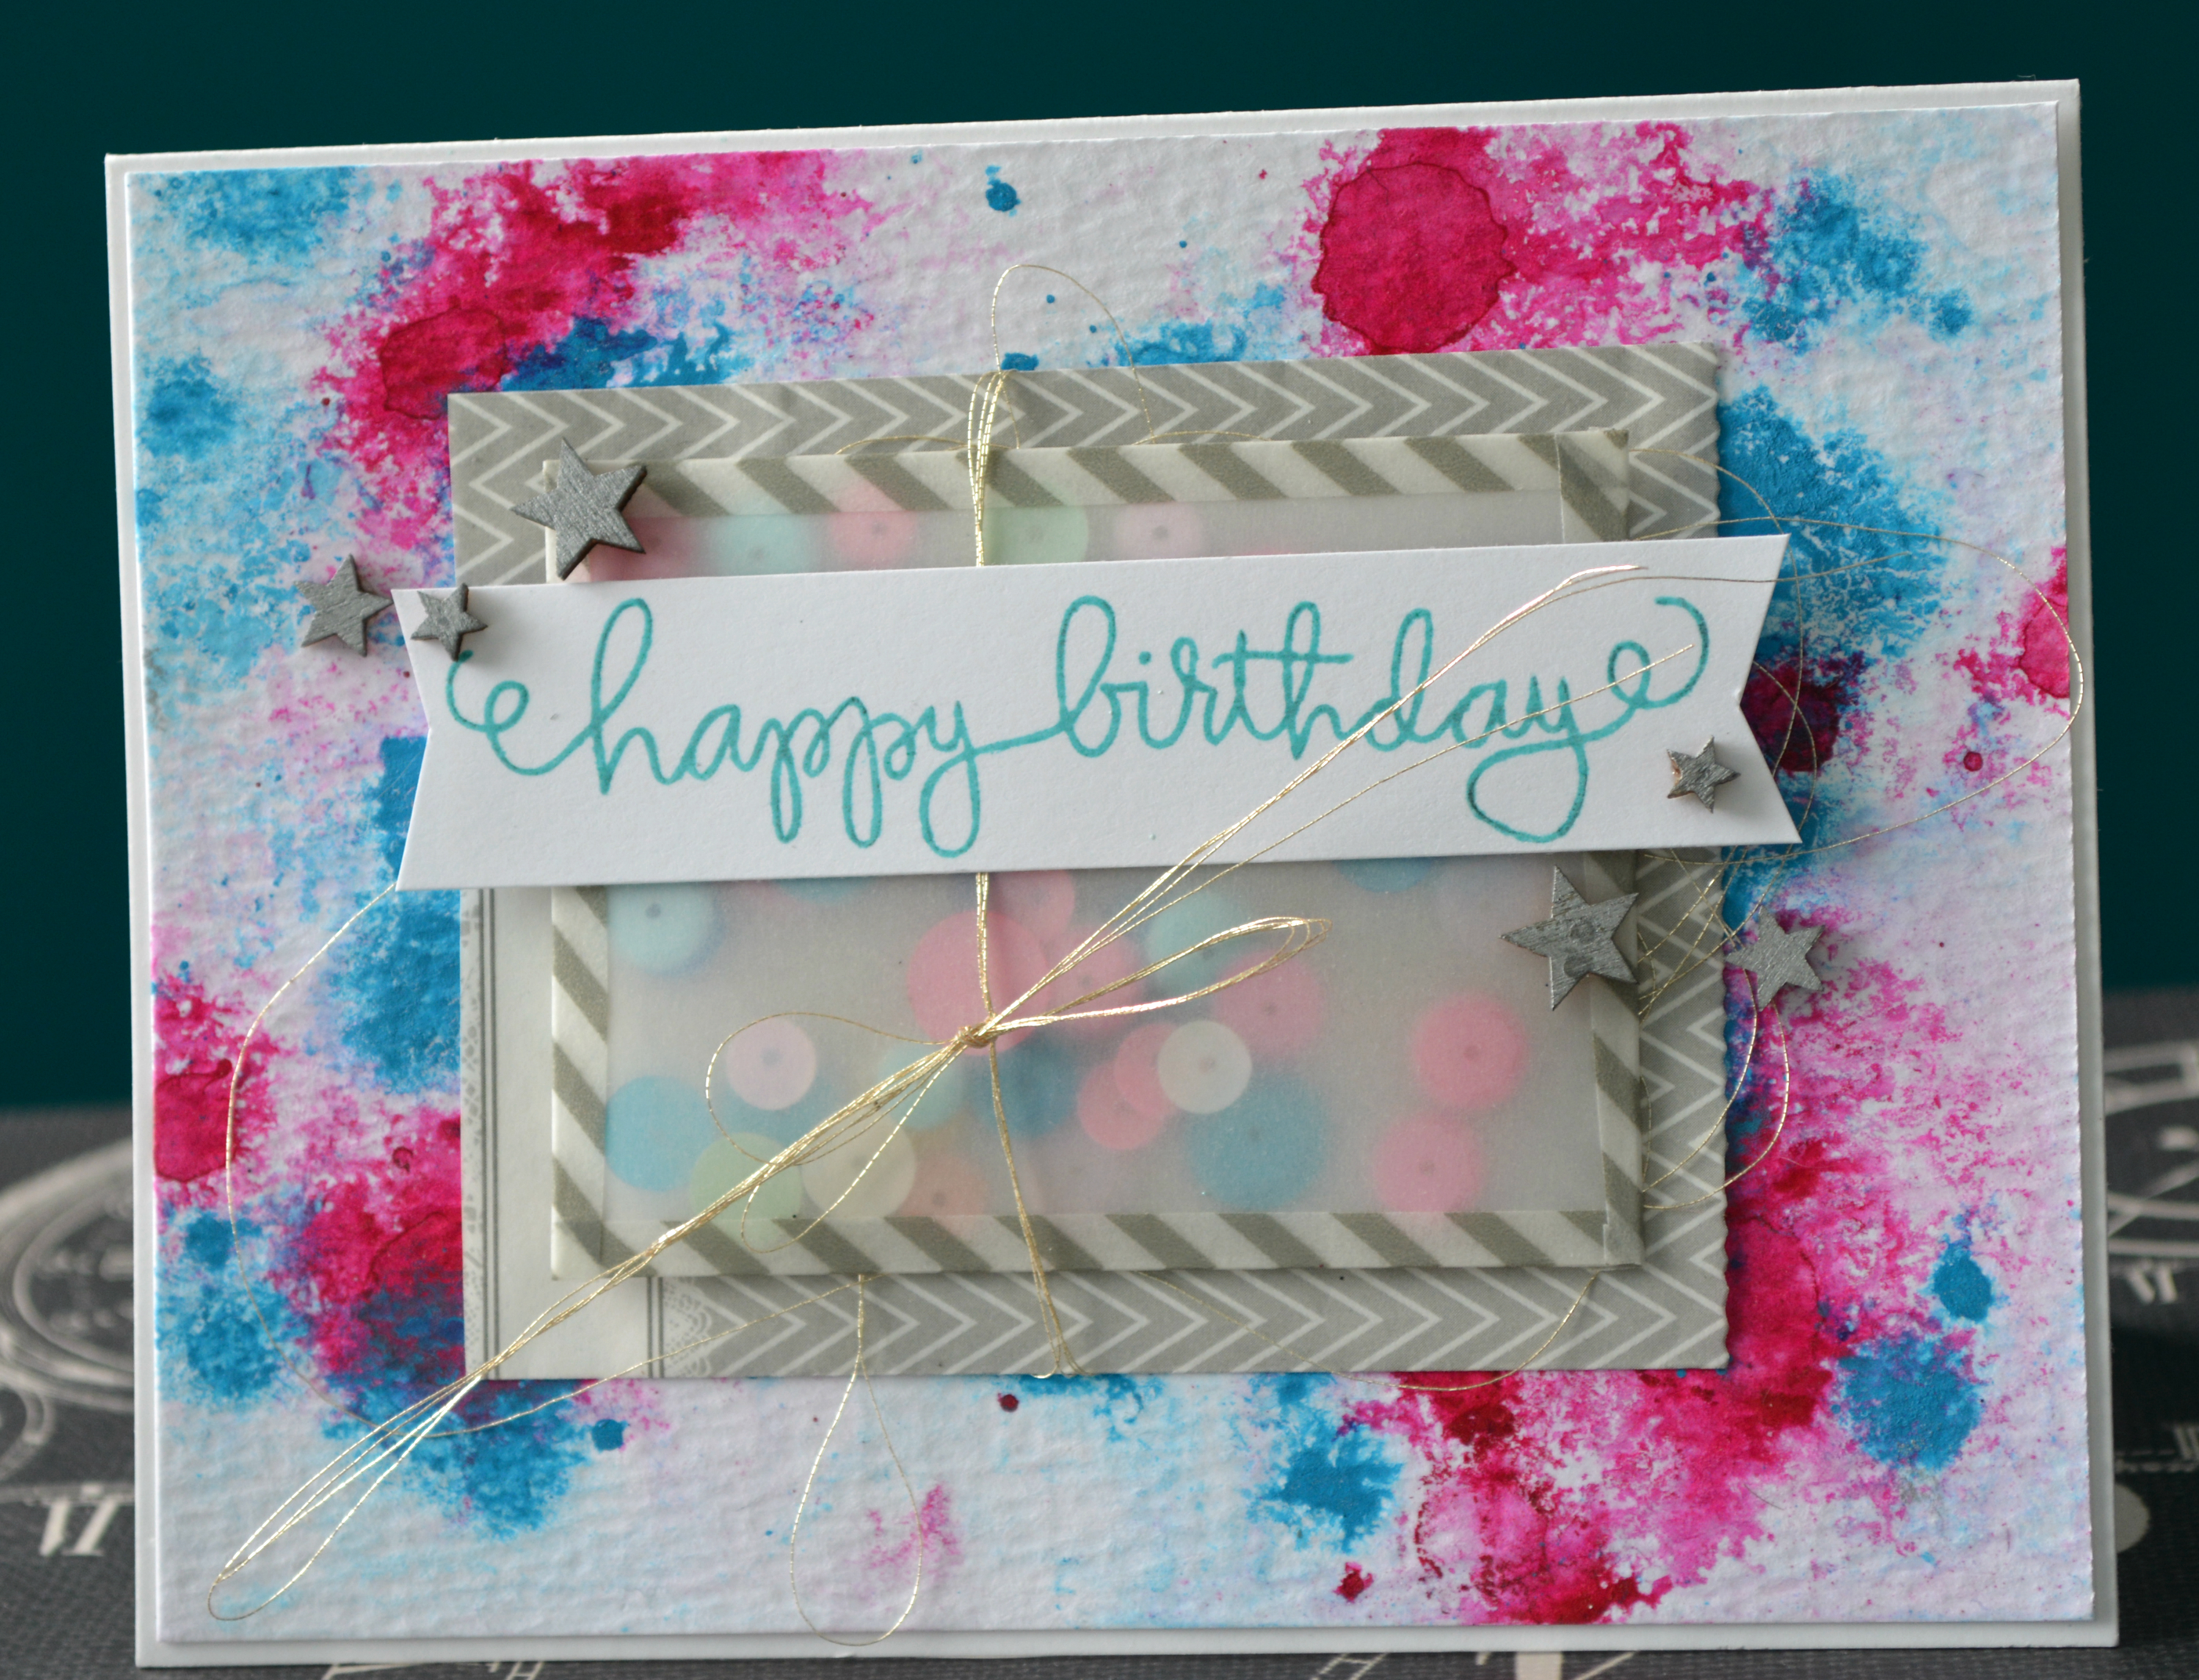
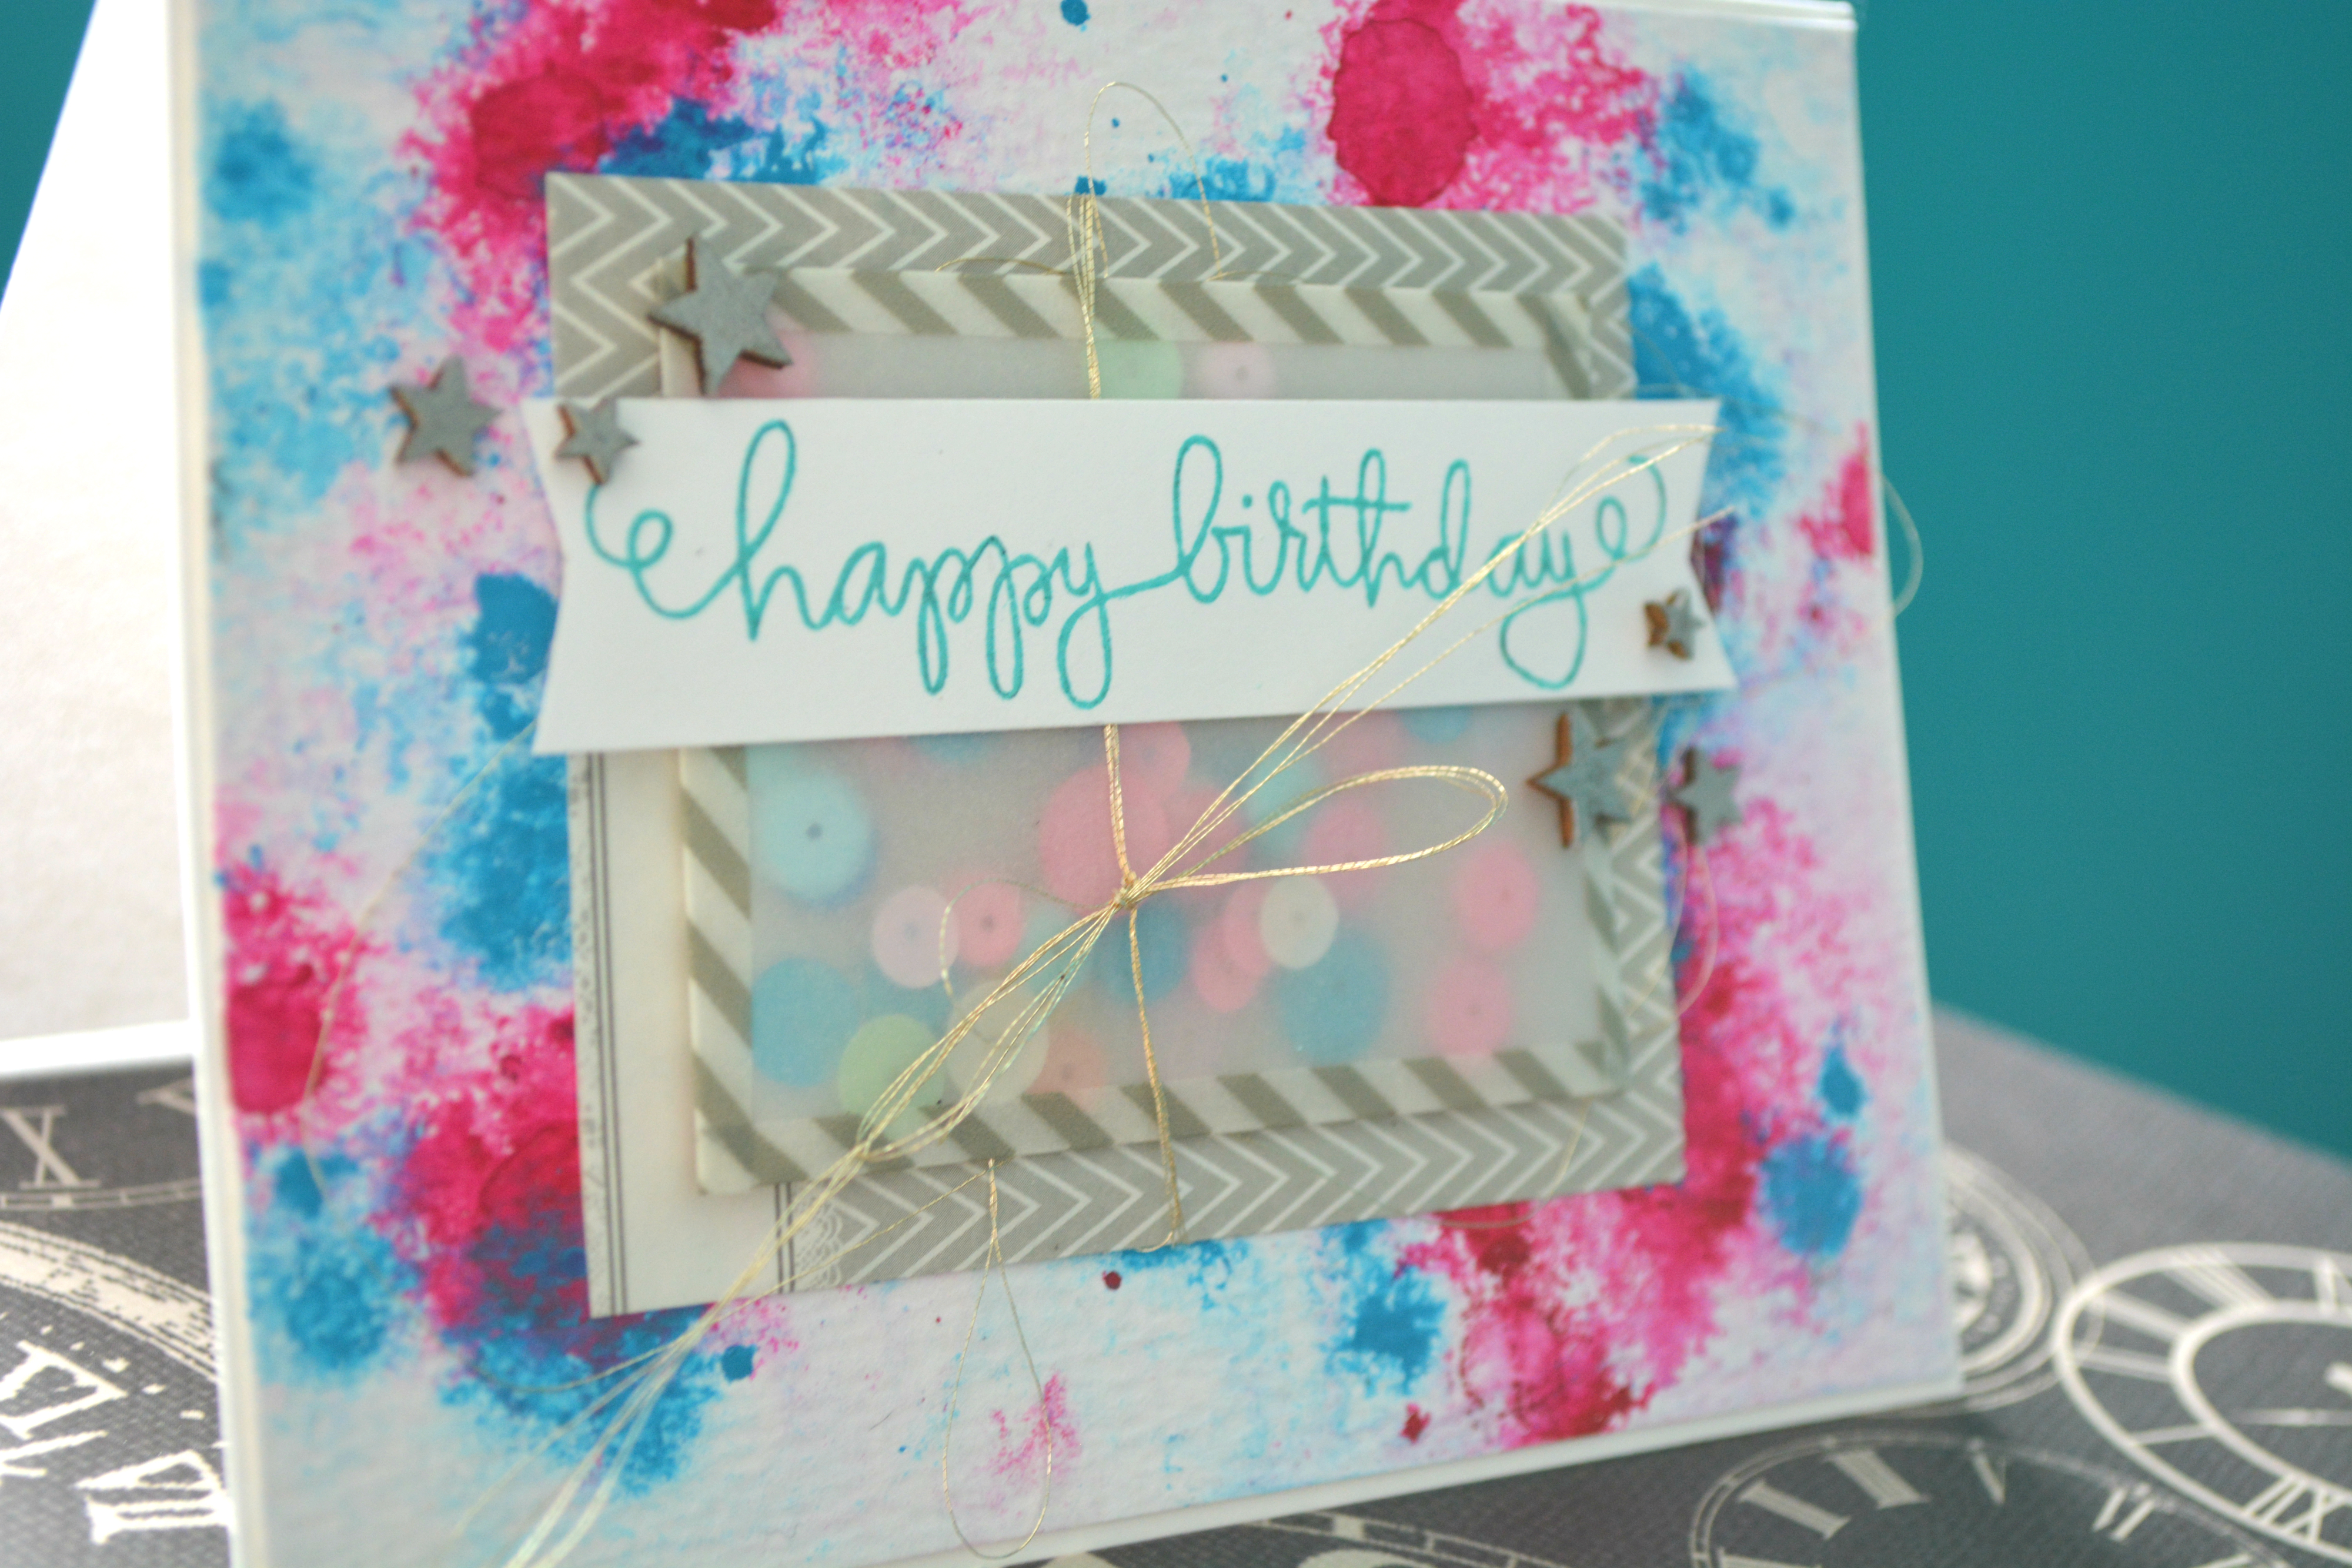
Hey everyone, sometimes simple is the way to go, especially when it comes to male cards. The flowers and lace and all the pretty layers just feel off if I try to make them work.

Bike Kid 2

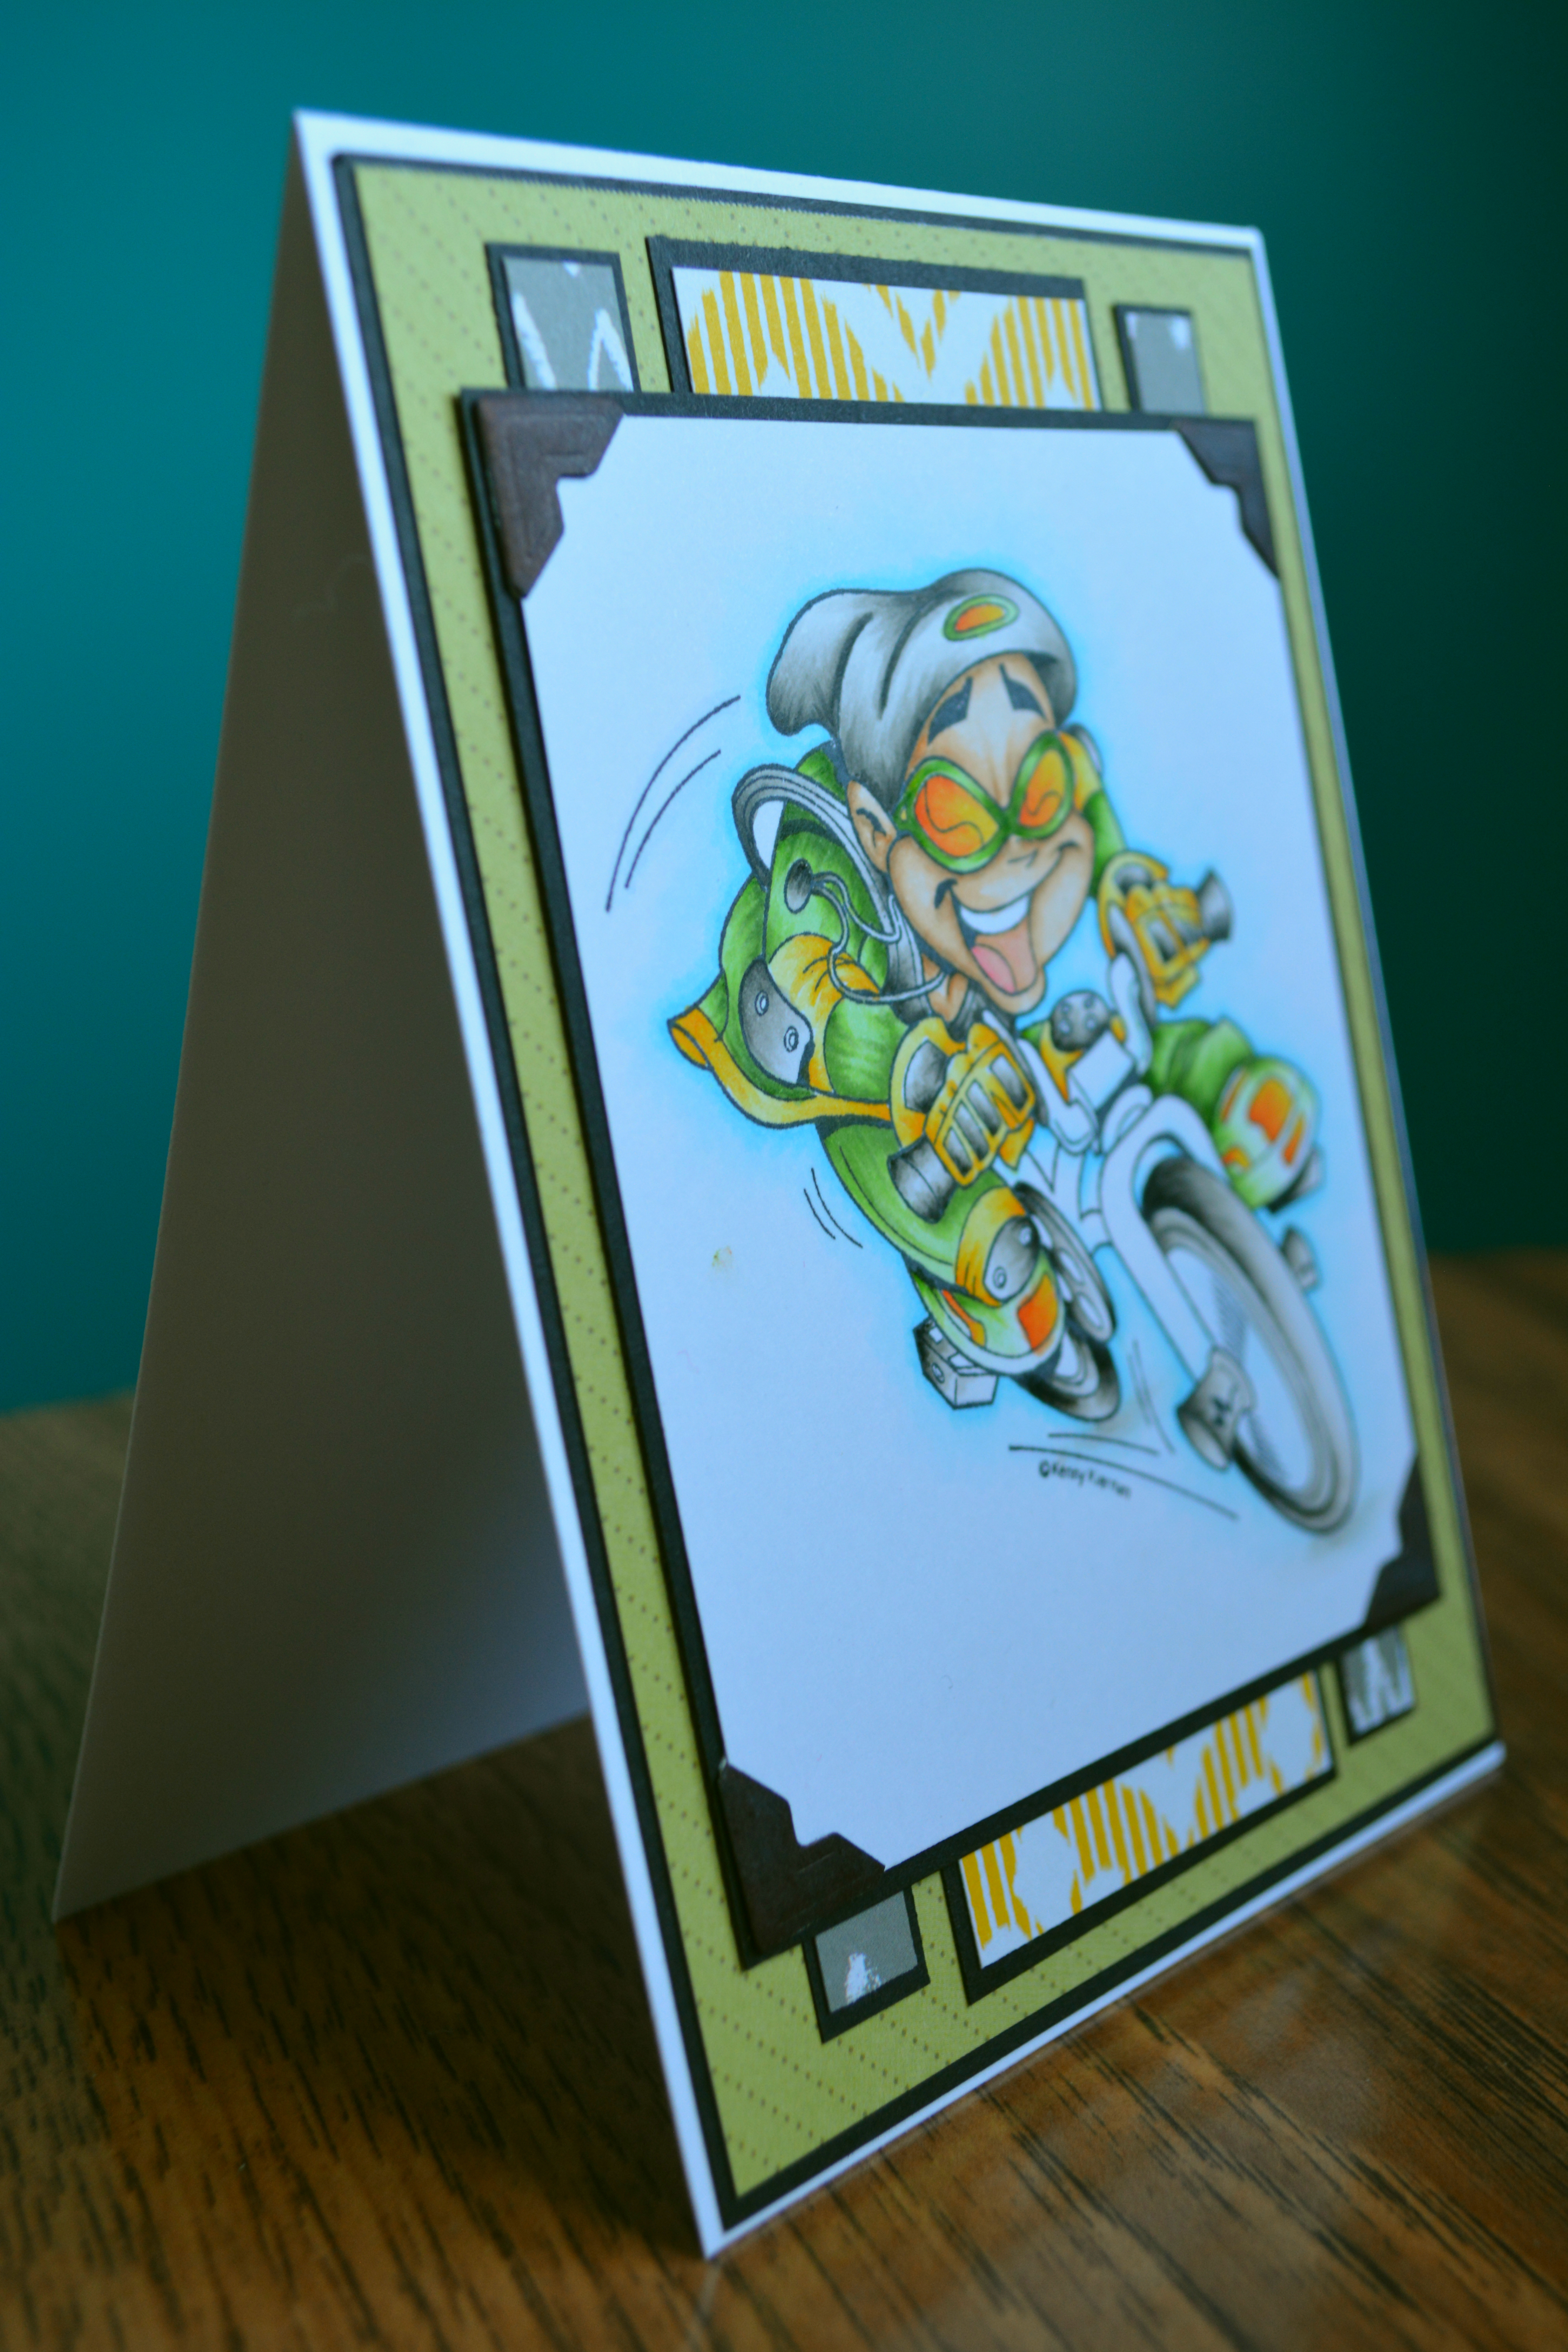
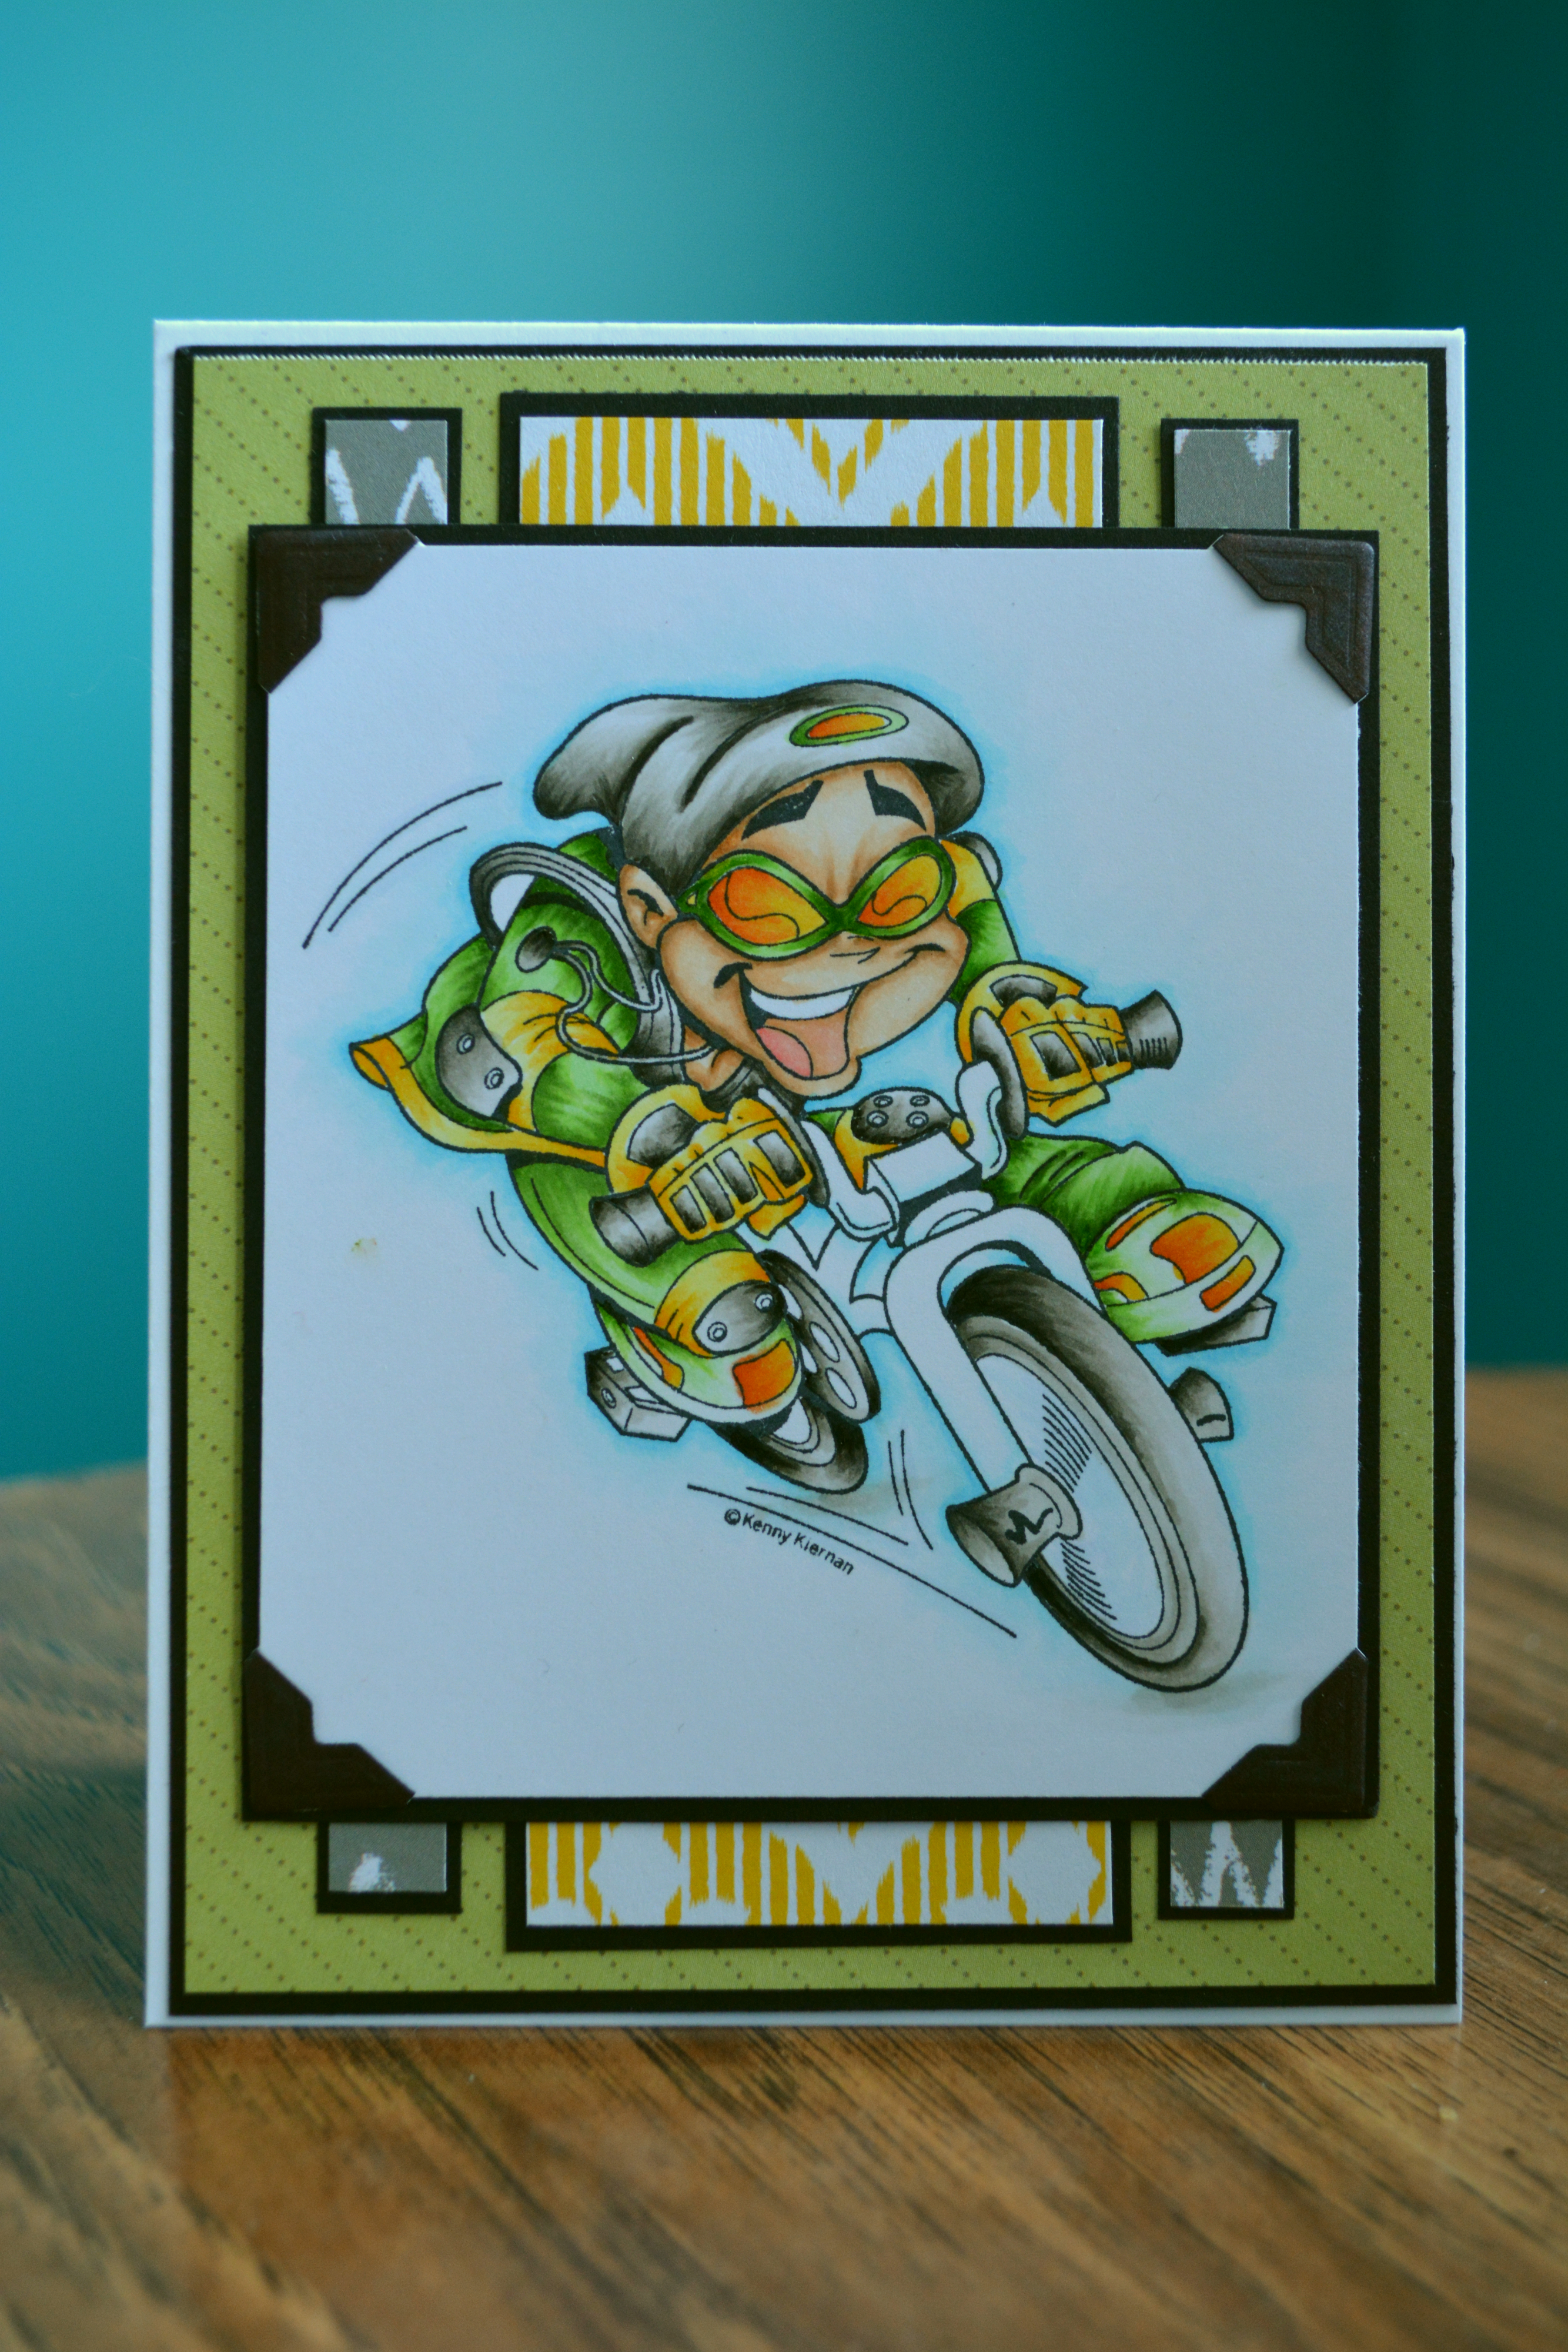
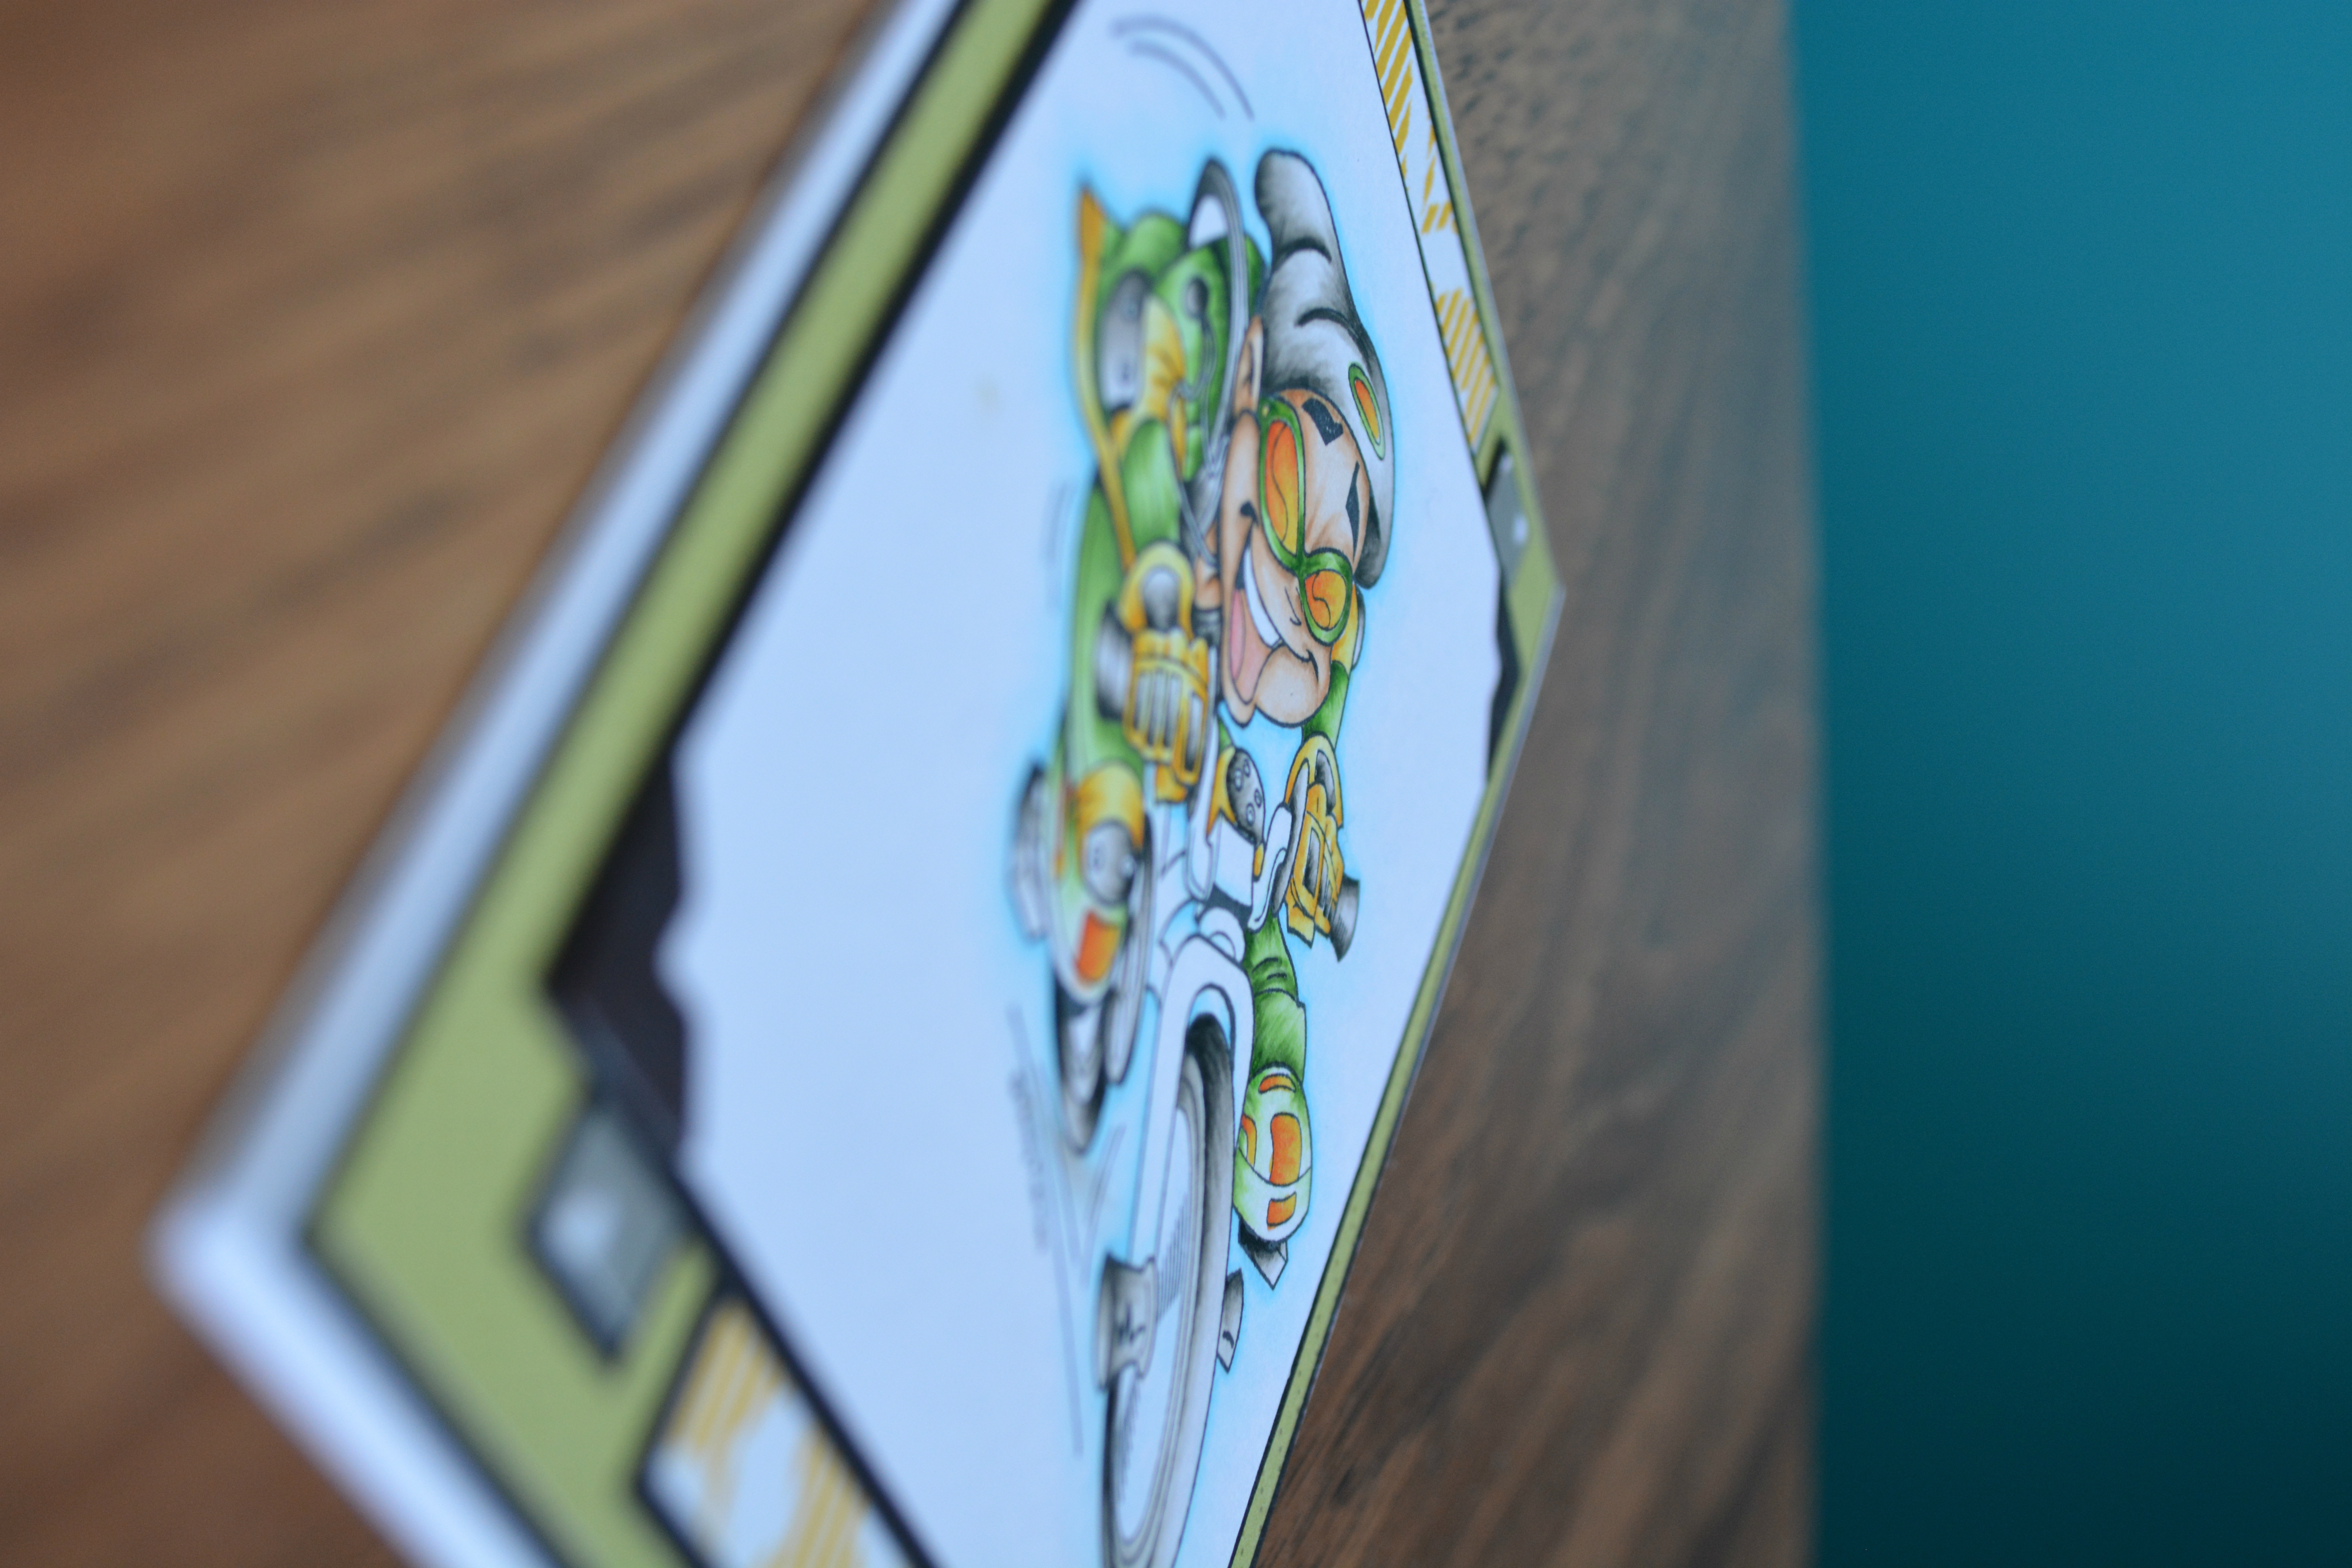
This image is rather large so I stuck to just a few simple patterned papers backed with black cardstock, I always seem to find myself reaching for black when it comes masculine cards. The sentiment is just a simple messages on the inside of the card.

Bike Kid 3


Products used

Kenny K Bike Kid (I have linked the digi version as Whimsy stamps doesn’t make them in rubber anymore)

Studio Calico – Wanderlust 6×6

Canson Photo Corners

Recollections – Black cardstock

Neenah 110lbs Solar White Cardstock

Simon Says Stamp – Birthday Messages

Copics used

Skin – E50, E51, E53, E55, 0

Clothing – Green – YG17, G24, YG13, YG11, 0

Yellow – Y11, Y13, Y15, Y17, Y19

Orange – YR07, YR04, YR14

Grey – W00, W1, W3, W5, W7

Bike Parts- W00, W1, W3, W5, W7, 110

Bike – B0000, B00, 0

Sky – B02, B00, B0000, B60

Shadow Under Bike – W3, W1, W00

Thanks for stopping by,

Hugz,

Jess

Best Family Ever

Best Family Ever 1


Hey everyone, I am usually a one or two photo’s on a page type person, I just seem to find more photos difficult to work with. So this layout has EIGHT, that’s right count them!

These photo’s are from back in August of 2014, my sister got married and everyone came up for the wedding, my parents rented a suit in a hotel across the street from the venue and we all hung out in there having a couple of beverages before the wedding.

Best Family Ever 2


I used the labels to list the people in order in the photo (you never know who may look at these and not remember everyone by their appearance at that time, or if I will always remember. Also I find I enjoy having names listed when there are many people in a photo.)

Best Family Ever 3


So on the bottom of the layout I used smaller photo’s to have closer looks at some of the people that were there, as well as all the children that were there.

Best Family Ever 4


Best Family Ever 5


Products Used

Kraft Cardstock

Crate Paper – Love Notes – Checked out

Crate Paper – Open Book – So Treasured

Crate Paper – Open Book – Little Notes

Pink Paislee – Solstice – Maldives

Crate Paper – Open Book -Bookmark Paper

Simple Stories – 24/7 – Good Stuff

Thickers – Journal Font – Black Foam Glitter

October Afternoon – Daily Flash – Red Alpha

Studio Calico Label Printables

Crate Paper – Oh Darling – Vellum Shapes

Project Life Chipboard

Daily Flash – Snap Caps – Girl Talk

Scraptastic Exclusive Flair, Wood Veneer, and Cork

Project Life – Kraft Edition

Studio Calico – Tiny Stars Wood Veneer

Thanks for stopping by,

Hugz,

Jess

2015 Week 1

DSC_0003


Hey everyone, something most of you that follow my blog may not know is that I am a “project lifer.” This is my second year doing this project and figured I would share it with you this year. As such this is my first week for 2015. Now these posts will be a little different then some, I wont have a linked list of products I used at the end, as lots of it is bits and pieces and left overs.

DSC_0005


DSC_0006

So I used some of my December 2014 Scraptastic This Life Noted kit, as well as other pieces from previous Scraptastic Kits. There are little bits from Freckled Fawn kits (I no longer subscribe to their kit). The cork stars are from Studio Calic0, and the cork family is from Elles’s Studio Sycamore Lane.

DSC_0008


DSC_0009


The lables were purchased from Studio Calico’s website a while ago (I can no longer find them on their site), they are printables and I cut them all out (recently as they are in this PL layout lol). They are acetate pieces from a small Project Life kit I picked up at Micheals.

DSC_0004


If there is anything on this spread in-particular you would like to know where it came from, leave a comment and I will be sure to get back to you where on where it came from.

Thanks for stopping by

Hugz,

Jess

Let’s Bake

Cookies

Hey everyone! Christmas is so close, and I am almost ready!! One of the last things I do to prepare is a bunch of baking and this past weekend that included a crazy amount of cookie baking (I think its my sons favorite activity). So here I am scrapbooking a few instagram pictures of the cookies we made on the weekend.

Cookies 2

I am a subscriber to the Hip Kit Club scrapbooking kit, and on the member forum on facebook, Kimberly gave us a weekend challenge and this is the layout I did for the challenge. The recipe that needed to be used for the challenge was using an image she posted as inspiration for the layout (that is where my stenciled backround came in to play), include a minimum of three fonts in your title, use stamping on your project (this is difficult to see on my layout but on the bright green paper I stamped falling snow in versamark and embossed it in silver), include gold or silver, and use a minimum of three patterned papers.

Cookies 3


It was a challenge for me to make sure I had everything included that is for sure! I rarely follow a recipe or sketch for my layouts, but it was fun to play along!

Cookies 4


Products used:

Hip Kit November Main Kit

Hip Kit November Color Add-on

Hip Kit November Cardstock

Wow Embossing Powder Silver

Simon Says Stamp Be Joyful Stamp Set

Dylusions Cut Grass Spray Ink

Studio Calico Alpha Stickers Green

Simple Stories DIY Letter- Aqua

Golden Light Molding Paste

Cotman Watercolor Sap Green

Crafters Workshop 12×12 Tiny Circles

Versamark Ink Pad

White Tissue Paper

Thanks for stopping by

Hugz,

Jess

Star Birthday

sss bday


Hey everyone! It has been a while, I am hopefully going to be here and be blogging more frequently. But today I am here with a fun card!!!


The back round of this card was made with Hero Arts Gold embossing powder, and the flowers from the SSS Life is a Journey stamp set, I then took a piece of card stock slightly larger and covered the edge of it in the gold embossing powder as well and layered it in behind.


sss bday2


The shaker card was made using Doodle Bug Peacock Vellum, the large star inside is from Heidi Swapp’s Colour Magic star chipboard pieces (I don’t know if these are still available anywhere, I then filled the rest of the shaker card with Studio Calico tiny star wood veneers, and studio calico sequins in aqua and pink.

To close the shaker I put a piece of acetate on tip and wrapped washi around to hide the foam tape, the washi tape is from an older My Minds Eye line.


SSS Bday 3


The sentiment is from SSS Birthday Messages stamp set, again embossed using the Hero Arts Gold embossing powder. I, then, cut a slit on either side of the shaker element and fed a piece of May Arts Sheer ruffle edge ribbon in turquoise and tied it in a bow.


Hugs,

Jess

For the love of glitter

Distress glitter 1


Glitter is such a wonderful thing. Which is still odd for me to stay I was always so opposed to it for so long until I discovered microfine glitter… Then Distress Glitter entered my world and now I love all things that sparkle and shine and make me look like a walking disco.

I started with my favourite Tim Holtz Rays Stencil, using Golden Light Molding Paste through it. I then added the Mustard Seed Distress Glitter to the bottom part of the rays tapping it lightly with my finger to push it into the molding paste, then dumping the excess off. I repeated the same on the top half with Picked Raspberry Distress Glitter.

Distress glitter 2

I then cut a tag using Spellbinders Fancy Frame Tags 3 and coloured it as well as the back panel with Peacock Feathers Distress Ink. I stamped the Happy Birthday sentiment from the SSS Birthday Messages stamp set in Versamark ink and embossed it with Hero arts White embossing powder.


Distress Glitter 3


I then took Studio Calico Star Burst wood veneer (I can not find a link to these) and painted them with Distress Ink in Picked Raspberry, and Mustard Seed.


Thanks for stopping by

Hugz,

Jess


Father’s Day Card

fathers day 2

I just had to use this Father’s Day Stamp I ordered from Simon Says Stamp! It is a very simple card but I am really happy with it!!


fathers day

fathers day 1


Quick and simple but I think the stars add so much!!

Fathers day 3


Thanks for stopping by

Hugz

Jessie

Acrylic ink

Let me start by addressing the new blog…. I have things in the works for the future and those things will be easier for me to attain and make happen using WordPress as opposed to Blogger. That’s a long story short, lol without giving too much away.. Anyway on to today post.

I was on ustream earlier today and somehow the conversation ended up around acrylic inks.. .so I pulled out the few I have, I only own 3 and I used 2 on this card.

Image

So these are the inks I used, they are Liquitex ink, ever so much fun, its funny how you can start just by playing with them a bit to show someone and ending up with this… Image

So I dropped the ink on the back round and sprayed it with water with some Pearl ex powder and gum arabic in it to give it a slight shine. drying in between layers. I made the sequin bag by folding a piece of vellum, filling it with sequins then taping it shut with washi, I layered it on a grey paper bag, that I believe is from websters pages. as well as some silvery gold thread I had in my stash. I then stamped the Happy birthday sentiment with Simon Says Stamp Audrey blue ink and added it to the front. Studio calico stars inked with Hero Arts Silver ink finshed it off,.

Image

Thanks for stopping in hope you enjoy my little card. Happy Crafting!

Hugz

Jess