Let’s Dance

Marry 5


So this is my first layout using the November Shake it off kit and add on from Scraptastic. I really do love this kit, but being in Canada, these kits seem to take forever to get to me… like 1 1/2 weeks longer then another kit club I subscribe to that shipped 3 days after this one. Oh well I ❤ it regardless.

Marry 4


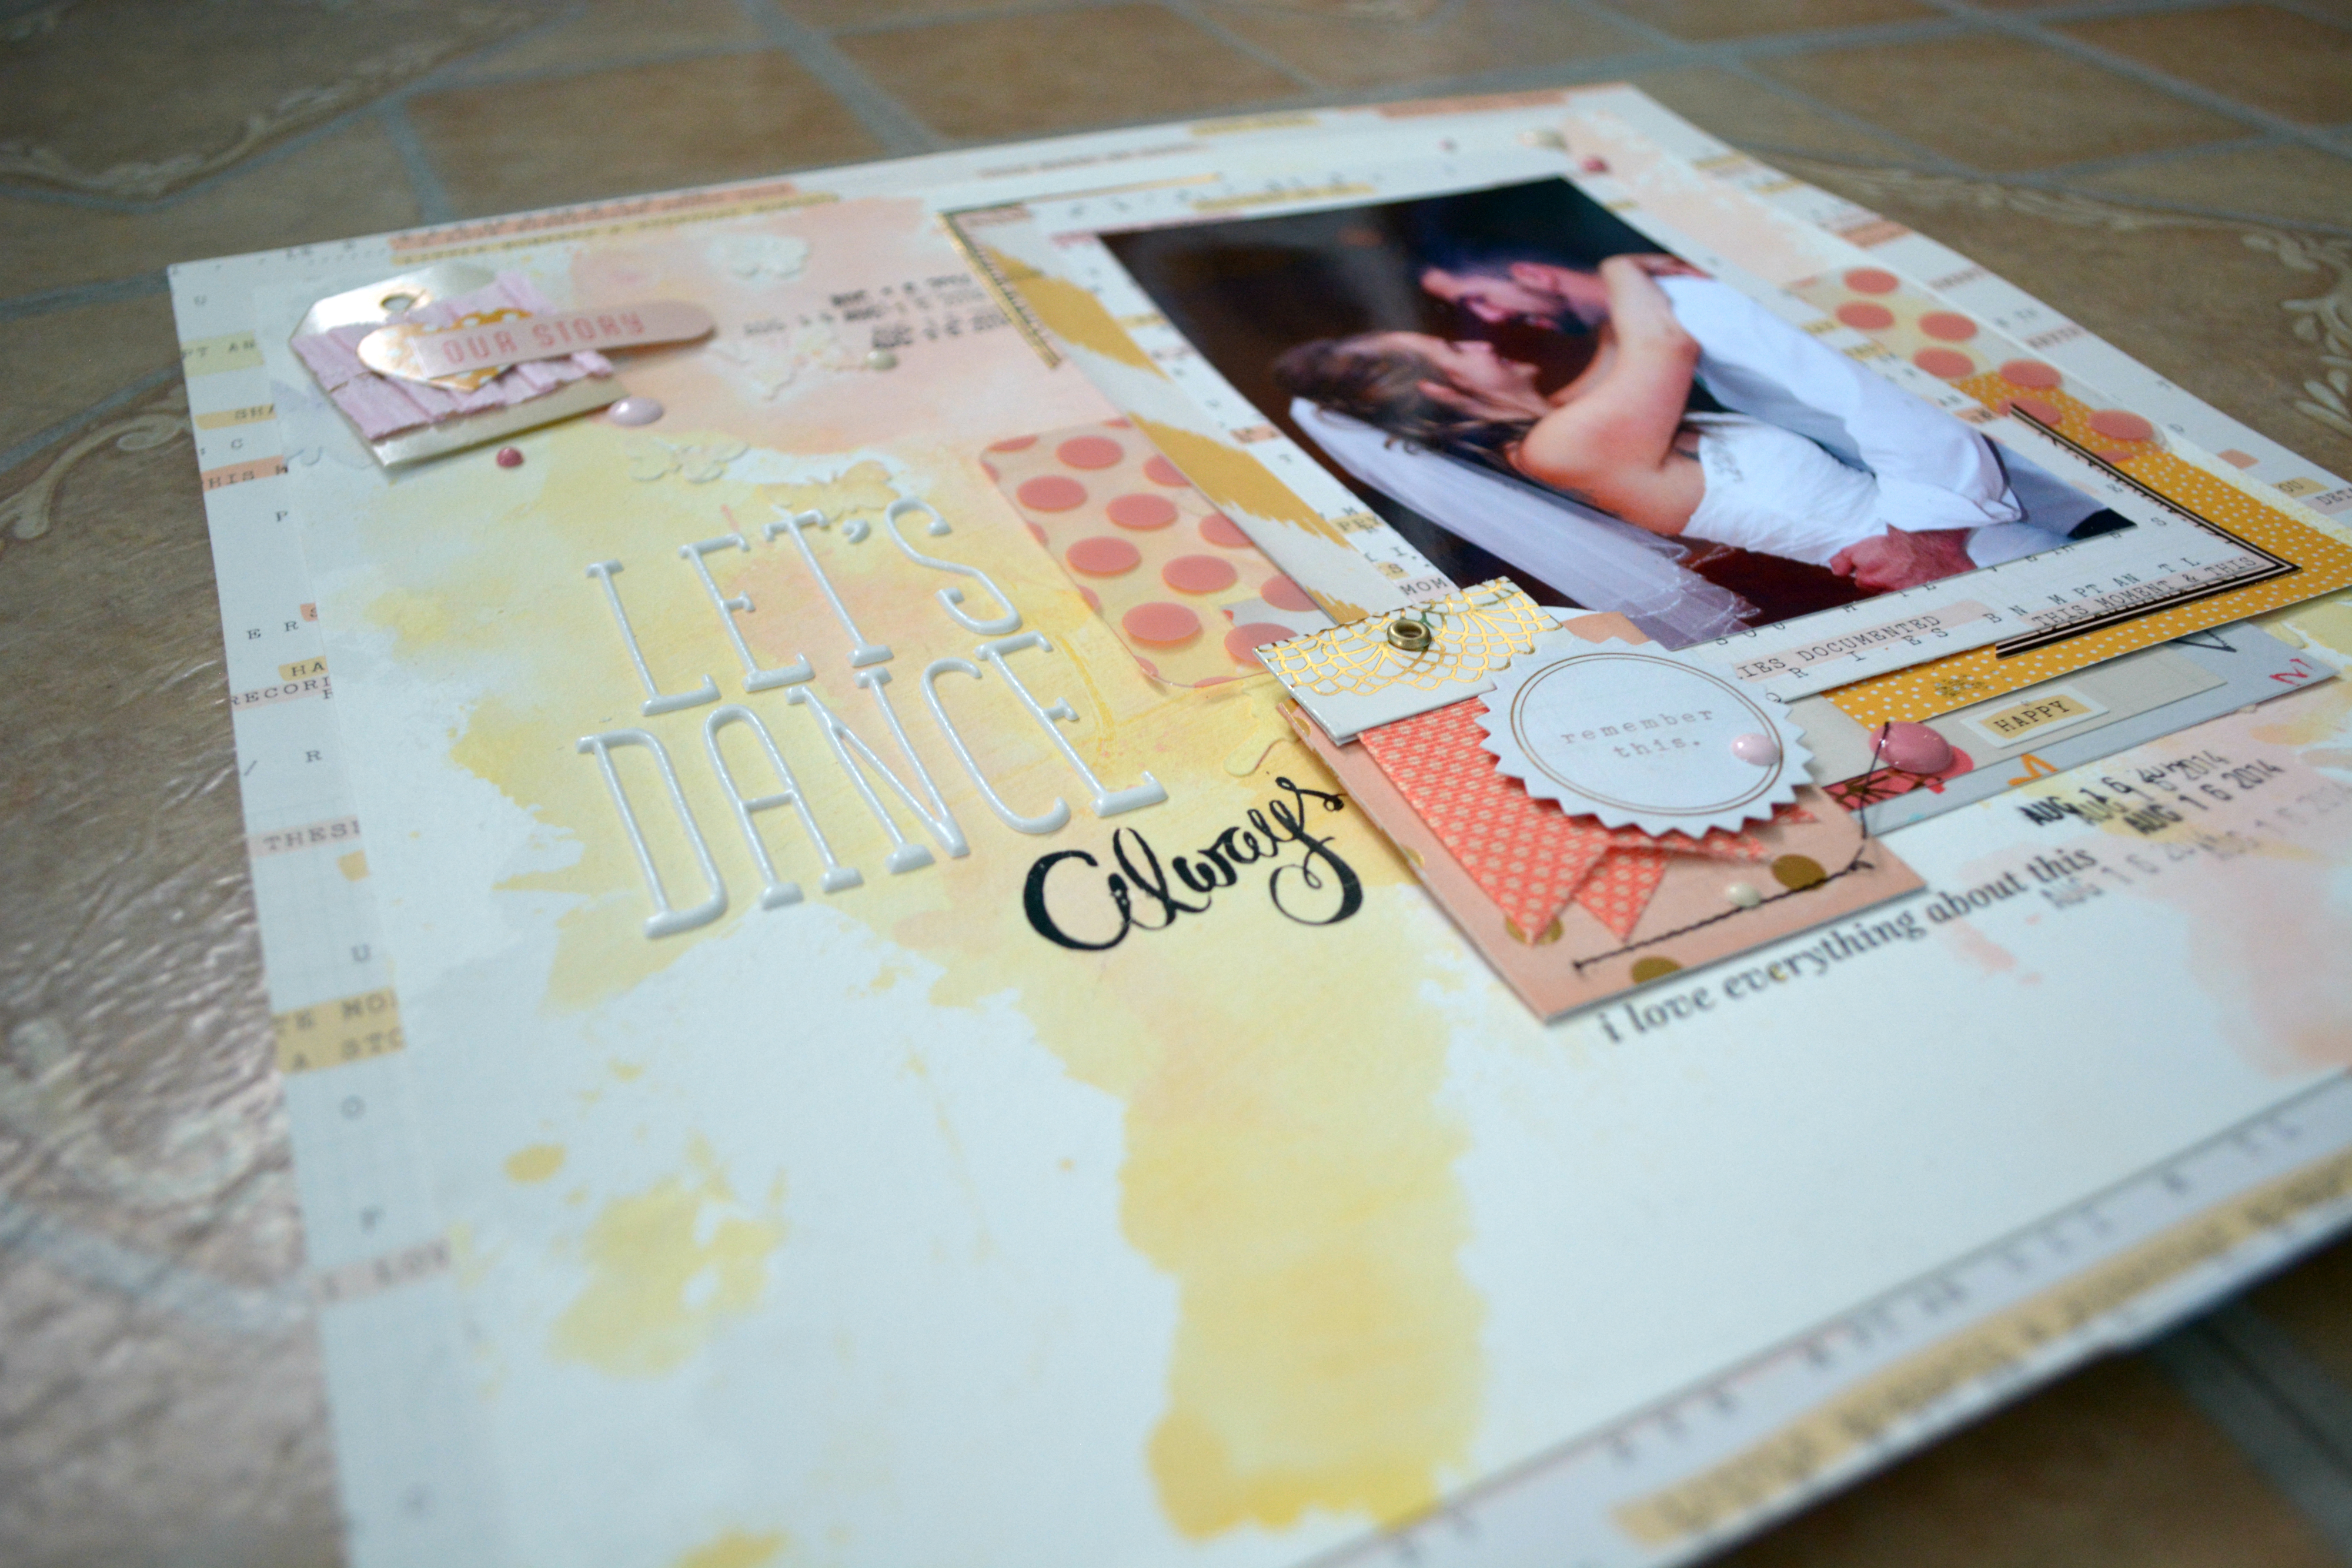
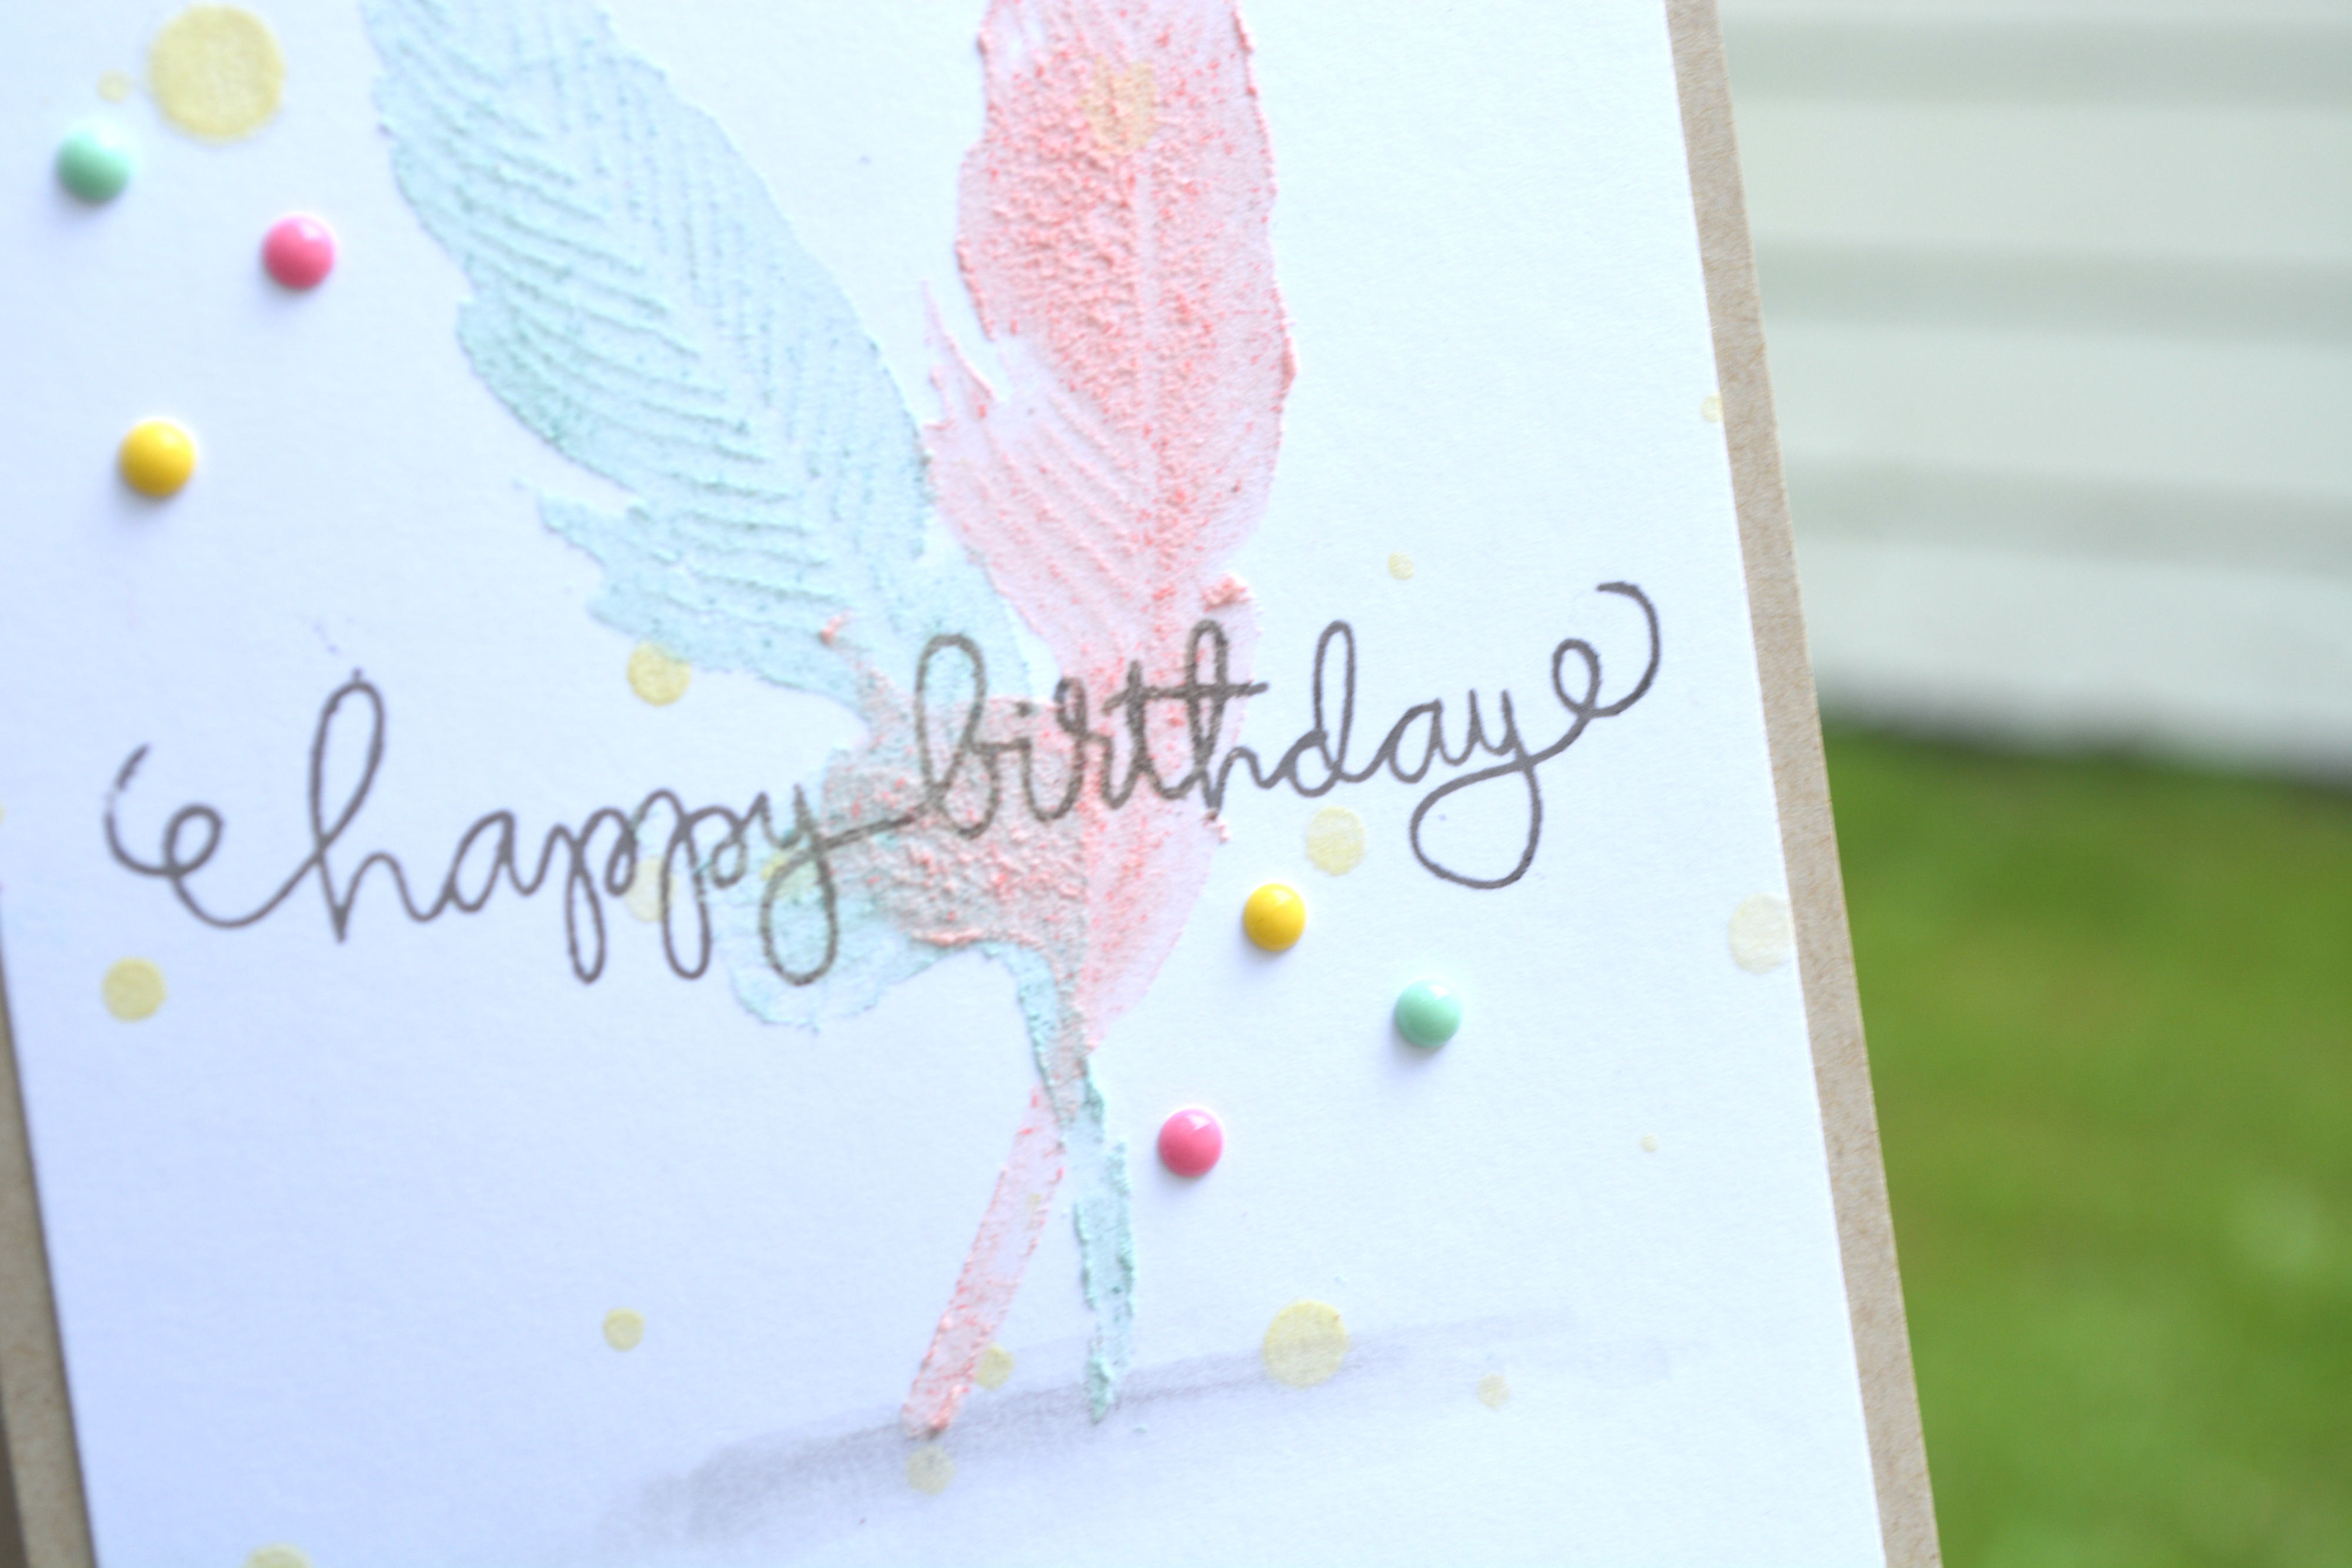
Aside from the kit and add-on, things added from my stash were Canson 140lbs watercolour paper, my Smash book roller date stamp, Lindy’s Stamp Gang sprays in a coral and a yellow (I don’t have the colours beside me at the moment but if you would like to know just leave me a comment and I will get them for you, they were both Flat Fabio’s), as well as I cut down one of the polka dot acetate dividers from PL, and finally some beloved enamel dots from my stash.


marry3


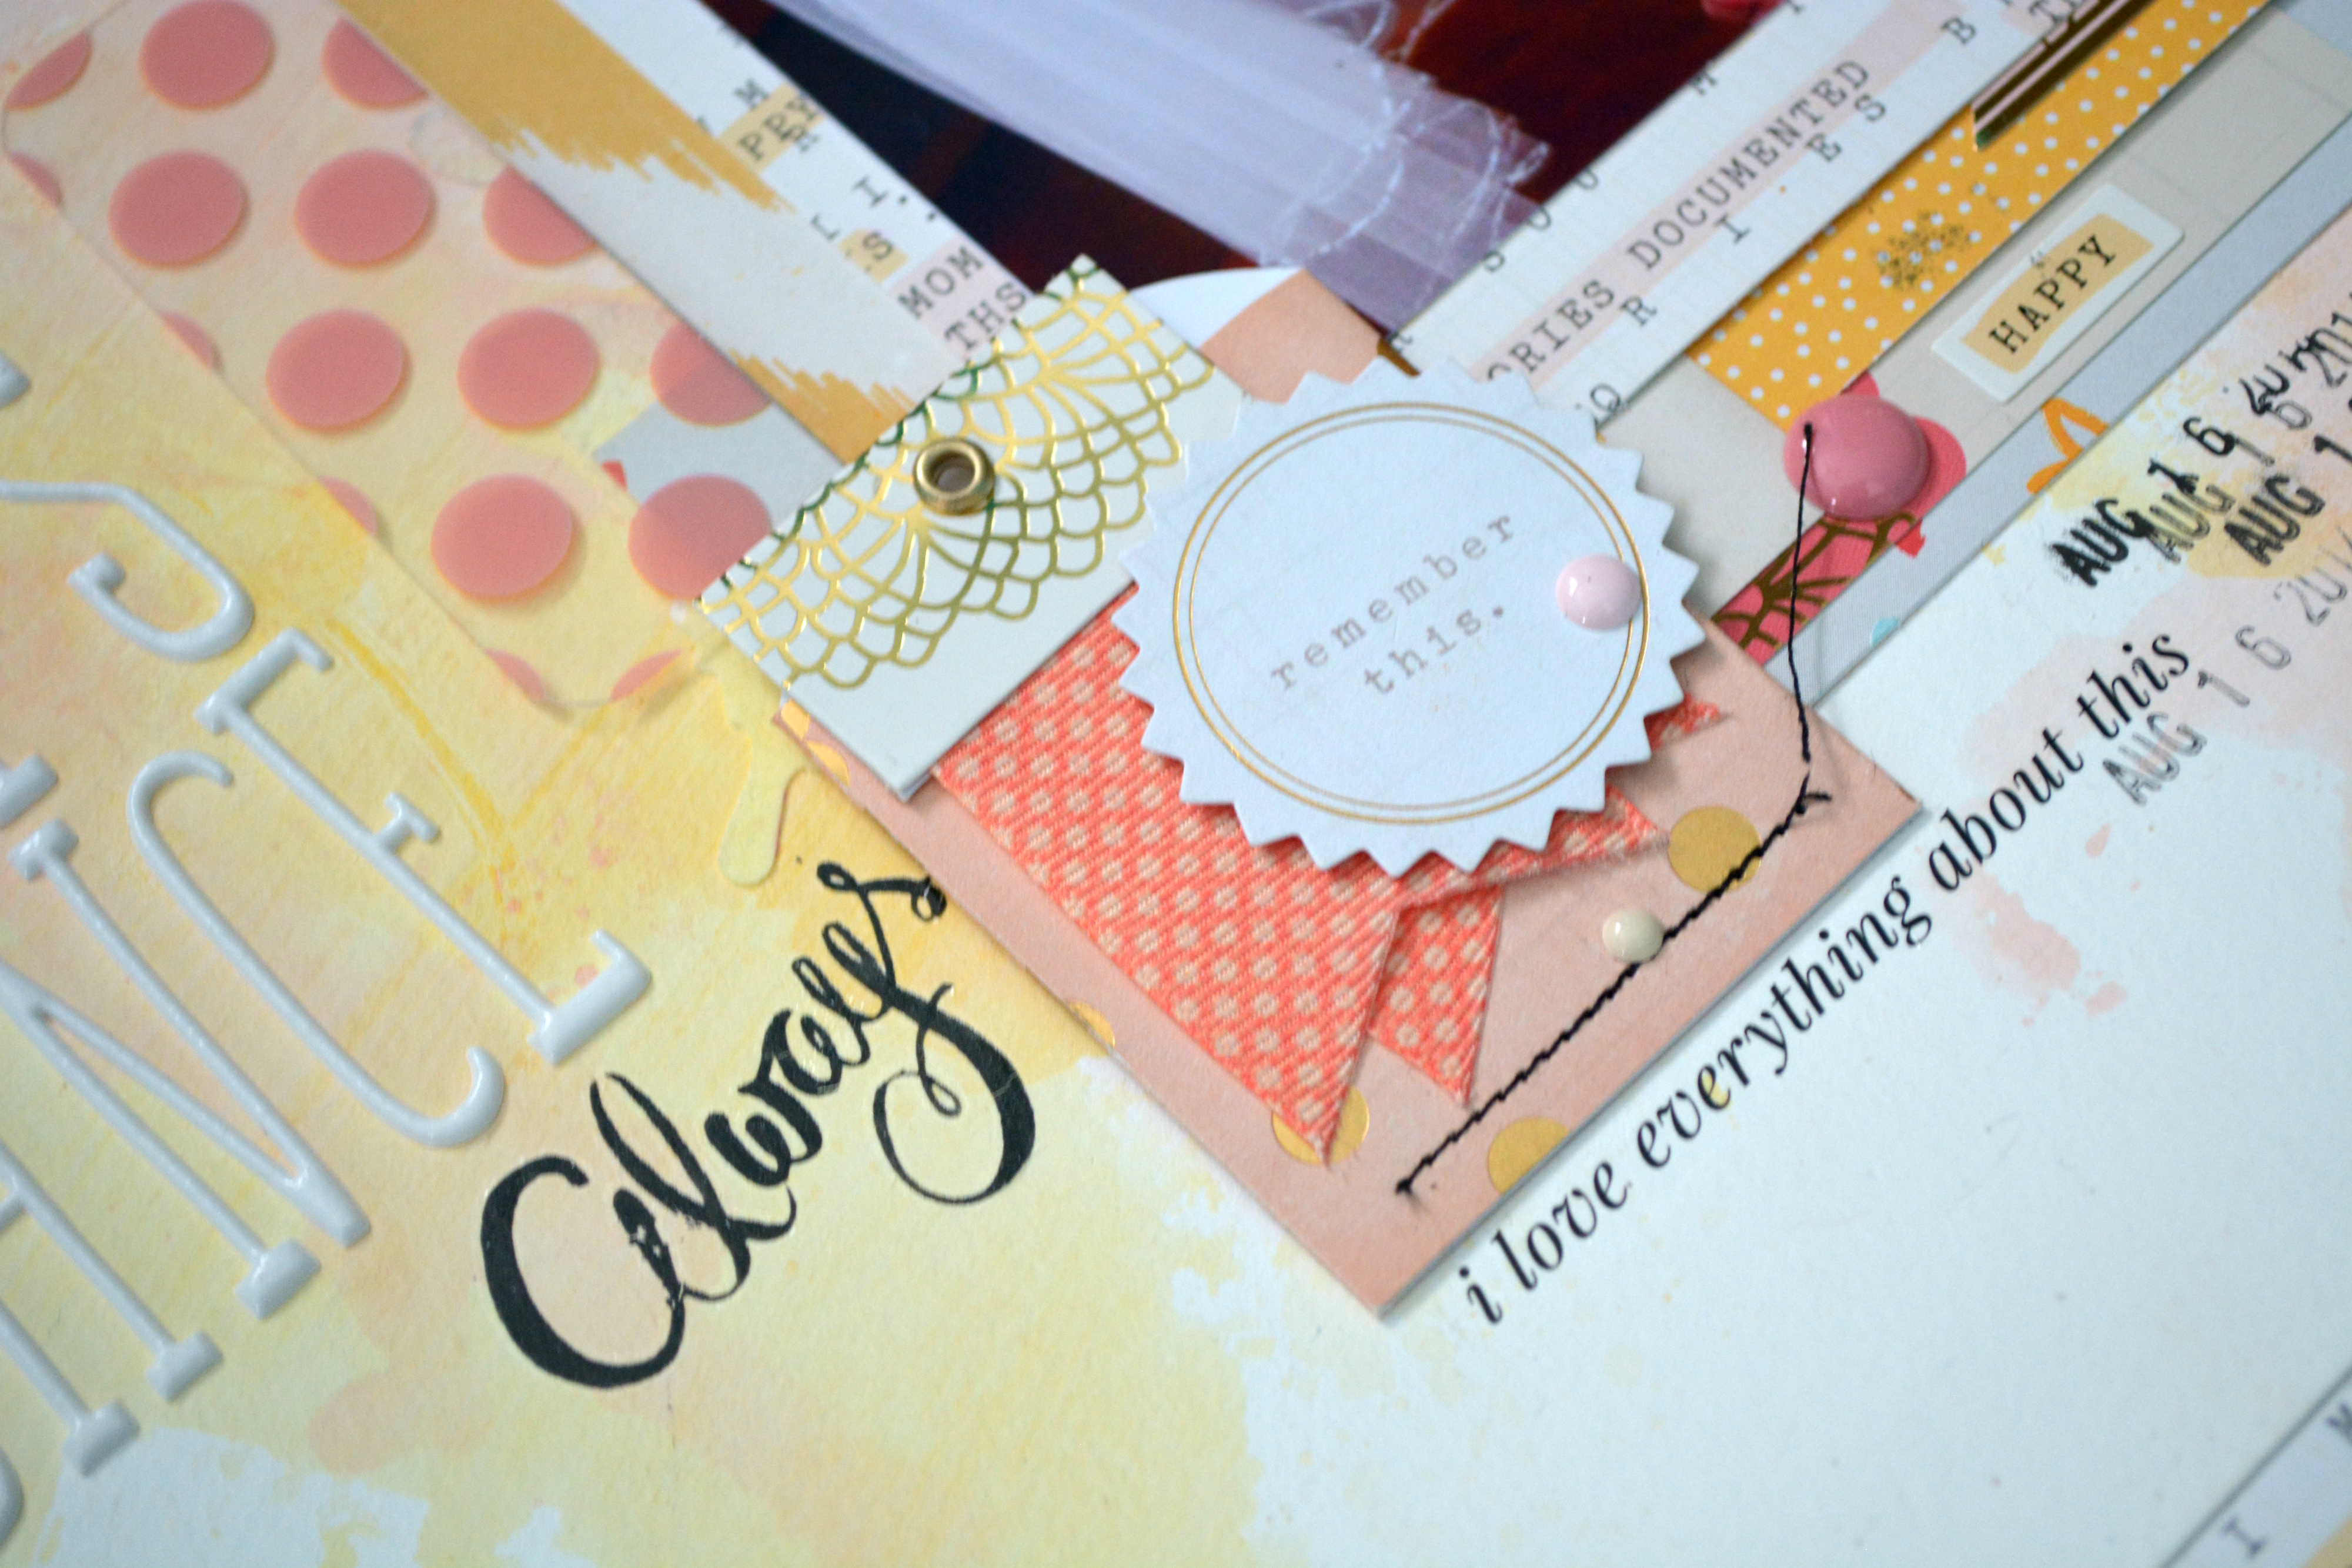
I love taking things apart, like that stitched pocket here, I pulled the tag out of it, took the remember this off of the front added one of the fabric banner pieces and then put the remember this back on the front. Layers make me happy even if they are simple.

Marry 2


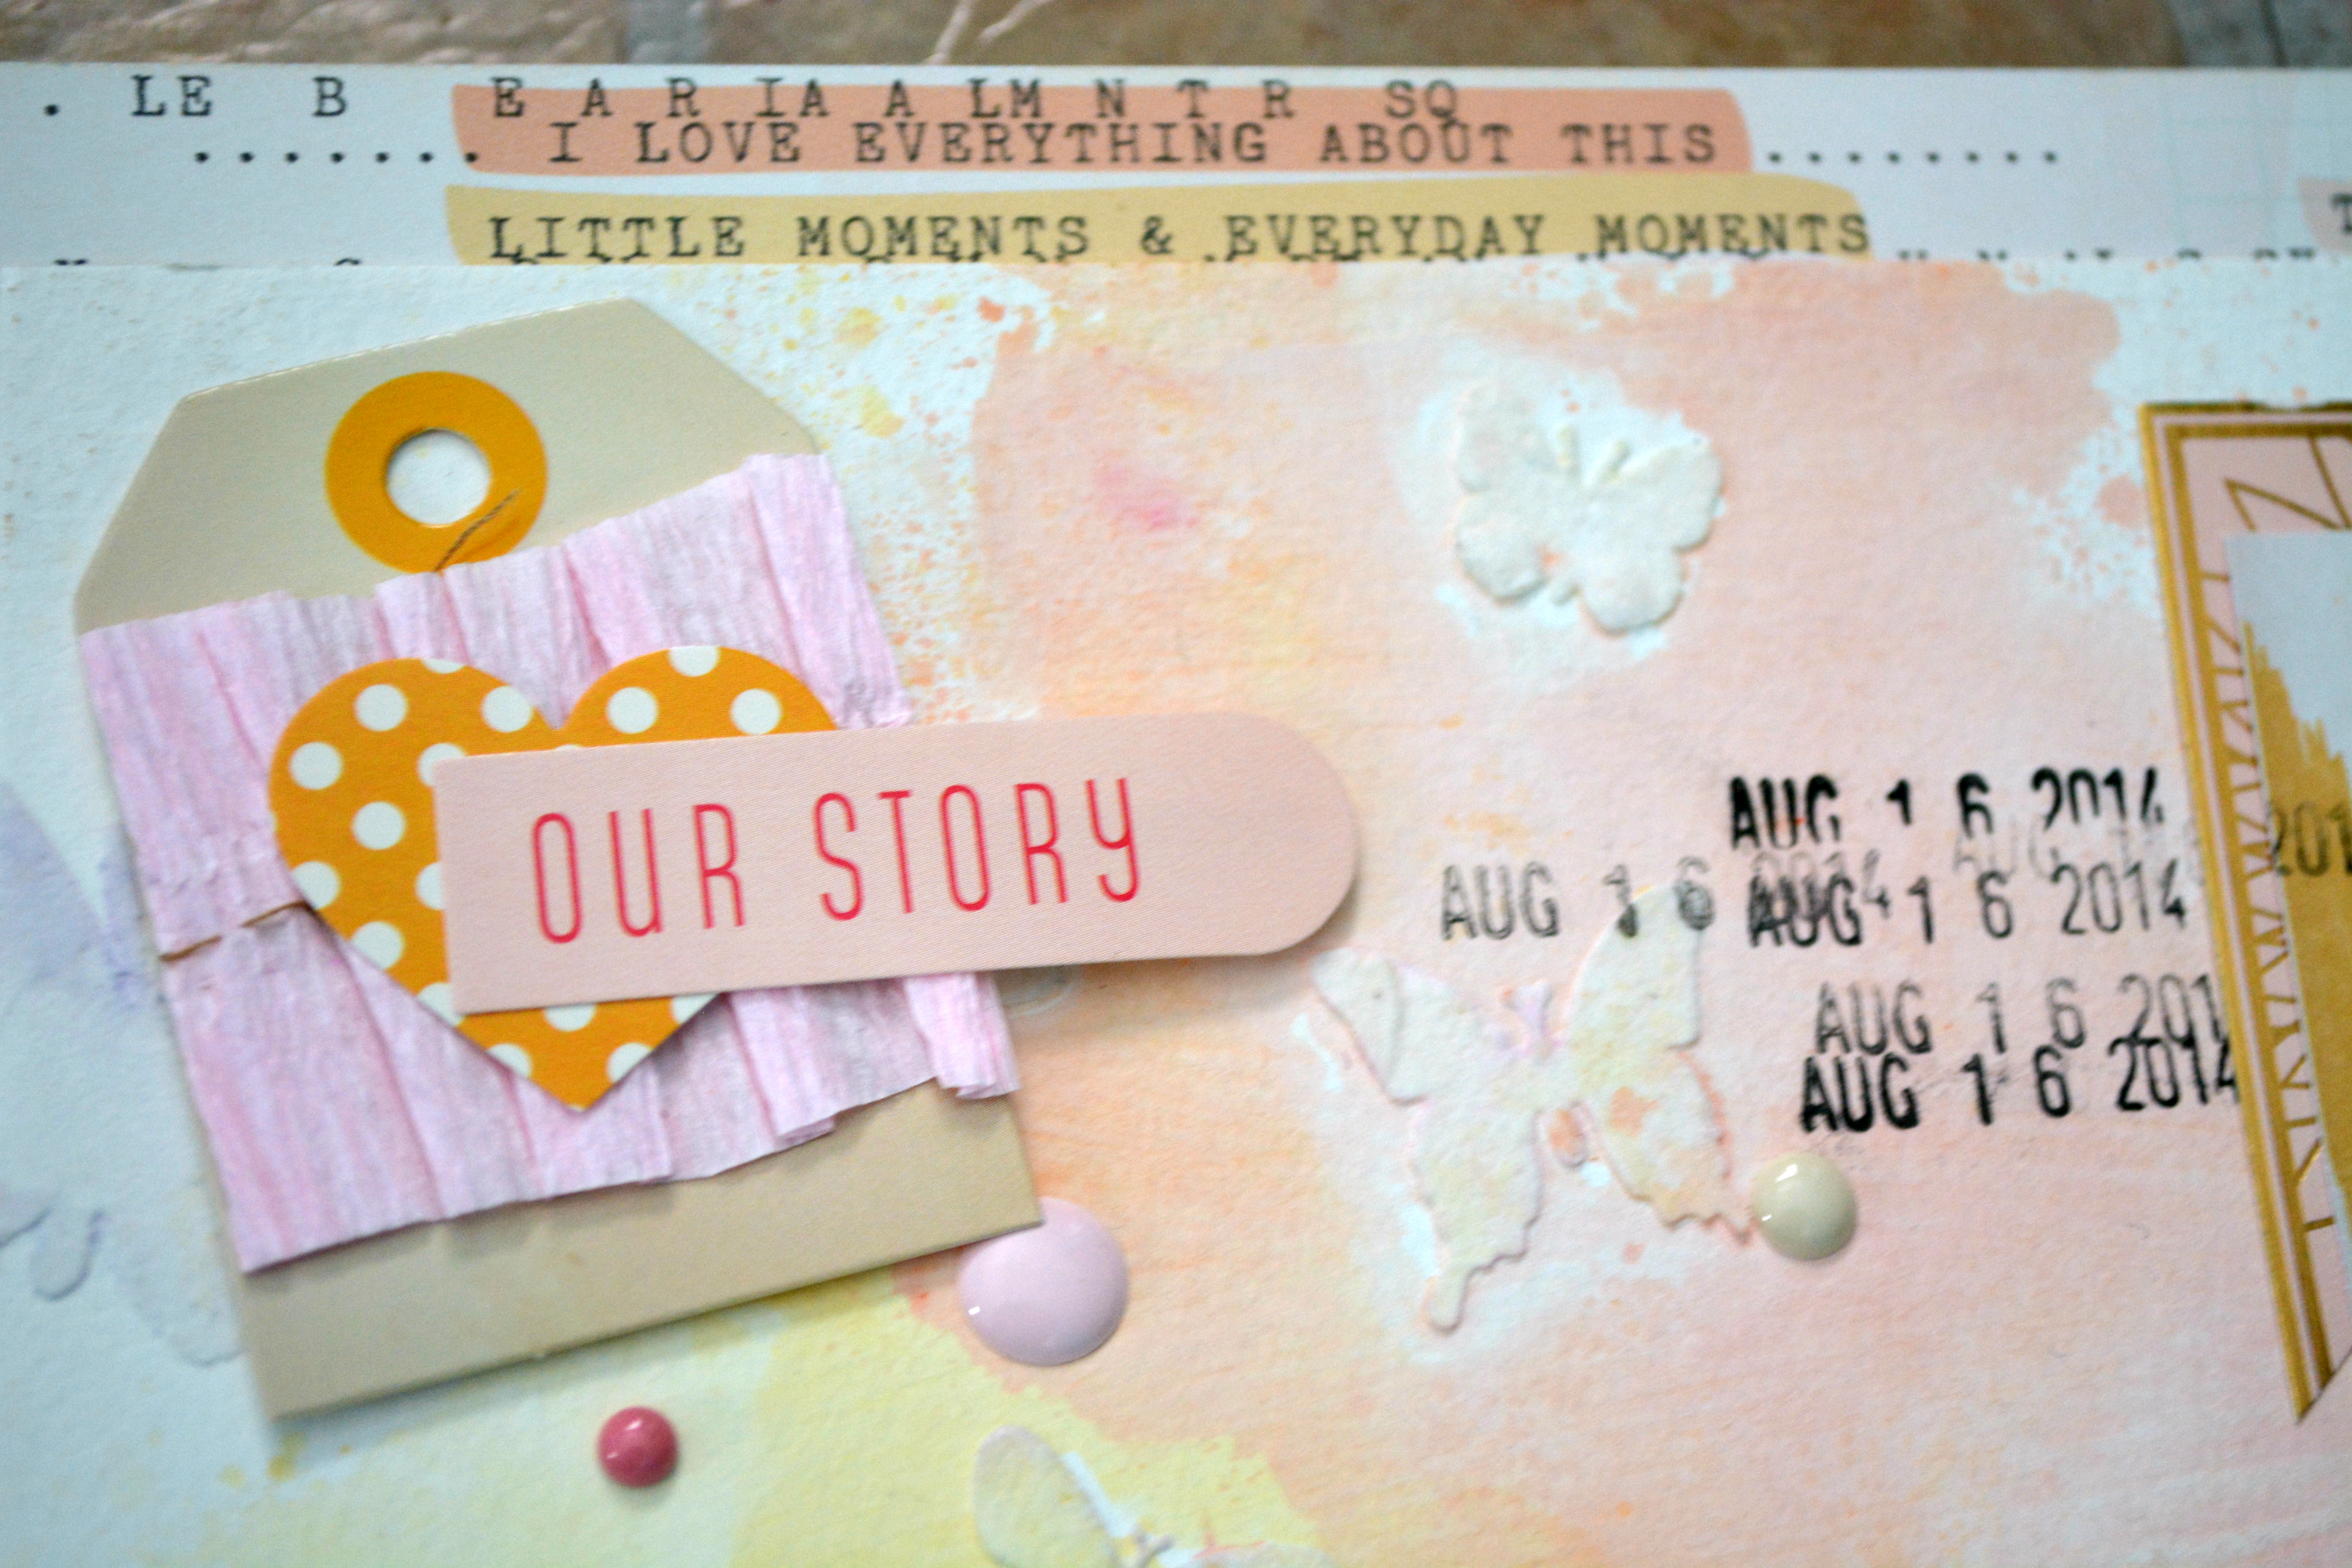
In the background here you can see that I started with some Golden Light Molding paste, and a butterfly stencil from prima.

This little tag with the crate paper on it was ever so cute but it was too tall for what I wanted… easy fix! Just cut it in half and glue it back together the crate paper hides the joint perfectly, later a few stickers from the sticker sheet and it is done!

I have been working on these pages for a while now, my little sister got married in August and I have been slowly completing layouts for her book. That is why, unlike most of my layouts, there is no journaling on this page, I leave that for her to do.

Christmas music..

DSC_0098


Hey everyone, I cant believe we are already on day 8 of the Christmas card marathon here on my blog! If you didn’t see Lori’s card yesterday you should go back and check it out, it was lovely.


So here is the card I have for you today, seriously not my favorite, but they can’t all be something I love. So for today’s card I stamped the Tim Holtz season’s greetings sentiment and embossed it with Hero Arts gold embossing powder. The I took the trees from an older Tim Holtz set and stamped them with Prima white chalk ink, and it got stuck on the embossing, and I couldn’t get it off without making a mess so I just left it alone, The snowflakes are from the Hero Arts Christmas sentiment set I use all the time.


DSC_0099


The Music notes, were a copy write free image I found online, that I put into my Silhouette software and traced (creating a cut file from it) and cut it on cardstock 3 times and layered them together, I then put 2 coats of Hero Arts gold embossing powder, then adhered it overtop of the card.


The patterned paper that the black paper is matted with is from the DIY Shop paper pad (it was a scrap from a while ago)


DSC_0100


Thanks for stopping by

Hugz,

Jess

Oh, Hello There

DSC_0069


Hey everyone, back with another card! This time it is from the Simon Says Stamp September Card kit. I really loved the stamp set that came with this kit, all the individual book stamps, as well as other elements, and the shelves themselves.

DSC_0070


I used various ink colours, some from Simon Says stamp, Hero Arts Shadow Ink, and the Prima chalk inks. (sorry I did not keep track of what colours)

DSC_0071


Its a very simple looking card, that has a ton of stamping in it.

Thanks for stopping by and having a look

Hugz

Jess

Star Birthday

stars


Hey everyone! Here is a fun card I made inspired by the one Kristina Werner did on Jennifer McQuires blog a while back. I started with a piece of Neenah Desert Storm Paper that I folded into an A2 size card. I then took a Prima Star Stencil, and inked it with white ink, let that dry thoroughly then used Distress ink in, Mustard Seed, Salty Ocean, and Dusty Concord through the same stencil with it being slightly offset.

stars 2


I then took a piece of vellum from my stash (it is provocraft vellum but Bazzil would work wonderfully), Heat embossed a happy birthday sentiment and a boarder from some stamp sets from my stash (I can’t remember which ones as I forgot to write them down, I appologize.) Cut a flag into the one side and glued it on, I then used white Scrappers Spool thread and wrapped it around a few times tying a bow. The sequins are from Neat and Tangled

stars 3


Thanks for stopping by,

Hugz,

Jess


Fantastic Feathers

Feathers 1


Yay for more birthday cards, its that time of year that I am doing trade shows and these are a big seller for me

I die cut the largest feather out of the Spellbinders  Shapeabilities Feathers in craft foam, I then took some Gelatos and mixed a small amount of them in a blue and a pink into some Golden light molding paste. I think adhered my craft foam stamp onto a block using temporary adhesive (this stamp is reusable as long as you clean it). I coated my “stamp” using a pallet knife with my tinted molding paste and stamped the feather, then dried it and stamped the second flower.

Feathers 2


I used a happy birthday sentiment from the Simon Says Stamp Birthday Balloons Set  using Hero Arts Charcoal Shadow ink. Took the Prima Color Bloom Spray in Sunshine  and randomly splattered the color on the backround (I can not find the link for this in my list for at the bottom but I know SSS has it in stock)


Feathers 3


Finished it off with adding some random enamel dots from my stash


Thanks for stopping by,

Hugz,

Jess

Just a little white..

white card 1


So here is the card I made to enter the Simon Says Stamp Monday Challenge W is for White. My card base is Neenah Desert Storm 80lbs cardstock, then I cut a layer of Neenah Solar White cardstock and  used the Prima Butterfly stencil (I can’t find a link for) and inked it with Distress ink in Seedless Preserves, and Peacock Feathers.

A piece of Simon Says Stamp Woodgrain Cardstock,edged it in seedless preserves, and tor a piece of Bazzill 40lbs vellum and tore it slightly larger.


white card 2


A banner cut out of DCWV Burlap paper and covered it in many layers of Picket Fence Distress Paint, and layered a vintage Doily under it. Die cut 2 of the Spellbinders Shapeabilities Peacock Feathers and watercoloured them with Distress ink. Die cut and stamped the sentiment from the All Occasion Banners set.


white card 3


Thanks for stopping by,

Hugz,

Jess

Sizzling Summer Blog Hop

Welcome to the last day of the Scrapadabadoo Blog hop! You should have come here from Zandra’s Blog.  If you are coming here first you should really go back to the beginning at Scrapadabadoo’s blog and start from there to play along!!


Isn’t it wonderful what everyone has done with their Prima Bikes so far? I am just floored with everyone’s creativity!


I am a card maker, most of you know that… so this is so far out of my comfort zone, Barrie and Carol really threw me for a loop with this one.


My mind works in different ways (go figure!), when it comes to me “altering” or decorating something my mind goes to one place… Halloween (yes, YES! I know it’s summer and I am a few months early but that is okay… right?) When I decorate for Halloween I always think like overgrown house in the middle of forest, and that is how I decorate my house at that time of the year… so I ran with it… pretty with some twisted and creepy things thrown in.


DSC_0308


So it all started with me spray painting the bike with Krylon Colormaster paint and primer in one in the colour Blue Ocean Breeze, after a couple coats of that and letting it dry I was ready to have some fun… I picked myself up a bag of Spanish moss from Dollarama (Canadian dollar store) and covered the bike in it.. giving it that over grown feel. I then took some “Creepy cloth” out of my halloween decorations and cut myself off a chunk. The cloth is like a heavy cheese cloth with large holes in it, I draped that over the front end of the bike.

I used Wild Orchid Craft Flowers, the store has plenty of options, but the ones I used were from my stash and are Dove Grey Cottage Roses 1 1/4″ (FM-00208), Walnut Cottage Roses 1 1/4″ (FM-00113), Ivory Trellis Roses 1 1/2″ (FM-00382).

DSC_0309

I then added some of my fun Halloween little decorations, can you spot the Scorpion?


DSC_0311


My little red eyed rat friend came out to play.


DSC_0310

My inconspicuous 8 legged friend just relaxing in a hole.


Along the way you will want to collect the letter that is on each blog, and also leave a comment on every blog along the way. After you have collected all of the letters.. you will then unscramble the letter to form a word or words. Once you have unscrambled the letters send your word or words in an e-mail to Scrapadabadoo@comcast.net . For your chance to win a great prize!

secret letter sign L

Now hope along on our little ride at Patti’s Blog!d

Hugz. Jess


Stencil Card Challenge

This weeks challenge is to use a stencil on your card… and here is mine.


MY B 1


Here it is! I am happy with the way this card turned out, aside from the flowers everything on this card is made from white paper and coloured using Distress Inks (weathered wood, crushed olive, dusty concord, seedless preserves, fired brick). The Stencils used were Prima’s Chevron stencil, and the Tim Holtz Ray stencil.

MY B 2


The image is from Sherry Baldy’s My Besties (the first time I have coloured one of her images) and coloured using my Copic Markers.


MY B 3


The Feathers are die cut from Spellbinders Shapeabilities Peacock Feathers dies, and the frame around the Happy Birthday sentiment (from Simon Says Stamp) is from Spellbinders Fancy Frames 1. All the feather on the card are from Wild Orchid Crafts.


Thanks for stopping by and don’t forget to link up your card below. (you will be able to see all cards linked using this tool as well)

Hugz

Jess

Grandpa for Fathers Day

Dadgpa


Father’s day is coming! For a change, I am ahead of the game. (Don’t get use to it lol.) I have been having tons of fun playing with this set and doing some simple masculine cards, they always seem to be a challenge.

Dadgpa 2

Dadgpa 3


Really did keep this card super simple, inked through a stencil a little spray and jute and wood veneer.


Thanks for stopping  by

Hugz

Jess


Supplies not linked too, Americian Crafts Jute twine, Scraptastic Wood Veneer.