Hello Beautiful Release!

Hey friends! It is release day with Simon Says Stamp! You can check out the whole Hello Beautiful Release here!

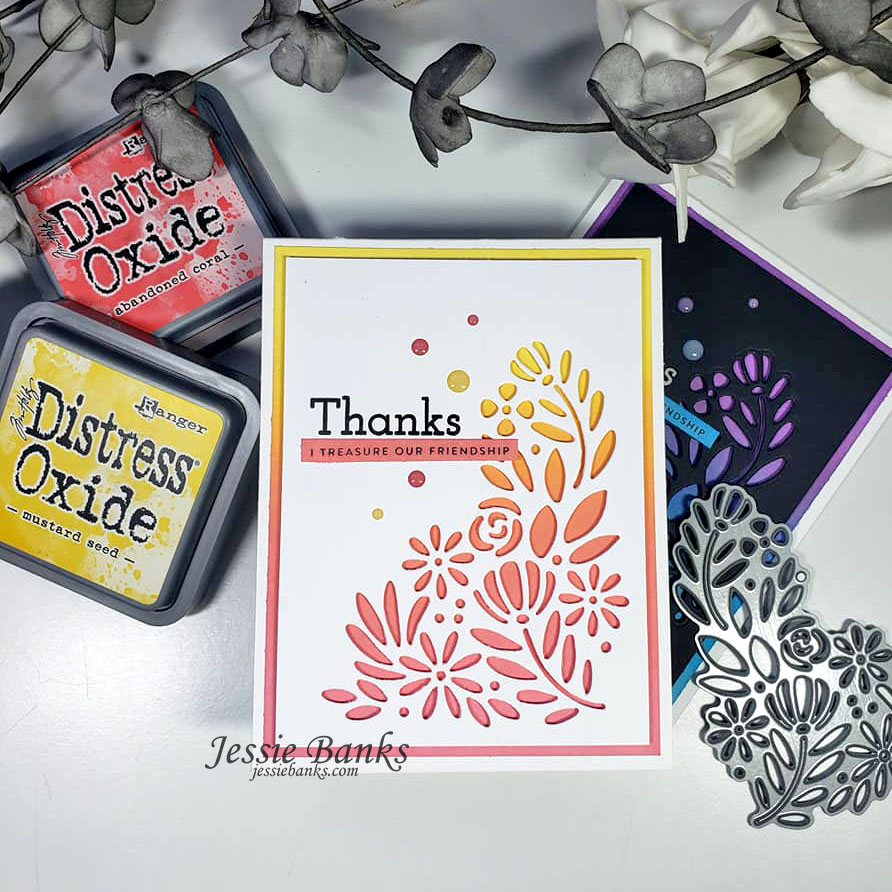
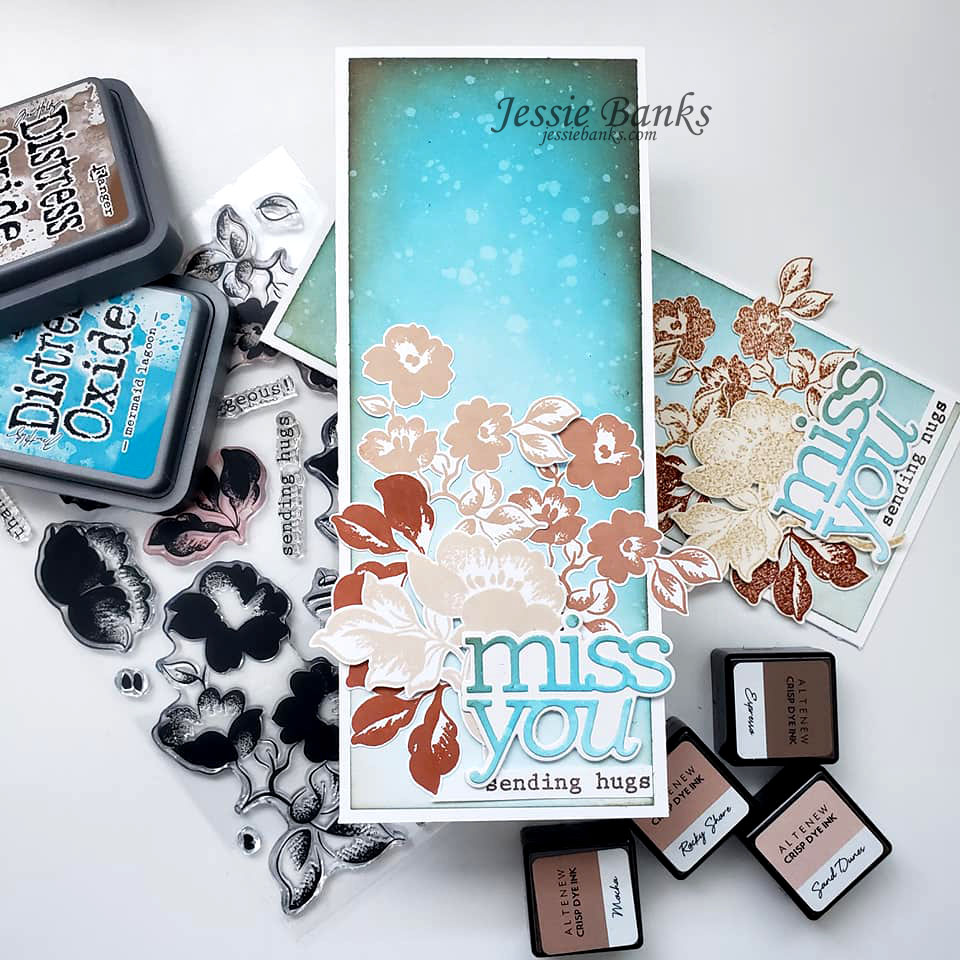
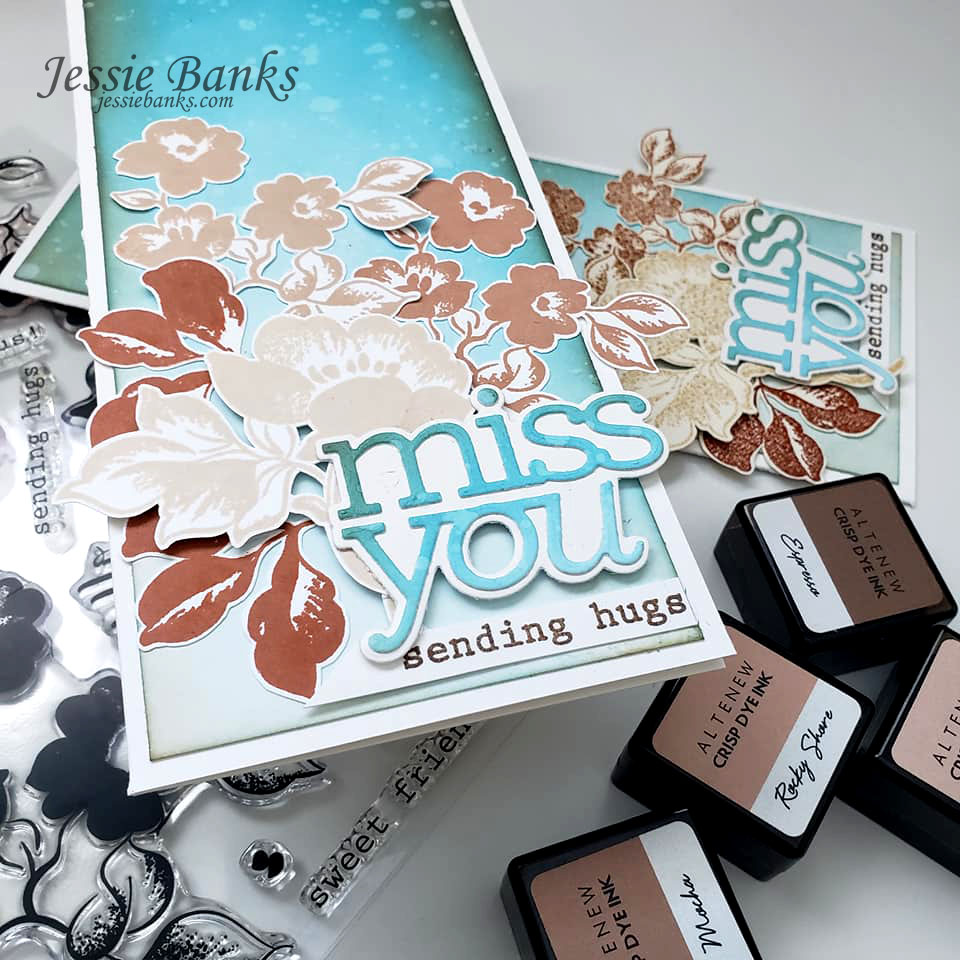
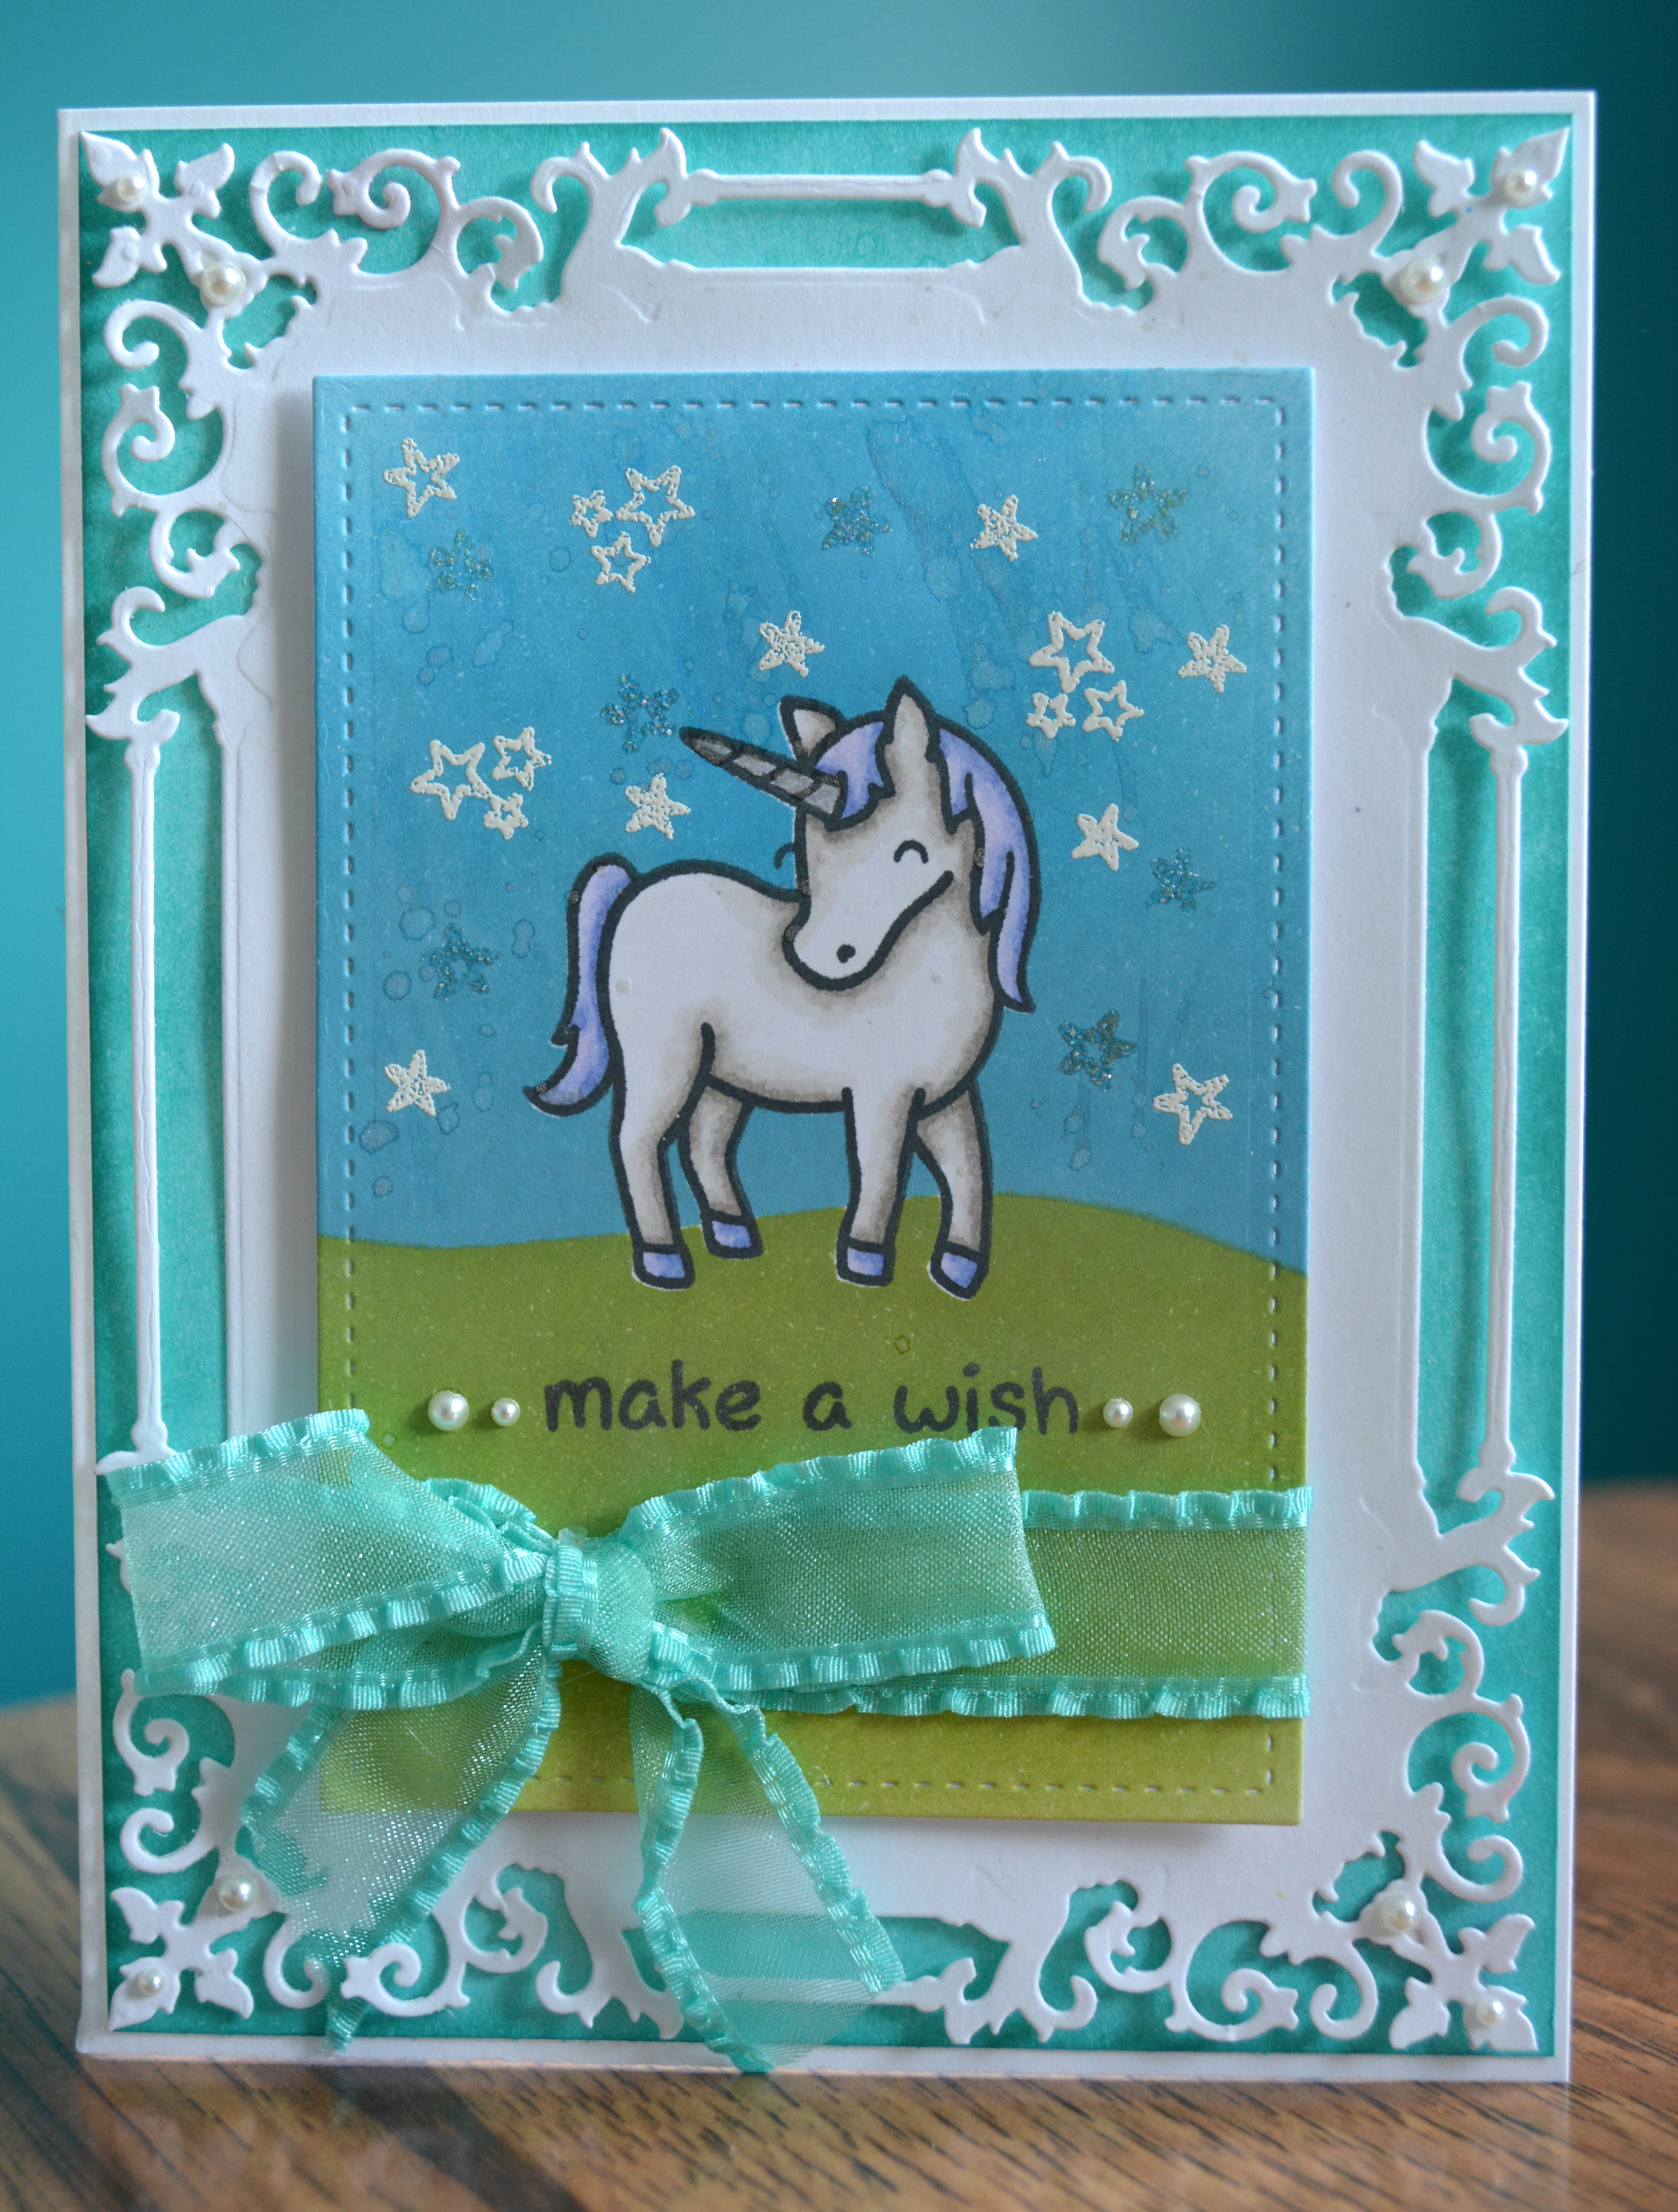
I got to play with the Spring Blooms Corner Die! So I inkblended up a couple of background and then cut the die out on some white and black cardstock in order to create the two cards.

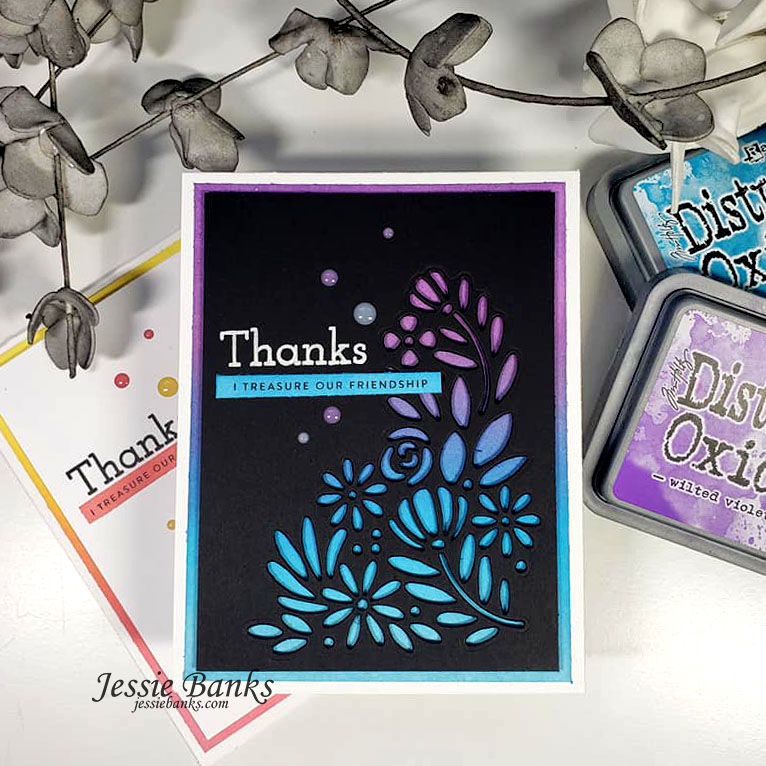
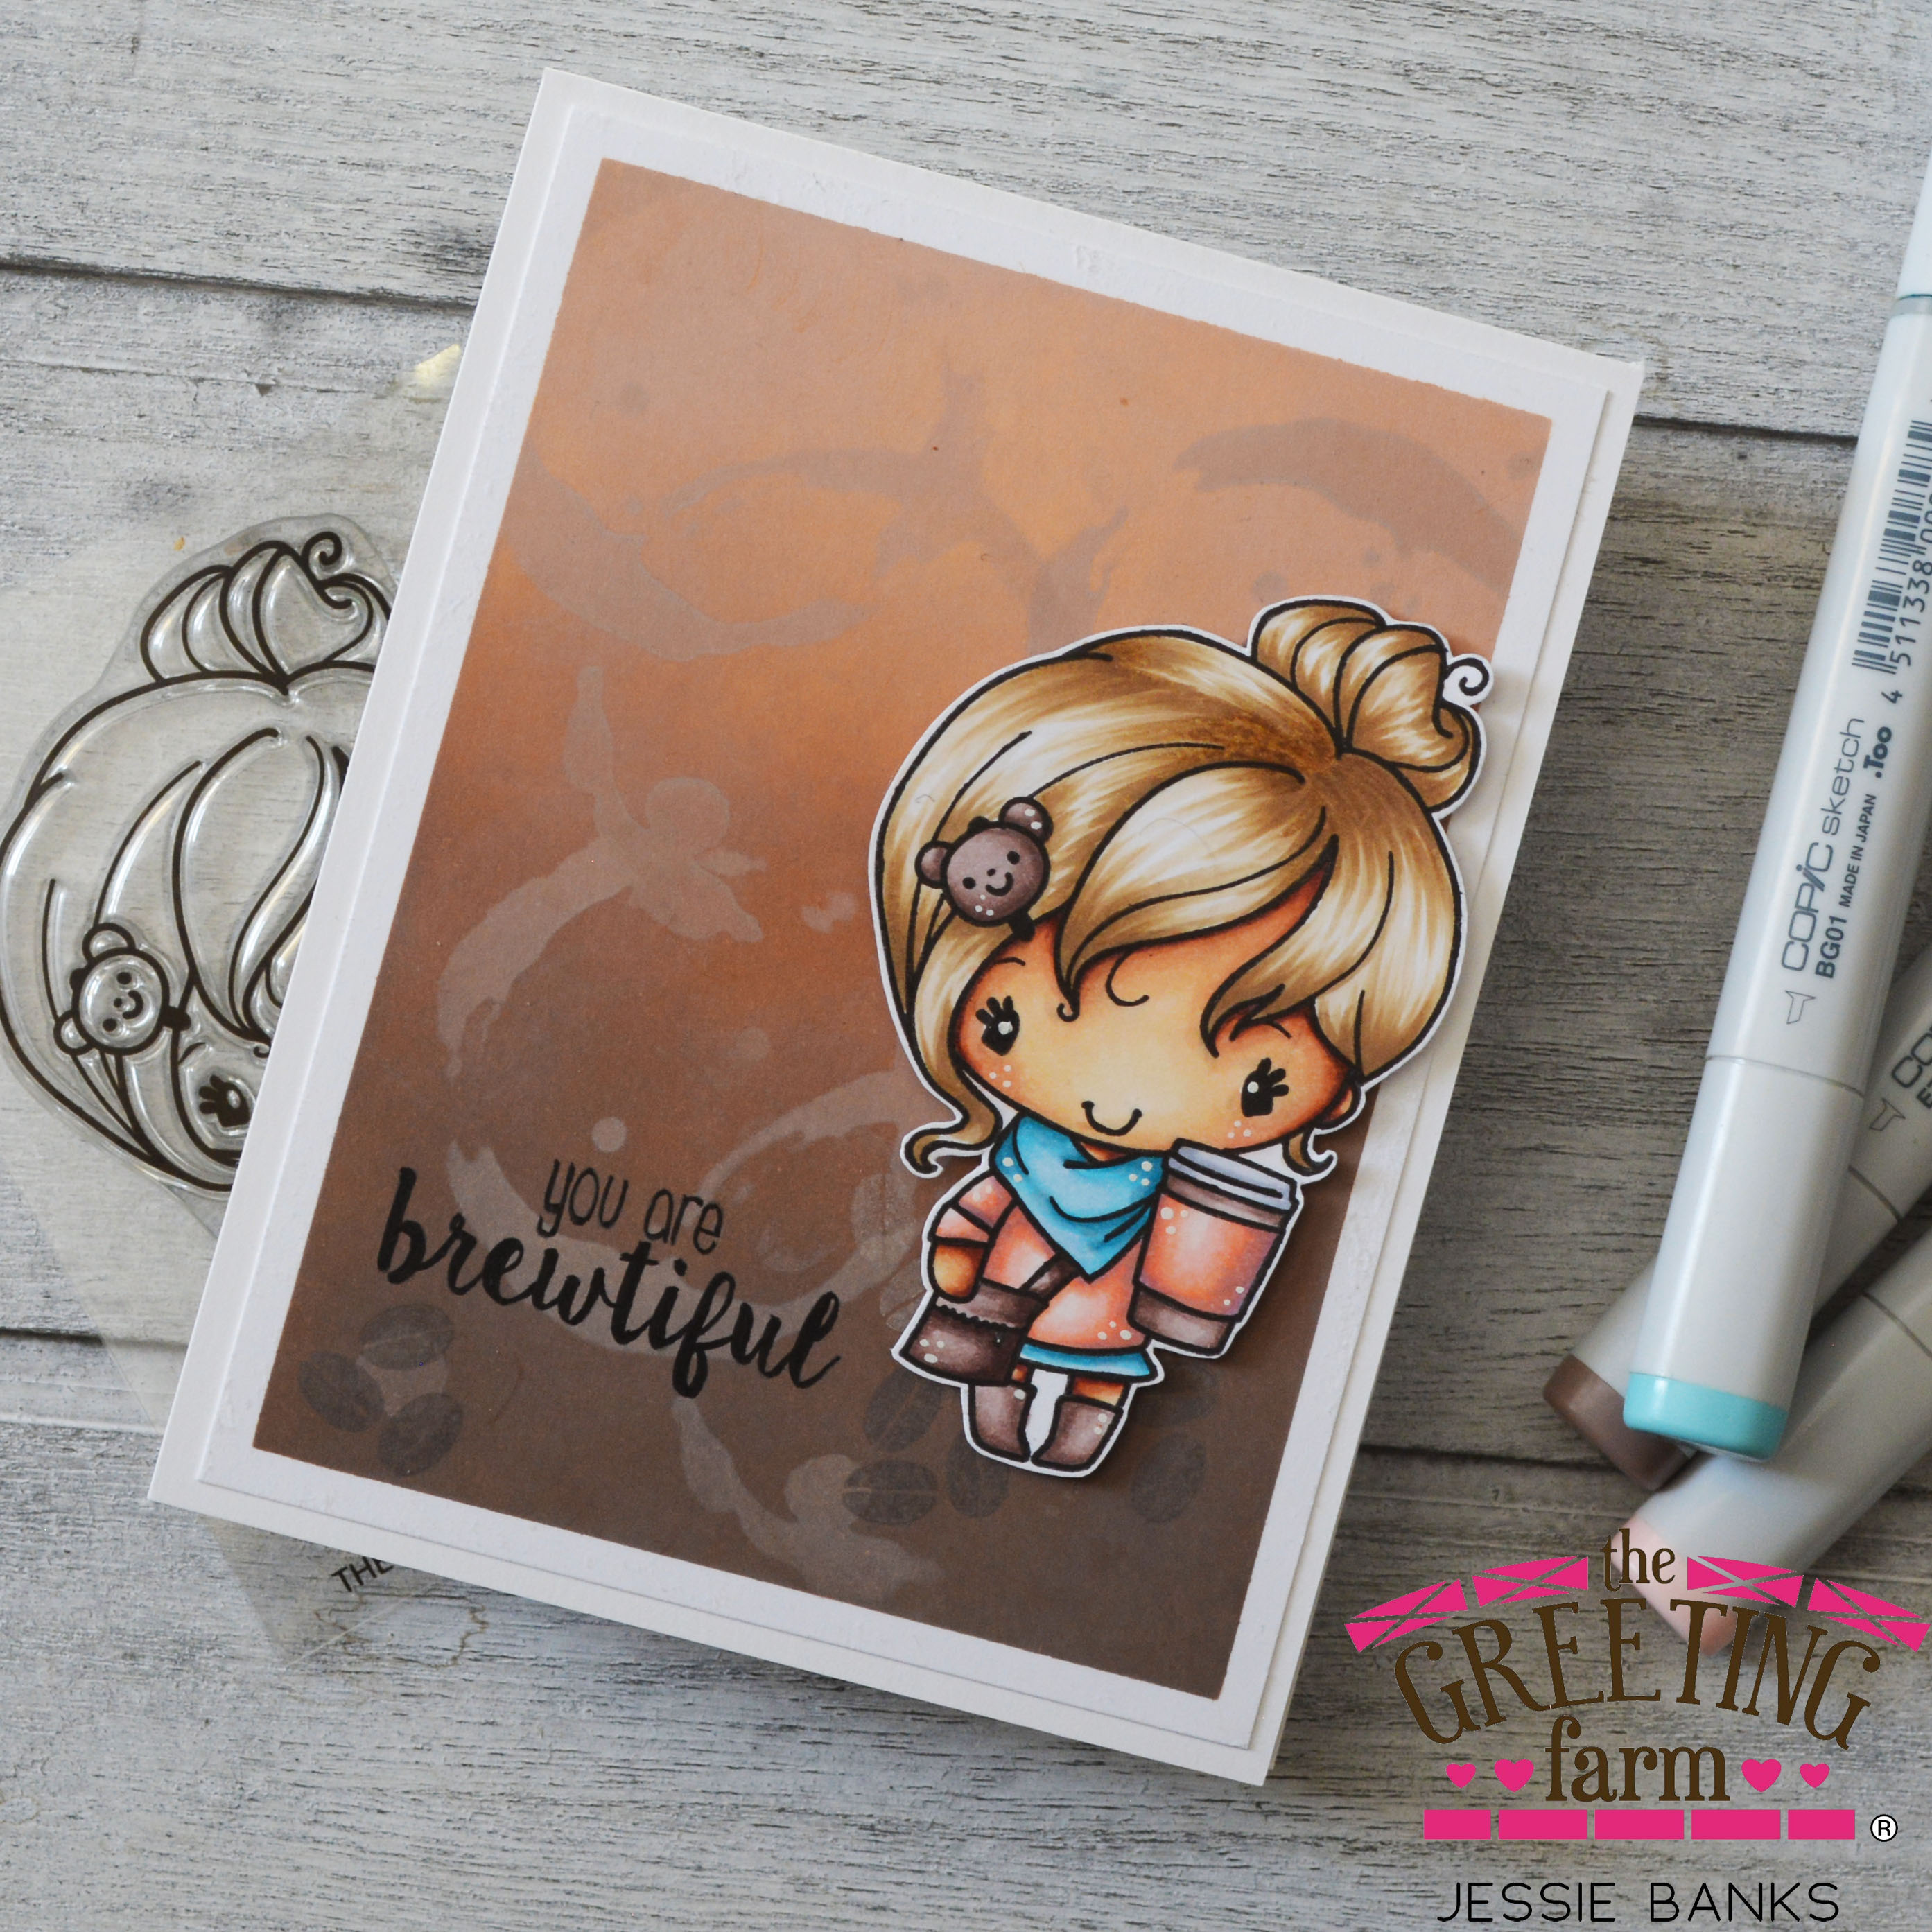
I really love the way these came out, it is so fun to get a small mystery parcel from Simon every month and get to play with something new! I popped up the panel with foam tape to get a bit of a shadow on the ink blended background.
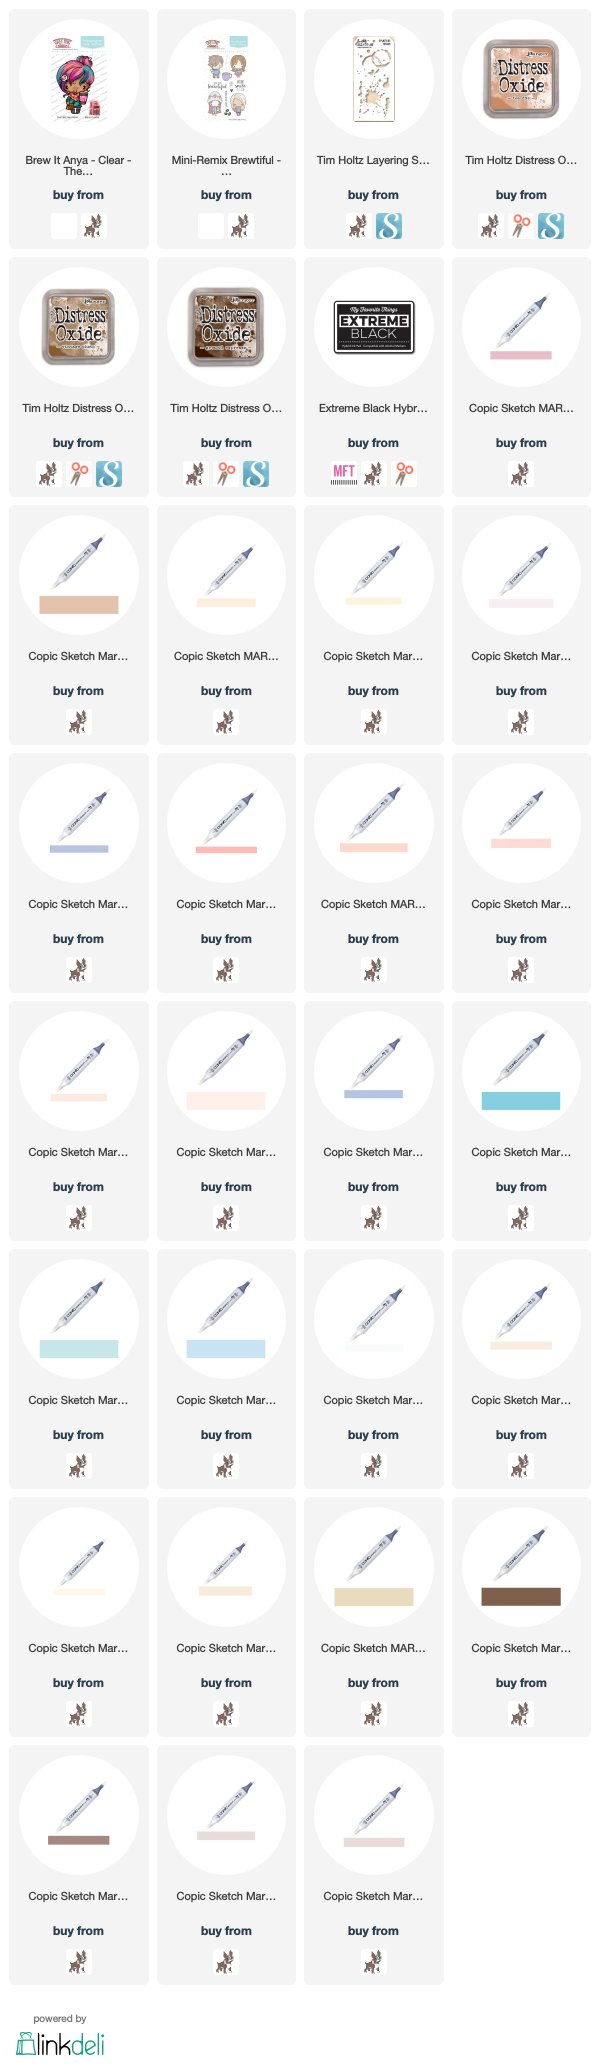
Supplies:
Affiliate links used where possible at no additional cost to you. I get a small commission from your purchase and that goes to help pay for the blog and support my YouTube Channel.
Simon Says Stamp Hello Beautiful full release – https://shrsl.com/2tc4n (SSS)
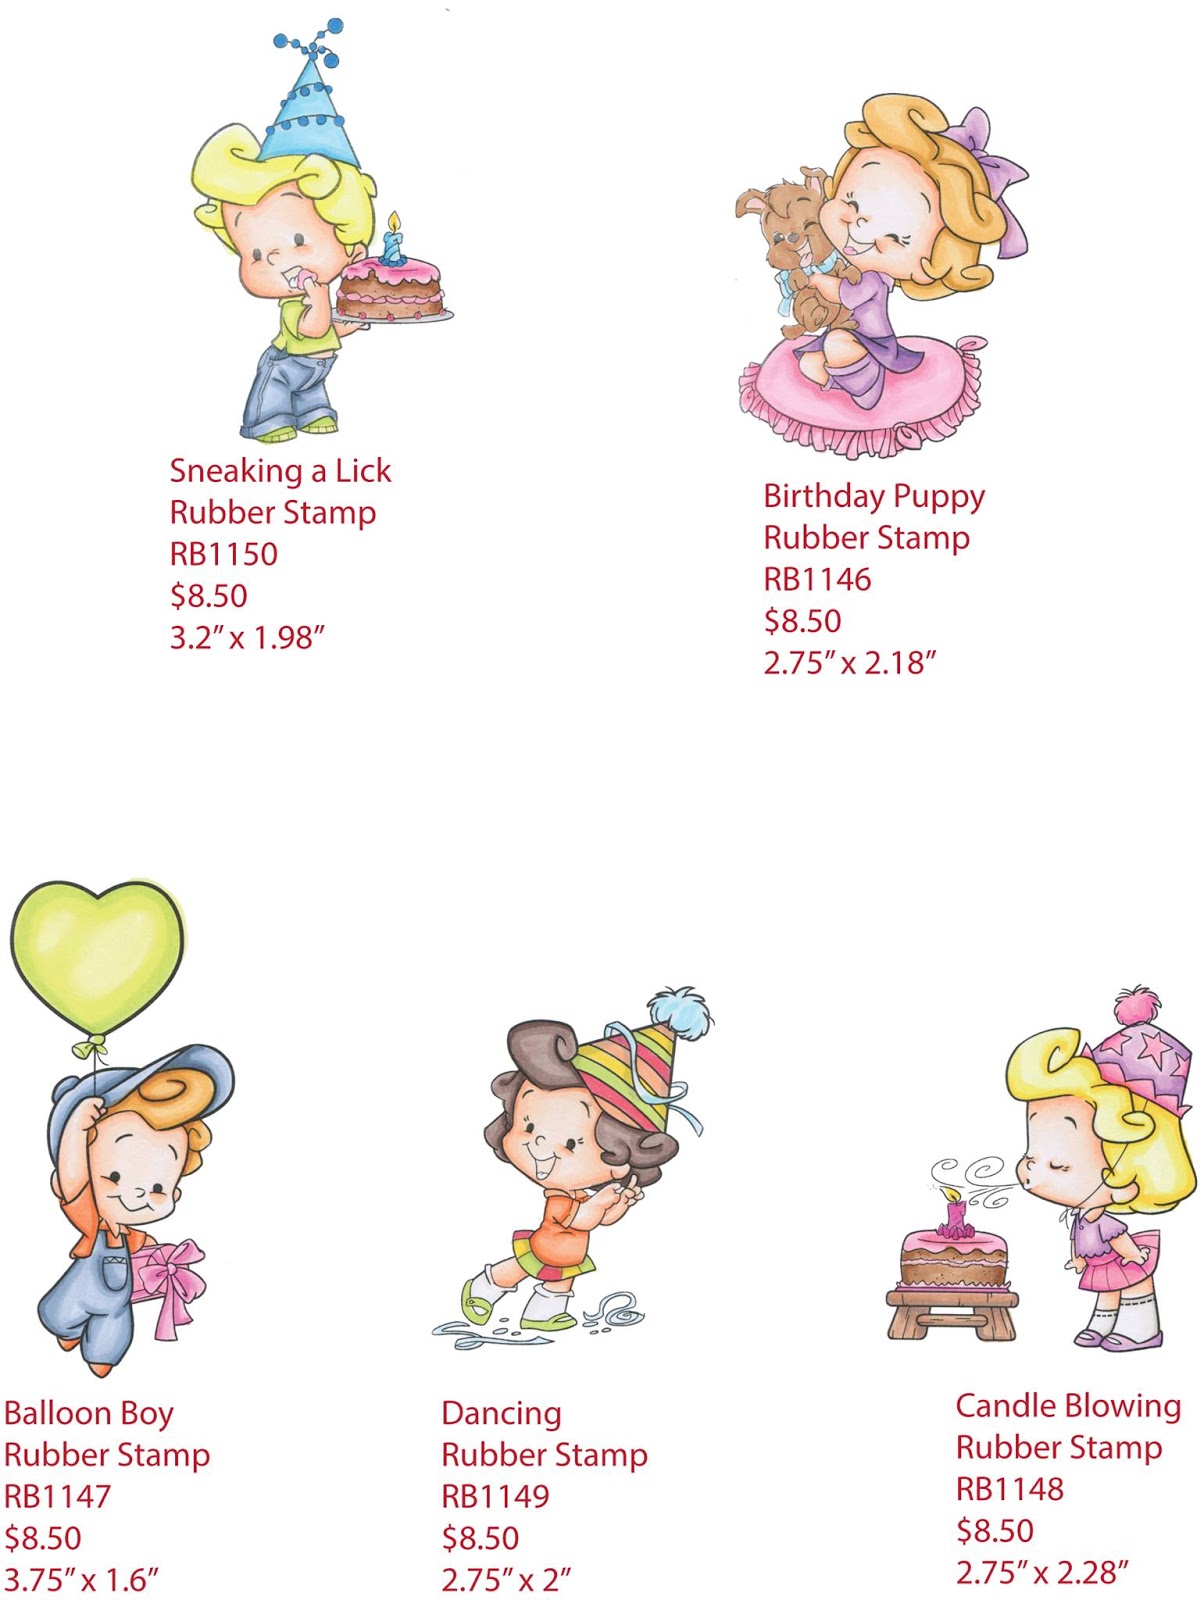
Simon Says Stamp Spring Bloom Corner Die – https://shrsl.com/2tc5e (SSS)
Distress Ink Wilted Violet – https://shrsl.com/2tc5i (SS)
Distress Ink Mermaid Lagoon – https://shrsl.com/2tc5h (SSS)
Distress Ink Abandoned Coral – https://shrsl.com/2tc5g (SSS)
Distress Ink Mustard Seed – https://shrsl.com/2tc5f (SSS)

Thanks for stopping by,
Hugs
Jessie

Frosted Garden

Hey friends! Today I have a card and video sharing a card I am in love with. That involves NO COLOURING. If you have been following my blog for any length of time you know that I colour literally all the time. This is so outside my norm. I would love to know what you think!

I stamped out all the images using the Coffee Break in set on white cardstock, and watercolour paper. Then spend AGES fussy cutting them all out. I then inkblended a tall slimline card to place them all on. A fun die cut sentiment paired with a stamped one finished this card off!

I do prefer the solid stamping on the white cardstock as opposed to the stamping on the watercolour paper. I am interested to know which look you prefer!

And now for the process video!

Supplies:
Affiliate links used where possible at no additional cost to you! Thank you for supporting my channel and blog!
Altenew Frosted Garden – https://shrsl.com/2s116 (SSS)
https://shrsl.com/2s11r (Altenew)
Altenew Coffee Break ink set – https://shrsl.com/2s11b (SSS)
-https://shrsl.com/2s11u (SSS)
Simon Says Stamp Miss You Dies – https://shrsl.com/2s11d (SSS)
Distress Oxide Tumbled Glass – https://shrsl.com/2s11e (SSS)
Distress Oxide Mermaid Lagoon – https://shrsl.com/2s11i (SSS)
Distress Oxide Vintage Photo – https://shrsl.com/2s11l (SSS)
Distress Oxide Ground Espresso – http://shrsl.com/2s11n (SSS)
Ink Blending Tool – https://shrsl.com/2s11p (SSS)
Clarity Brushes –
Misti – http://shrsl.com/2s124 (SSS)

Stronger Together

Hey friends! Today I have a clean and simple card to share with you. Using Alcohol inks and my copics, both of which I have been neglecting!

I started off by creating the background panel with my alcohol inks, using some pinks. Which helped me choose the yellow flowers of the copic coloured image to contrast off of that pink background!

I did a primarily black sentiment as I wanted it to pop out from all the colour and white space that is on the front of this card. I haven’t done a clean and simple card like this in quite some time!

I do have a process video of this one to share with you all!

Supplies-
Affiliate links used where possible at no additional cost to you. Thank you for supporting my channel
Simon Says Stamp Stronger Together – https://shrsl.com/2r2sl (SSS)
Alcohol Ink Shell Pink – https://shrsl.com/2r2sw (SSS)
Alcohol Pearls Intrigue – https://shrsl.com/2r2t5 (SSS)
Alcohol Blending Solution – https://shrsl.com/2r2ti (SSS)
Yupo Paper – https://shrsl.com/2r2tr (SSS)

Thanks for stopping by,
Hugs
Jessie

The Greeting Farm – July 2019 Preview Day 1

Hey everyone! Welcome to previews for the July 2019 release! We are kicking things off with Take A Hike!

I coloured these two little cuties up with my copic markers, then fussy cut them out. I really love how adorable this set it!

I have a pile of alcohol inks kicking around, and a bunch of yupo. But I don’t use them, well I have been on this mission to use all these things I have. DO I used some blues, and the blending solution to create this fun water looking background for these little ones in their canoe.

Thanks for stopping by,
Hugz
Jessie

Brew It Anya

Hey all! I am here today with a fun card for The Greeting Farm!

I coloured up Brew It Anya with my copic markers. Using Distress Oxides and a stencil, I created a fun coffee themed background. Adding a sentiment and a few coffee beans finished off this card.

https://linkdeli.com/widget.js?1551106829638

Teacup Fairy

Hey everyone! Another great thing about release week over at Kraftin’ Kimmie Stamps, means that it is also Anything Goes Challenge.

Kraftin Kimmie Stamps - Teacup Fairy - Jessie Banks.jpg

I coloured up Teacup Fairy with my copic makers (sorry I coloured all of these while I was camping and I forgot the book with all the colours written in it out at the camper). I fussy cut her out and layered her on top of a stenciled background.

Thank you so much for stopping by,
Hugz,
Jessie

C.C. Designs Blog Hop – Balloon Lucy

Today is RELEASE DAY for the new APRIL Stamps at C.C. Designs.
As you have seen from our Preview Days, these new stamps revolve around
birthday parties and celebrations!

CCD Balloon Lucy
I coloured up Balloon Lucy live on my Cards and Colour! Facebook group, using the no lines technique (I have been slightly obsessed with it lately). Keeping a very clean and simple party type feel to the card, I cut some ink blots out with my cameo then used the negatives as a stencil to create a fun background with my new Distress Oxide inks (I think I love them but a little more playing and a review will be coming soon!). A simple sentiment from my stash and this darling card was complete!
Every release we will have a New Release Blog Hop to showcase our awesome Design Team. Check out their amazing creations! This month we have an awesome Guest Designer joining us! Please give a warm welcome to Mindy Baxter of My Creative Scoop!

And we can’t have a Blog Hop without a PRIZE!! Here’s how to enter:Leave a comment on each DT Member’s Blog, and then head back to the C.C. Designs Blog to let us know you completed the hop. The winner from the Blog Hop will receive FREE stamps!!

*This Blog Hop will end on Sunday, APRIL 9th at NOON, 12pm EST. All winners will be announced the following week.

Don’t forget we also have a give-away on the C.C. Designs Facebook Page. Head over, find the Preview Day Banner, and answer the question in the FACEBOOK comment section. You have until Sunday, APRIL 9th to leave an answer for a chance at winning!

All of these products are now available in the C.C. Designs Store!Happy Hopping!!

2015 Week 2

2015 week 2 a

Wahoo back with week 2! Is is sad that I feel really excited after 3 weeks to have 2 of them done. This spread is using cards from past Scraptastic This Life Noted Kits. This week was a crazy expensive week, my son got completely spoilt, he got his hockey gear, and then we purchased a PS4 (which I had been saving for sense they got released and they had one at Walmart with the Lego Batman game so I picked it up)


2015 Week 2 c


2015 Weeek 2 d


You can see in that picture I added a vertical photo, the issue I ran into was when I went to put my layout into its page protector, of course I planned it on the side where the opening was on the spread from the prior week. Easy fix I took my craft knife and ruler and cut a slit at the top of that pocket on the back side that is only as wide as the photo, slid the card in the other side then slid my photo in the slit I had made on the front and re-attached it.

2015 Week 2 e


2015 Week 2 f


The other half of the spread of course follows the same colour pallet as the prior page, and was also kept simple, a little journaling wood veneers, and an acetate word from Heidi Swapp. The tag I used on the photo of my son sleeping is cut from Tim Holtz’s tiny tabs and tags die.

2015 week 2 b


If there is anything on this spread in-particular you would like to know where it came from, leave a comment and I will be sure to get back to you.

Thanks for stopping by,

Hugz,

Jess

It is now is pieces…

IMG_1565

I apologize for the quality of the photos these were taken with my Iphone, in the not so great basement light.

This is what a Tim Holtz Vagabond looks like taken apart… why you might as… well it was busted anyway and I was out of warranty. So what else was there to do with it? And that question continues now what do I do with it?

Fair warning this is a photo heavy post.

IMG_1568


IMG_1566


Tighter shots of the first two photos.

IMG_1560


Hey look its the other half taking it apart, in his old man slippers, lazy clothes, and messy hair. (Don’t tell him I posted this picture lol)

IMG_1557

So once you spend what feels like an eternity locating all the hidden screws (well done sizzix) so that you do not have to break the case to get into the machine. This is what you find… this is the machine without all the pretty bits, the guts that make it work so to speak.

IMG_1570


Then as you dig further into that, you find this magical piece. It is the real heart of the operation, the motor itself. It is also where my machine went all wrong… See the very top piece there… well it had metal shavings in it… bad bad bad.

IMG_1558

(I left this image large so you can see the shavings easily.) this caused that motor to basically skip or shift slightly when the machine was working… which broke the magnet *this motor runs similar to a lawnmower motor* the magnet is a necessity.

IMG_1571


IMG_1576


And there you have it the reason why my vagabond died… guess I need some sort of a new small machine as my grandemark is to big to lug around. I am thinking of a Grand Calibur.

Here is a few last photos of all the pieces…

IMG_1561


IMG_1572

IMG_1556

IMG_1562


IMG_1559

So what do I do with it now? I have no idea.

Thanks for stopping by,

Hugz,

Jess

Make a wish…

Make a wish PS

Hey everyone! Back today with another sweet little card. I have always loved this stamp set from Lawn Fawn, I have used it over and over again, and still continue to love it.

Make a wish PS 2


There is no patterned paper on this card, which has been one of my favorite things it seems lately. Ink and white paper seems to keep very happy, probably considering the abundance of colouring mediums I have in my possession.

Make a wish PS 3


Supplies used:

Lawn Fawn – Critter Ever After

Neenah Solar White 80lbs

Neenah Solar White 110lbs

Inkadinkadoo Stamping Mask Paper

Distress Ink – Peeled Paint, Mowed Lawn, Crushed Olive, Salty Ocean, Broken China, Weathered Wood, Peacock Feathers 

Spellbinders – Regal Frames

Recollections – Adhesive Faux Pearls

Simon Says Stamp – Handwritten Greetings *inside sentiment*

Unfortunately I do not have list of the copic’s I used on this card… next time maybe 😛

Thanks for stopping by,

Hugz,

Jess