Bear Birthday

Paper smooches bear 1


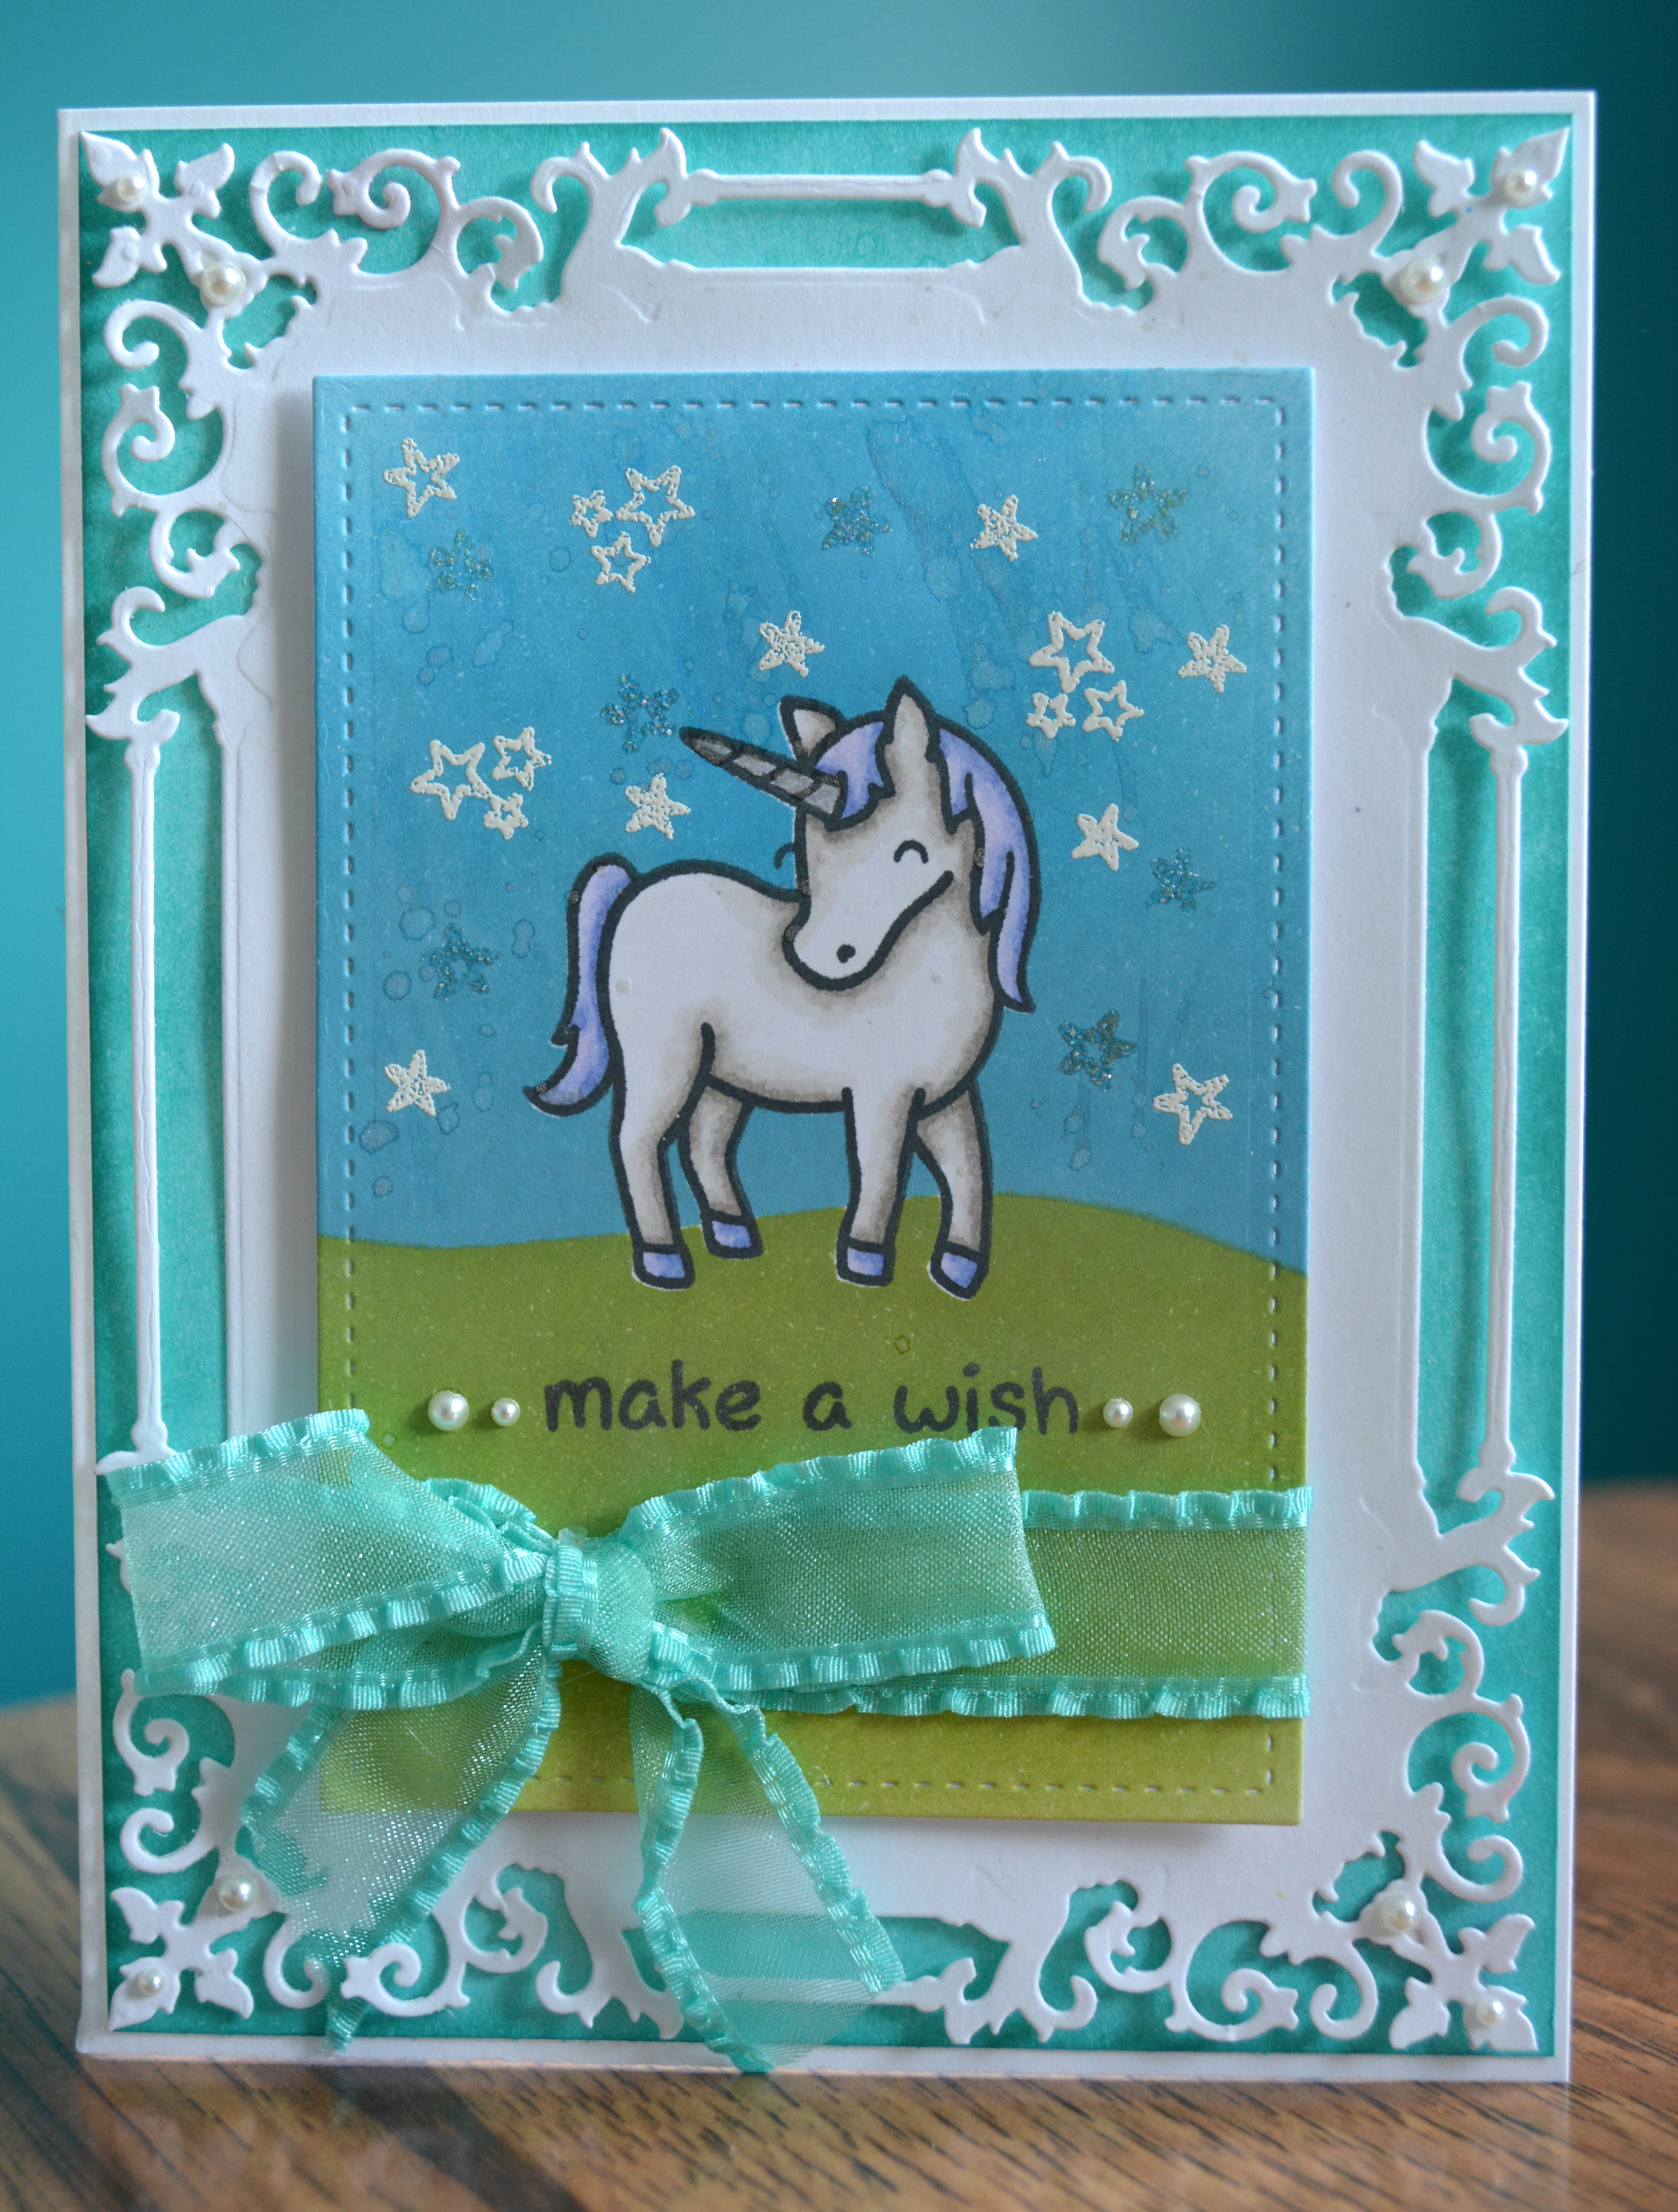
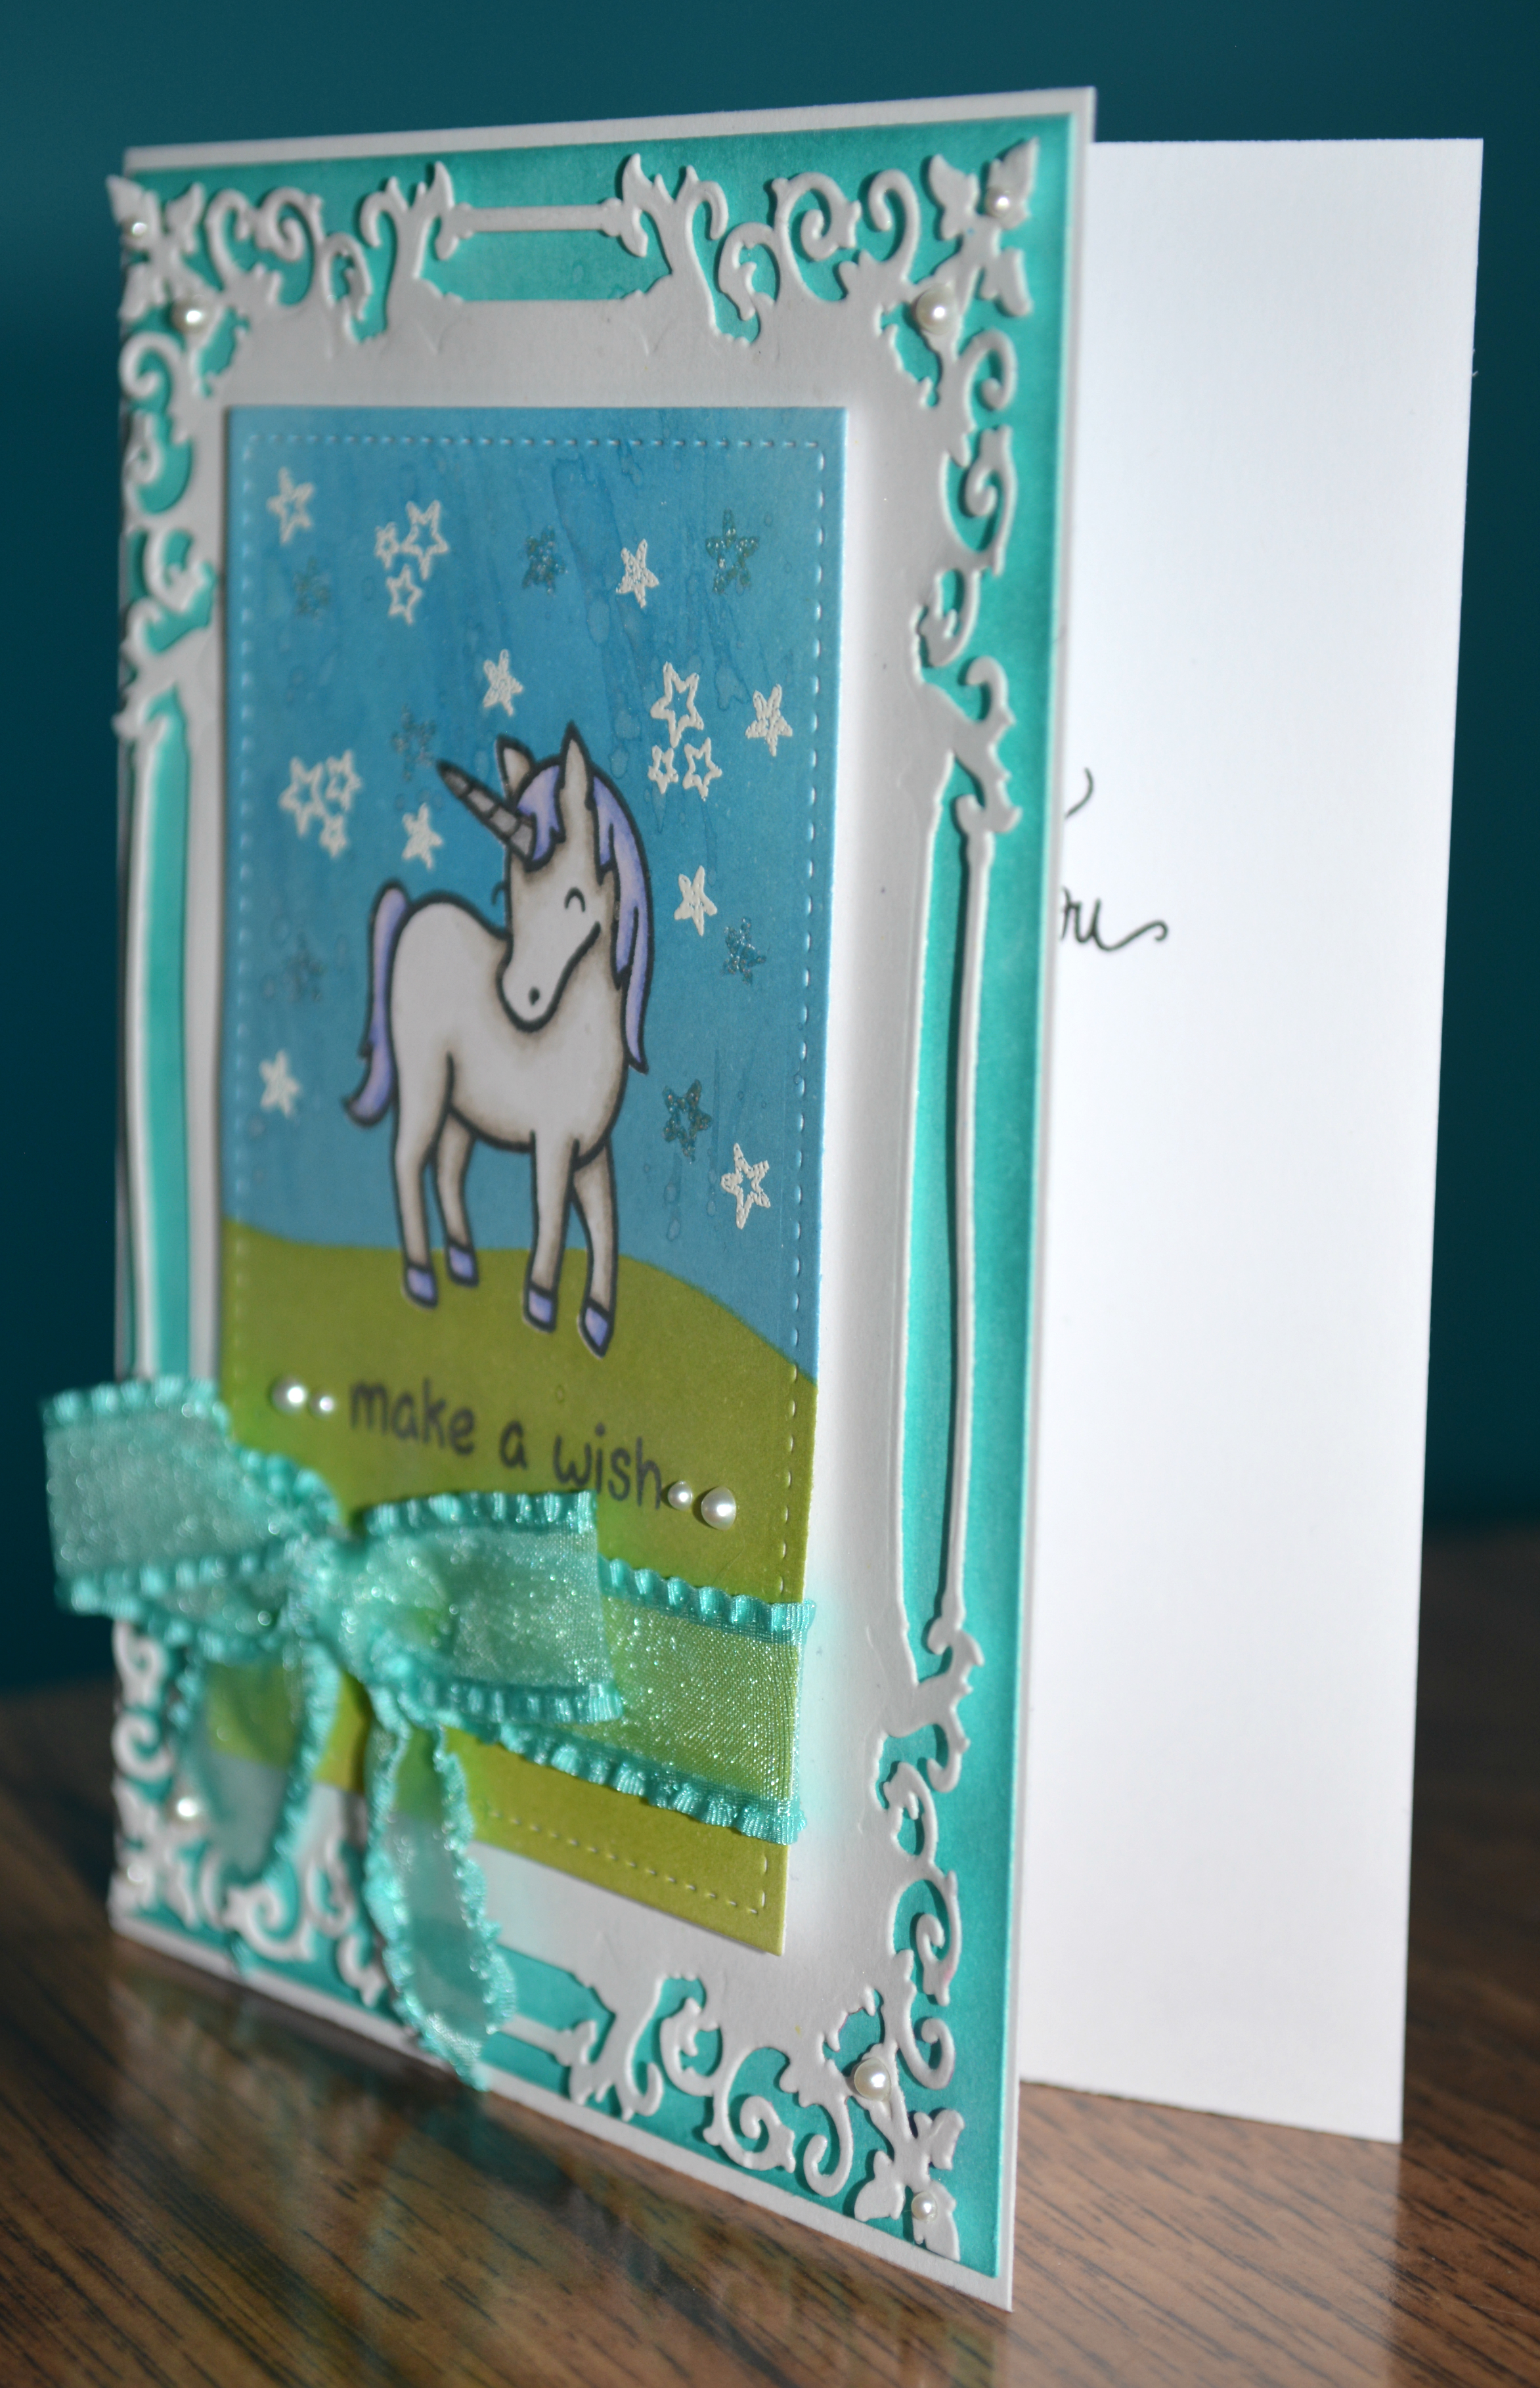
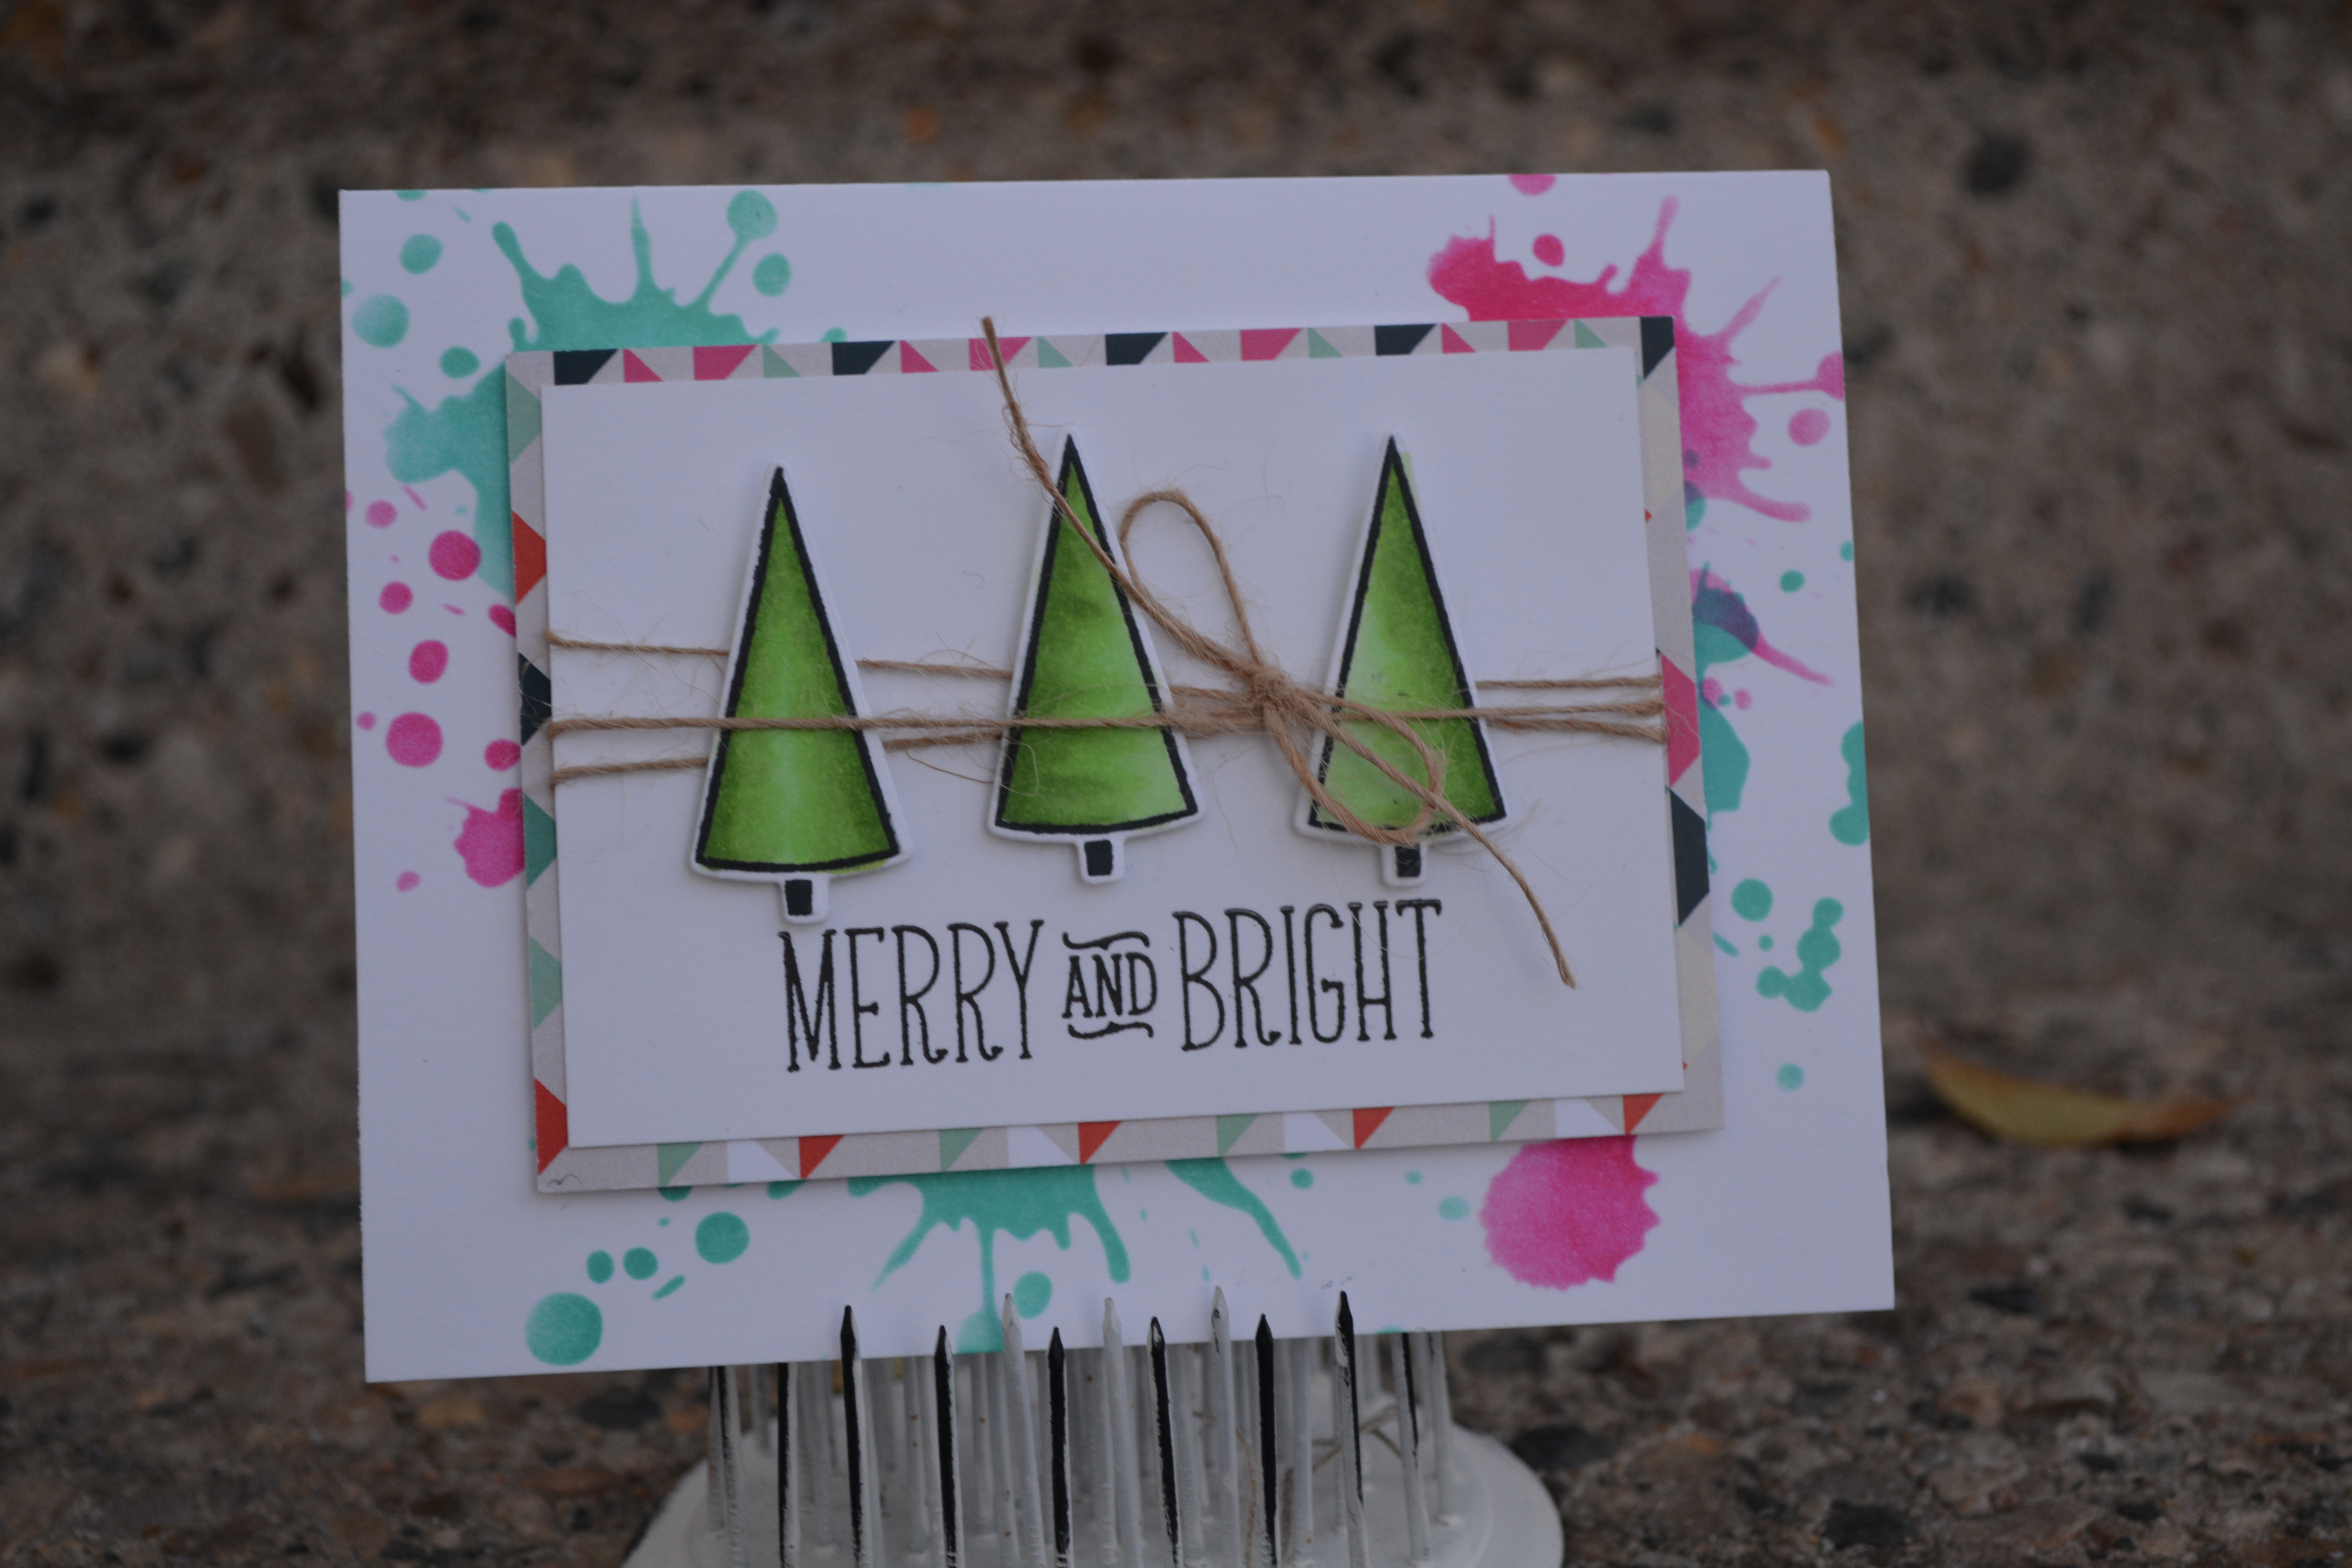
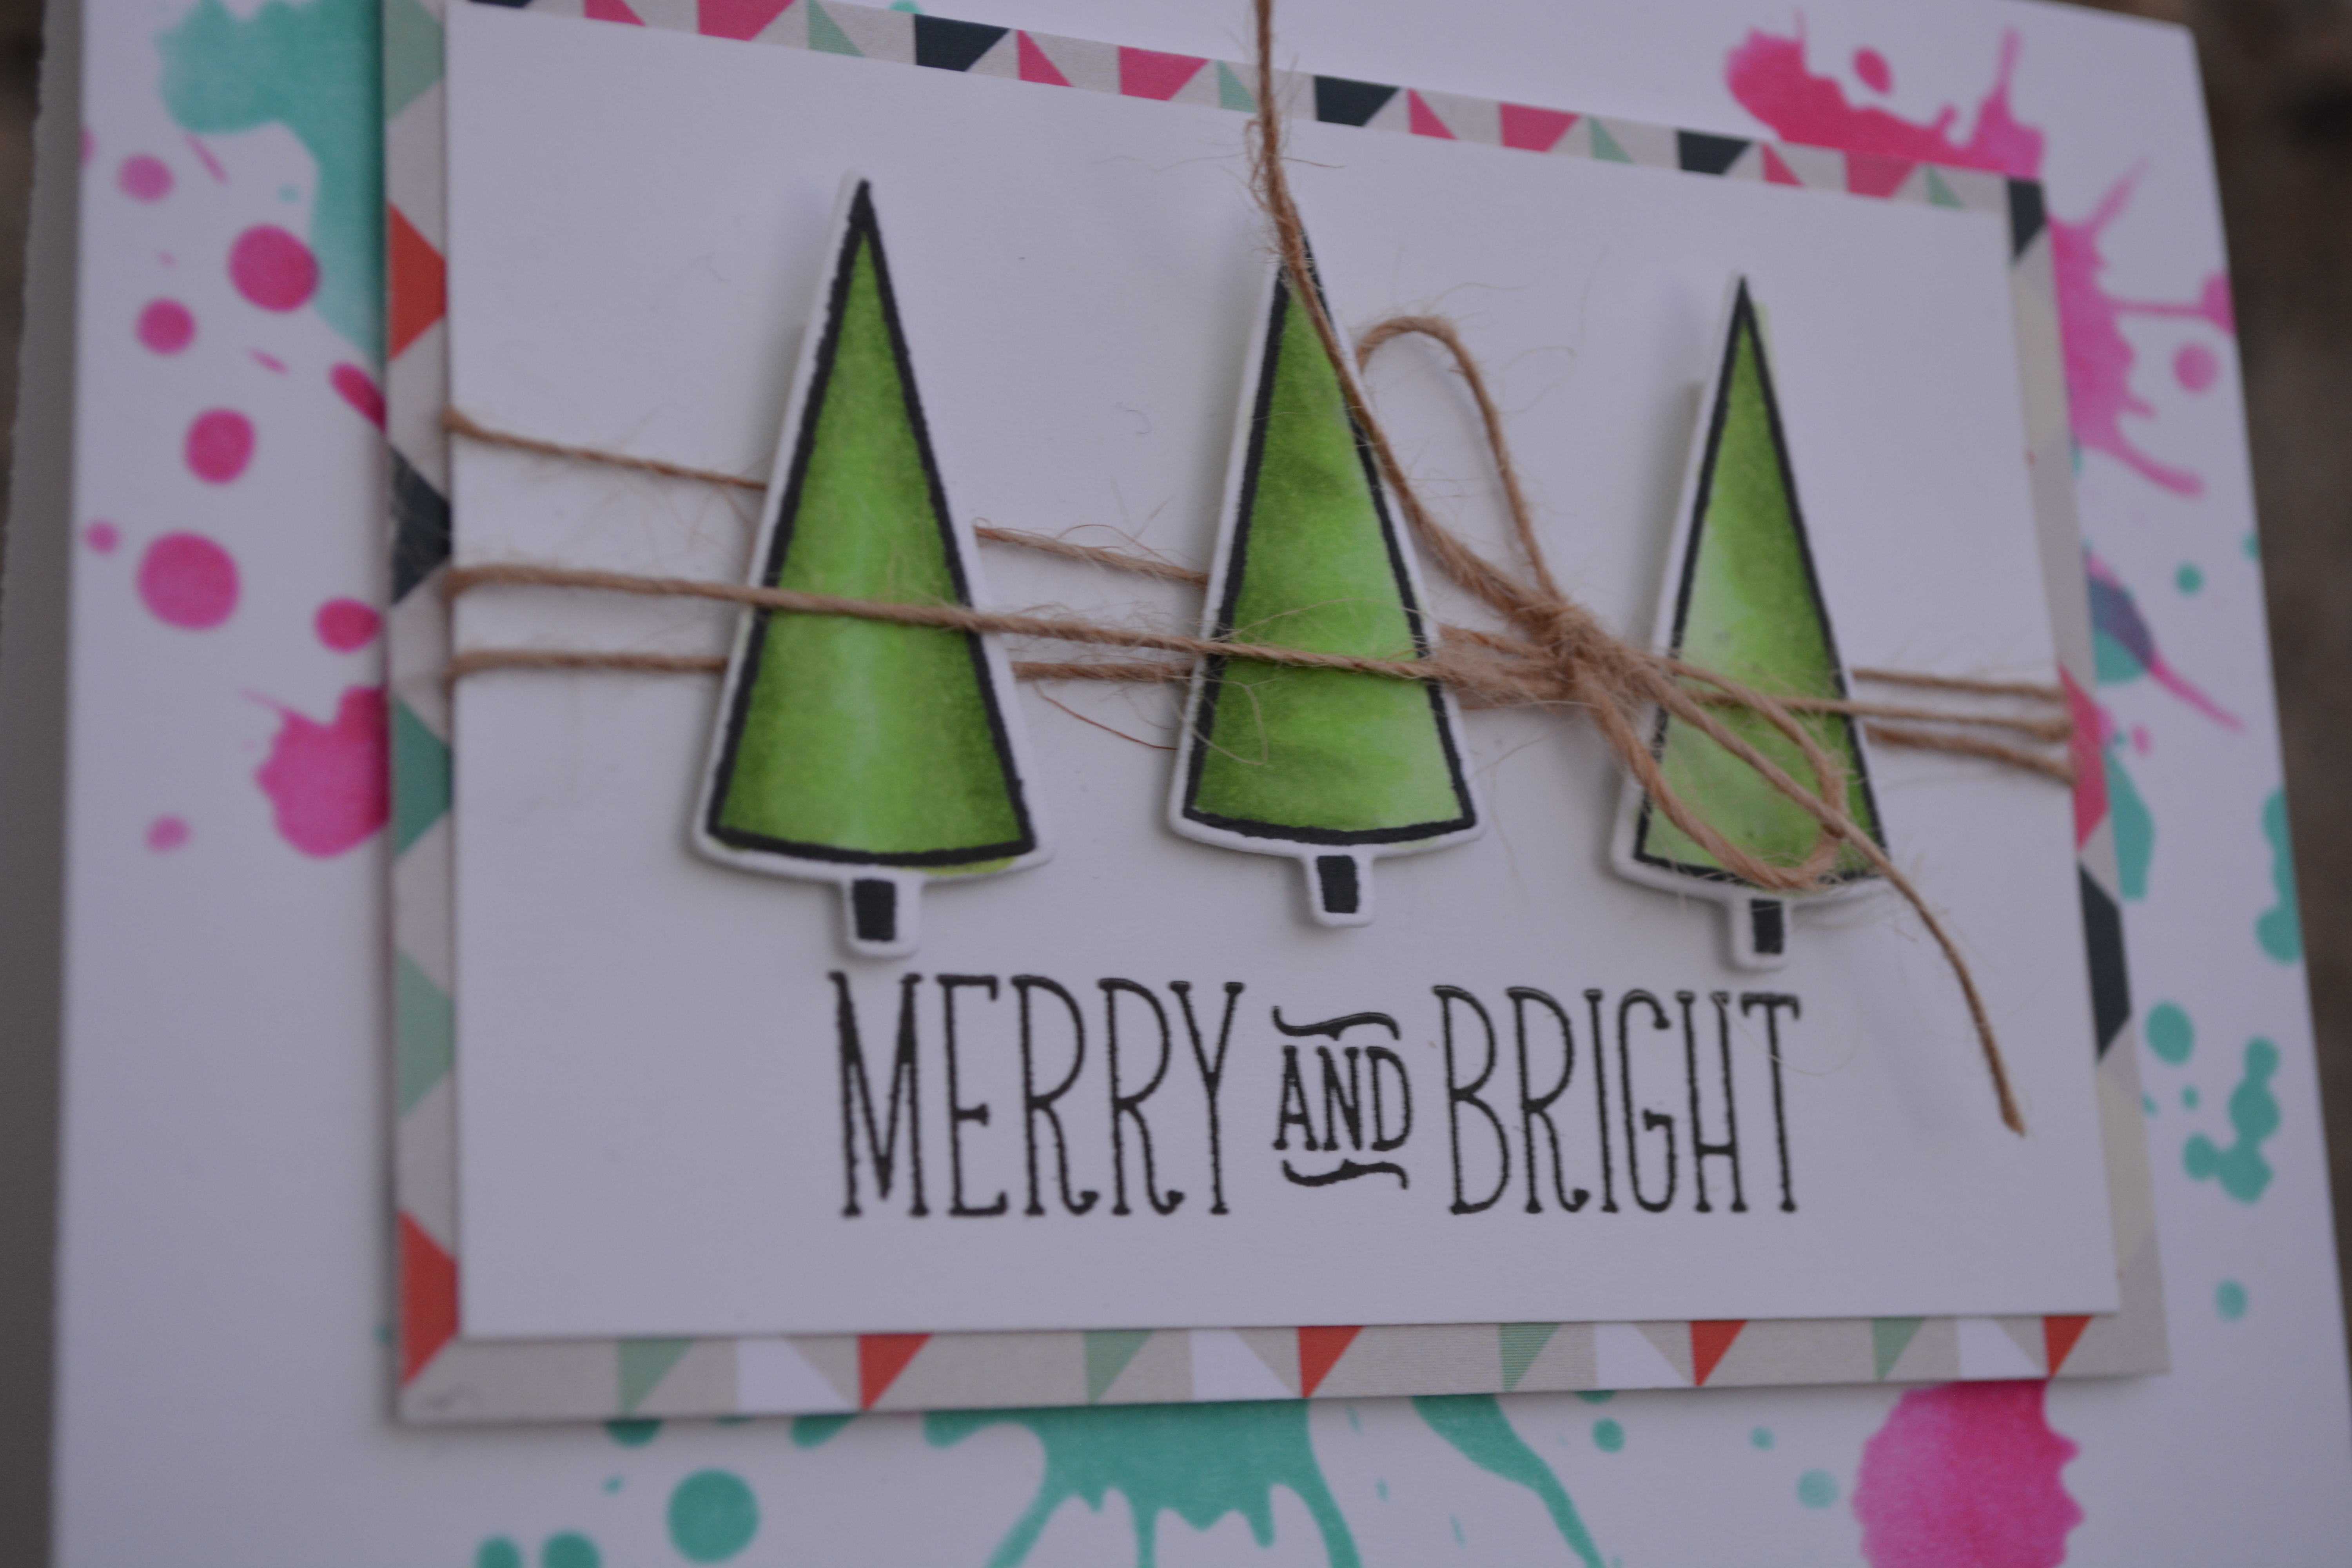
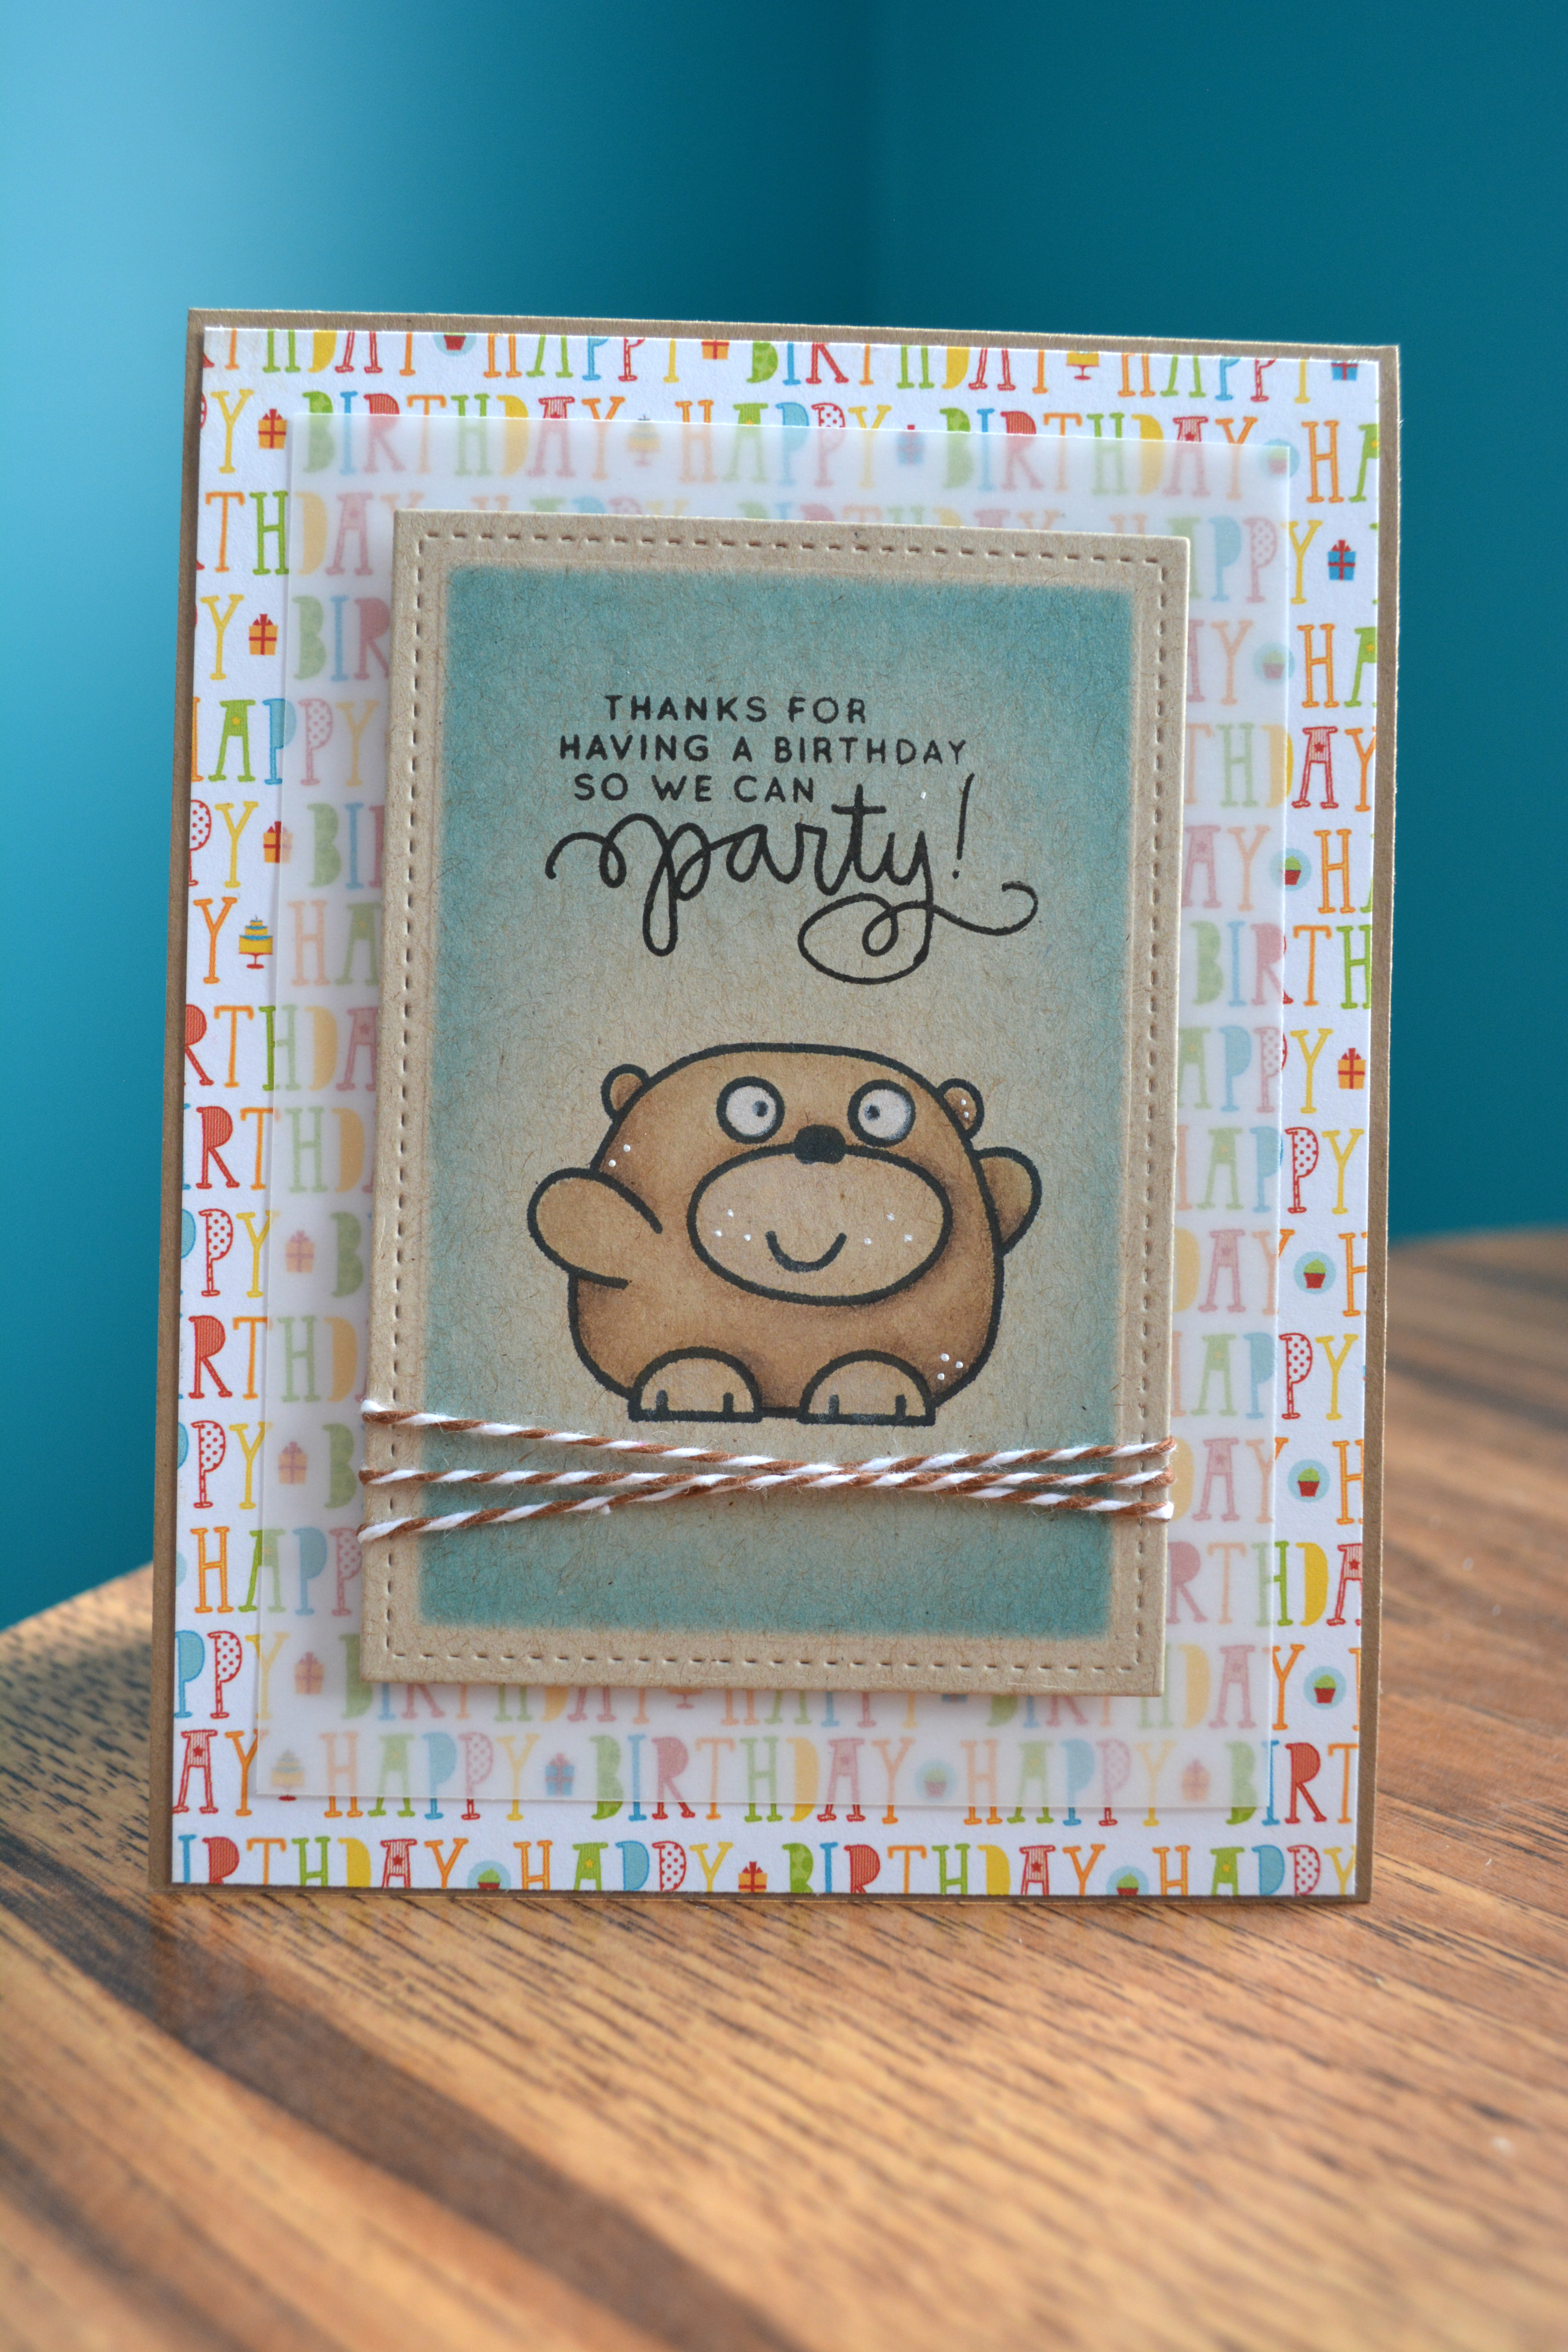
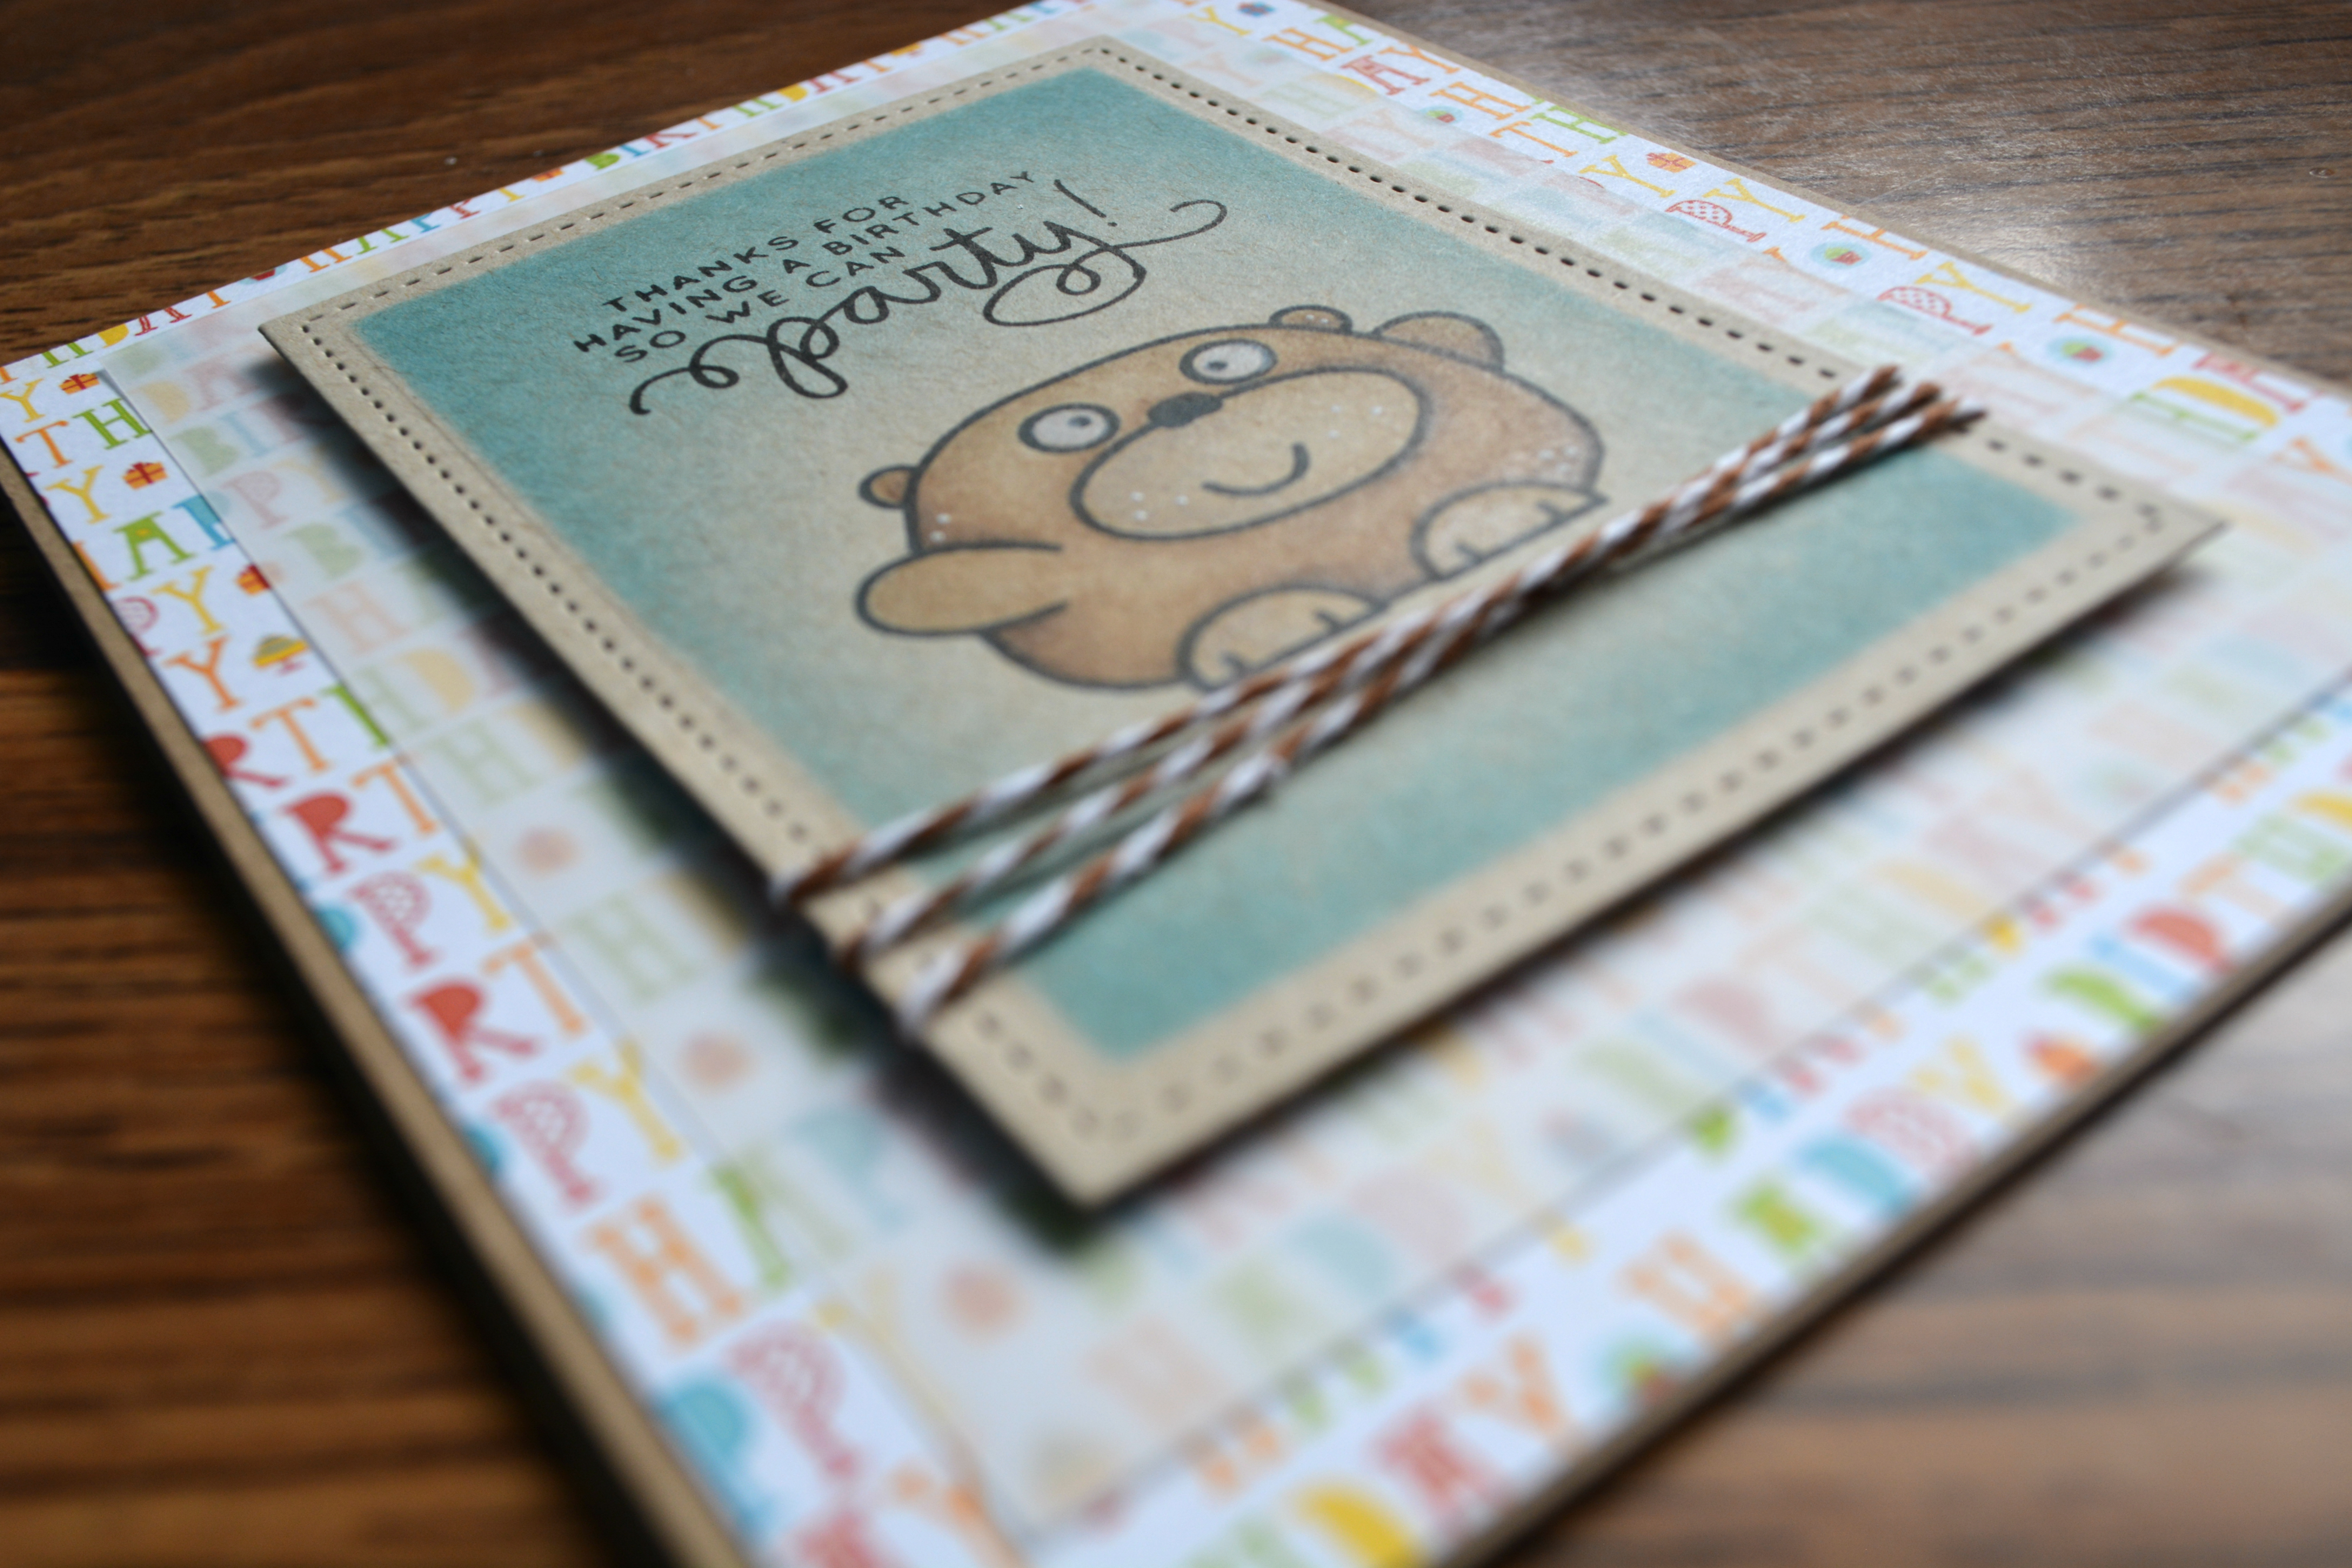
Sometimes cute and simple just works for me. I love this little bear from the Paper Smooches Chubby Chum Pals stamp set. I kept it simple and just coloured him in with my Prismacolour Pencils on Neenah Desert Storm kraft cardstock.

Paper Smooches bear 2


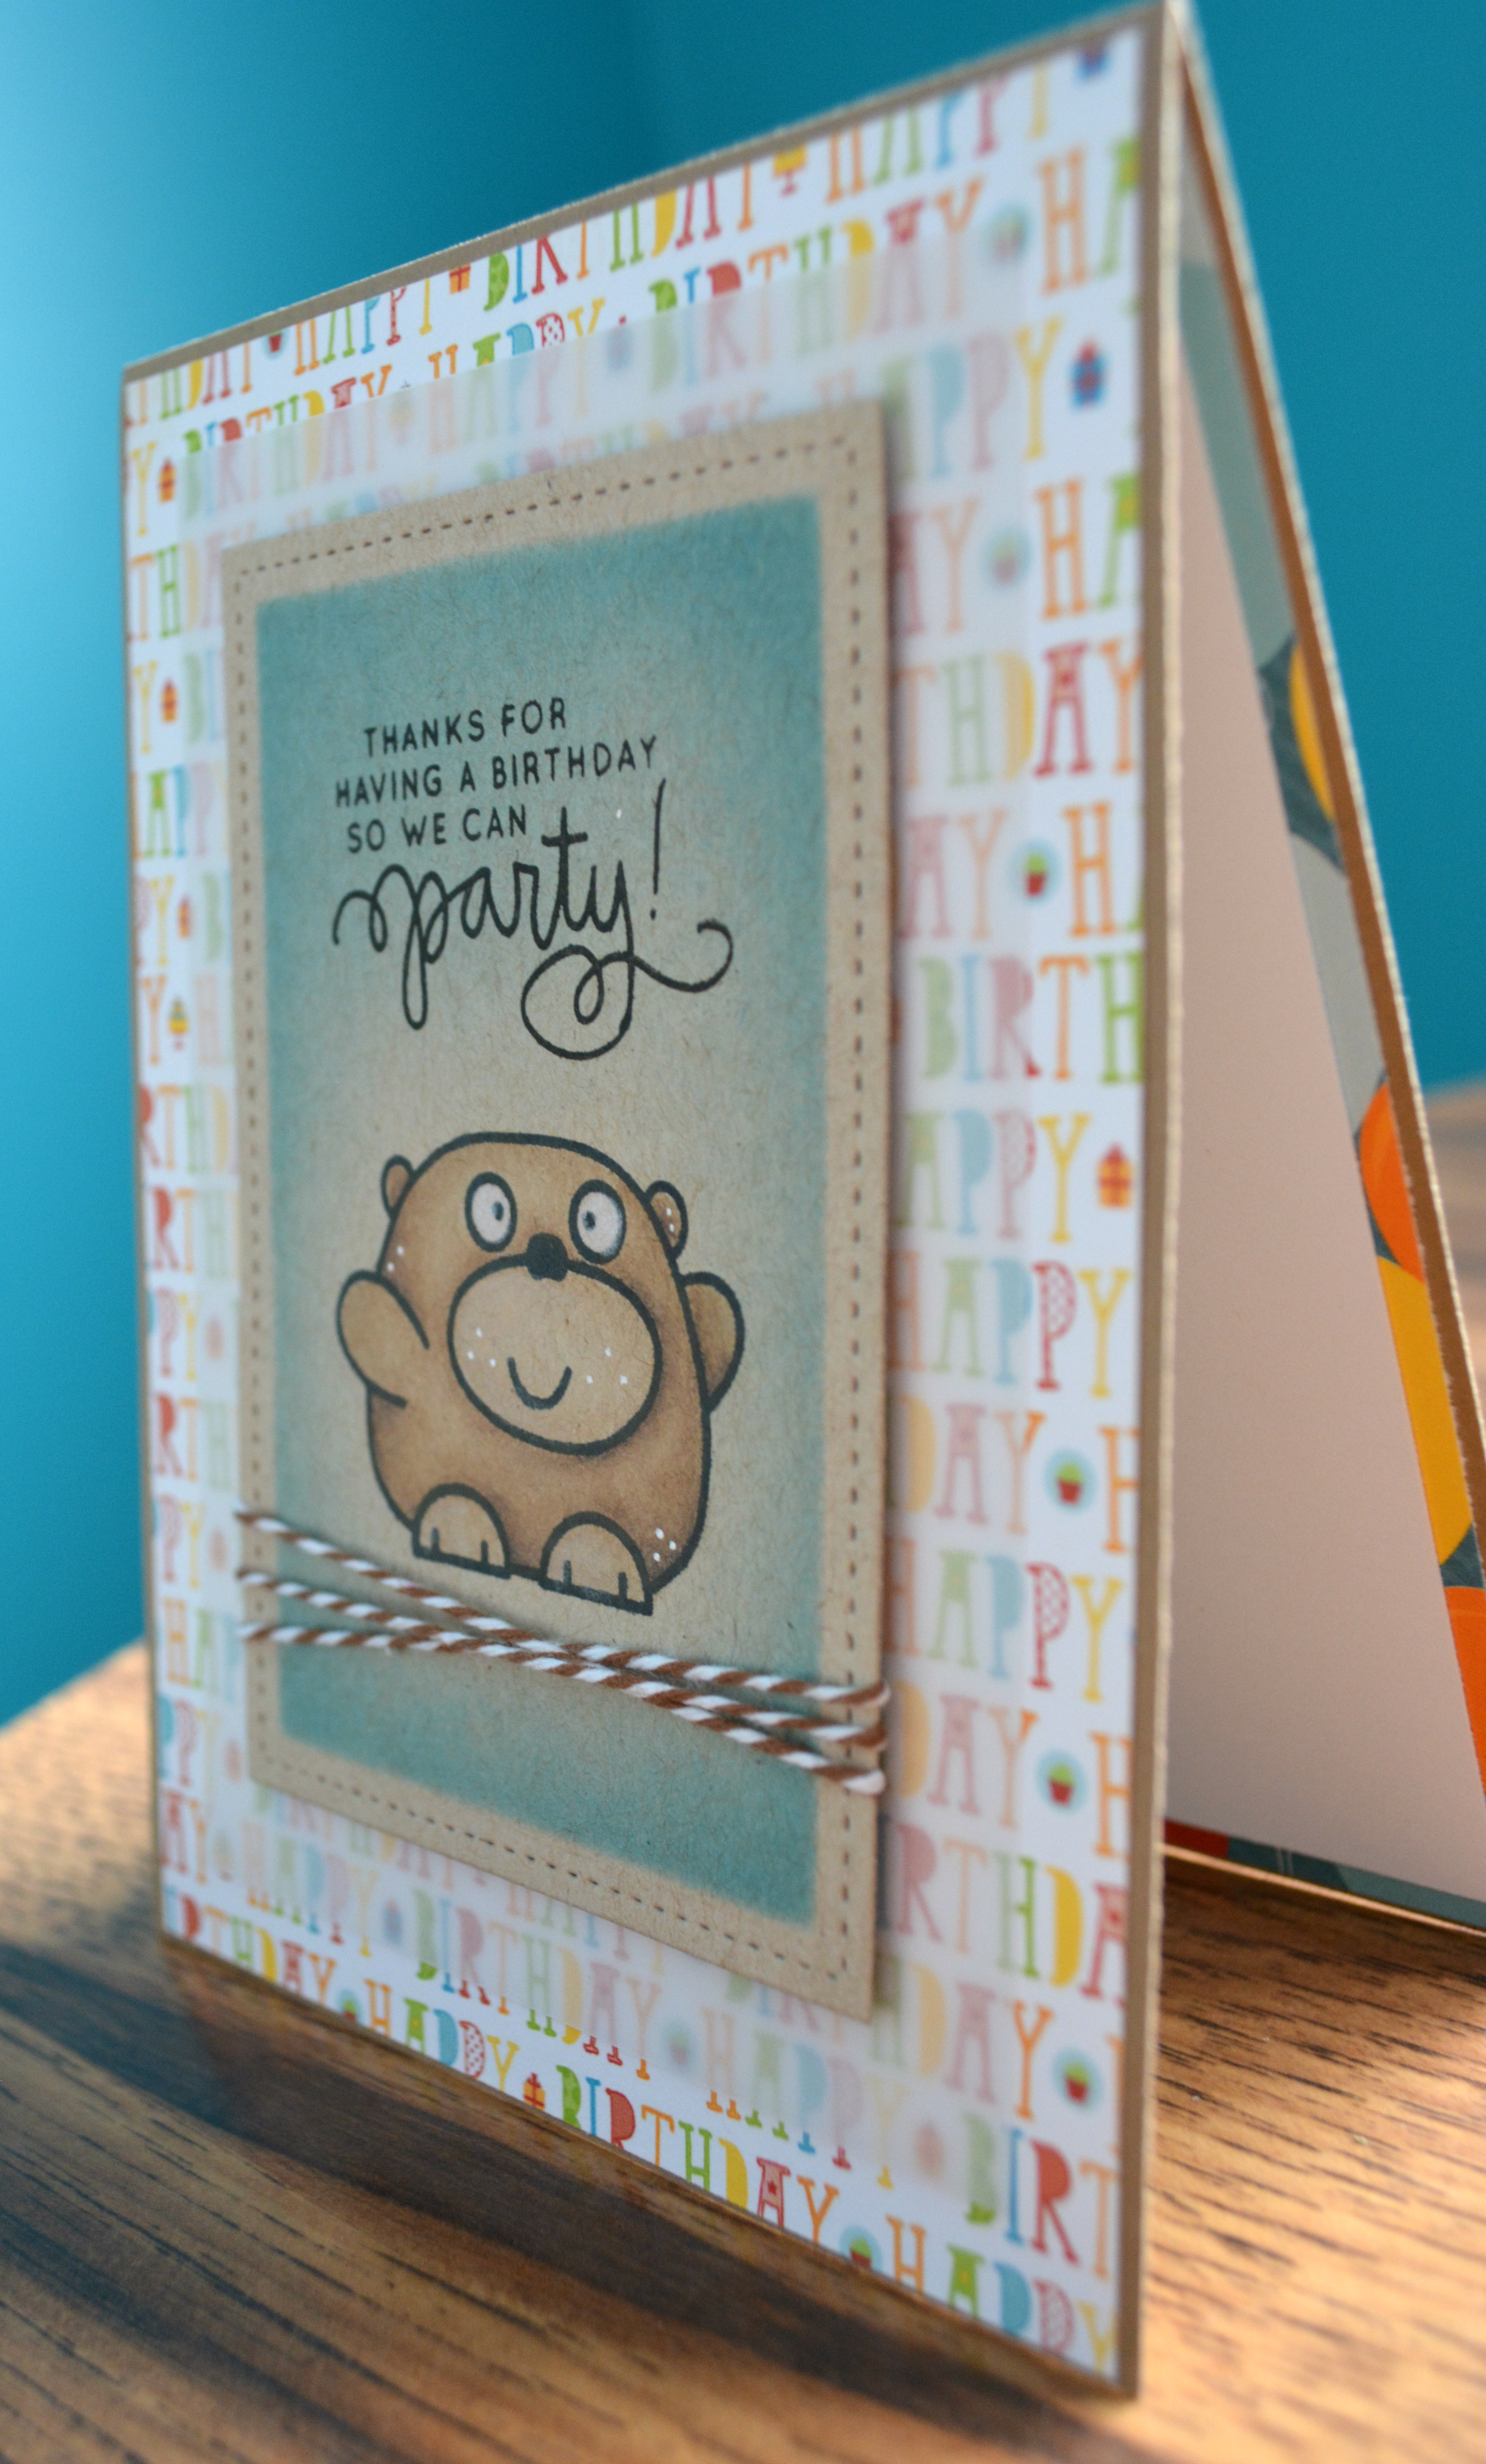
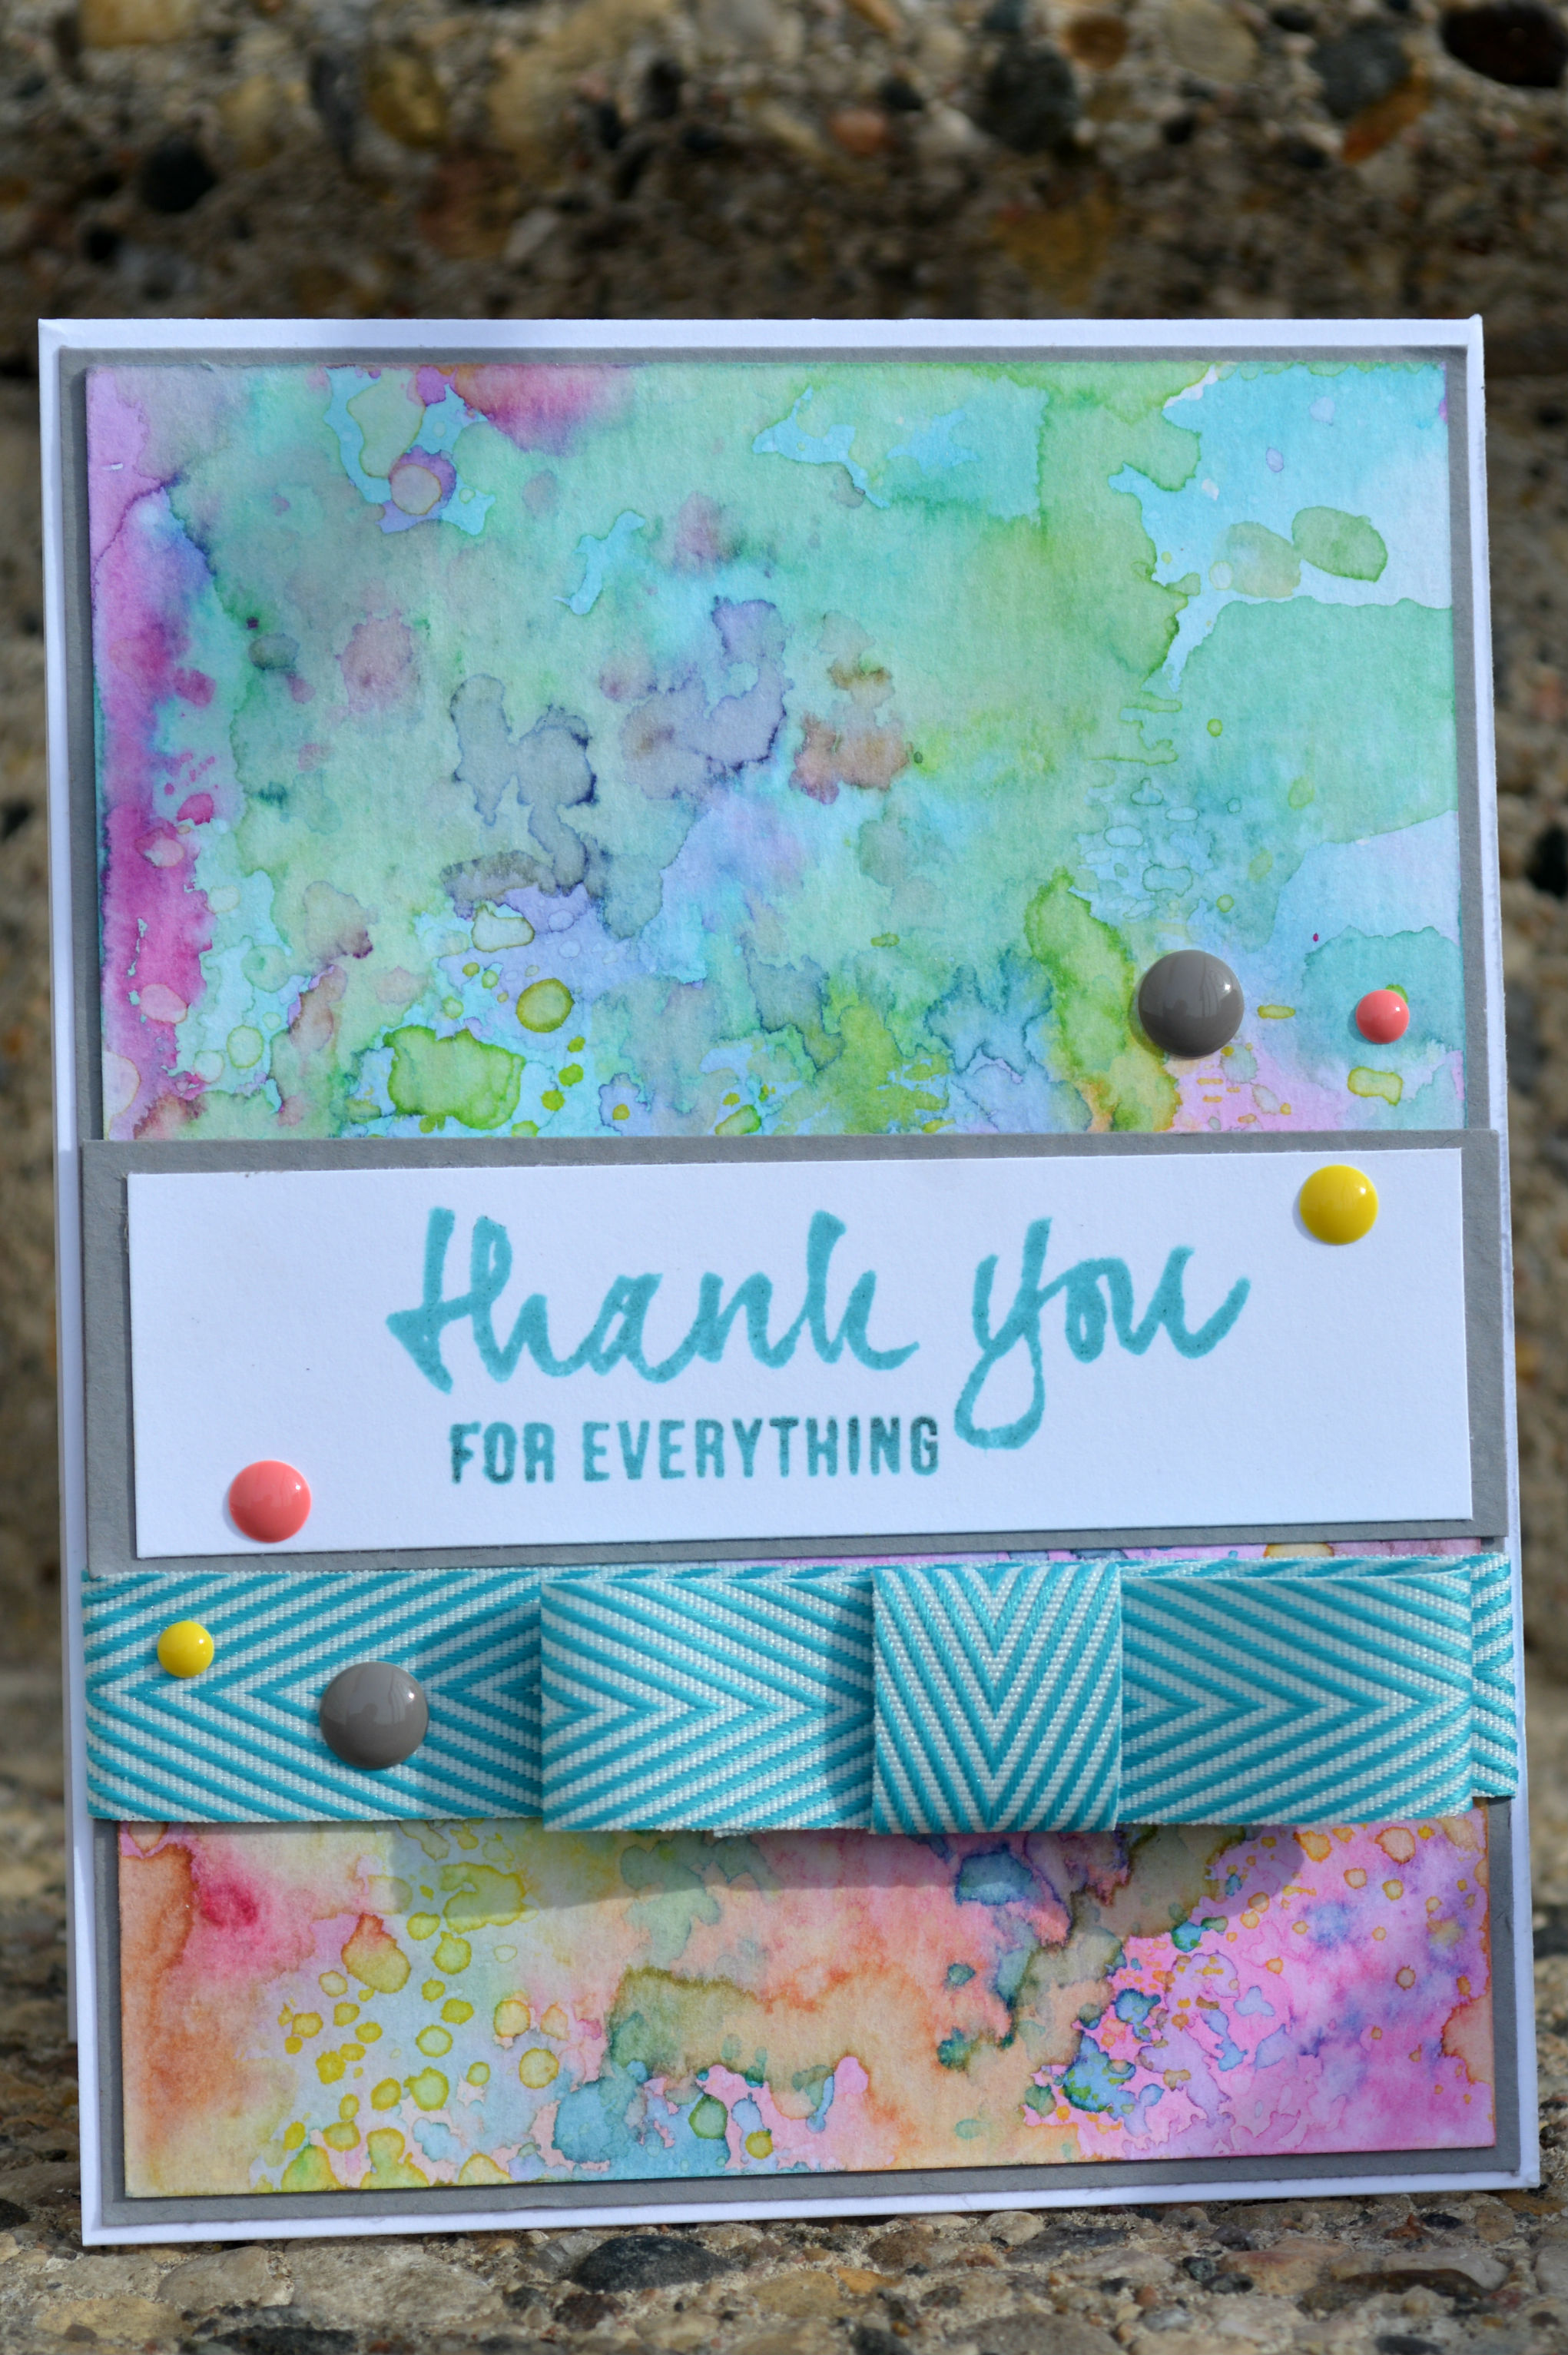
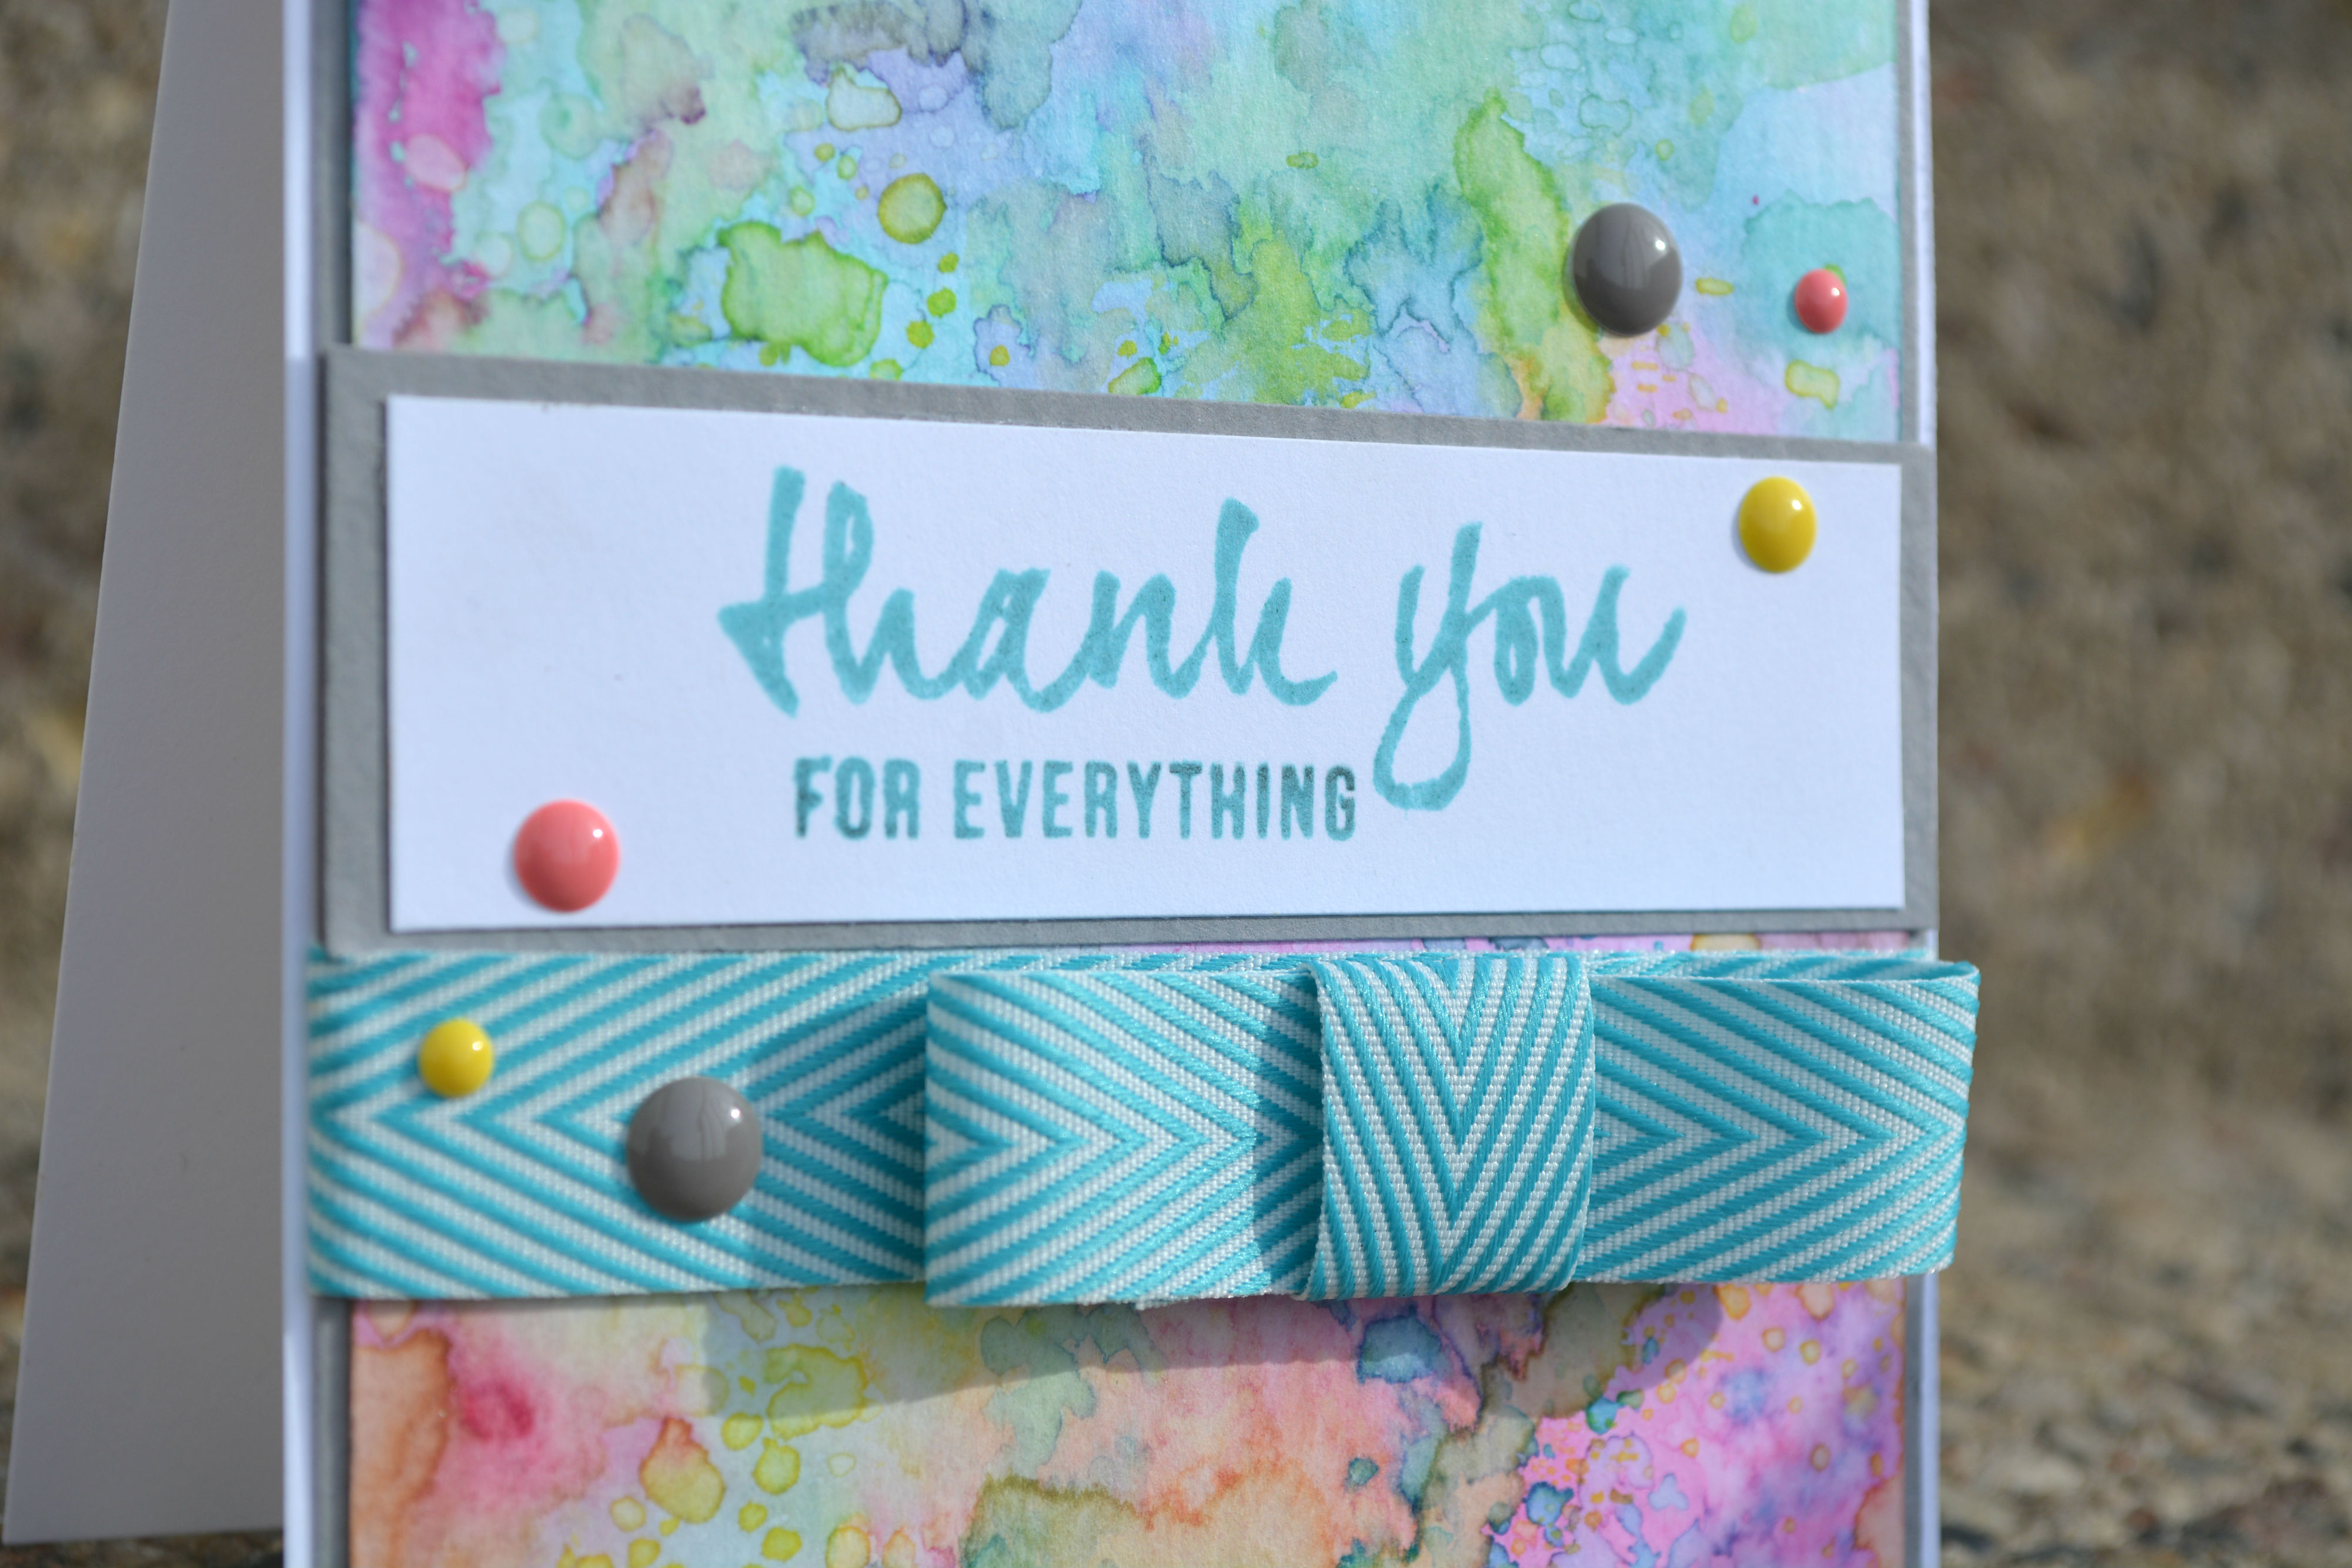
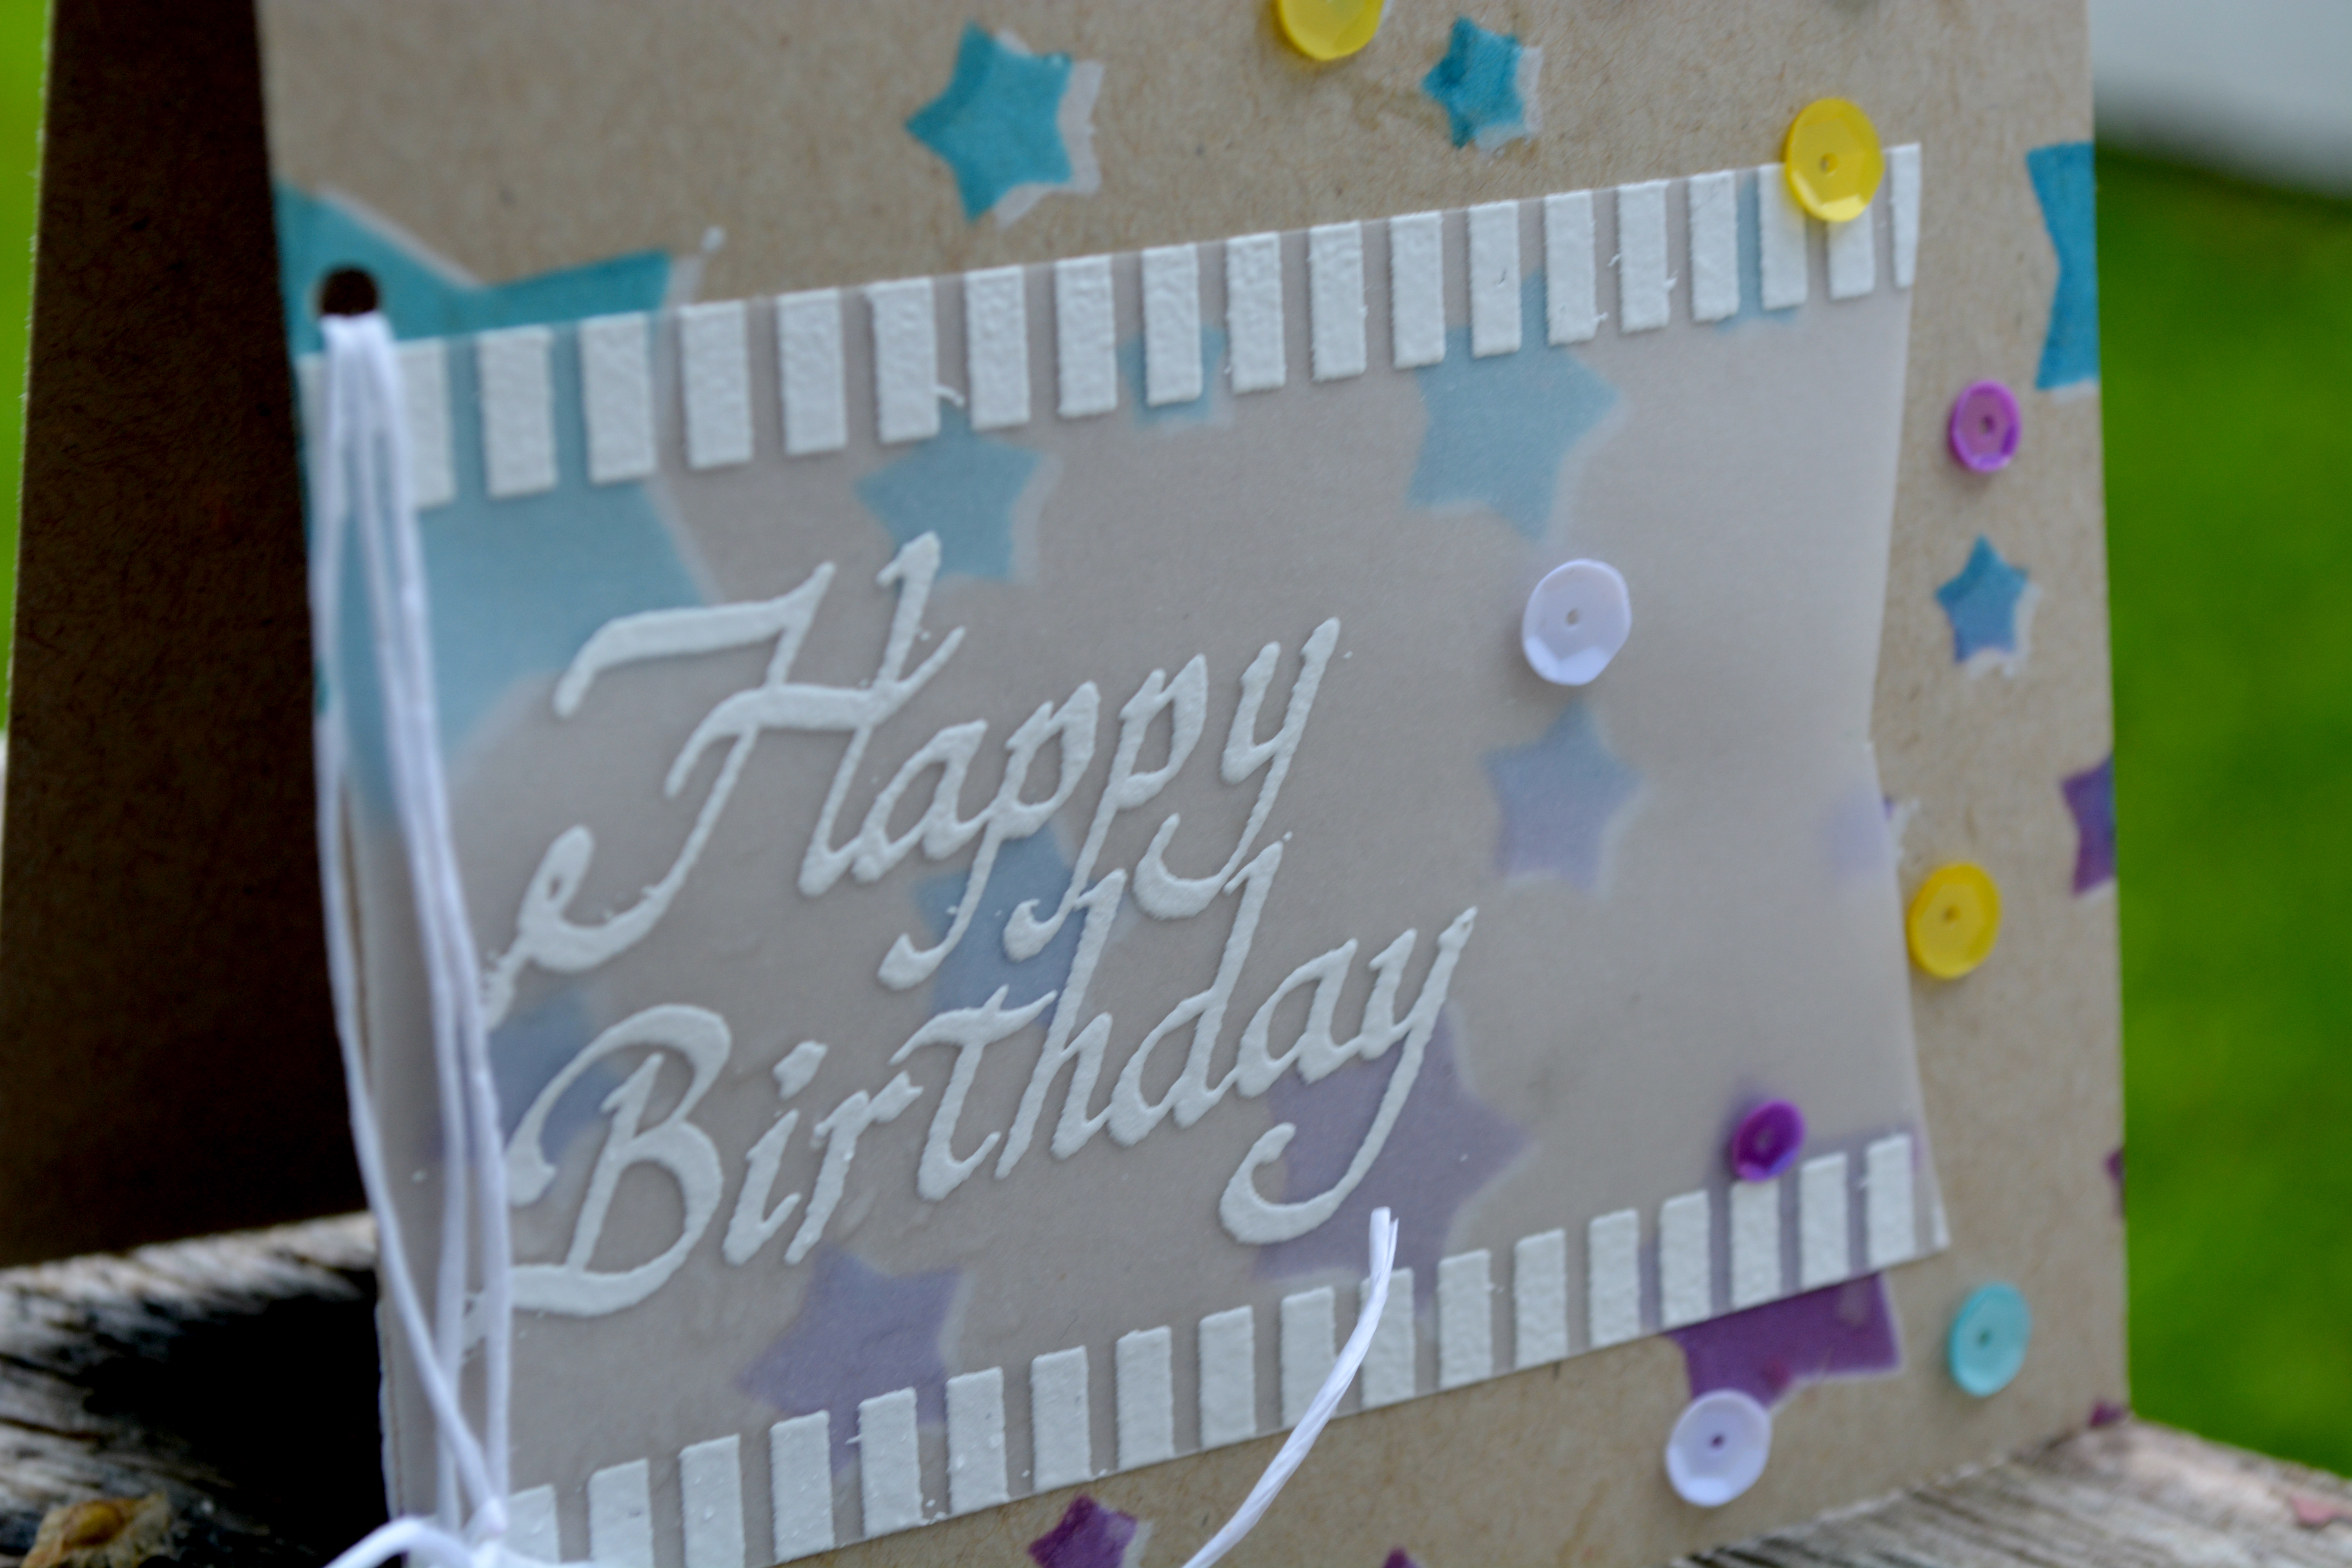
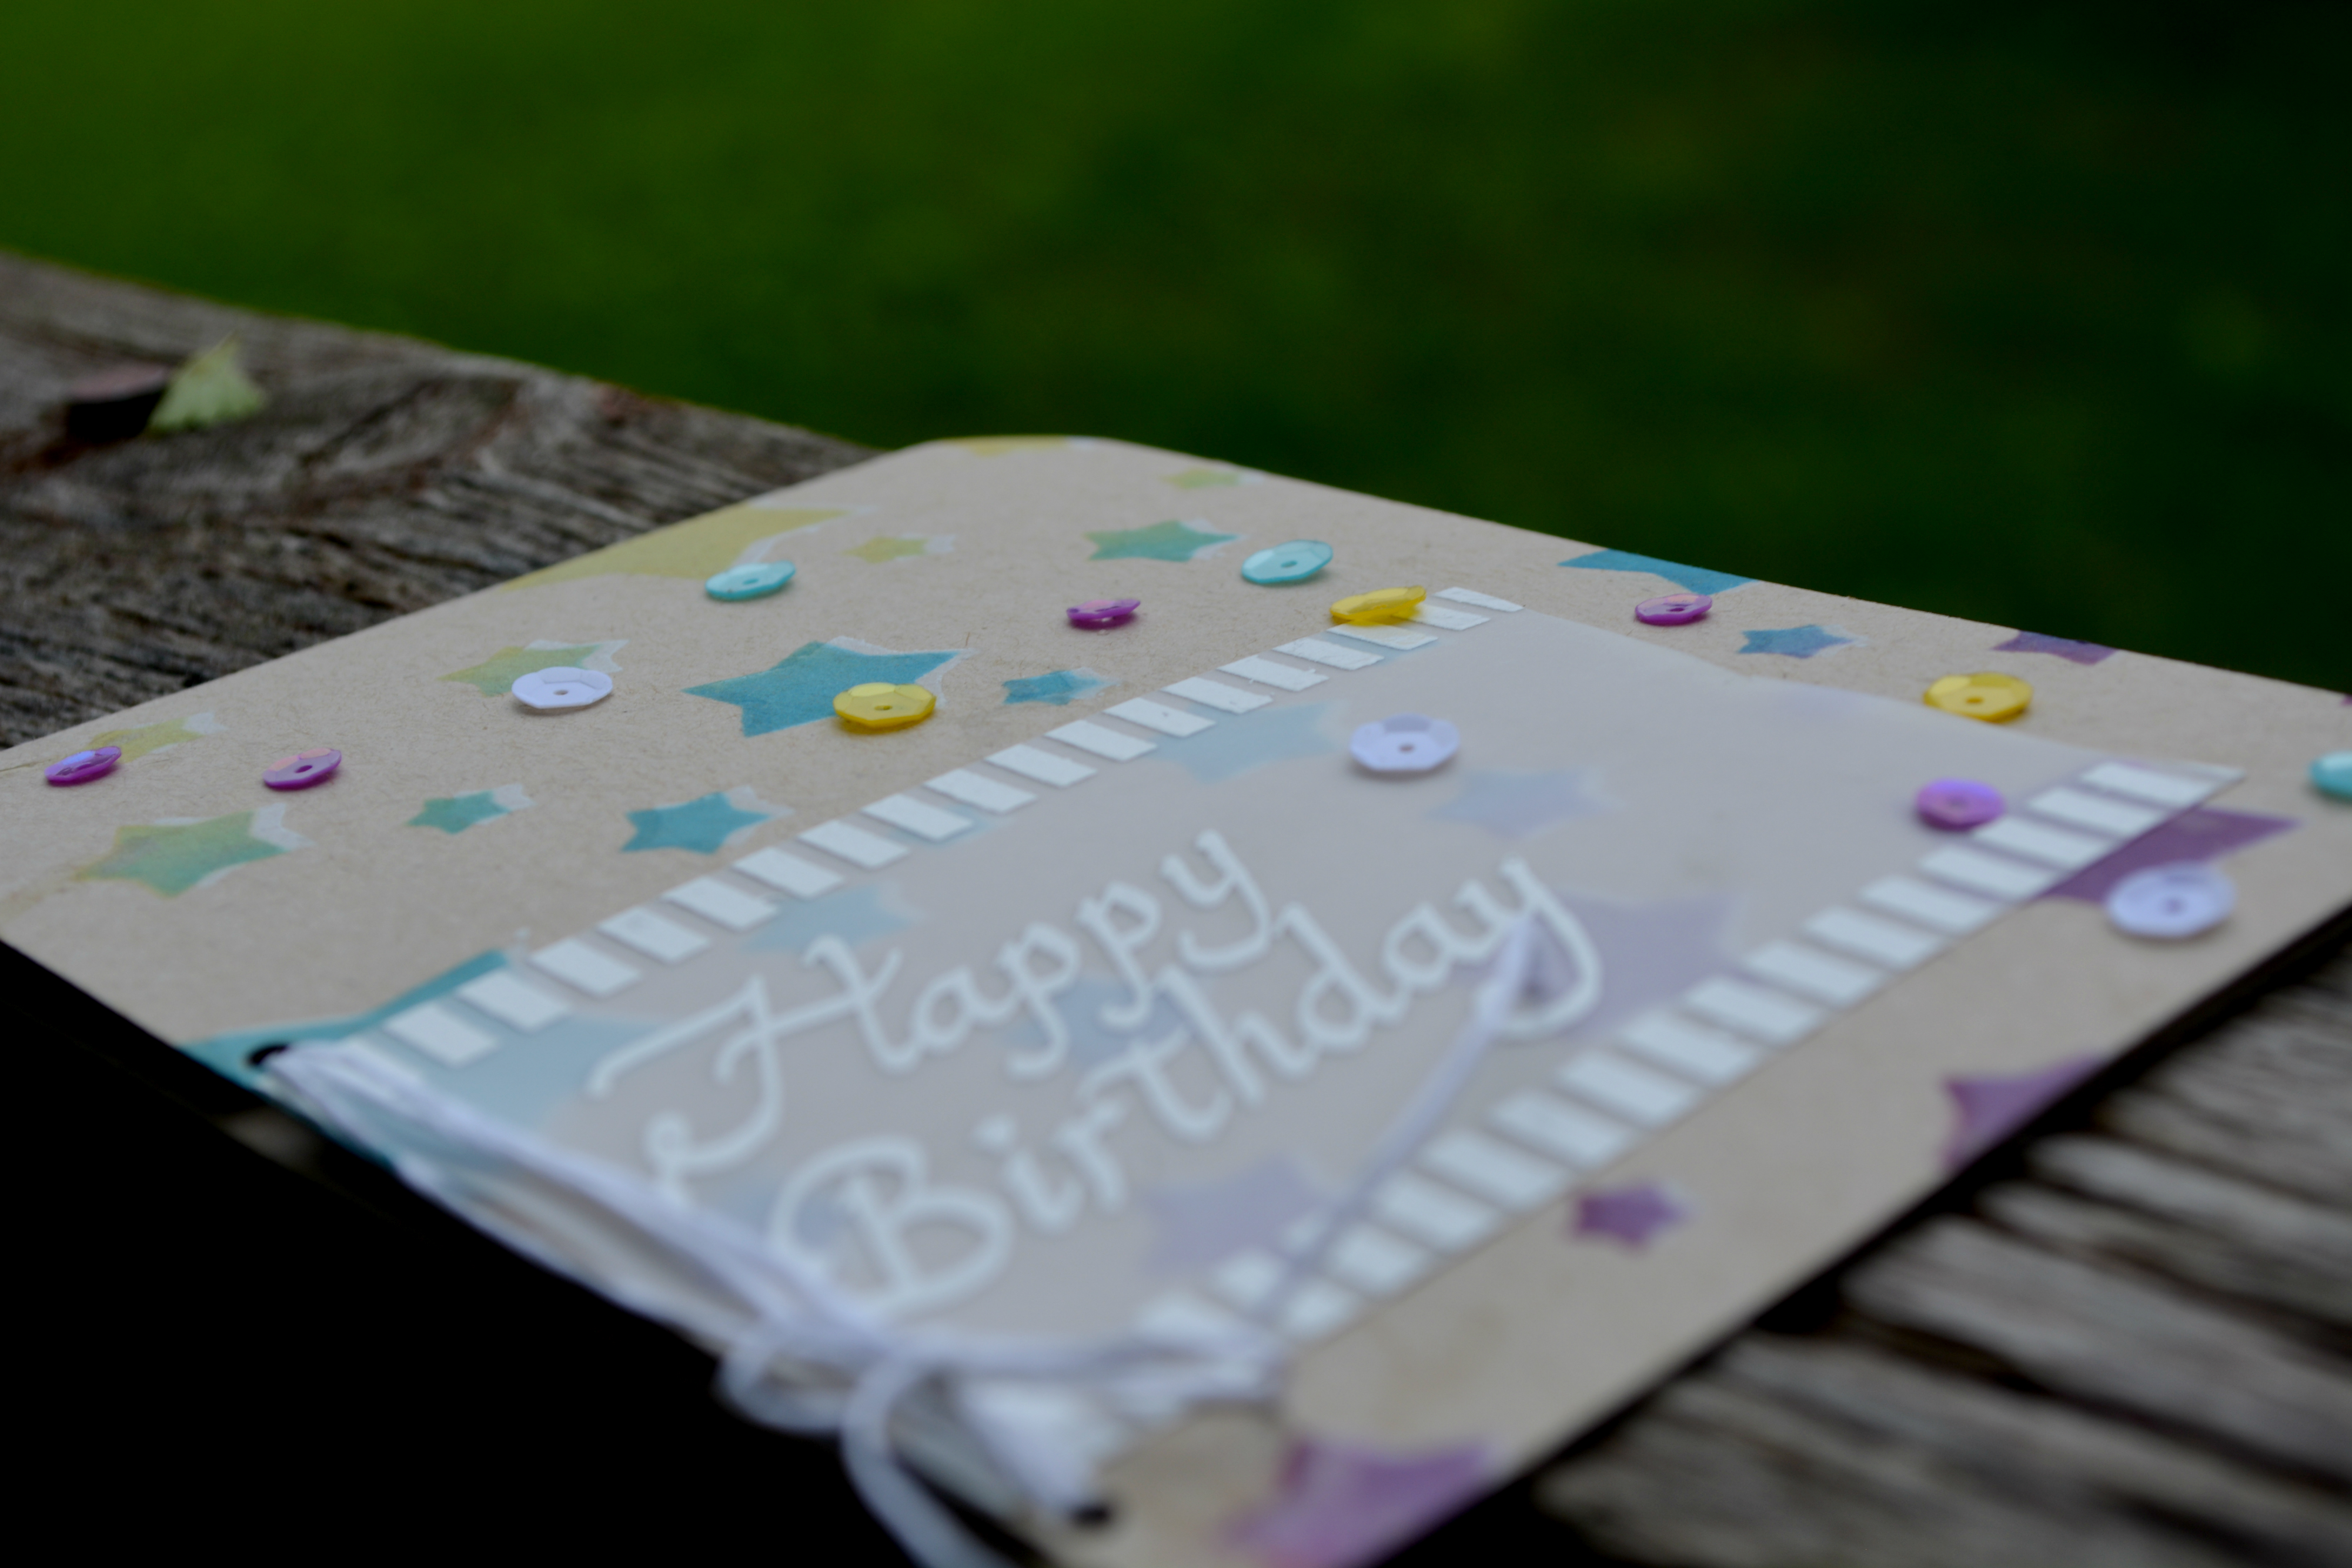
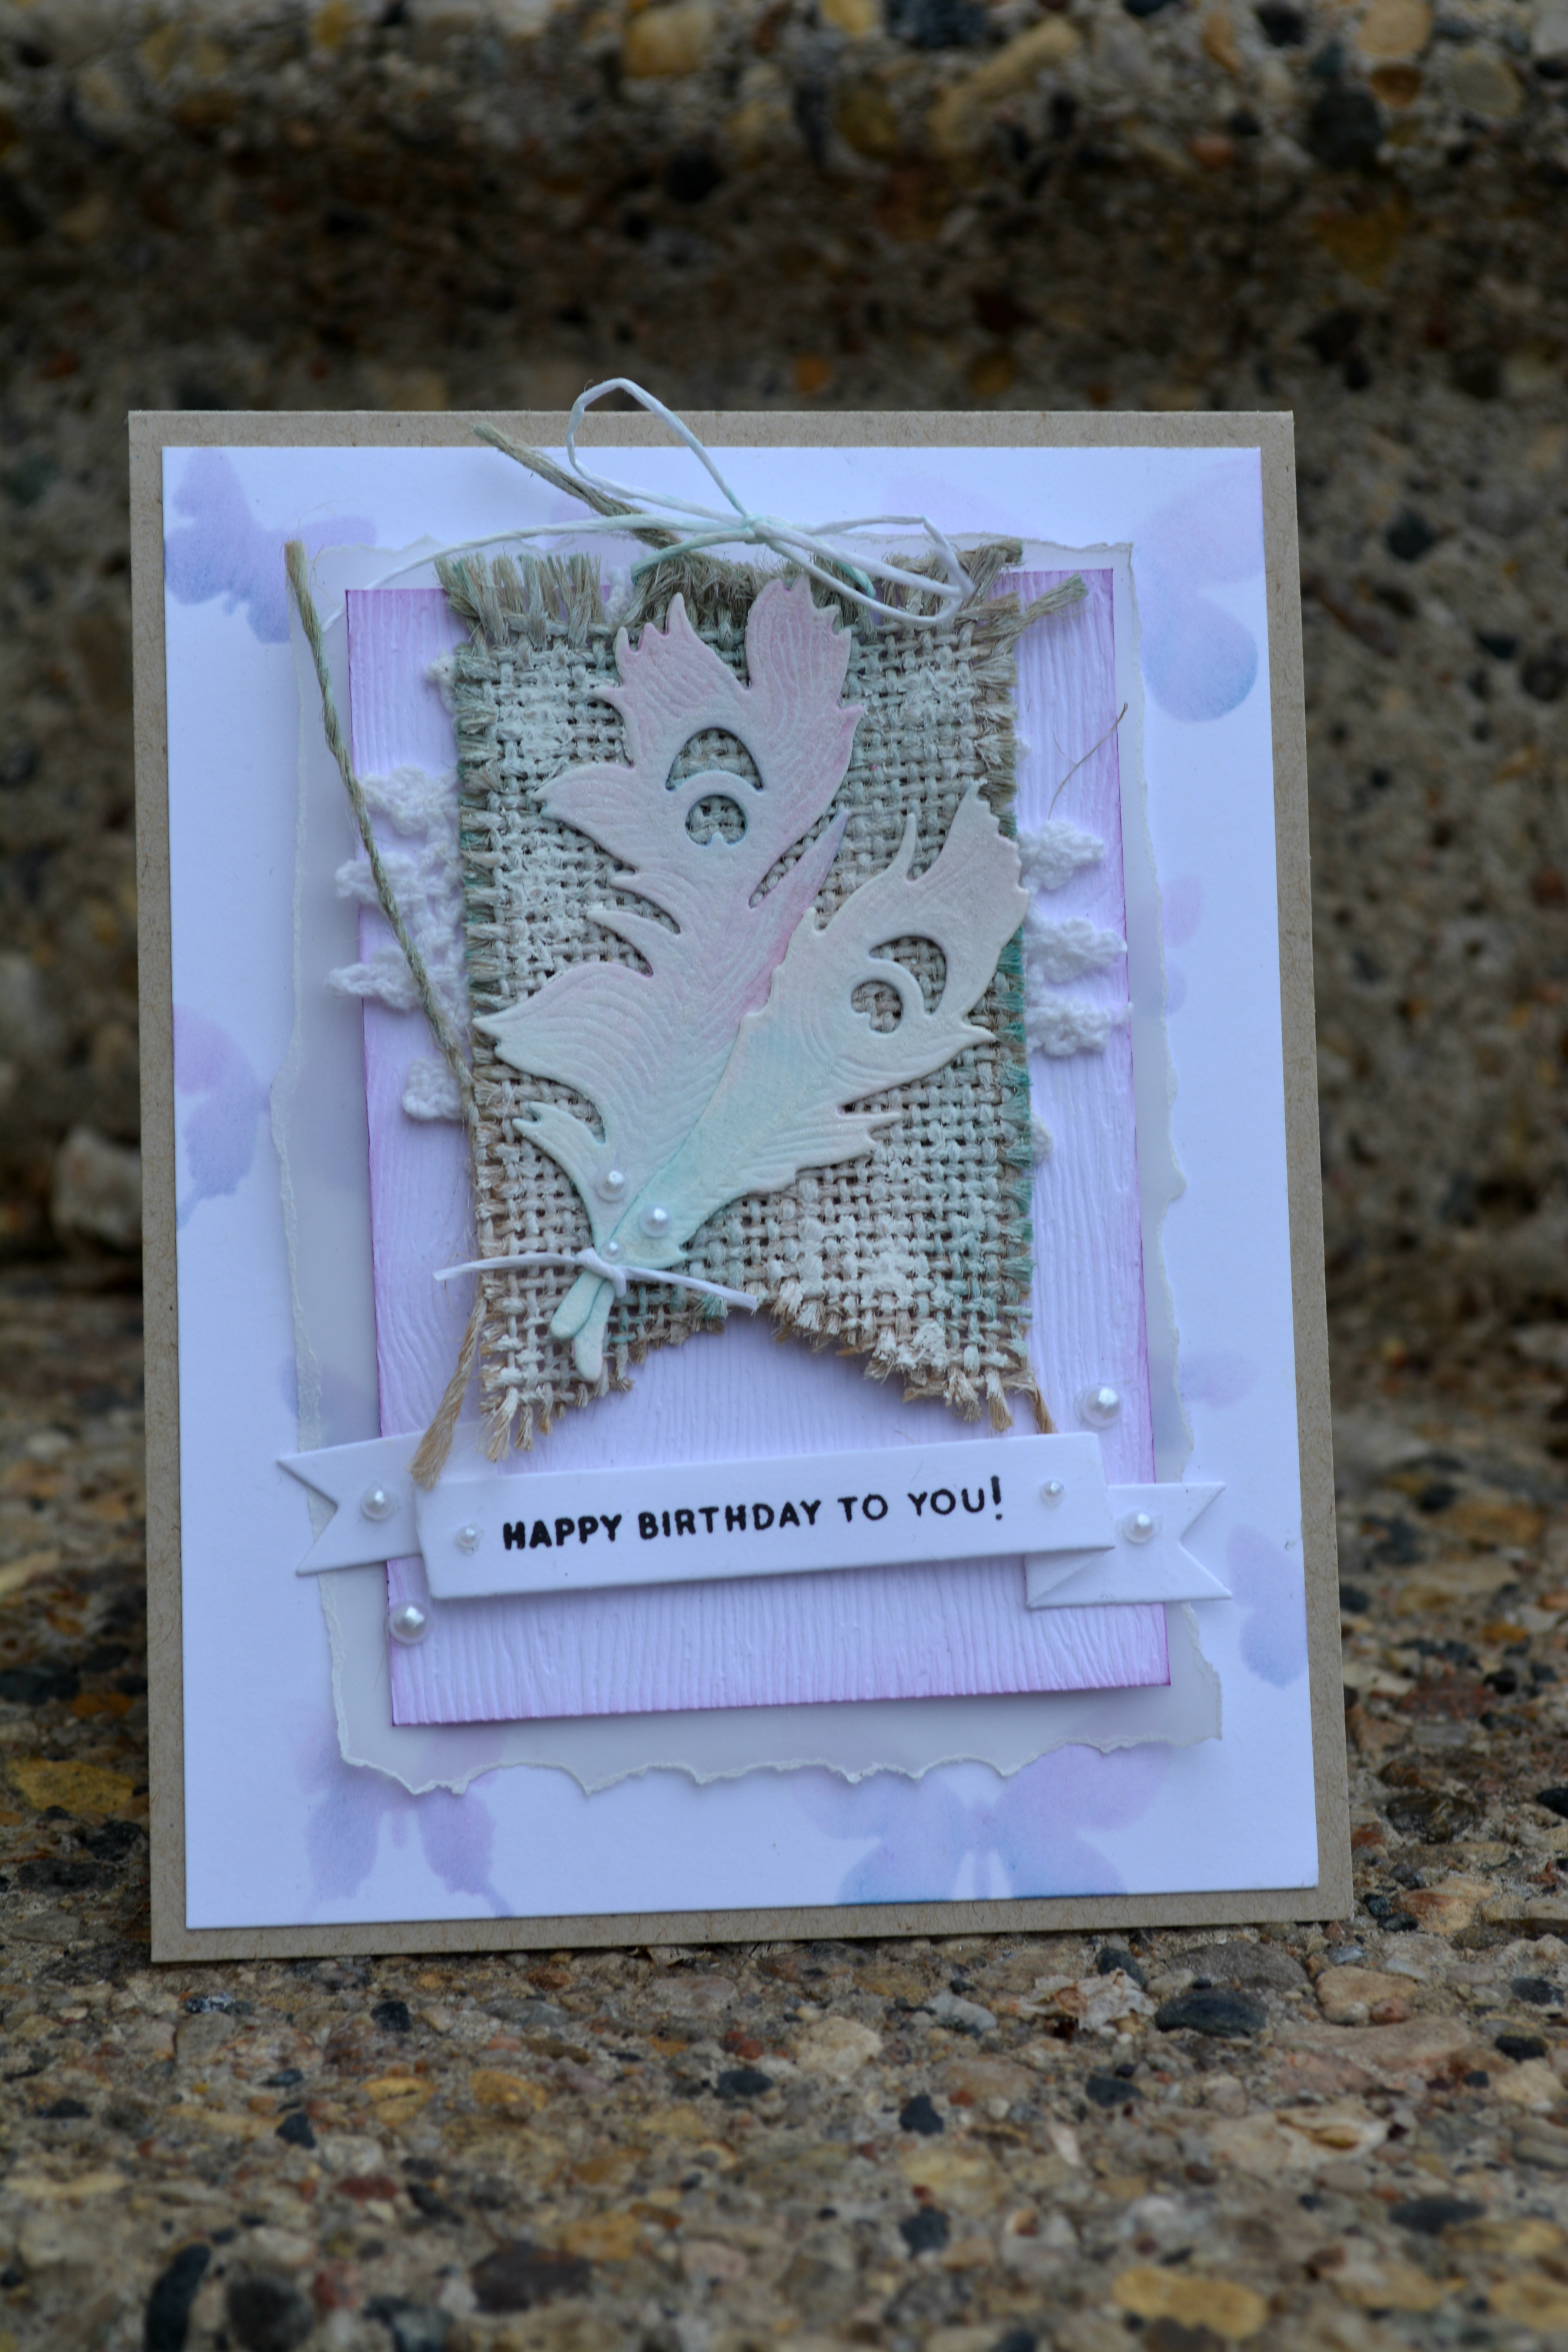
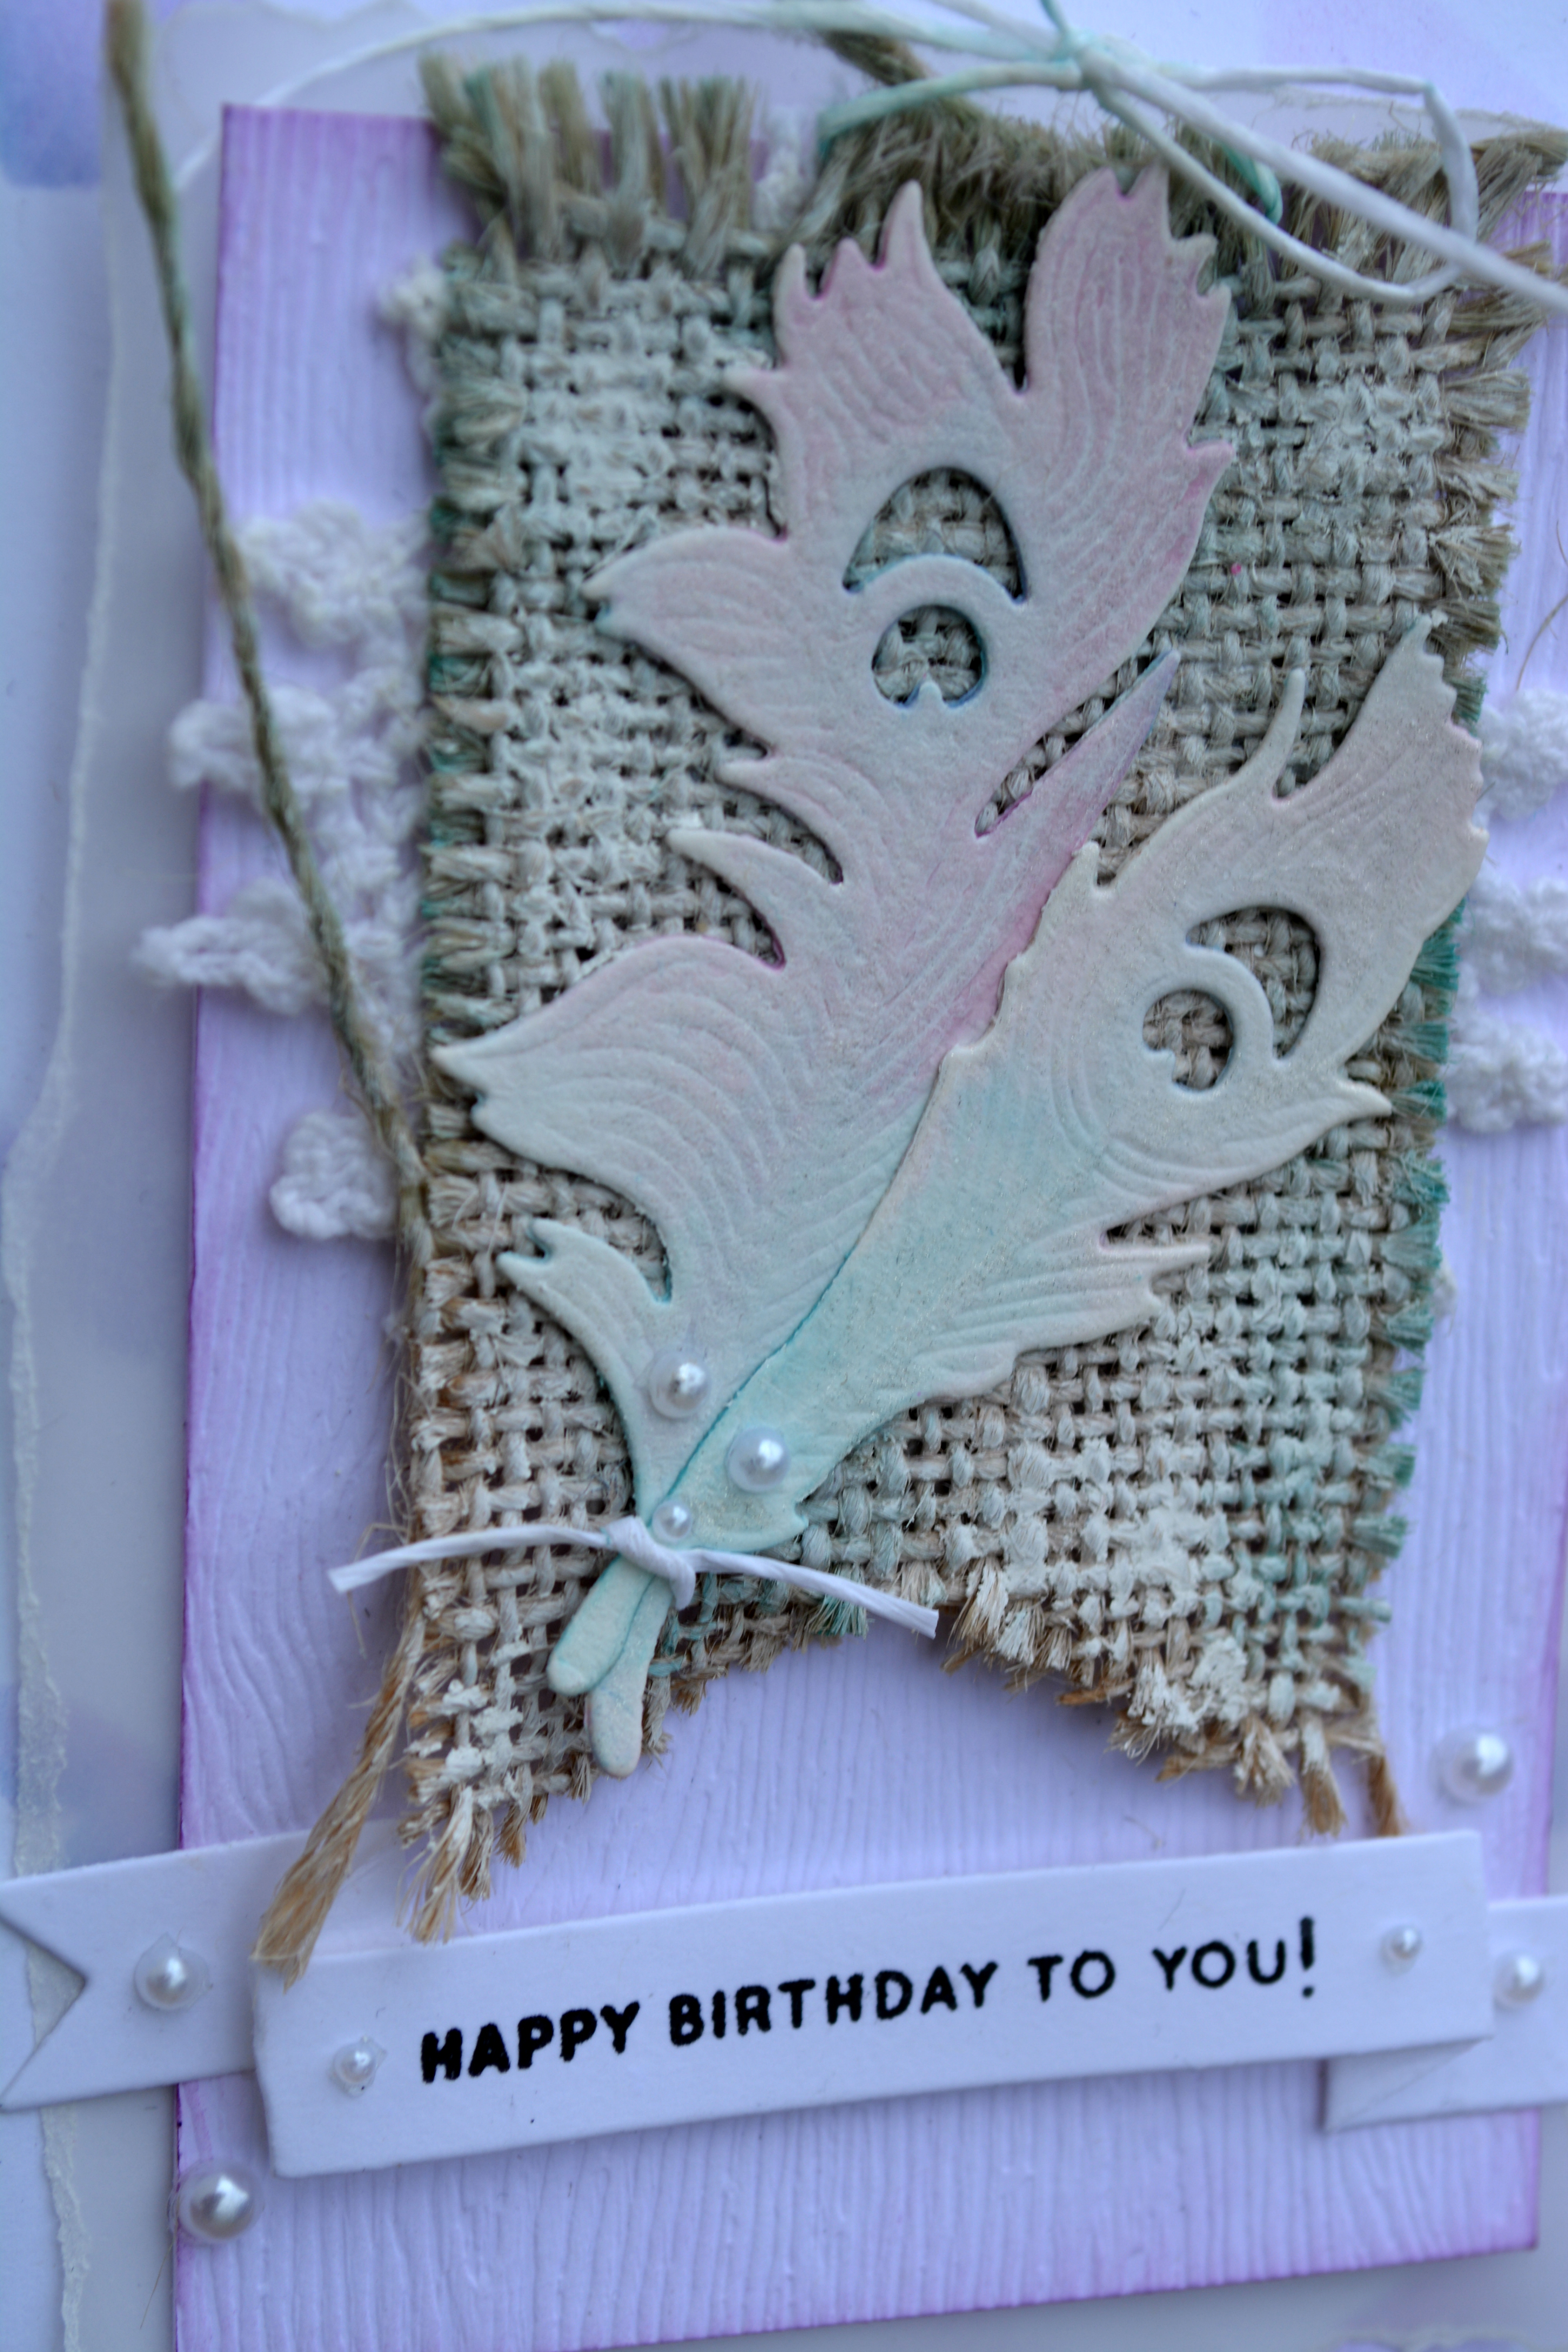
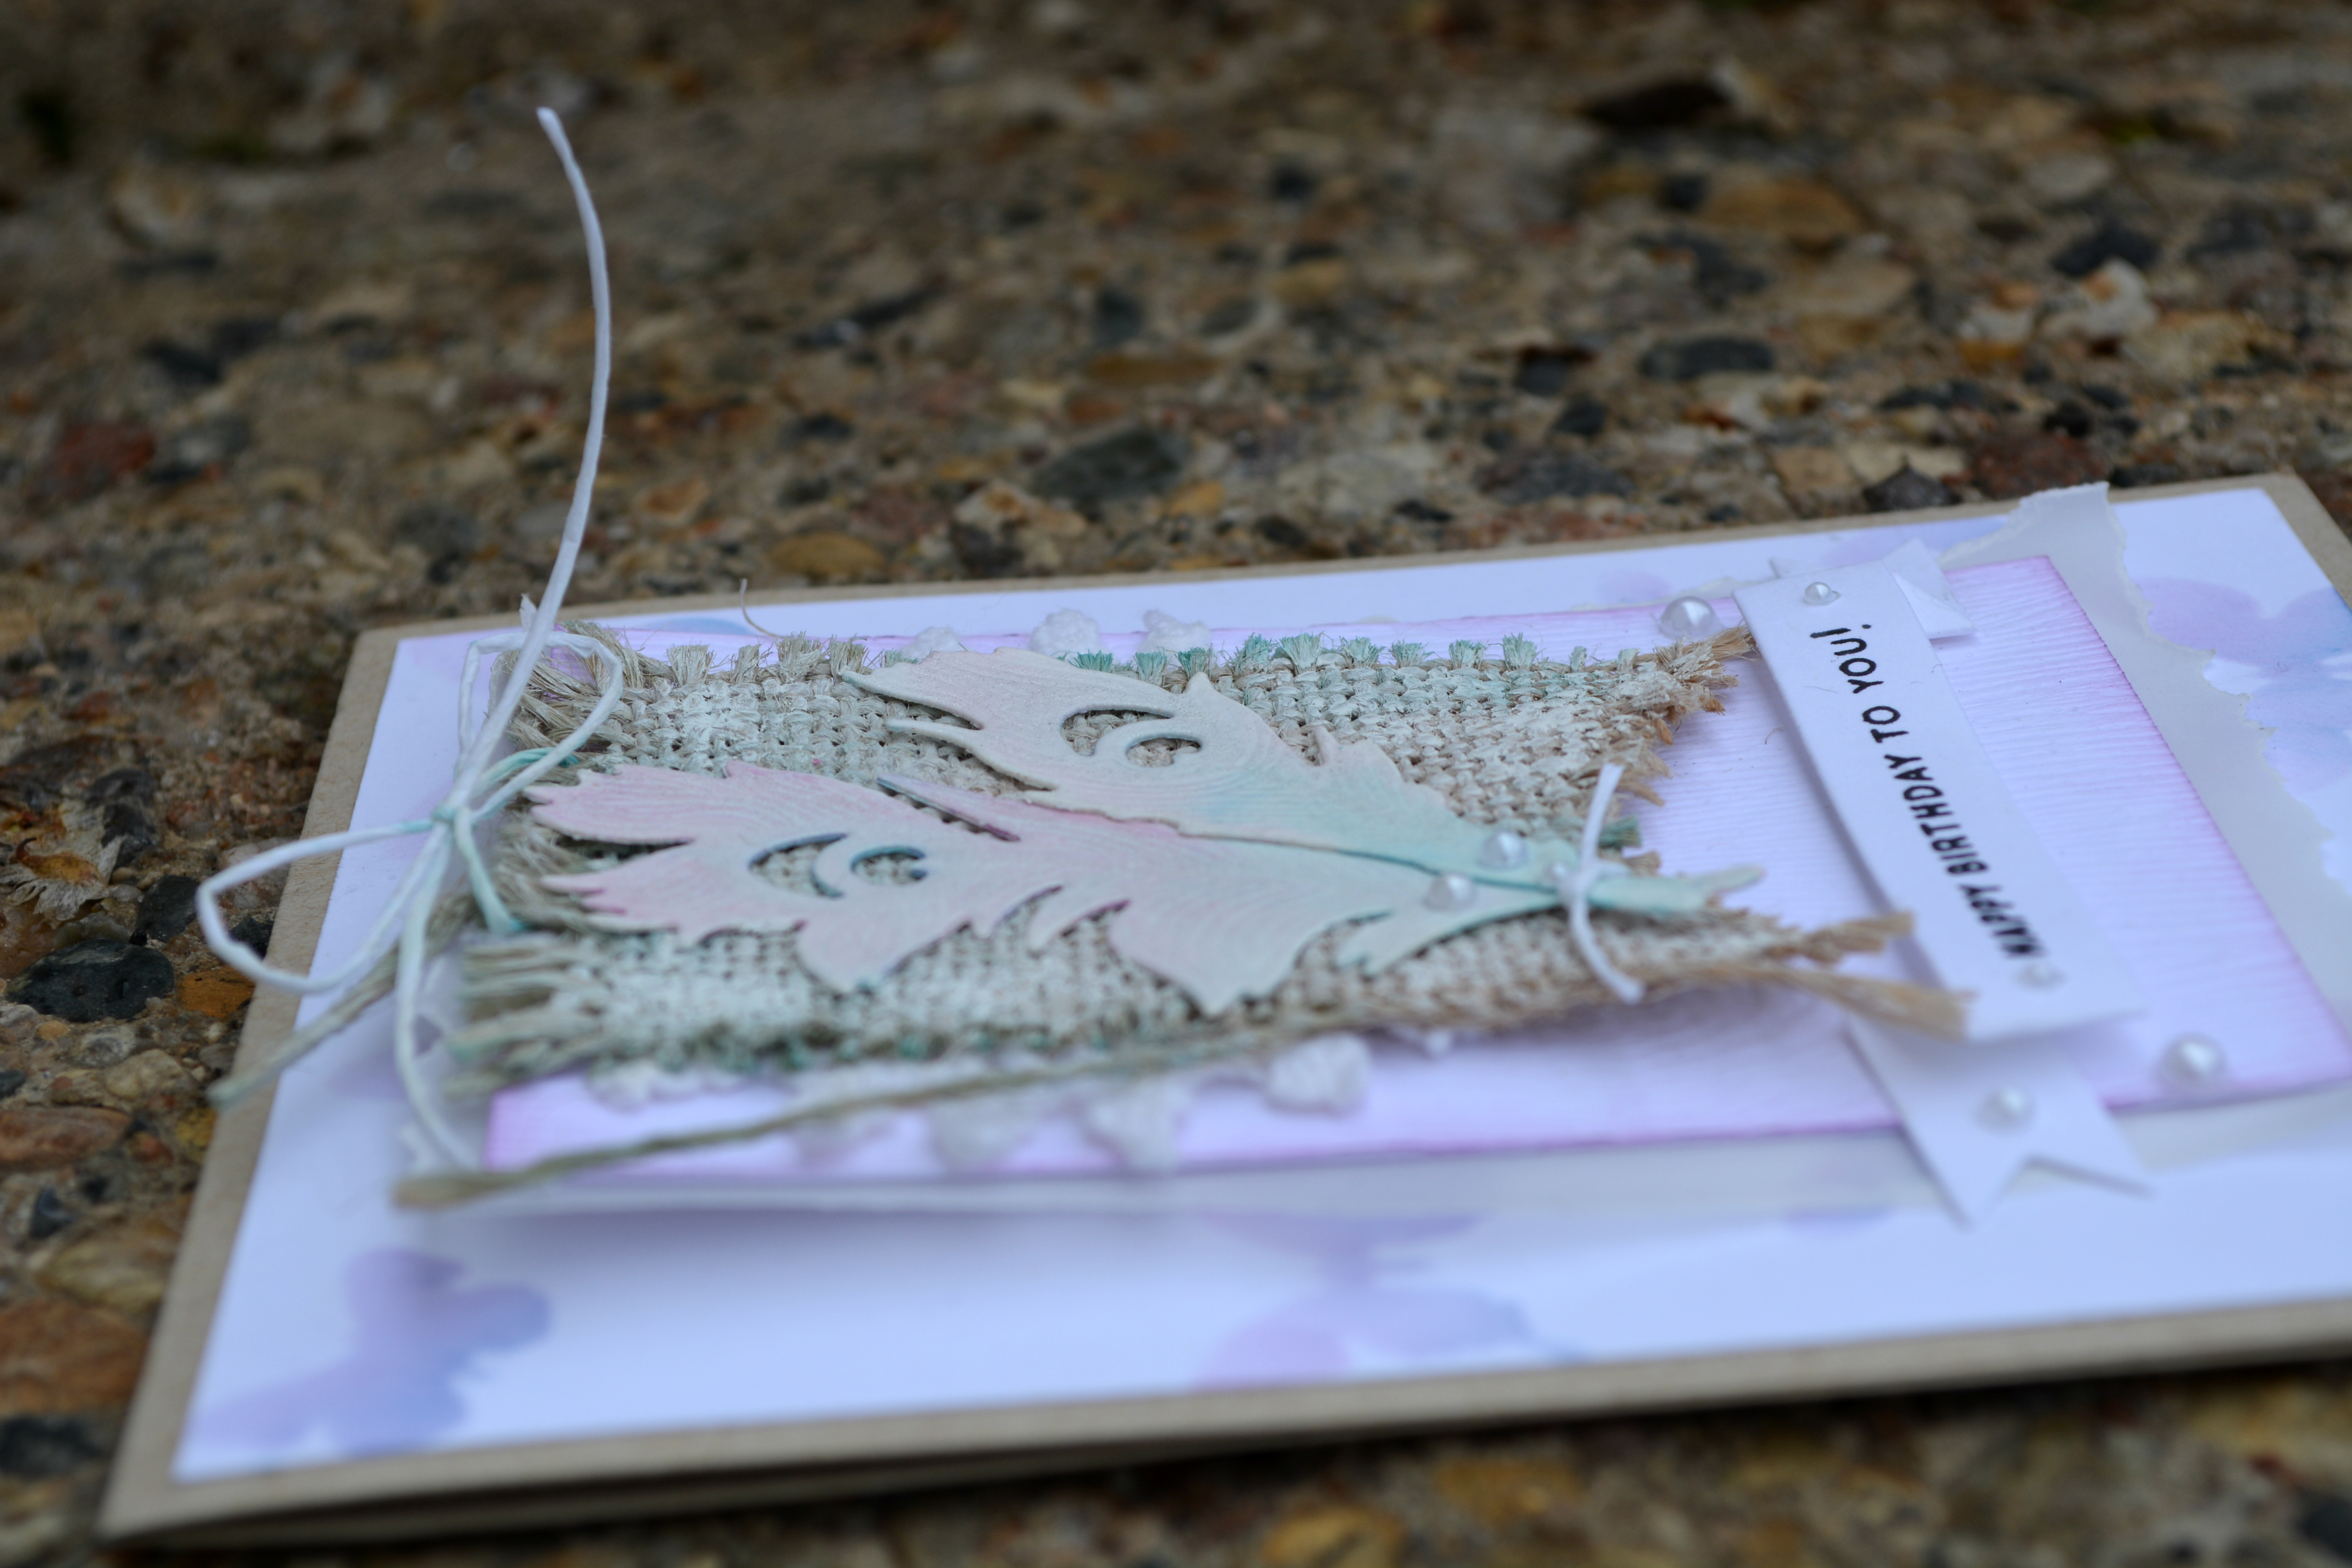
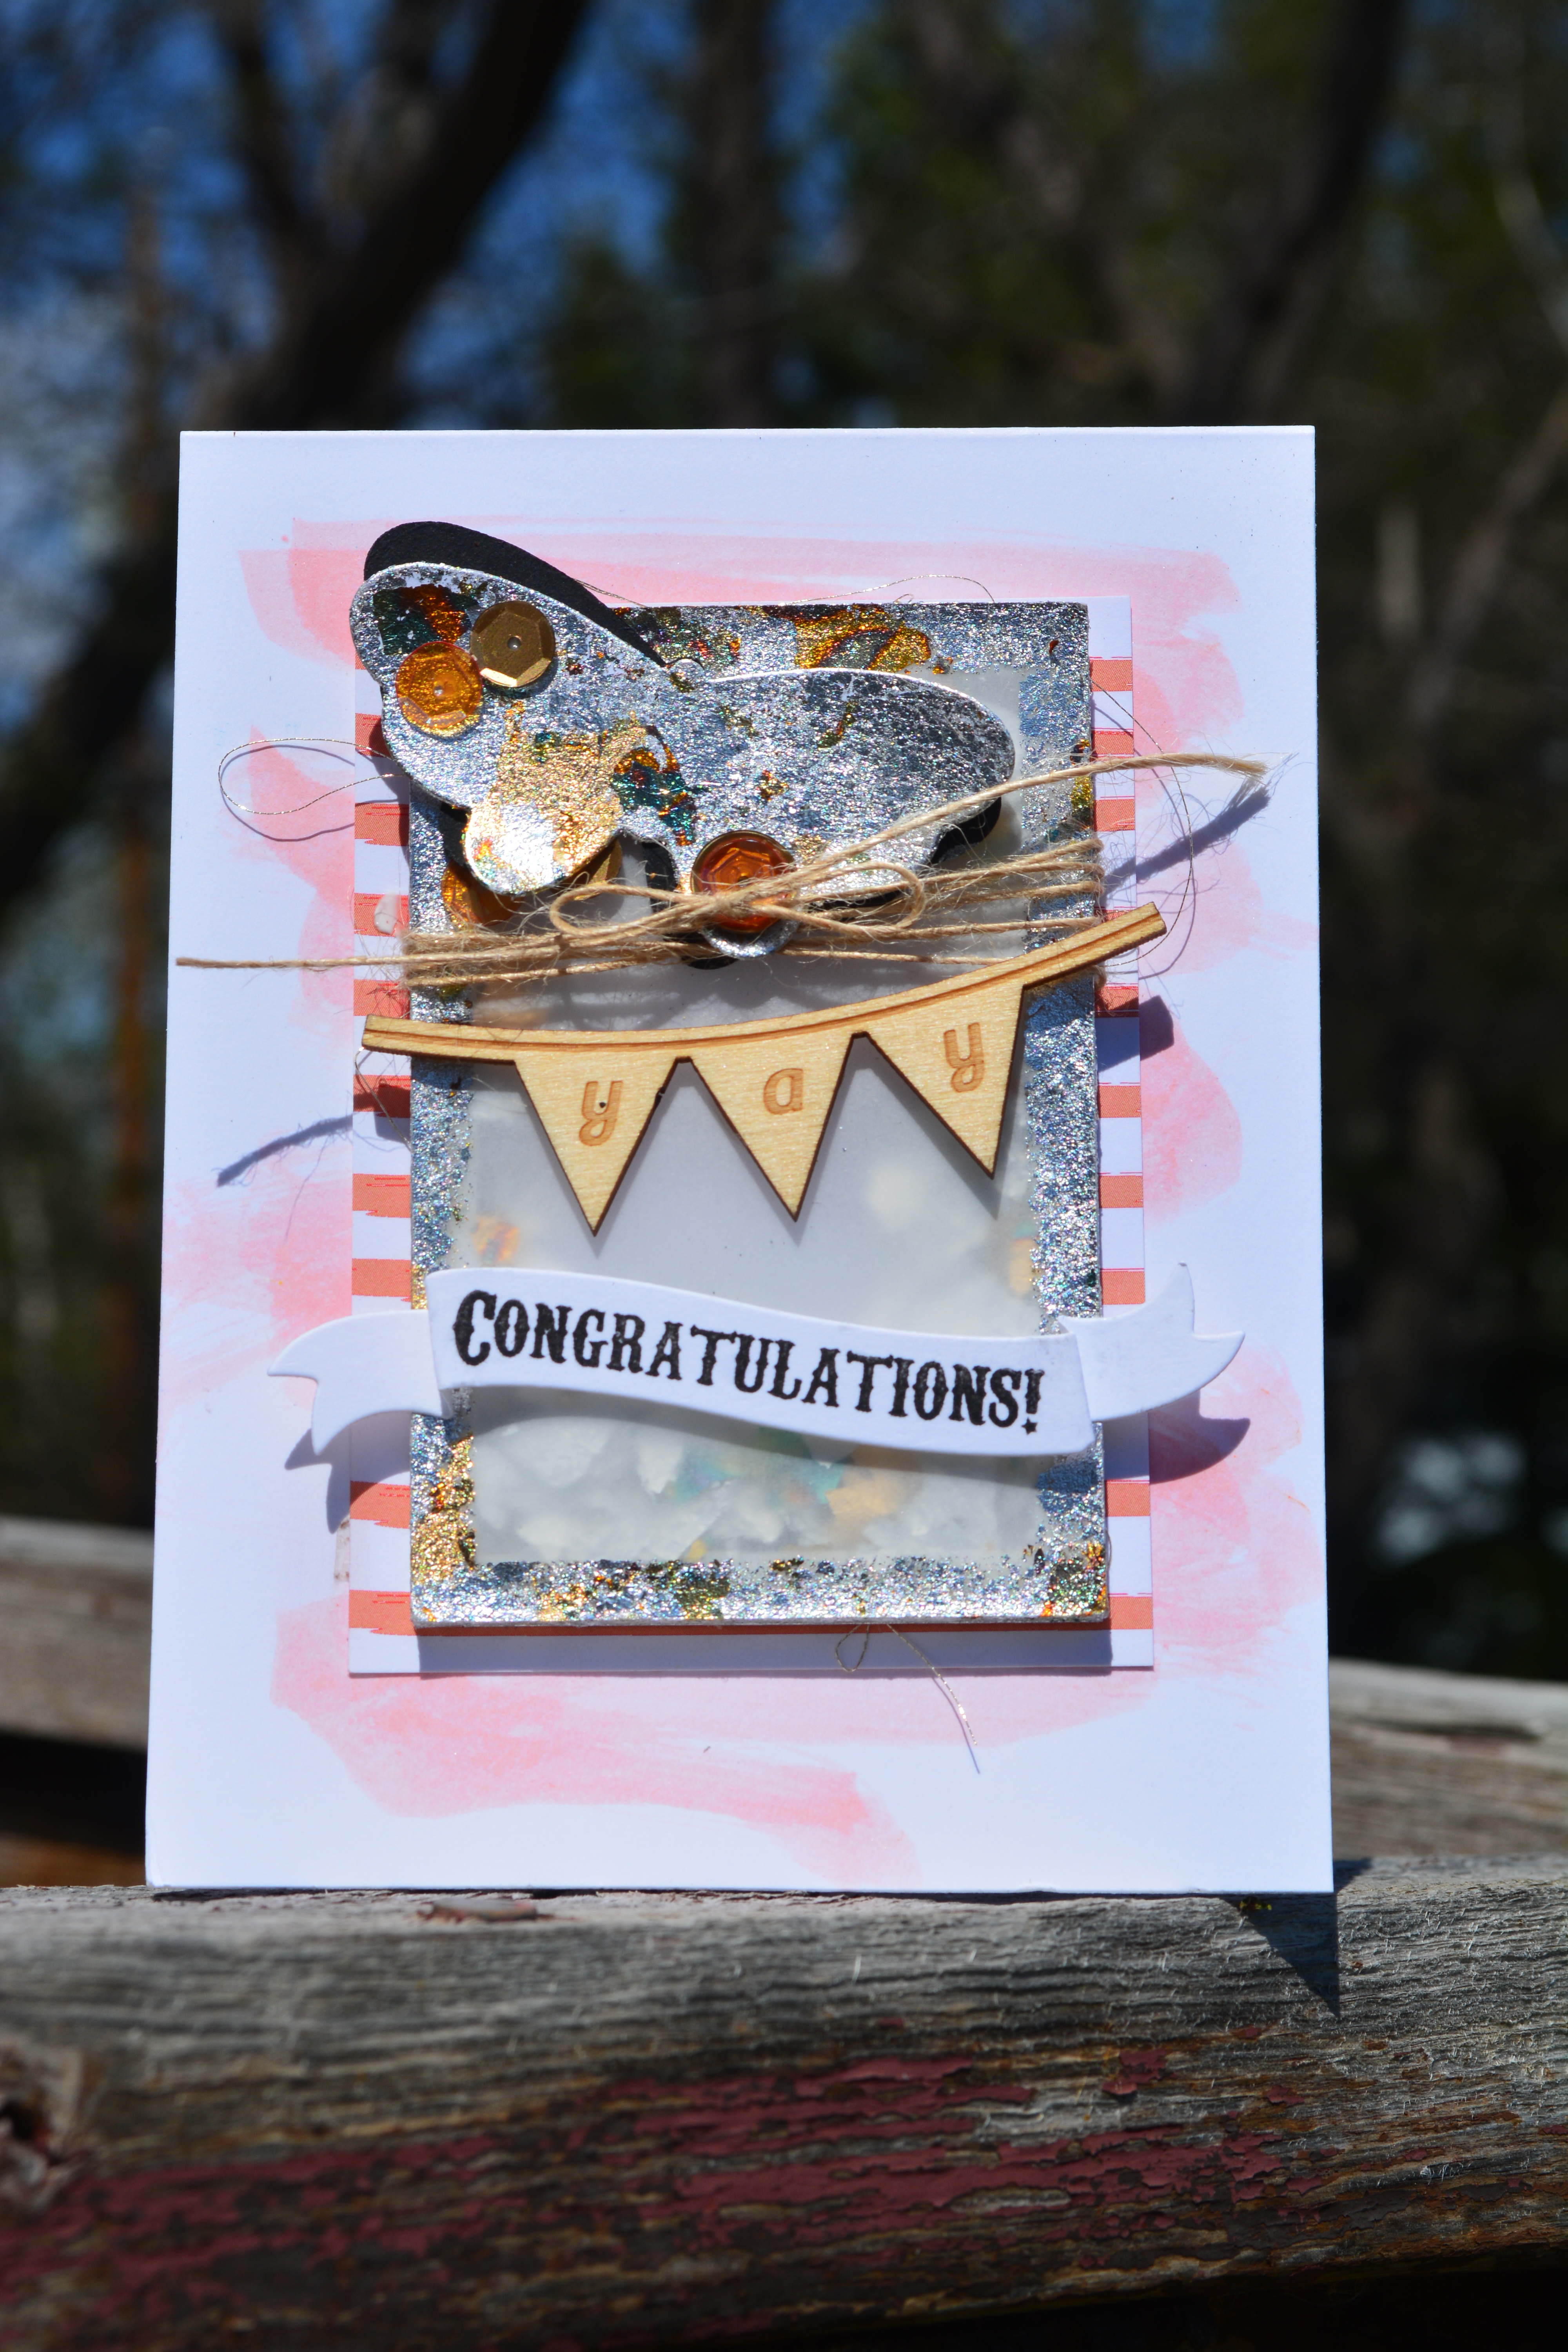
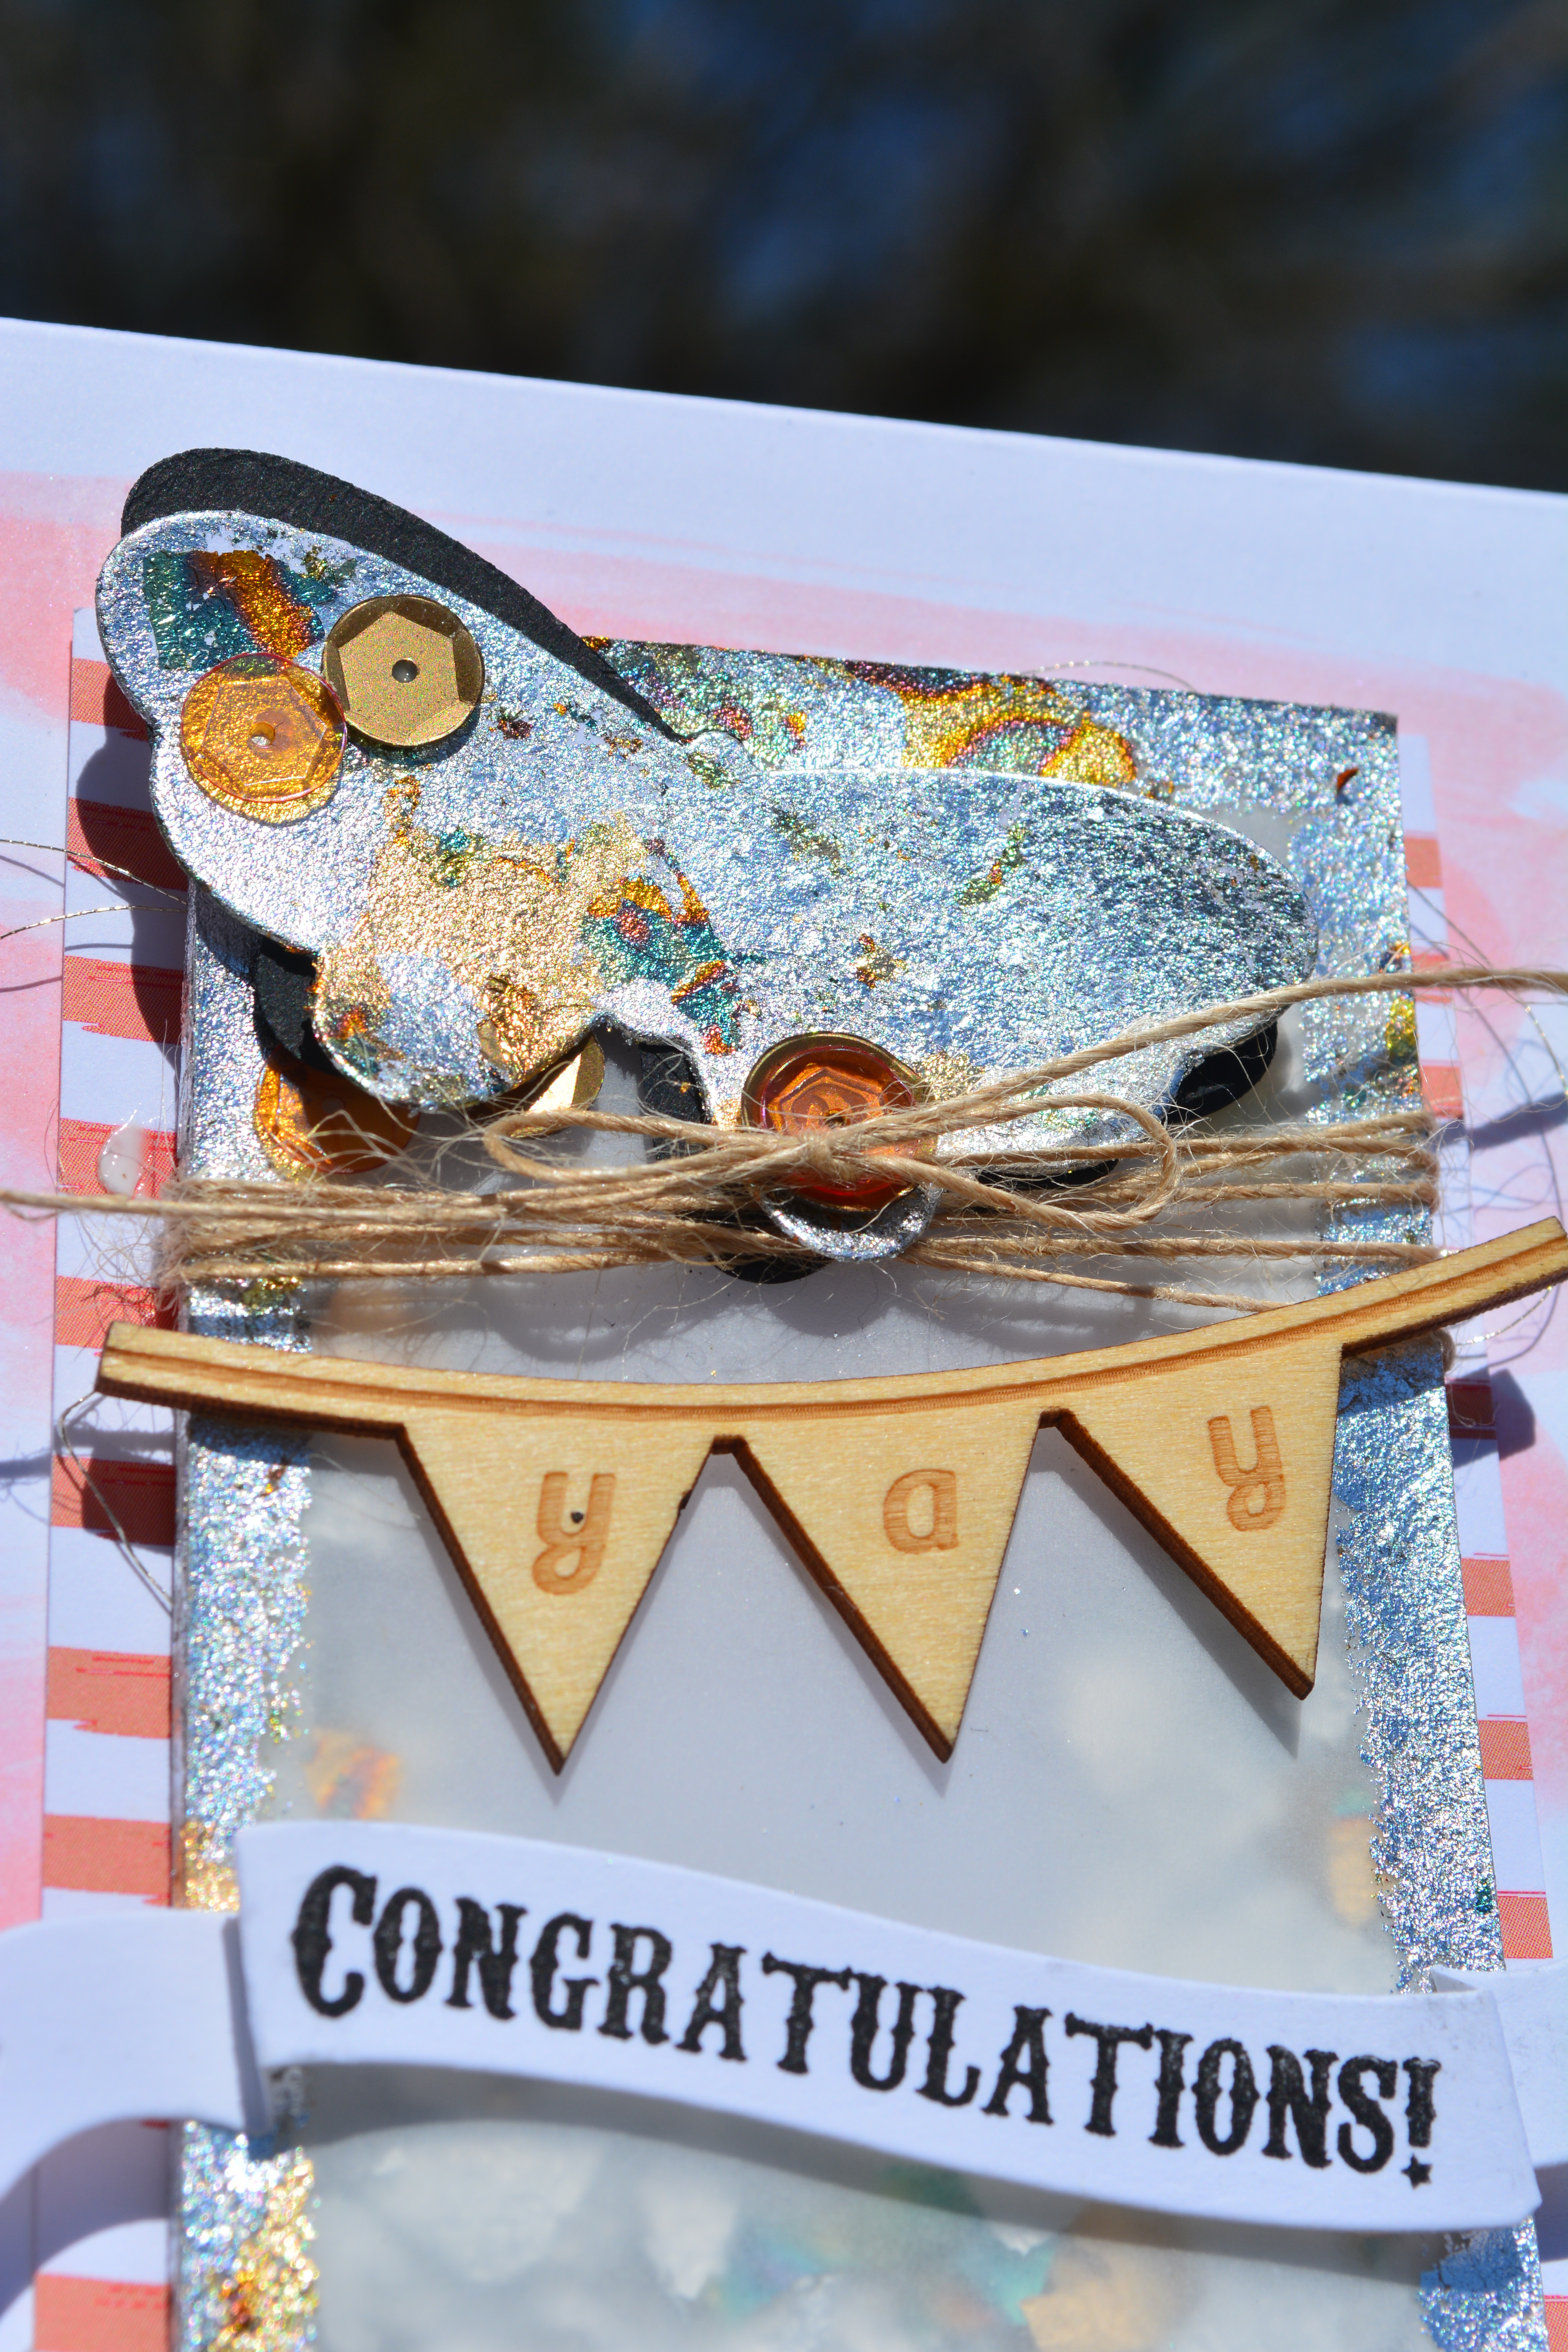
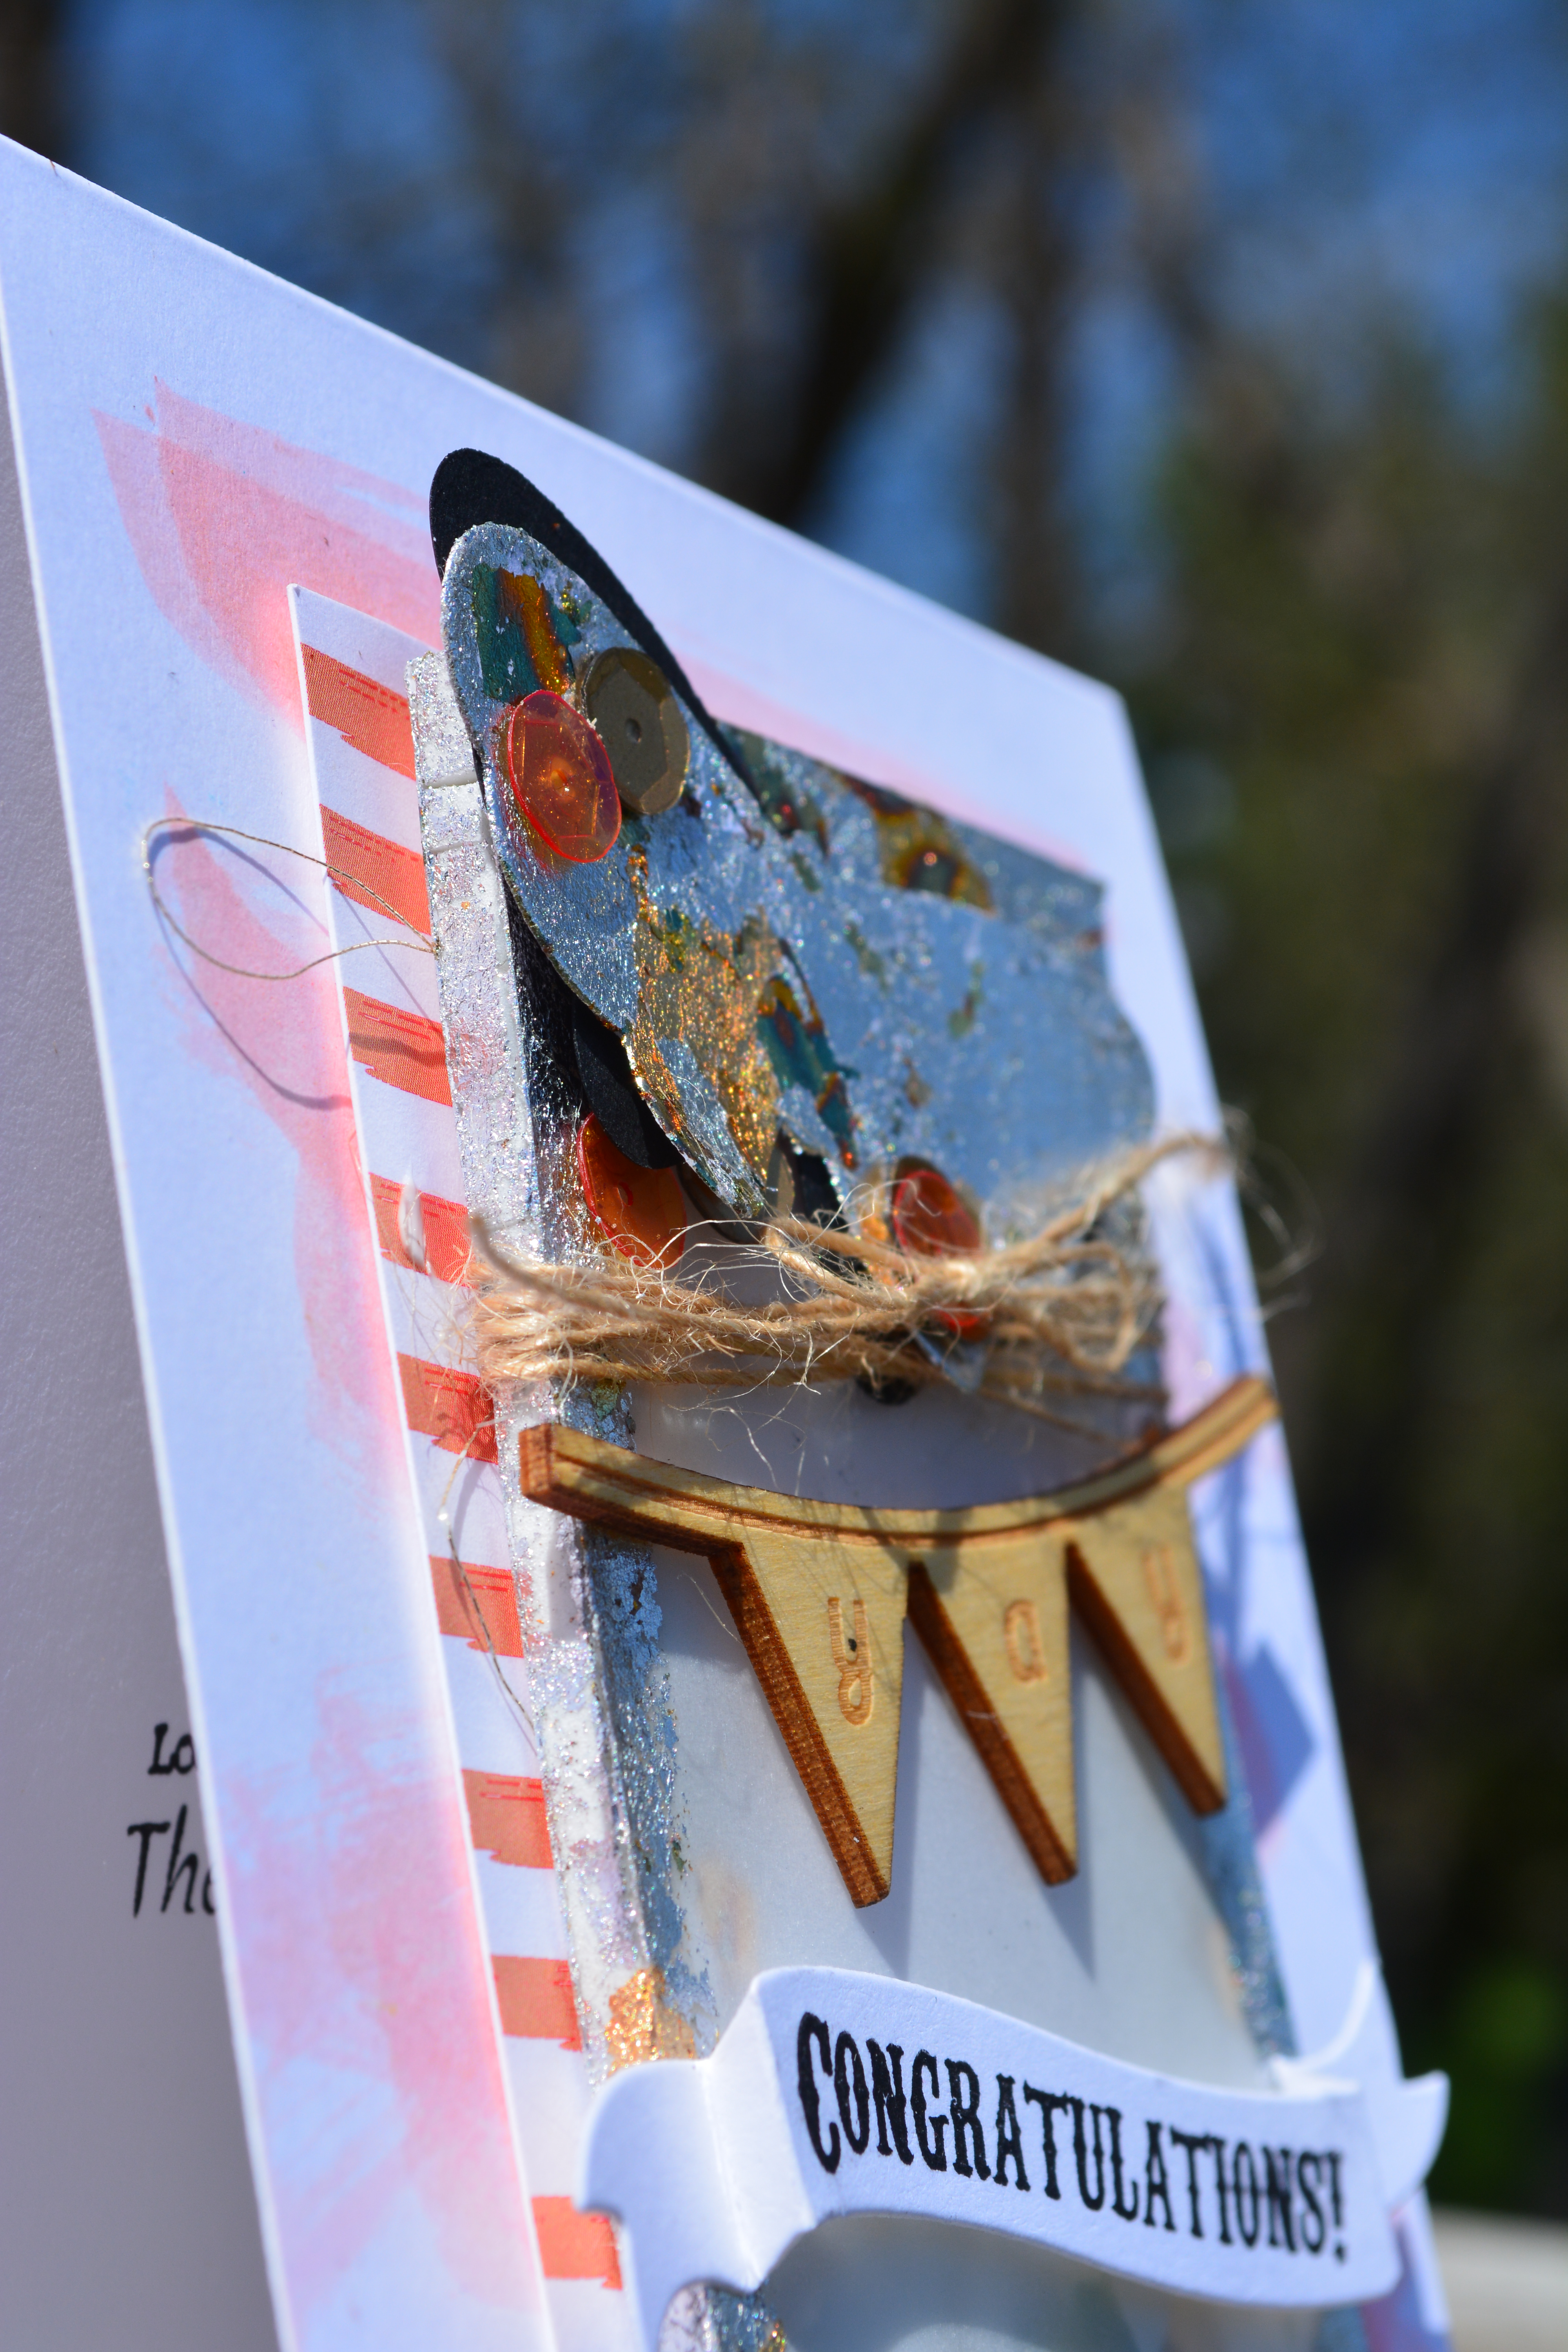
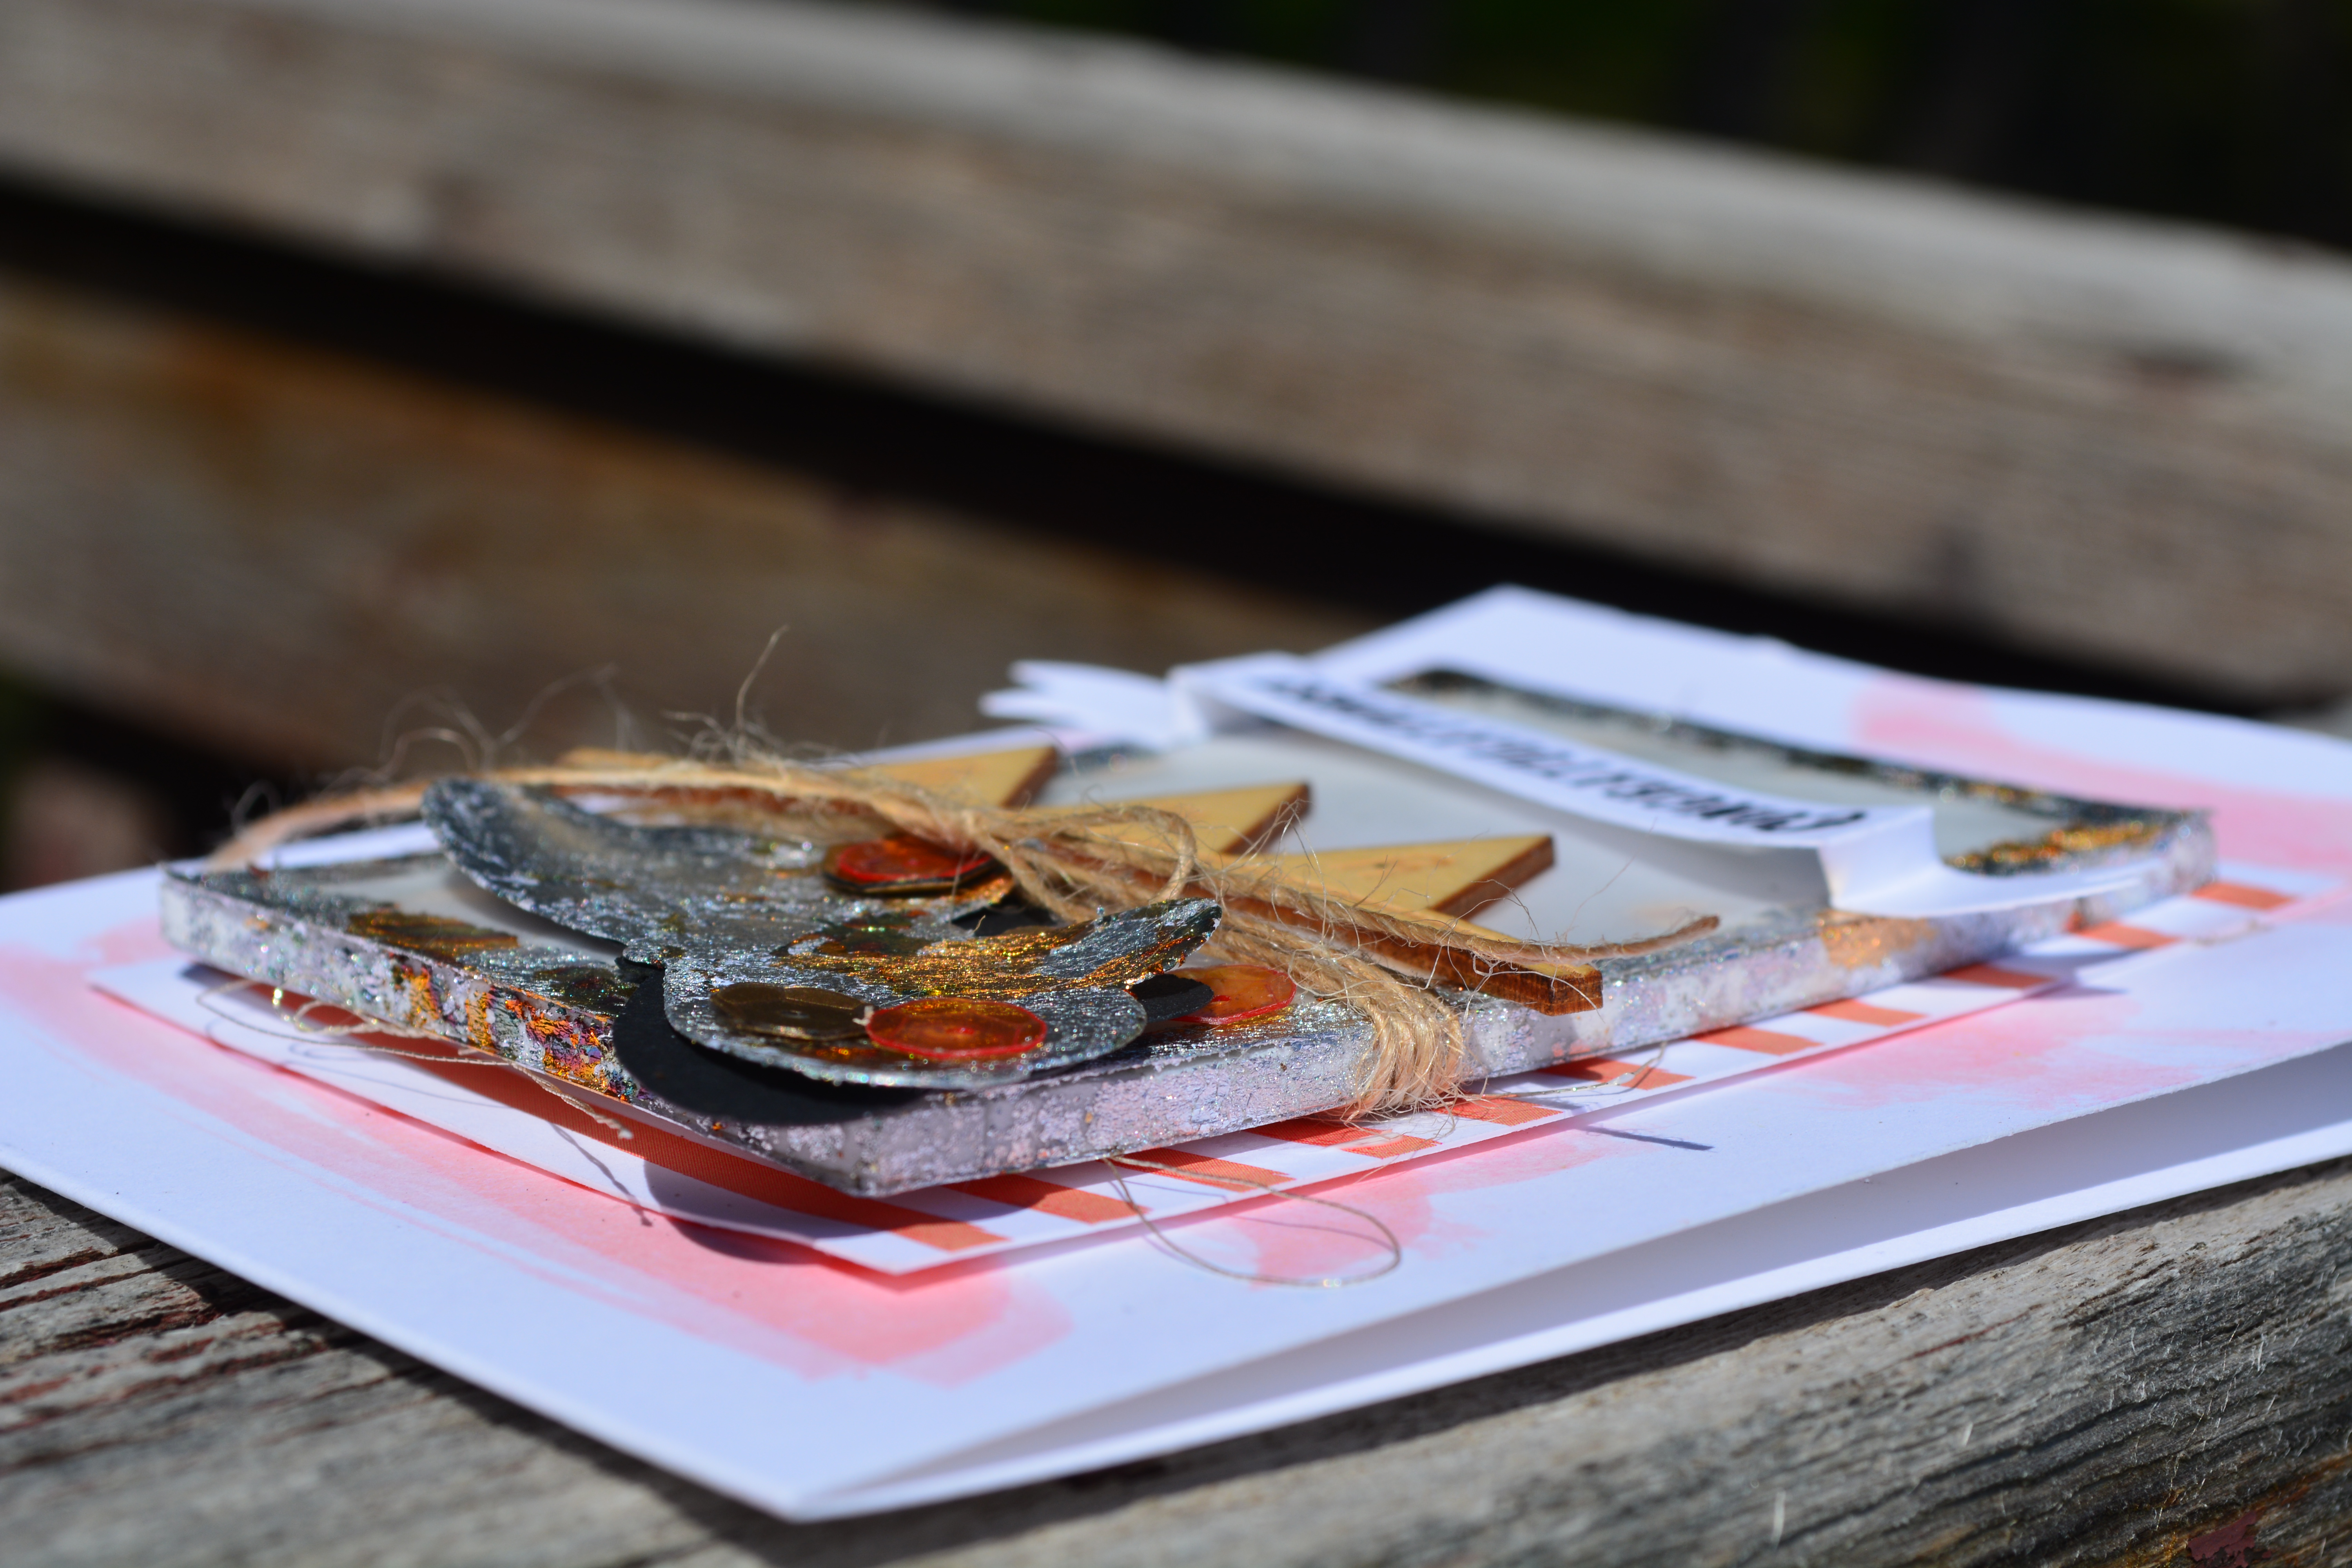
The white dots put on the image were done with a Golden Titanium white heavy body acrylic paint. I die cut that panel with the Lawn Fawn small stitched rectangles dies, I left the die in place and inked it with distress ink then wrapped the twine around the bottom. I layered a panel of vellum behind the image over top of the birthday paper from the Bo Bunny Surprise collection.

Paper smoochess 3


Thanks for stopping by,

Hugz,

Jess

PS. Let me know if you prefer the links to product below or just the list. Thanks


Make a wish…

Make a wish PS

Hey everyone! Back today with another sweet little card. I have always loved this stamp set from Lawn Fawn, I have used it over and over again, and still continue to love it.

Make a wish PS 2


There is no patterned paper on this card, which has been one of my favorite things it seems lately. Ink and white paper seems to keep very happy, probably considering the abundance of colouring mediums I have in my possession.

Make a wish PS 3


Supplies used:

Lawn Fawn – Critter Ever After

Neenah Solar White 80lbs

Neenah Solar White 110lbs

Inkadinkadoo Stamping Mask Paper

Distress Ink – Peeled Paint, Mowed Lawn, Crushed Olive, Salty Ocean, Broken China, Weathered Wood, Peacock Feathers 

Spellbinders – Regal Frames

Recollections – Adhesive Faux Pearls

Simon Says Stamp – Handwritten Greetings *inside sentiment*

Unfortunately I do not have list of the copic’s I used on this card… next time maybe 😛

Thanks for stopping by,

Hugz,

Jess

Simple trees

DSC_0111


Hey everyone! Jess here again using the same stamp and die set as yesterday, the Snow Day set from Lawn Fawn,  This card I kept rather simple stamping the tree outline and colouring them in with my Copic’s, G111, G14, G17, and G28, then cut them out with the coordinating die.


DSC_0112


I then wrapped some May Arts twine around the white panel and stamped my sentiment in Versafine Onyx Black Ink, and attached my trees with foam tape. Then finished off the twine by tying it in a bow over top.

I dug in my Scraptastic Life Noted card stash and found this fun triangle one and cut it down to fit behind the white panel. Noticing that it looked rather plain on the Neenah Solar white card base I took out my most used and loved stencil (Tim Holtz Spatter stencil) masked off the areas I didn’t want to use and then used distress ink in Peacock Feathers, and picked raspberries through the stencil to create a lovely backround. Attatched my focal panel on some foam tape and it was complete.

DSC_0114


Thanks for stopping by,

Hugz

Jess

Sunflower’s and watercolor

DSC_0075


Here is a fun little watercolour card I made, I used a sunflower stamp, I have no idea who makes it, it is actually for doing pottery. I embossed with white embossing powder and coloured it, in a watercolour fashion, using distress inks. (mustard seed, wild honey, dried marigold, ripe persimmon, crushed olive, and peeled paint).


DSC_0076


I then added splatters on the background with mustard seed, and ripe persimmon. it is layered on a terracotta orange cardstock base with a chocolate brown mat (not sure whose card stocks they are probably Paper Trey Ink).

DSC_0077


The sentiment is from a Simon Says Stamp Set called Birthday Messages 3×4, and is stamped in Wendi Vecchi Archival Ink in the colour Potting Soil


Thanks for stopping by

Hugz

Jess

Avery Elle Many Thanks

avery elle thank you 1


I started with a piece of Ranger Watercolour paper cut to 4×5 1/4, and use Distress Ink in the colours, Peacock Feathers, Picked Raspberry, and Squeezed Lemonade. I put the inkpads on a ranger craft sheet and sprayed with water, after drying the first layer of colour, I tapped the piece back in the water to add some further layers, increasing the watercolour effect.


Avery Elle THank you 2


Then on a white panned I stamped the Thank you sentiment from the Avery Elle set, the for everything is from a SSS set called Life is a Journey.


Avery Elle Thank you 3


I then made a bow on the front of the card using May Arts Turquoise Twill Stripes ribbon. Added a few enamel dots from my stash in similar colours, put it all on a white card base and the card was complete! Quick and simple.

Thanks for stopping by,

Hugz,

Jess


Star Birthday

stars


Hey everyone! Here is a fun card I made inspired by the one Kristina Werner did on Jennifer McQuires blog a while back. I started with a piece of Neenah Desert Storm Paper that I folded into an A2 size card. I then took a Prima Star Stencil, and inked it with white ink, let that dry thoroughly then used Distress ink in, Mustard Seed, Salty Ocean, and Dusty Concord through the same stencil with it being slightly offset.

stars 2


I then took a piece of vellum from my stash (it is provocraft vellum but Bazzil would work wonderfully), Heat embossed a happy birthday sentiment and a boarder from some stamp sets from my stash (I can’t remember which ones as I forgot to write them down, I appologize.) Cut a flag into the one side and glued it on, I then used white Scrappers Spool thread and wrapped it around a few times tying a bow. The sequins are from Neat and Tangled

stars 3


Thanks for stopping by,

Hugz,

Jess


Just a little white..

white card 1


So here is the card I made to enter the Simon Says Stamp Monday Challenge W is for White. My card base is Neenah Desert Storm 80lbs cardstock, then I cut a layer of Neenah Solar White cardstock and  used the Prima Butterfly stencil (I can’t find a link for) and inked it with Distress ink in Seedless Preserves, and Peacock Feathers.

A piece of Simon Says Stamp Woodgrain Cardstock,edged it in seedless preserves, and tor a piece of Bazzill 40lbs vellum and tore it slightly larger.


white card 2


A banner cut out of DCWV Burlap paper and covered it in many layers of Picket Fence Distress Paint, and layered a vintage Doily under it. Die cut 2 of the Spellbinders Shapeabilities Peacock Feathers and watercoloured them with Distress ink. Die cut and stamped the sentiment from the All Occasion Banners set.


white card 3


Thanks for stopping by,

Hugz,

Jess

For the love of glitter

Distress glitter 1


Glitter is such a wonderful thing. Which is still odd for me to stay I was always so opposed to it for so long until I discovered microfine glitter… Then Distress Glitter entered my world and now I love all things that sparkle and shine and make me look like a walking disco.

I started with my favourite Tim Holtz Rays Stencil, using Golden Light Molding Paste through it. I then added the Mustard Seed Distress Glitter to the bottom part of the rays tapping it lightly with my finger to push it into the molding paste, then dumping the excess off. I repeated the same on the top half with Picked Raspberry Distress Glitter.

Distress glitter 2

I then cut a tag using Spellbinders Fancy Frame Tags 3 and coloured it as well as the back panel with Peacock Feathers Distress Ink. I stamped the Happy Birthday sentiment from the SSS Birthday Messages stamp set in Versamark ink and embossed it with Hero arts White embossing powder.


Distress Glitter 3


I then took Studio Calico Star Burst wood veneer (I can not find a link to these) and painted them with Distress Ink in Picked Raspberry, and Mustard Seed.


Thanks for stopping by

Hugz,

Jess


Congratulations…

DSC_0263

Here it is folks! My first project for the Scrapadabadoo Design Team. I got to play with the Indigoblu Kit in a Box, the gilding this creates is simply stunning and I am in love. Did you take notice that I made a shaker card with a vellum front and filled it with the mega flakes? I think it is so awesome that you can see them through, they move around its awesome.   DSC_0264   The shaker part of the card is 2 1/2″ x 3 3/4″, I used foam squares around the outside that are 1/4″ wide then created a mask for the center out of scrap paper 2″ x 3 1/4″, so that I could use flitterglue around it and on the sides of the foam and use the mega flakes on that as well. DSC_0265   The butterfly was covered in Flitterglu then I used the Mega Flakes on it as well. I then wrapped and tied some Twine, similar to the Burlap String around the shaker element and tied a pretty bow. The wood veneer saying yay is from my stash, I am not sure if you can use any fun little element here. Below it I stamped my sentiment on a banner I had die cut ages ago, you could easily cut a strip of paper, cut a V in each end and fold it to create a similar look.   DSC_0266   I then adheared the whole shaker onto a piece of scrap striped patterened paper, it looked like the cardbase needed something more to it so I took some Distress ink in Dried Marigold, and Worn Lipstick. Mixed those together and added a bunch of water and just did a light scribble of it with a brush right on the card base.   Thanks for stopping by Hugz Jess

Stencil Card Challenge

This weeks challenge is to use a stencil on your card… and here is mine.


MY B 1


Here it is! I am happy with the way this card turned out, aside from the flowers everything on this card is made from white paper and coloured using Distress Inks (weathered wood, crushed olive, dusty concord, seedless preserves, fired brick). The Stencils used were Prima’s Chevron stencil, and the Tim Holtz Ray stencil.

MY B 2


The image is from Sherry Baldy’s My Besties (the first time I have coloured one of her images) and coloured using my Copic Markers.


MY B 3


The Feathers are die cut from Spellbinders Shapeabilities Peacock Feathers dies, and the frame around the Happy Birthday sentiment (from Simon Says Stamp) is from Spellbinders Fancy Frames 1. All the feather on the card are from Wild Orchid Crafts.


Thanks for stopping by and don’t forget to link up your card below. (you will be able to see all cards linked using this tool as well)

Hugz

Jess