Yay!

yay


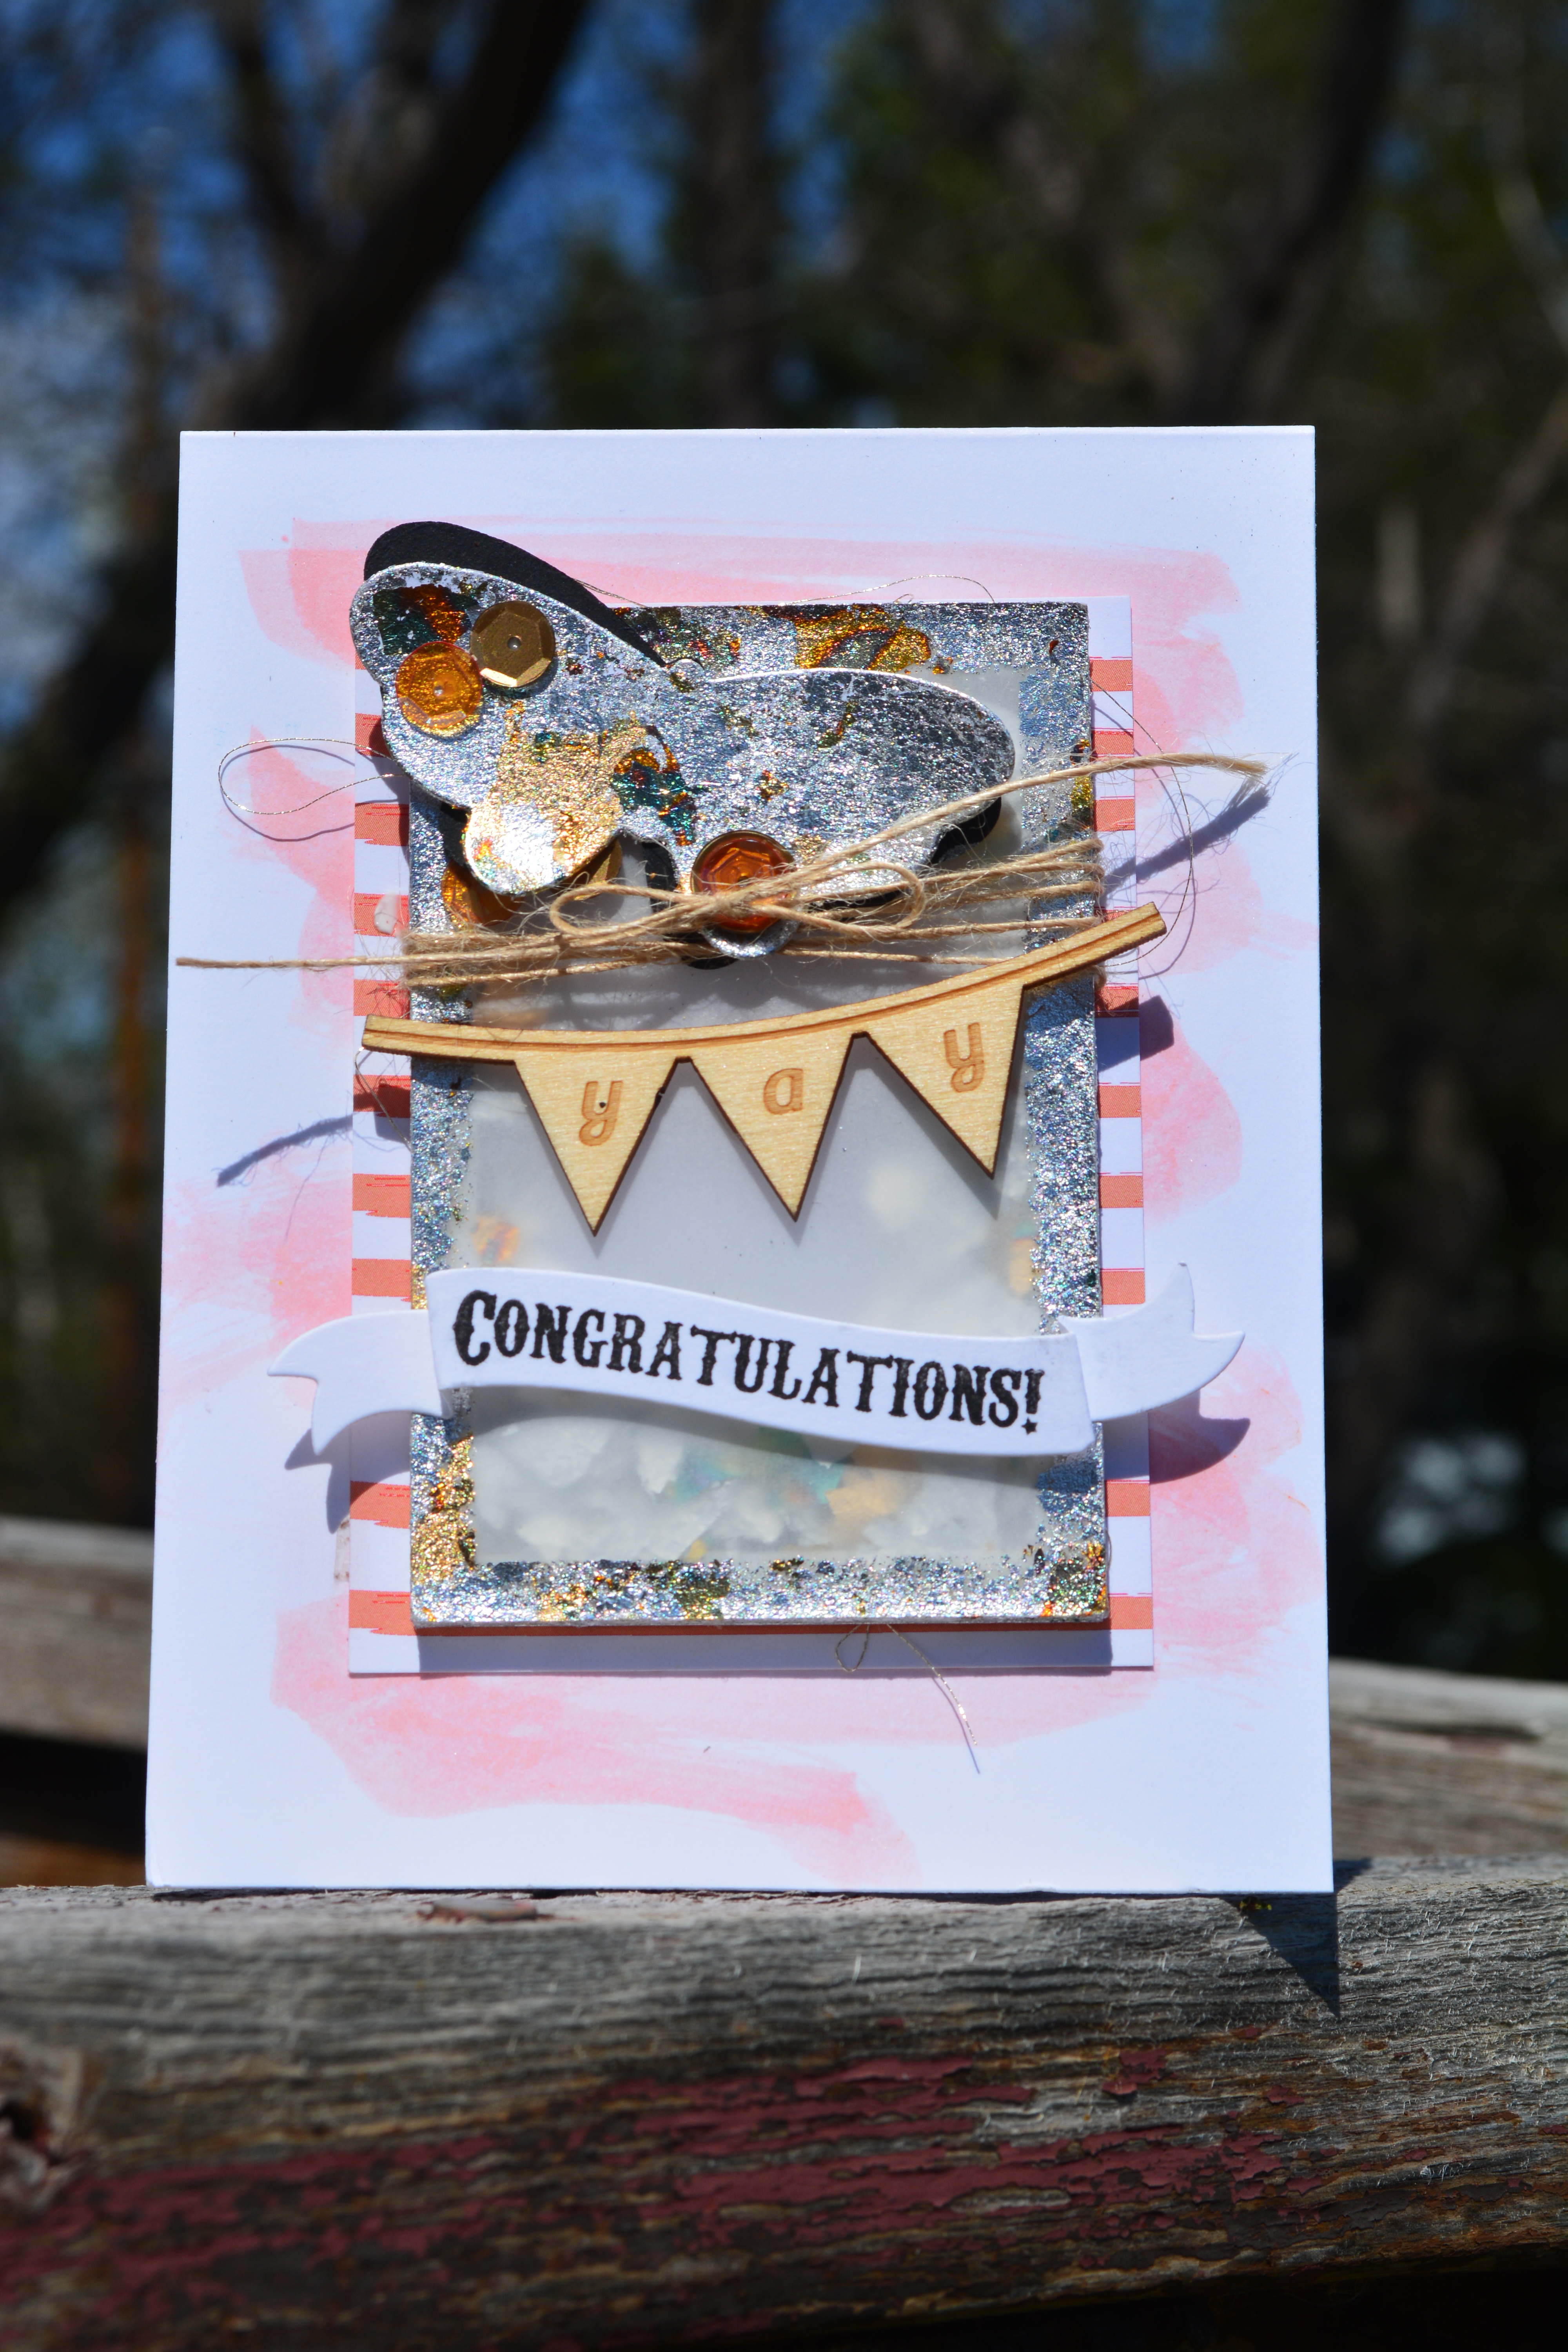
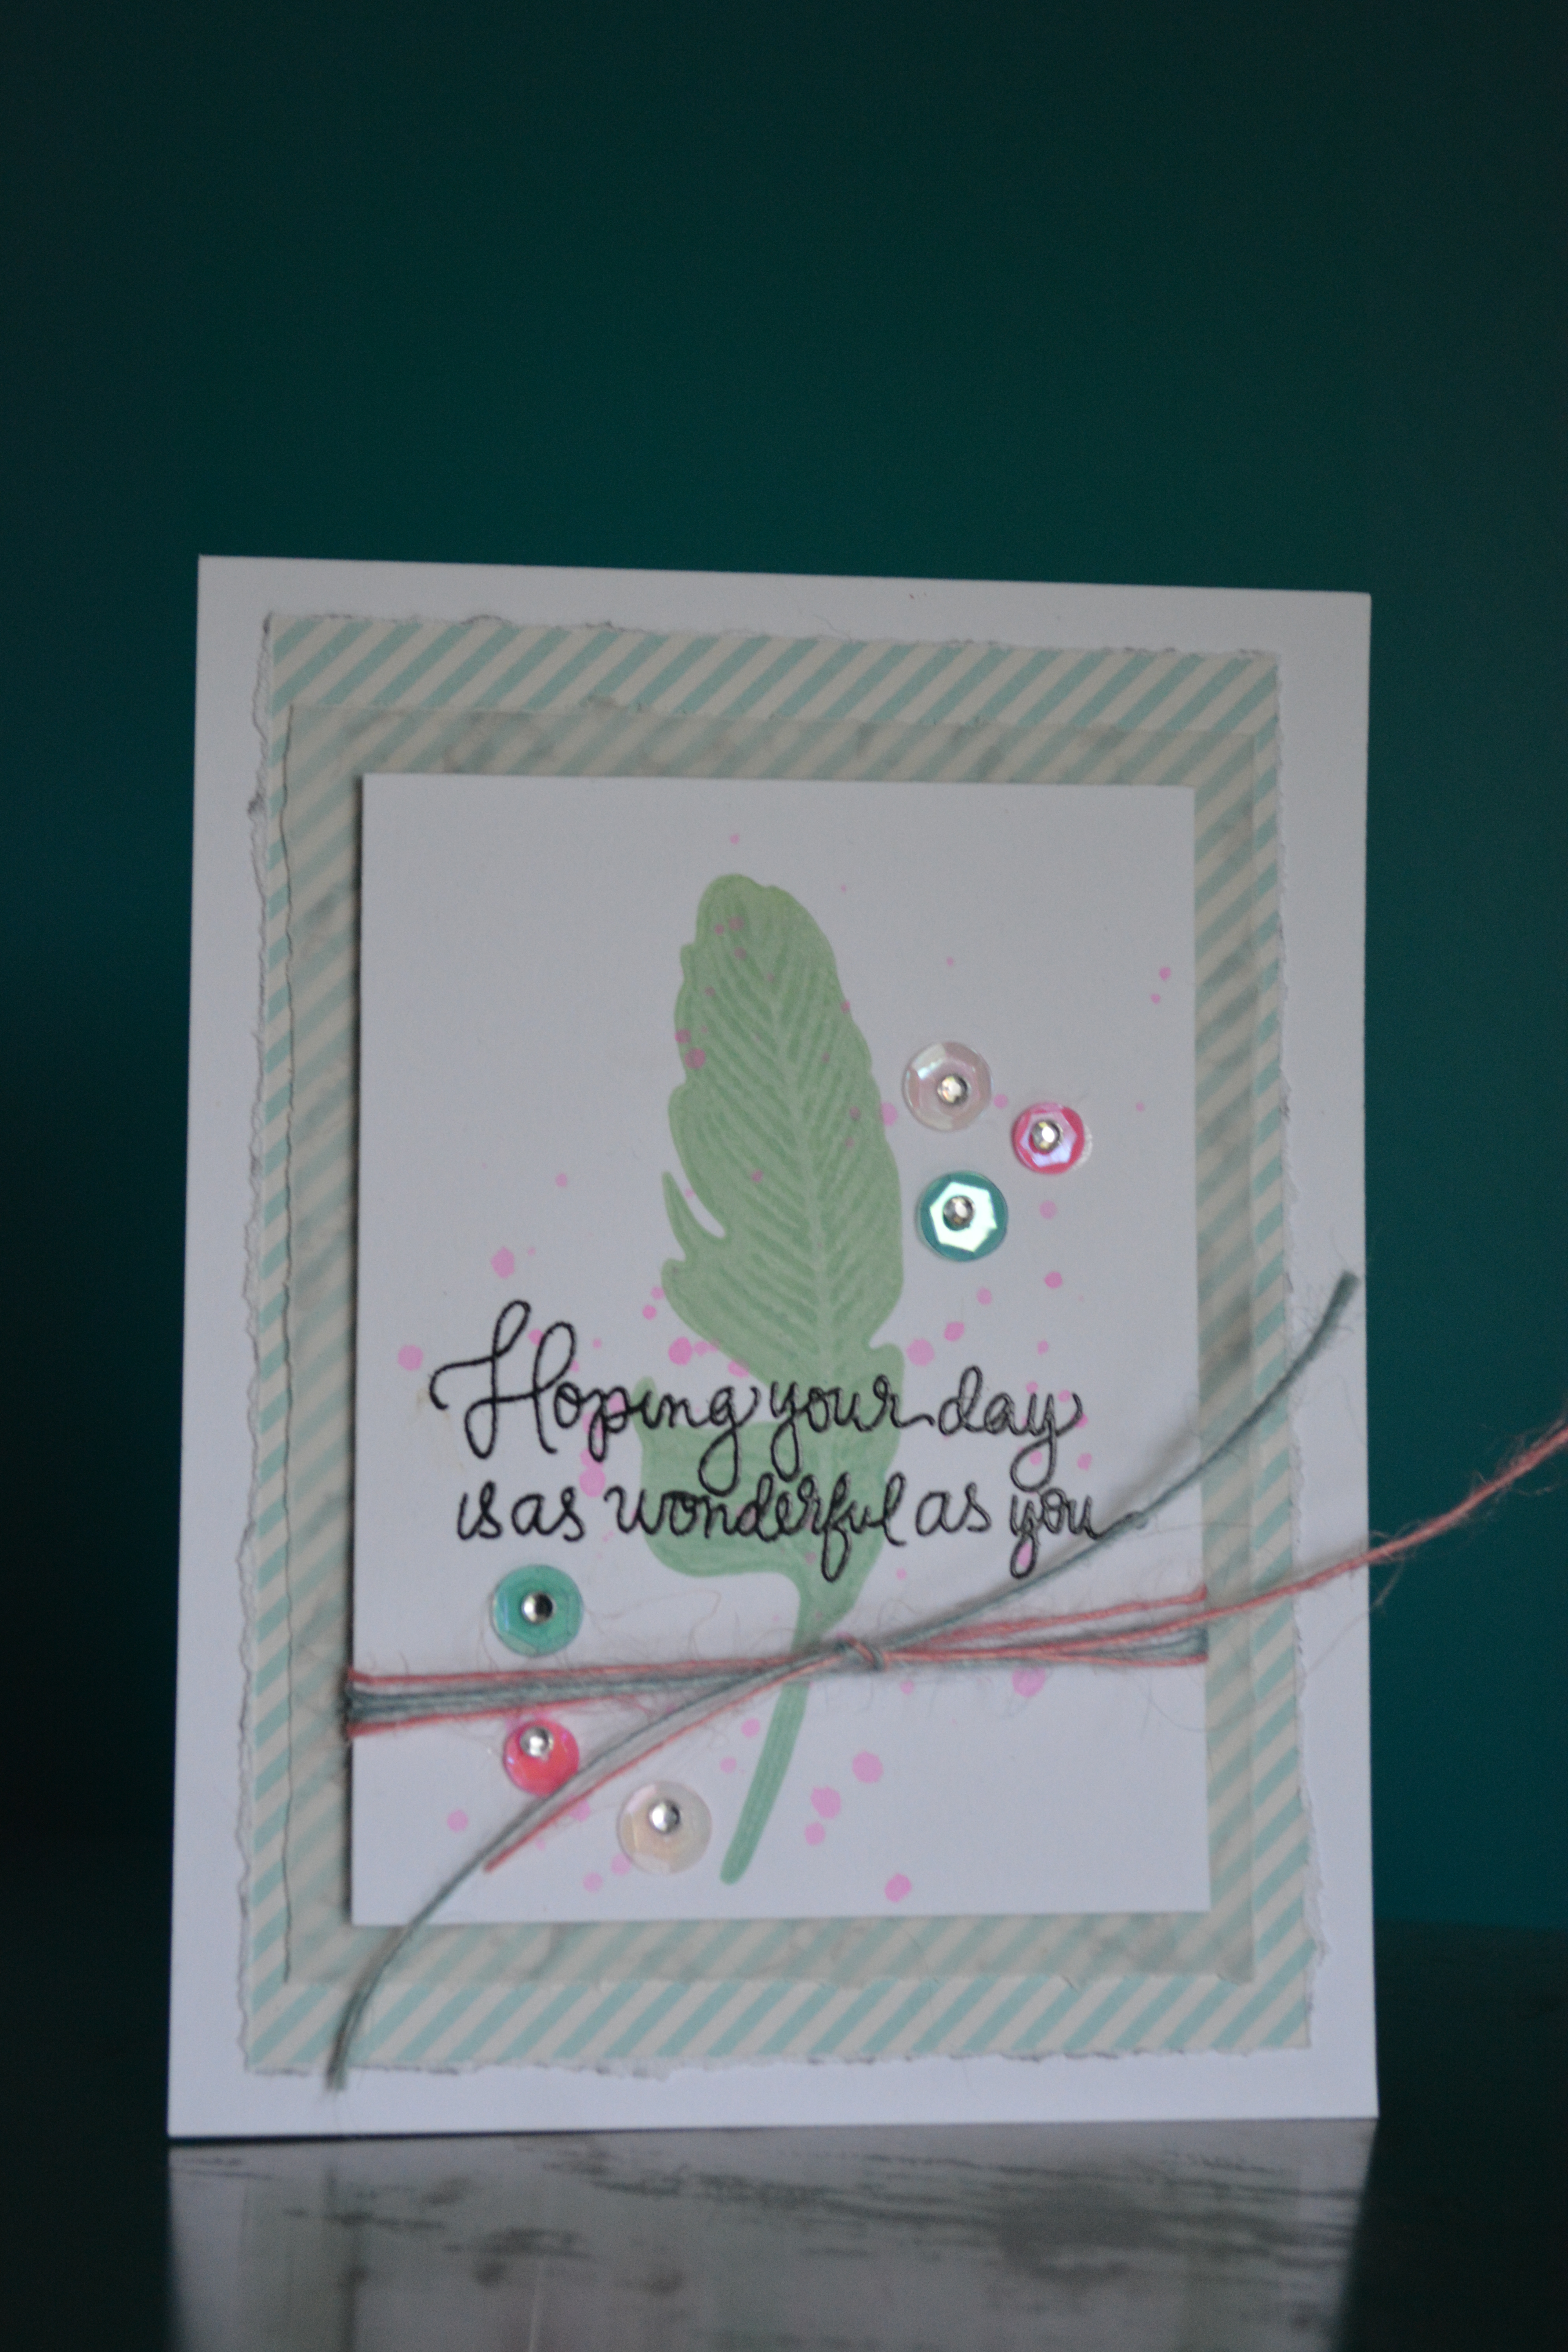
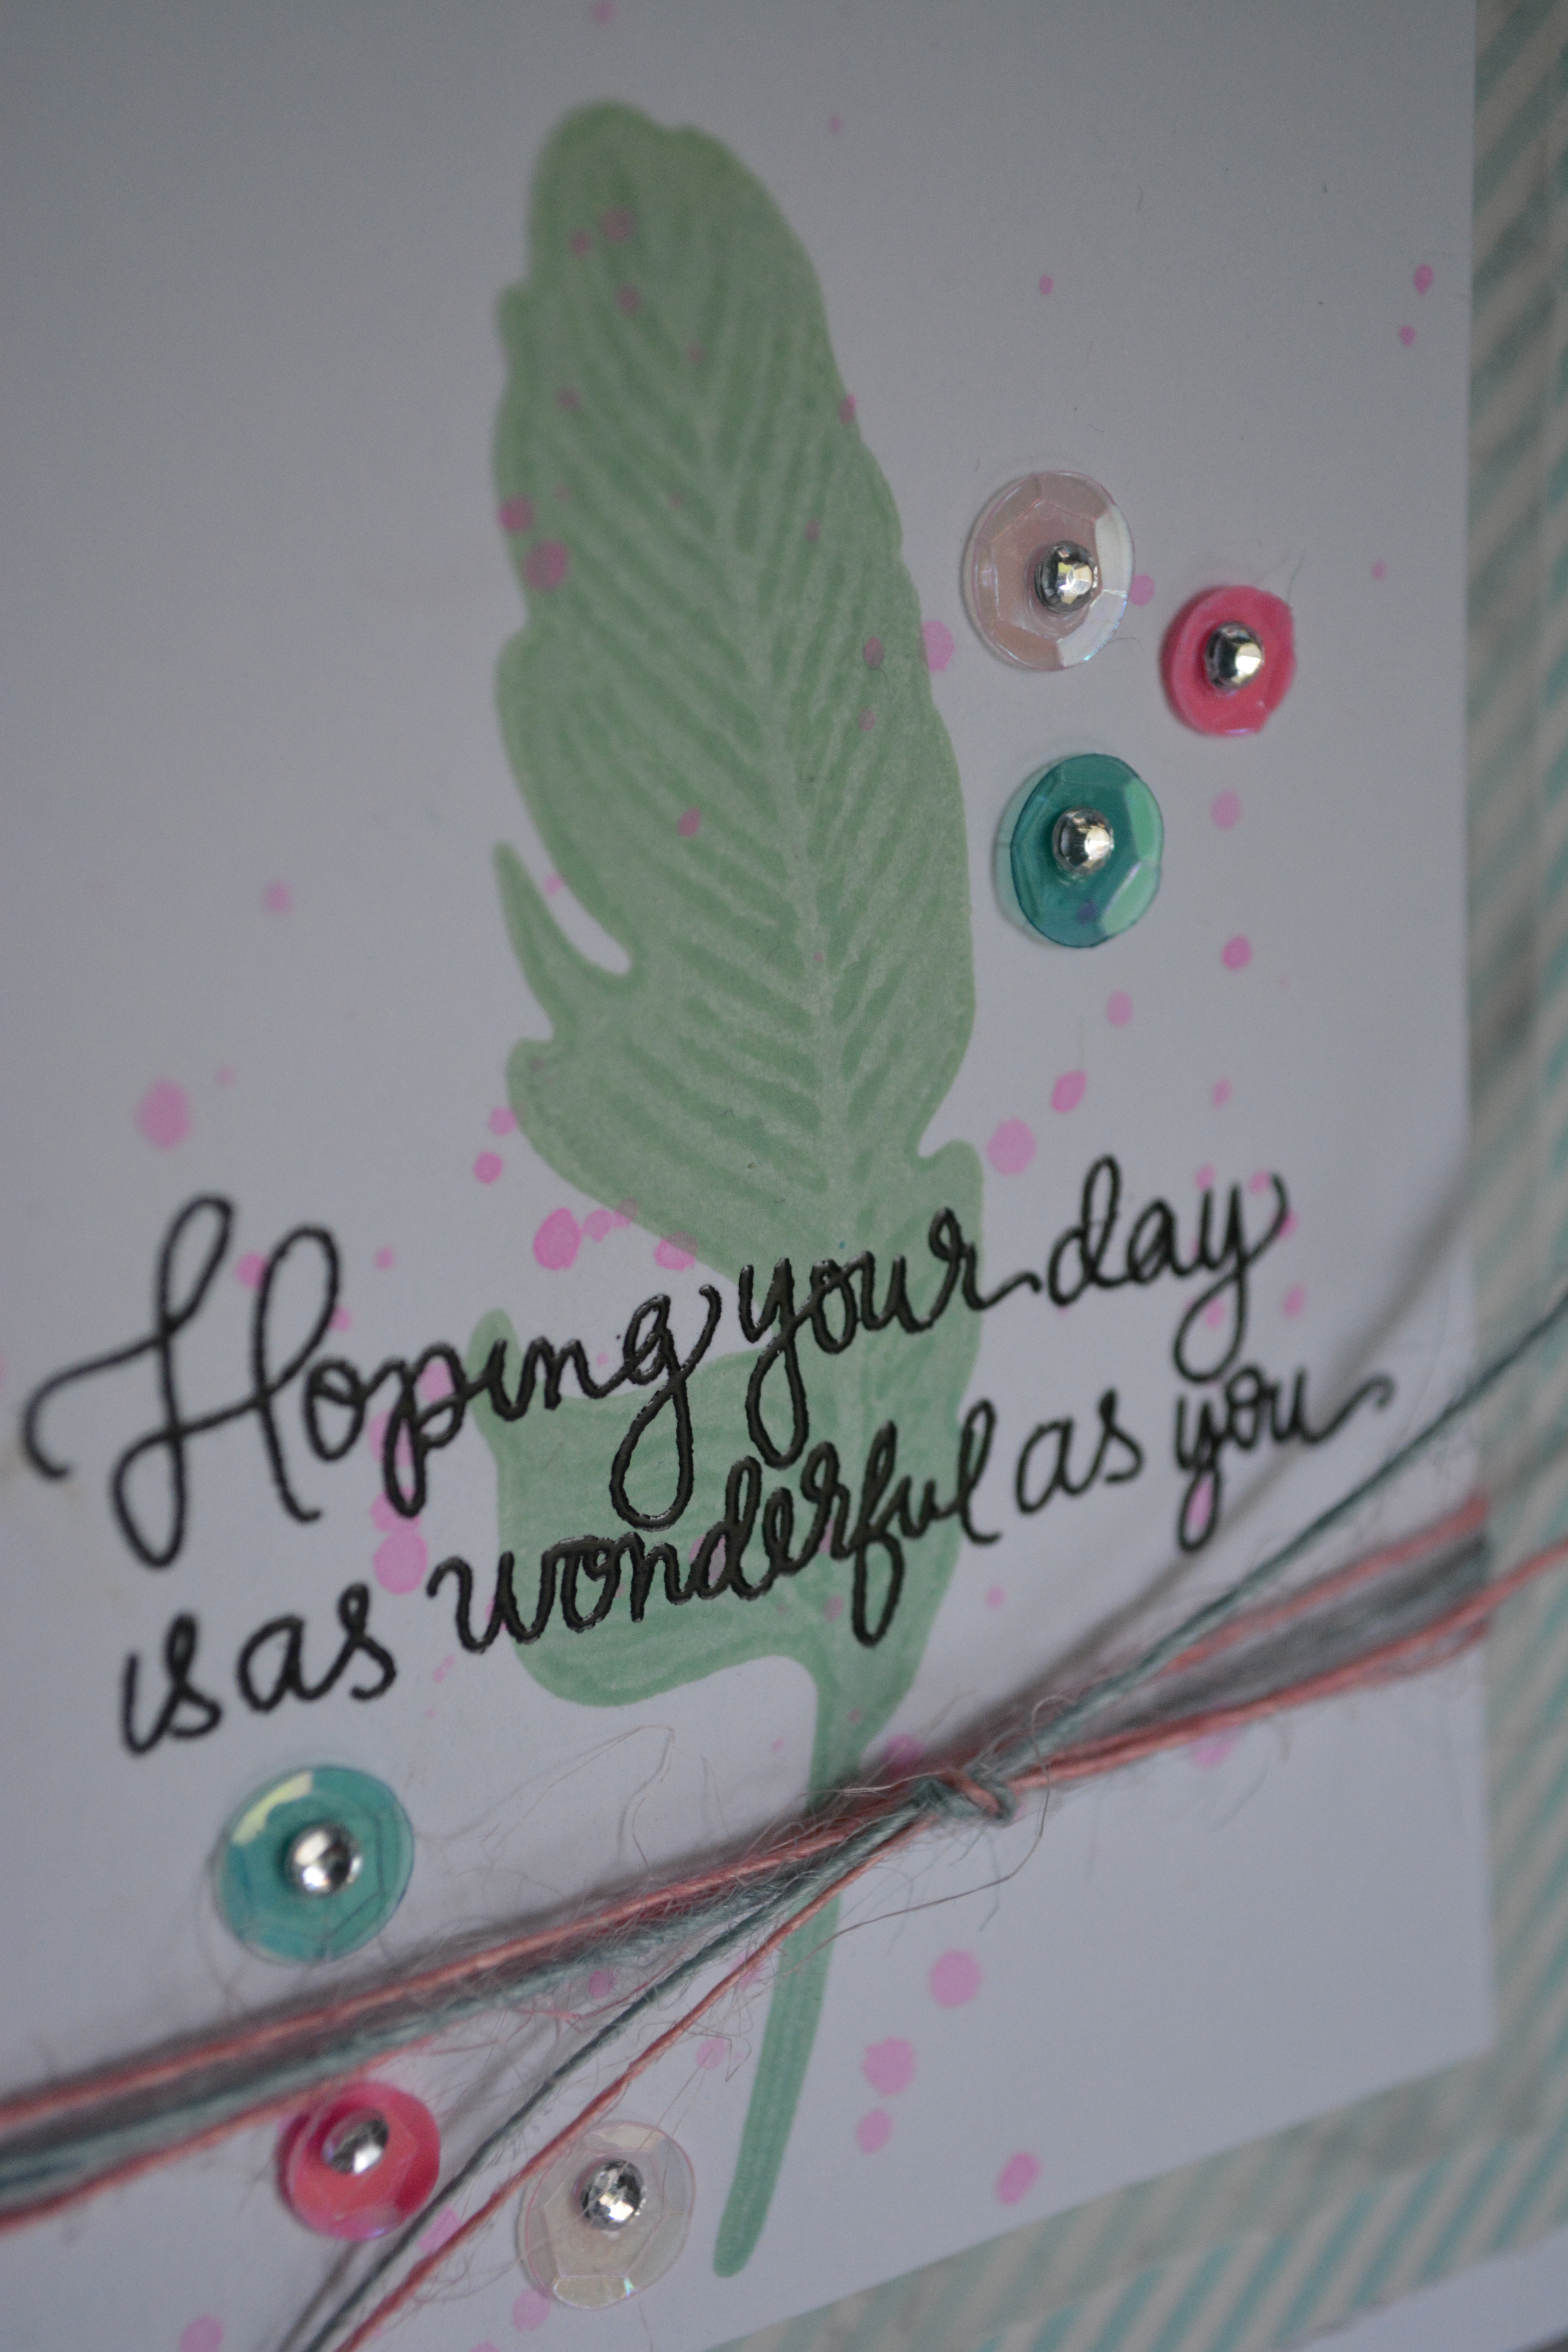
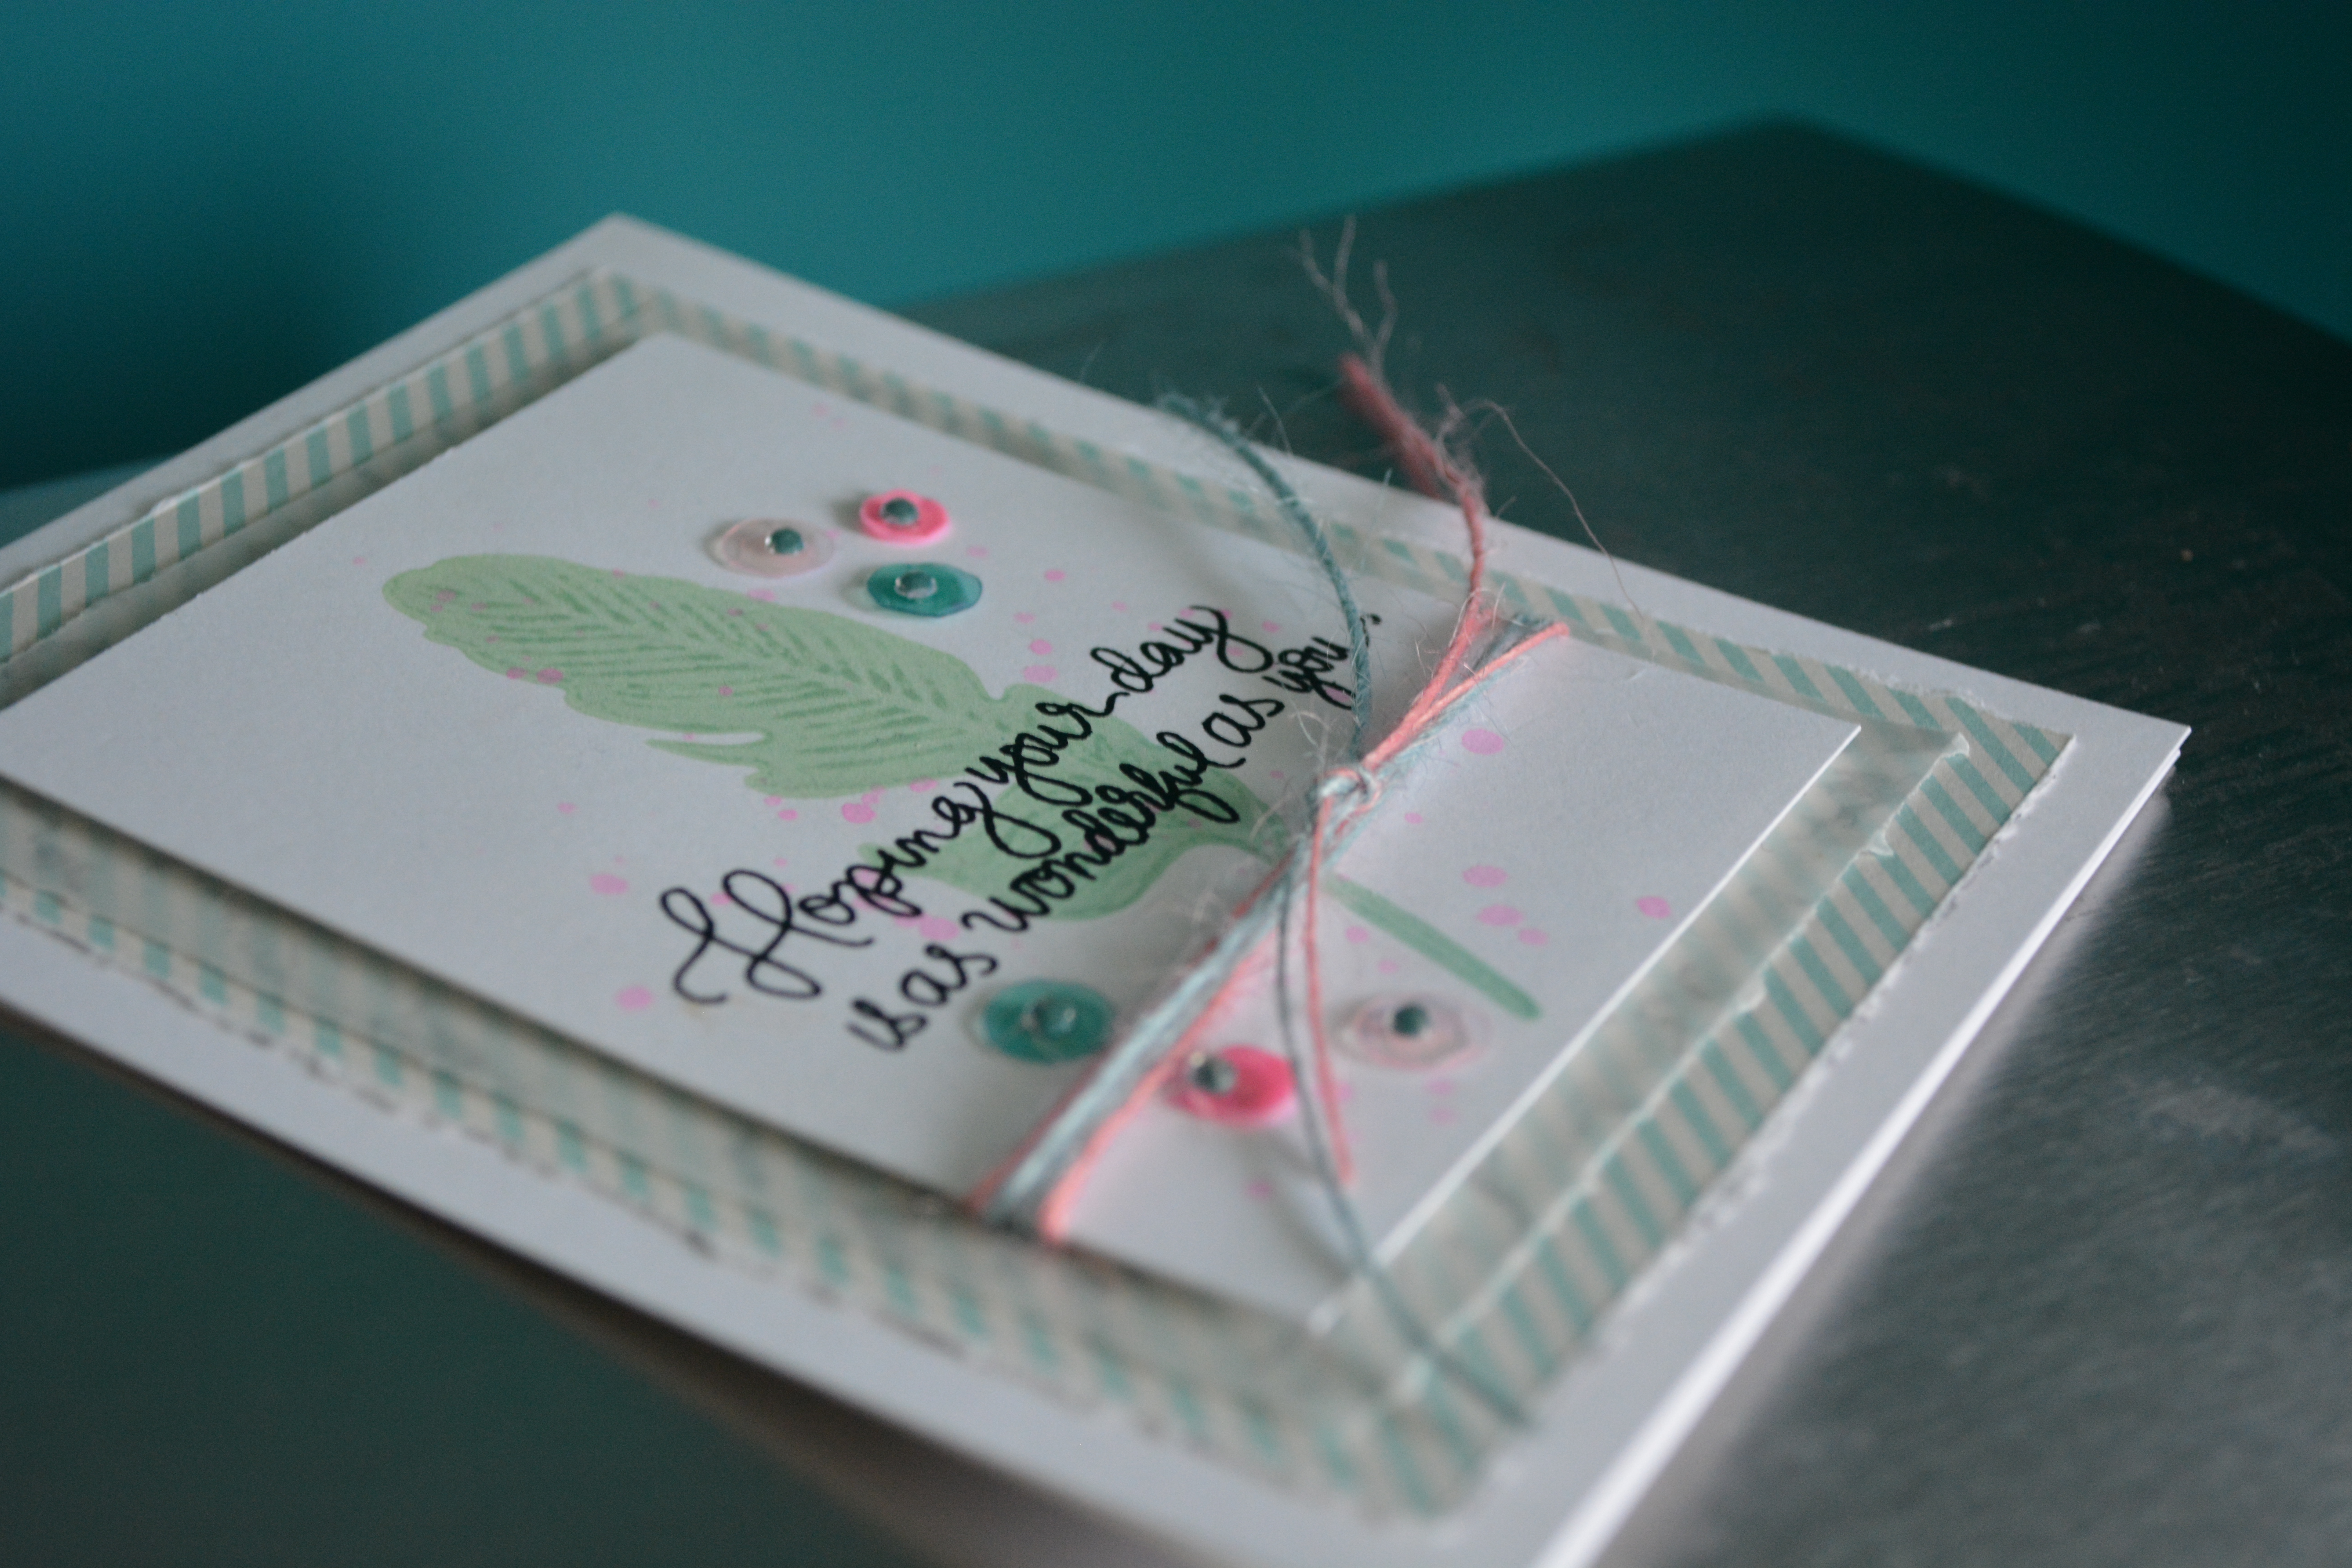
Well here it is! I love this card! The layout is based on the bi-weekly challenge over at the Scrapadabadoo Facebook Page.


biweekly challenge This is the sketch for the card!


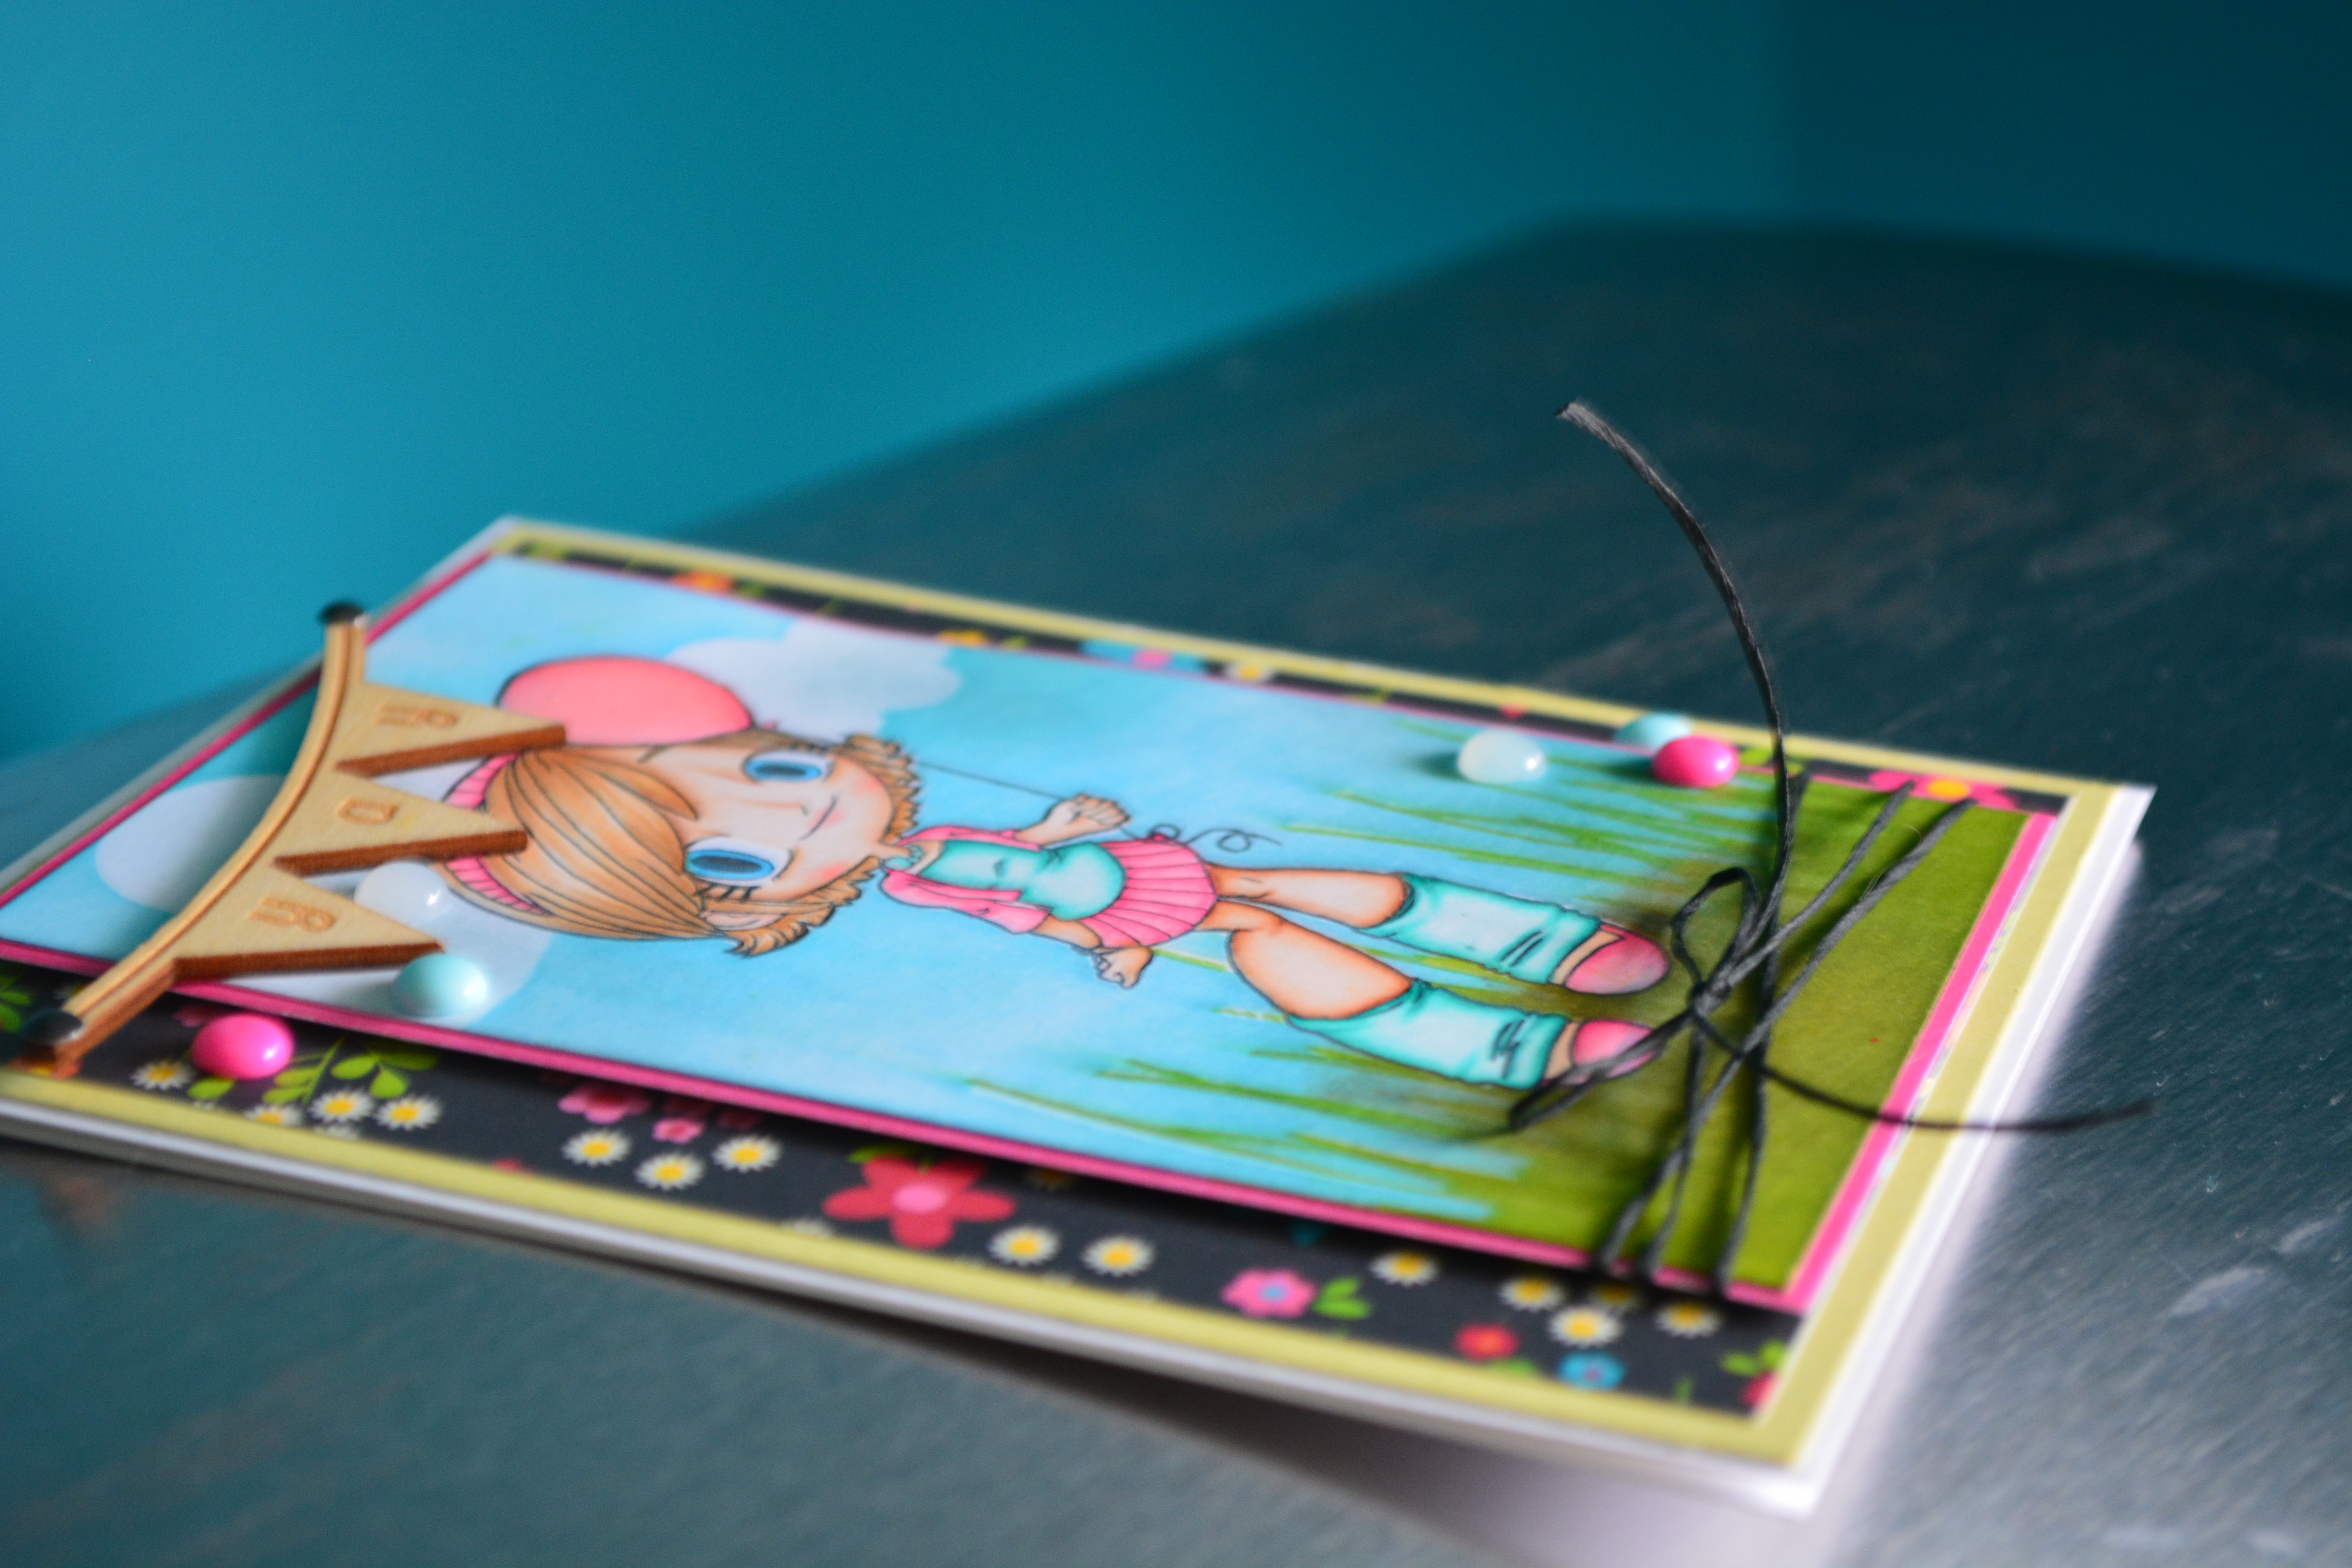
I used a fun little image Pollycraft Breeze Rubber Stamp from CC Designs, she is coloured with my Copic Markers. All the patterned paper used in this card is from Bo-Bunny Lemonade Stand 6×6 paper pad.

yay 2


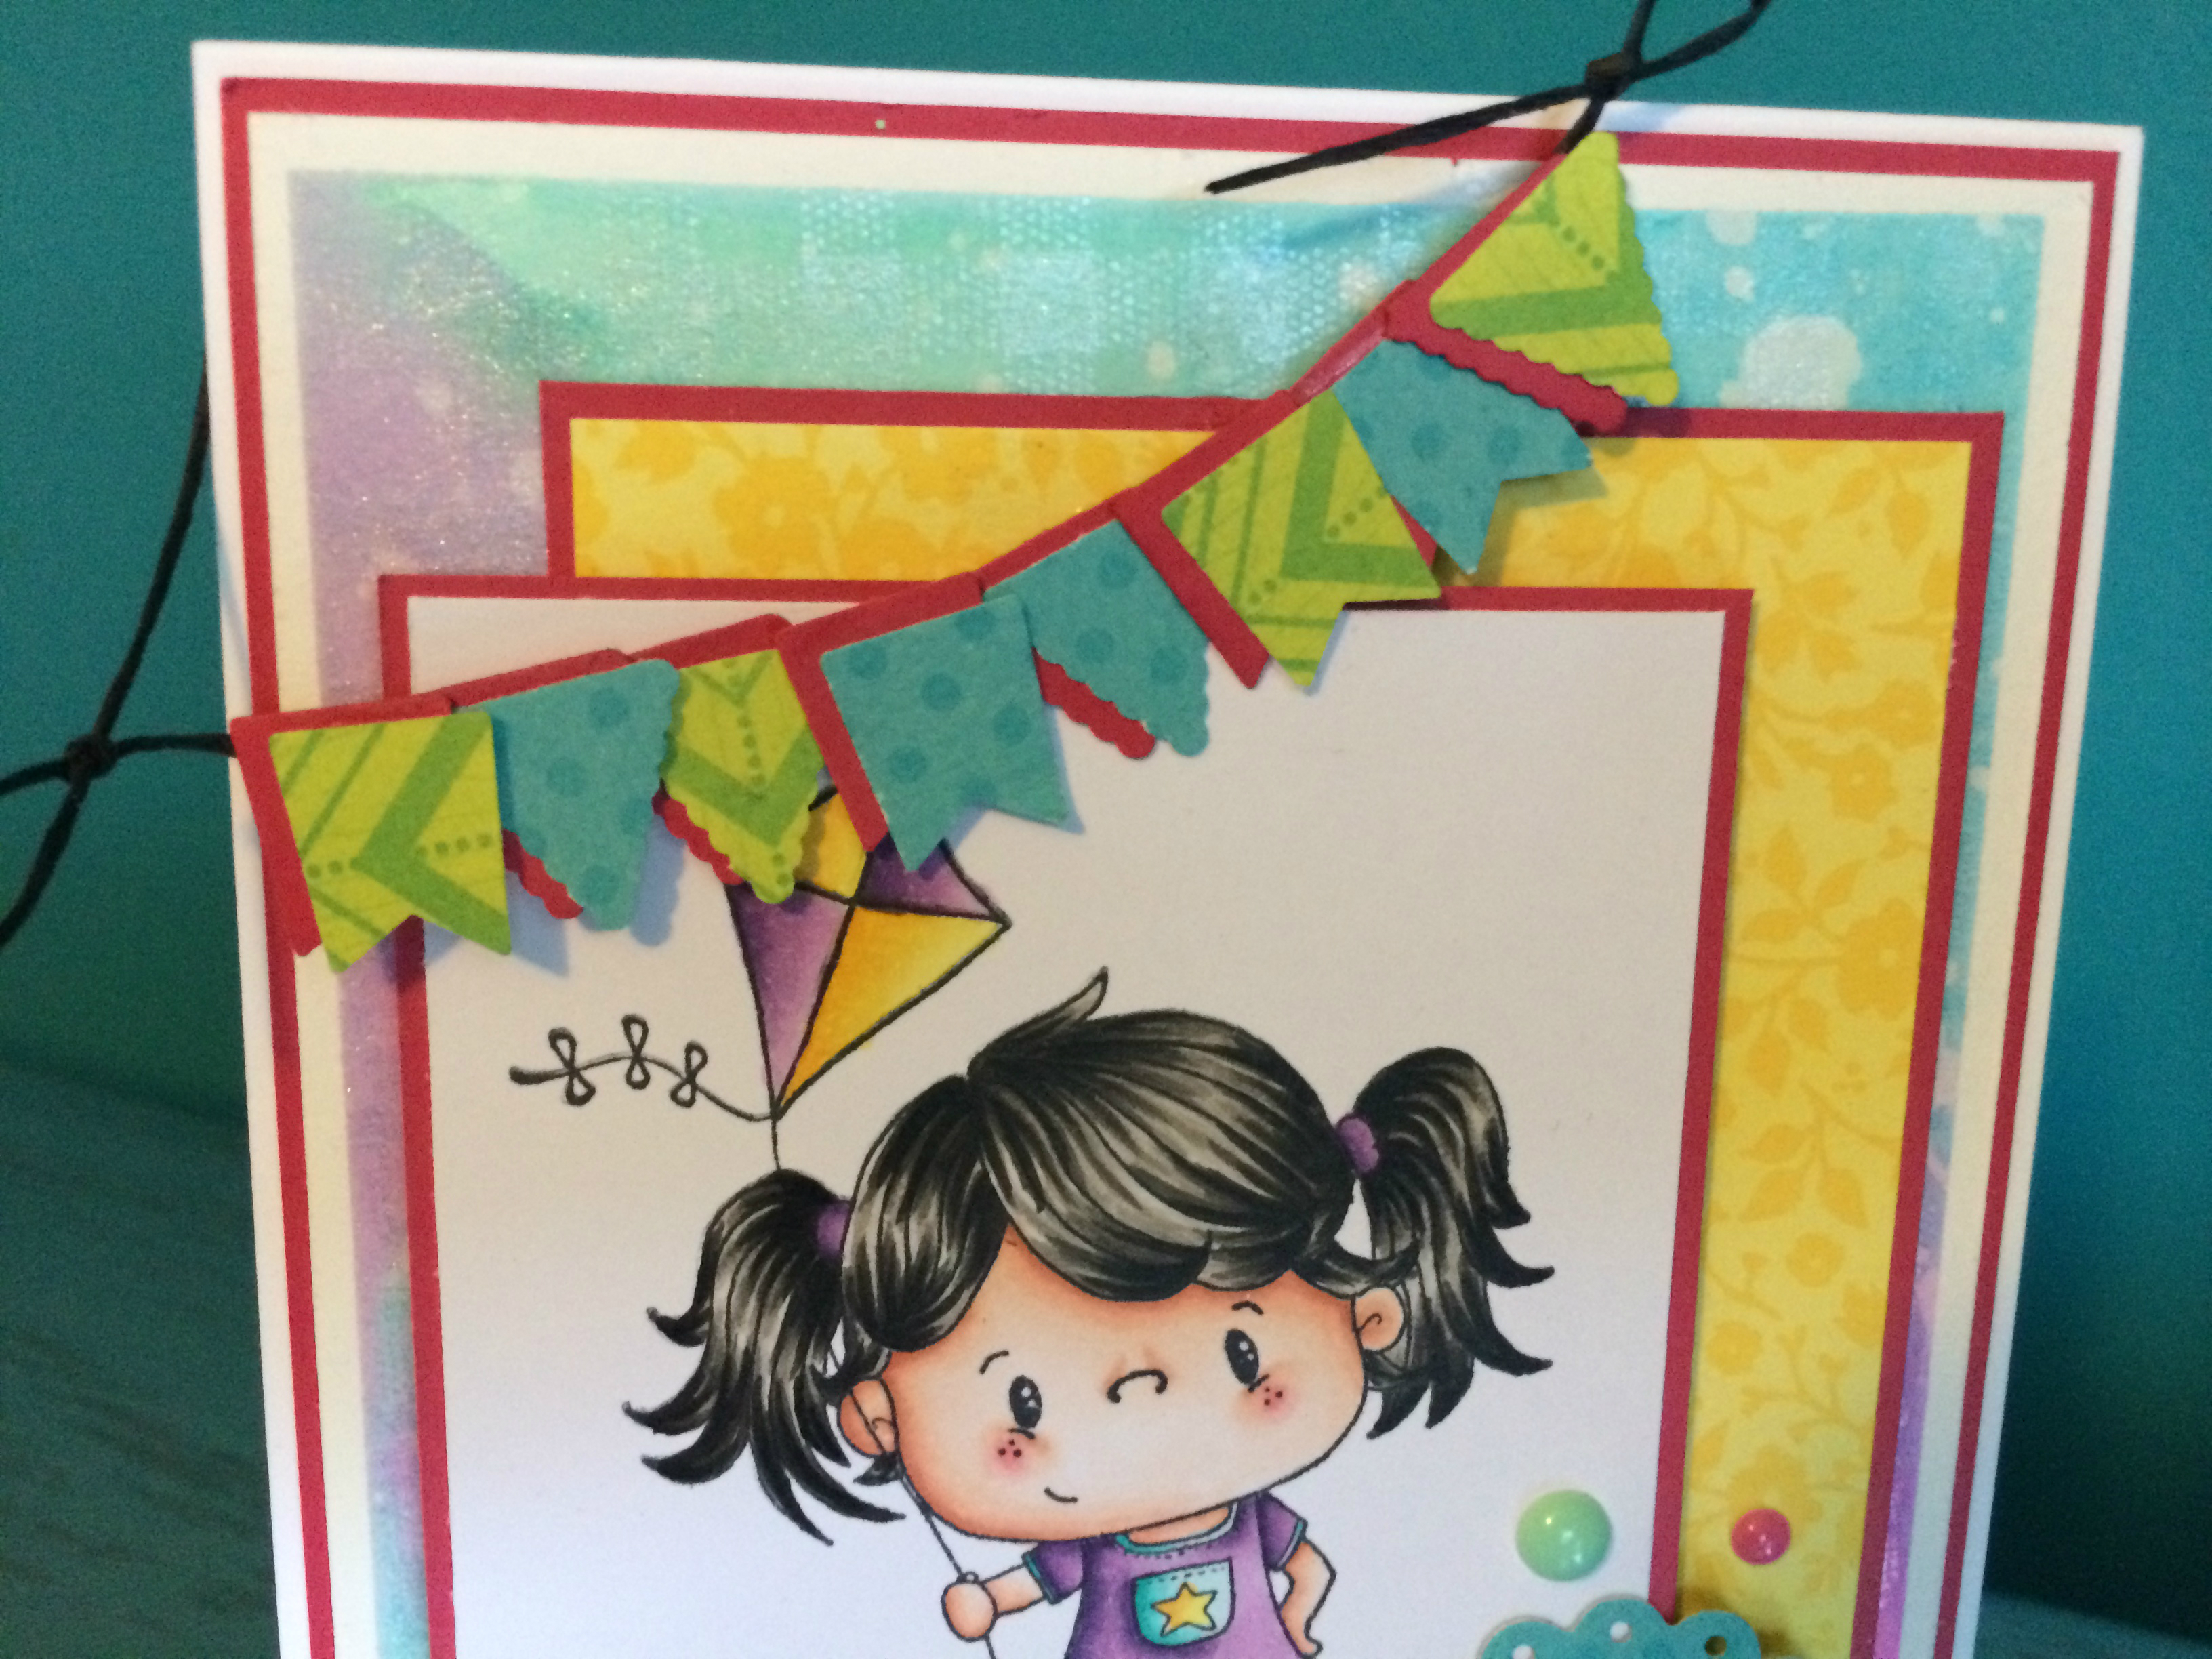
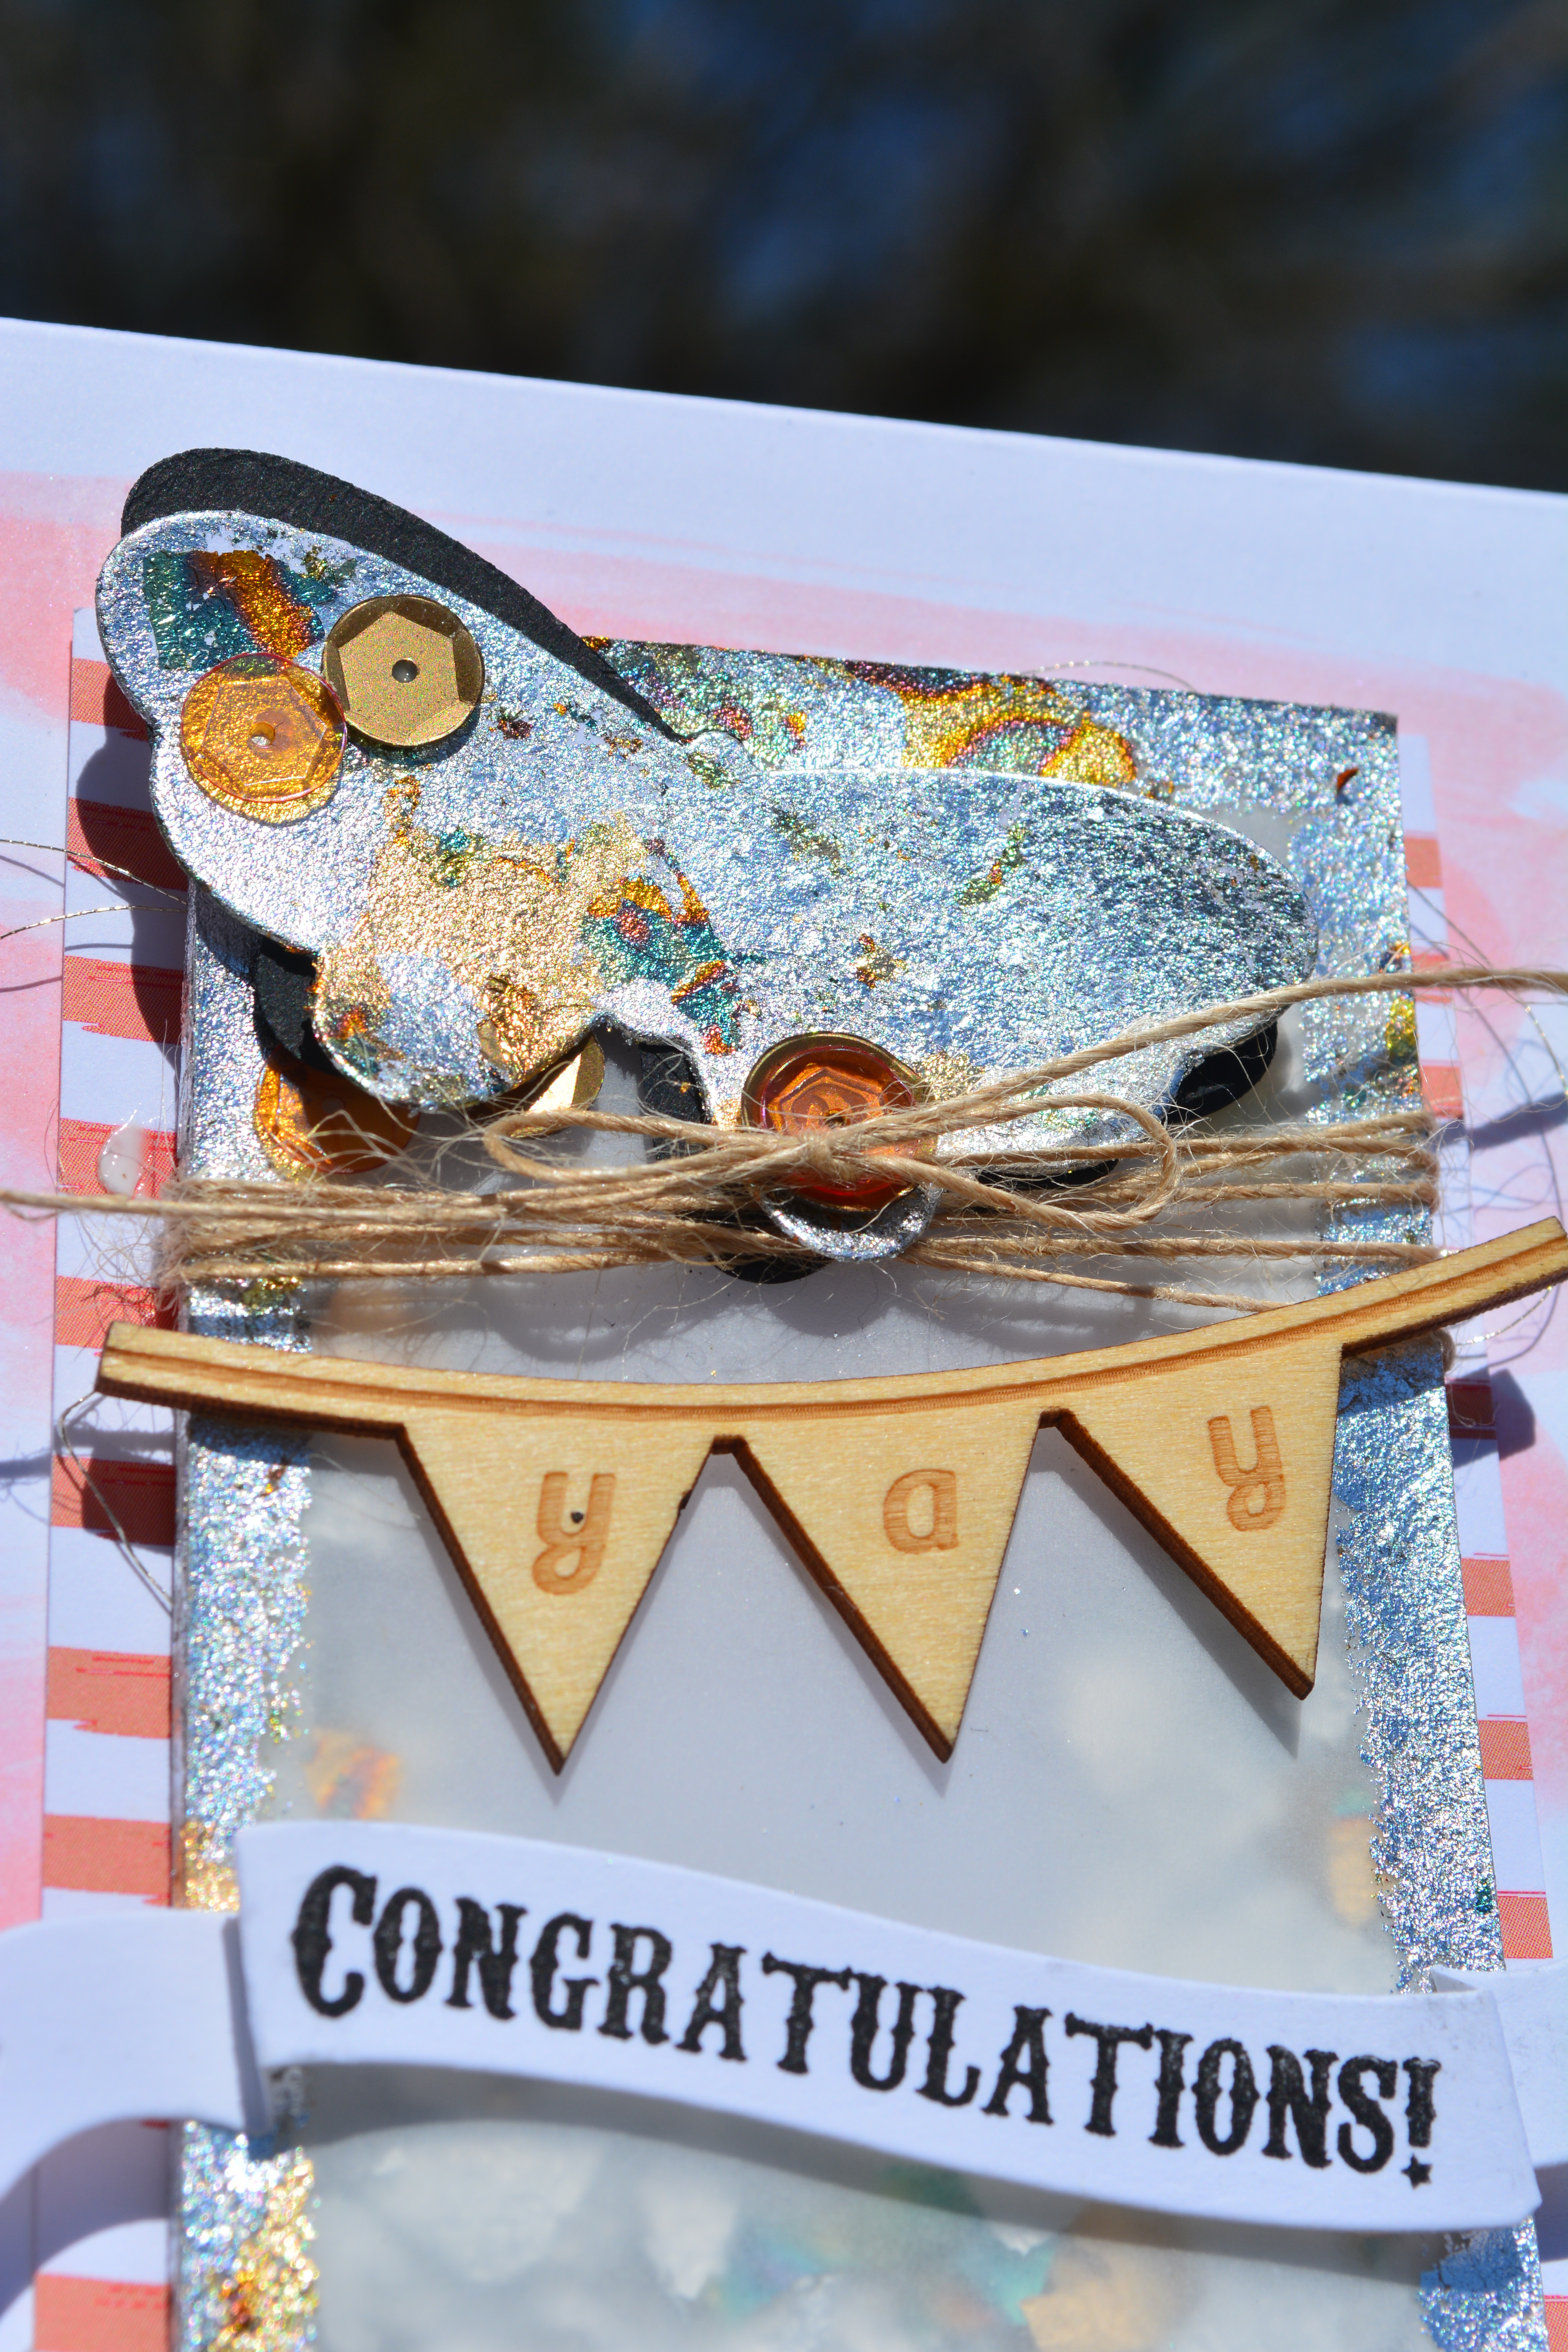
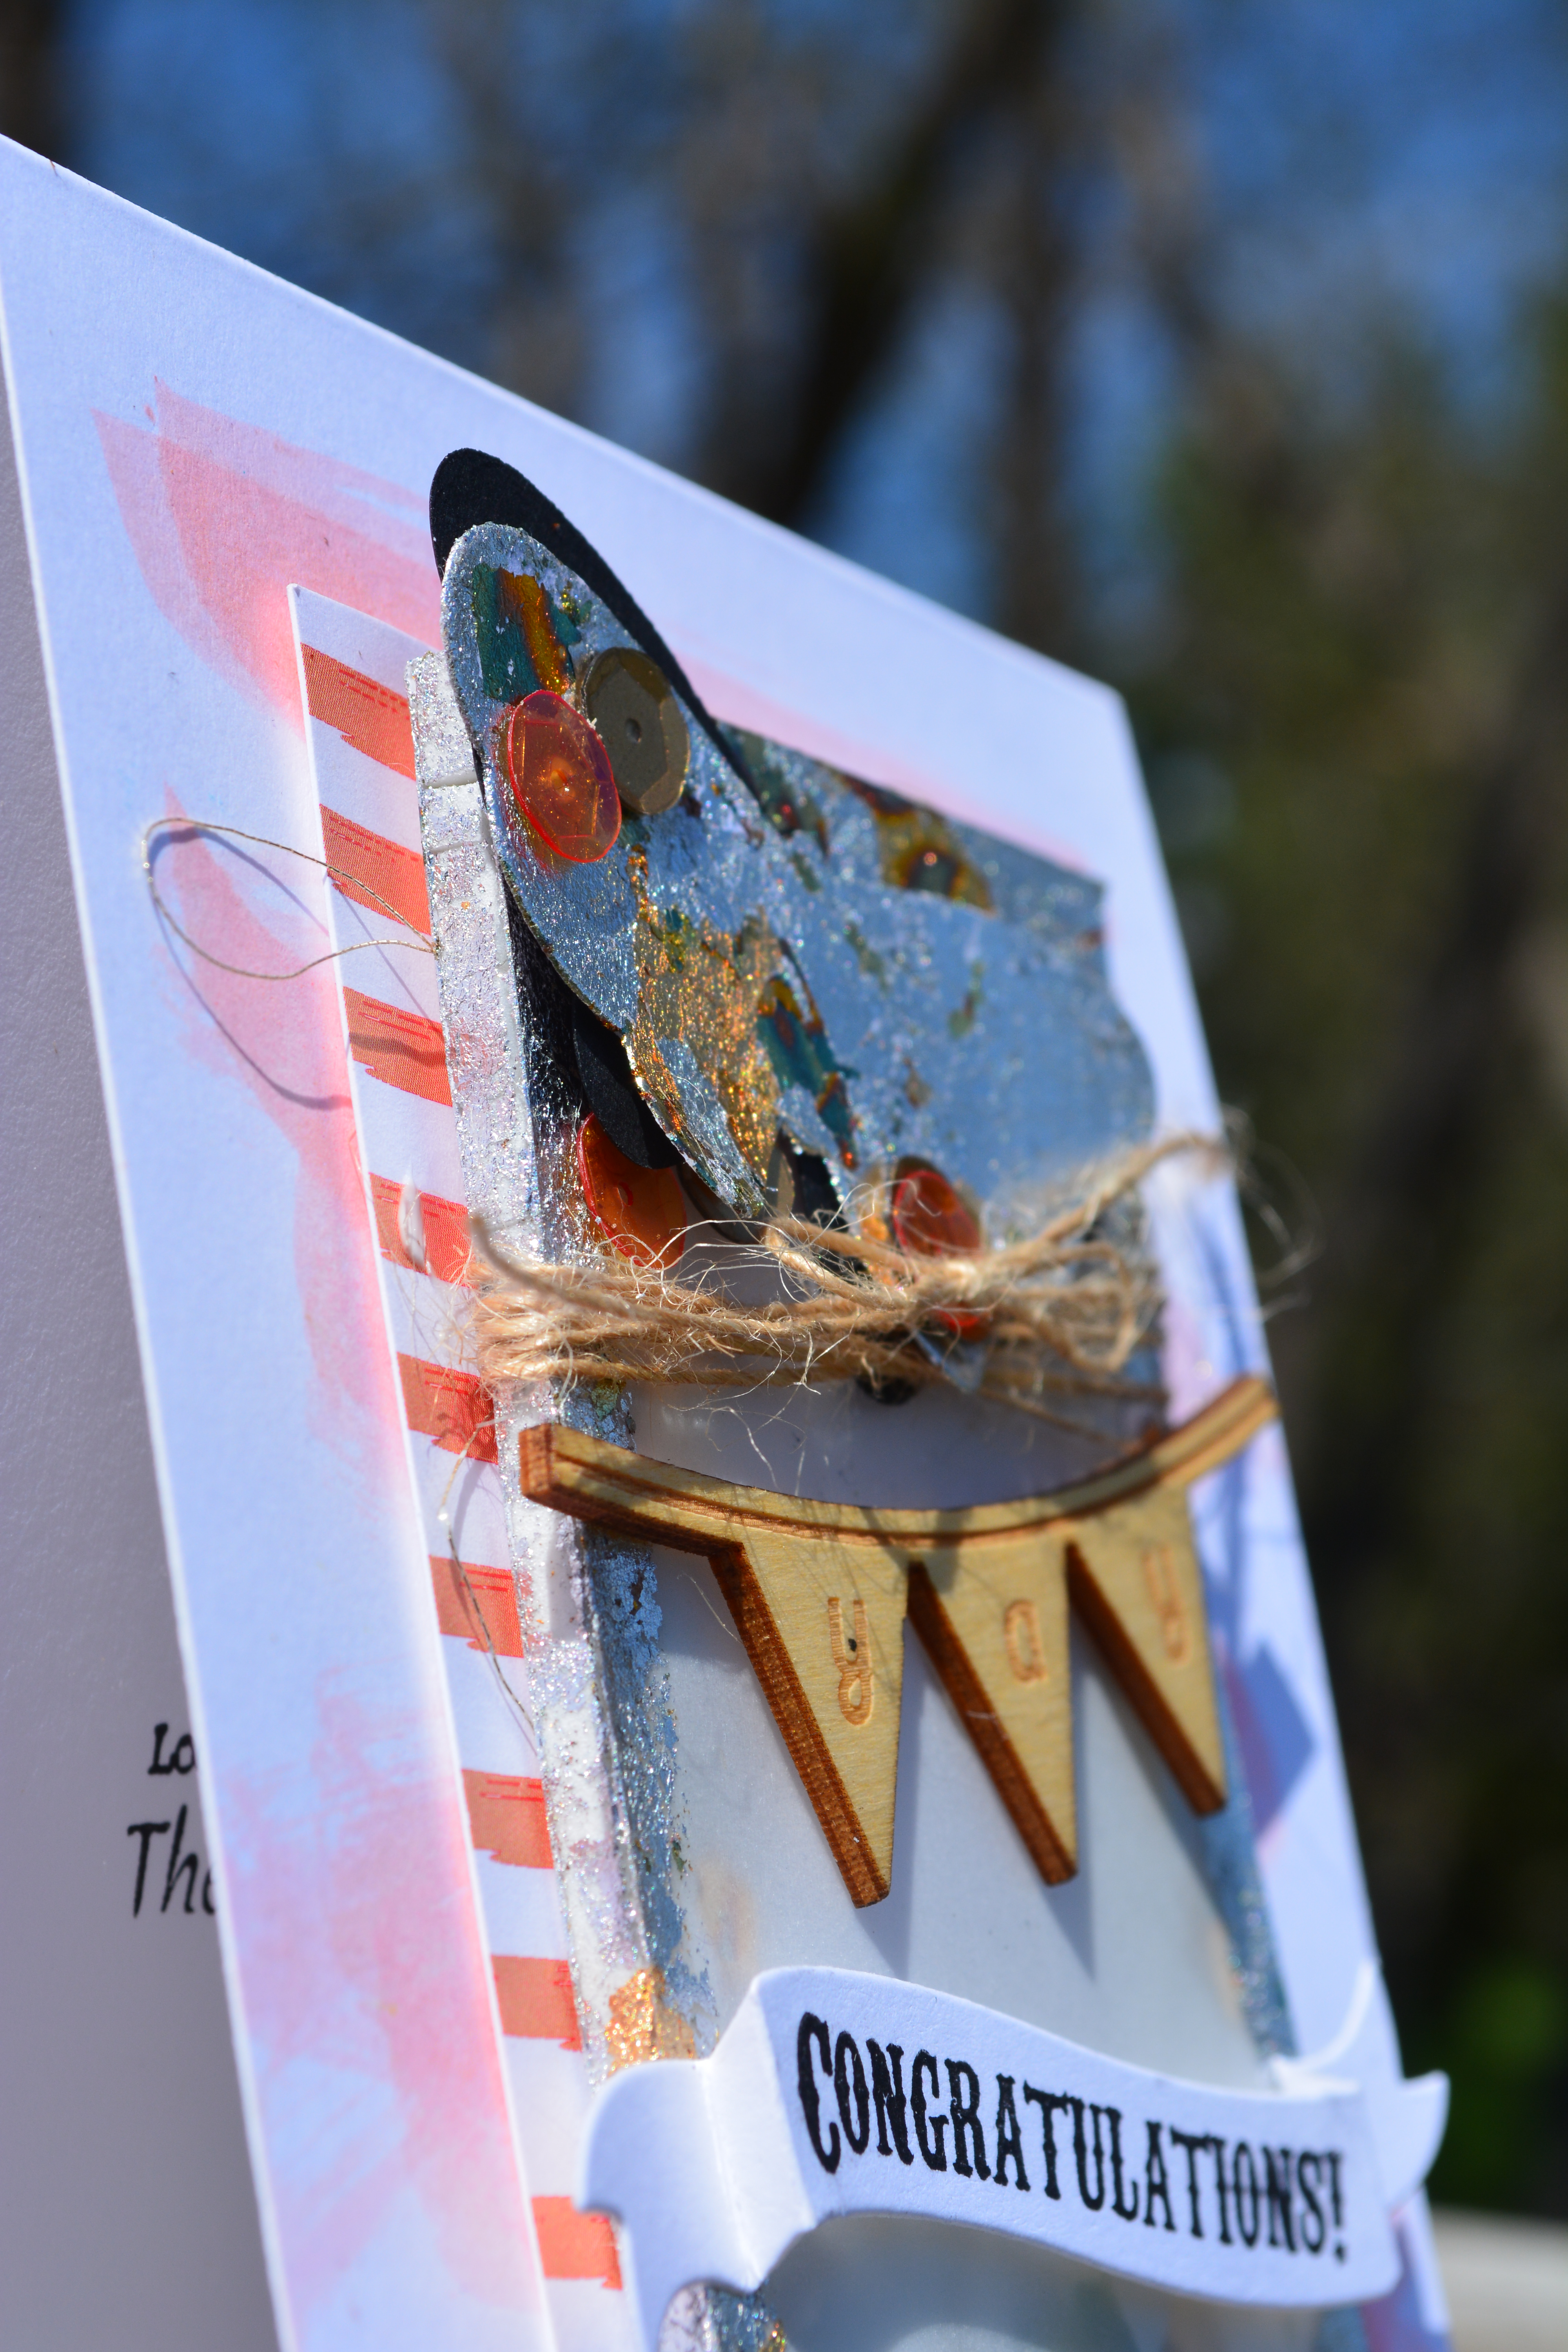
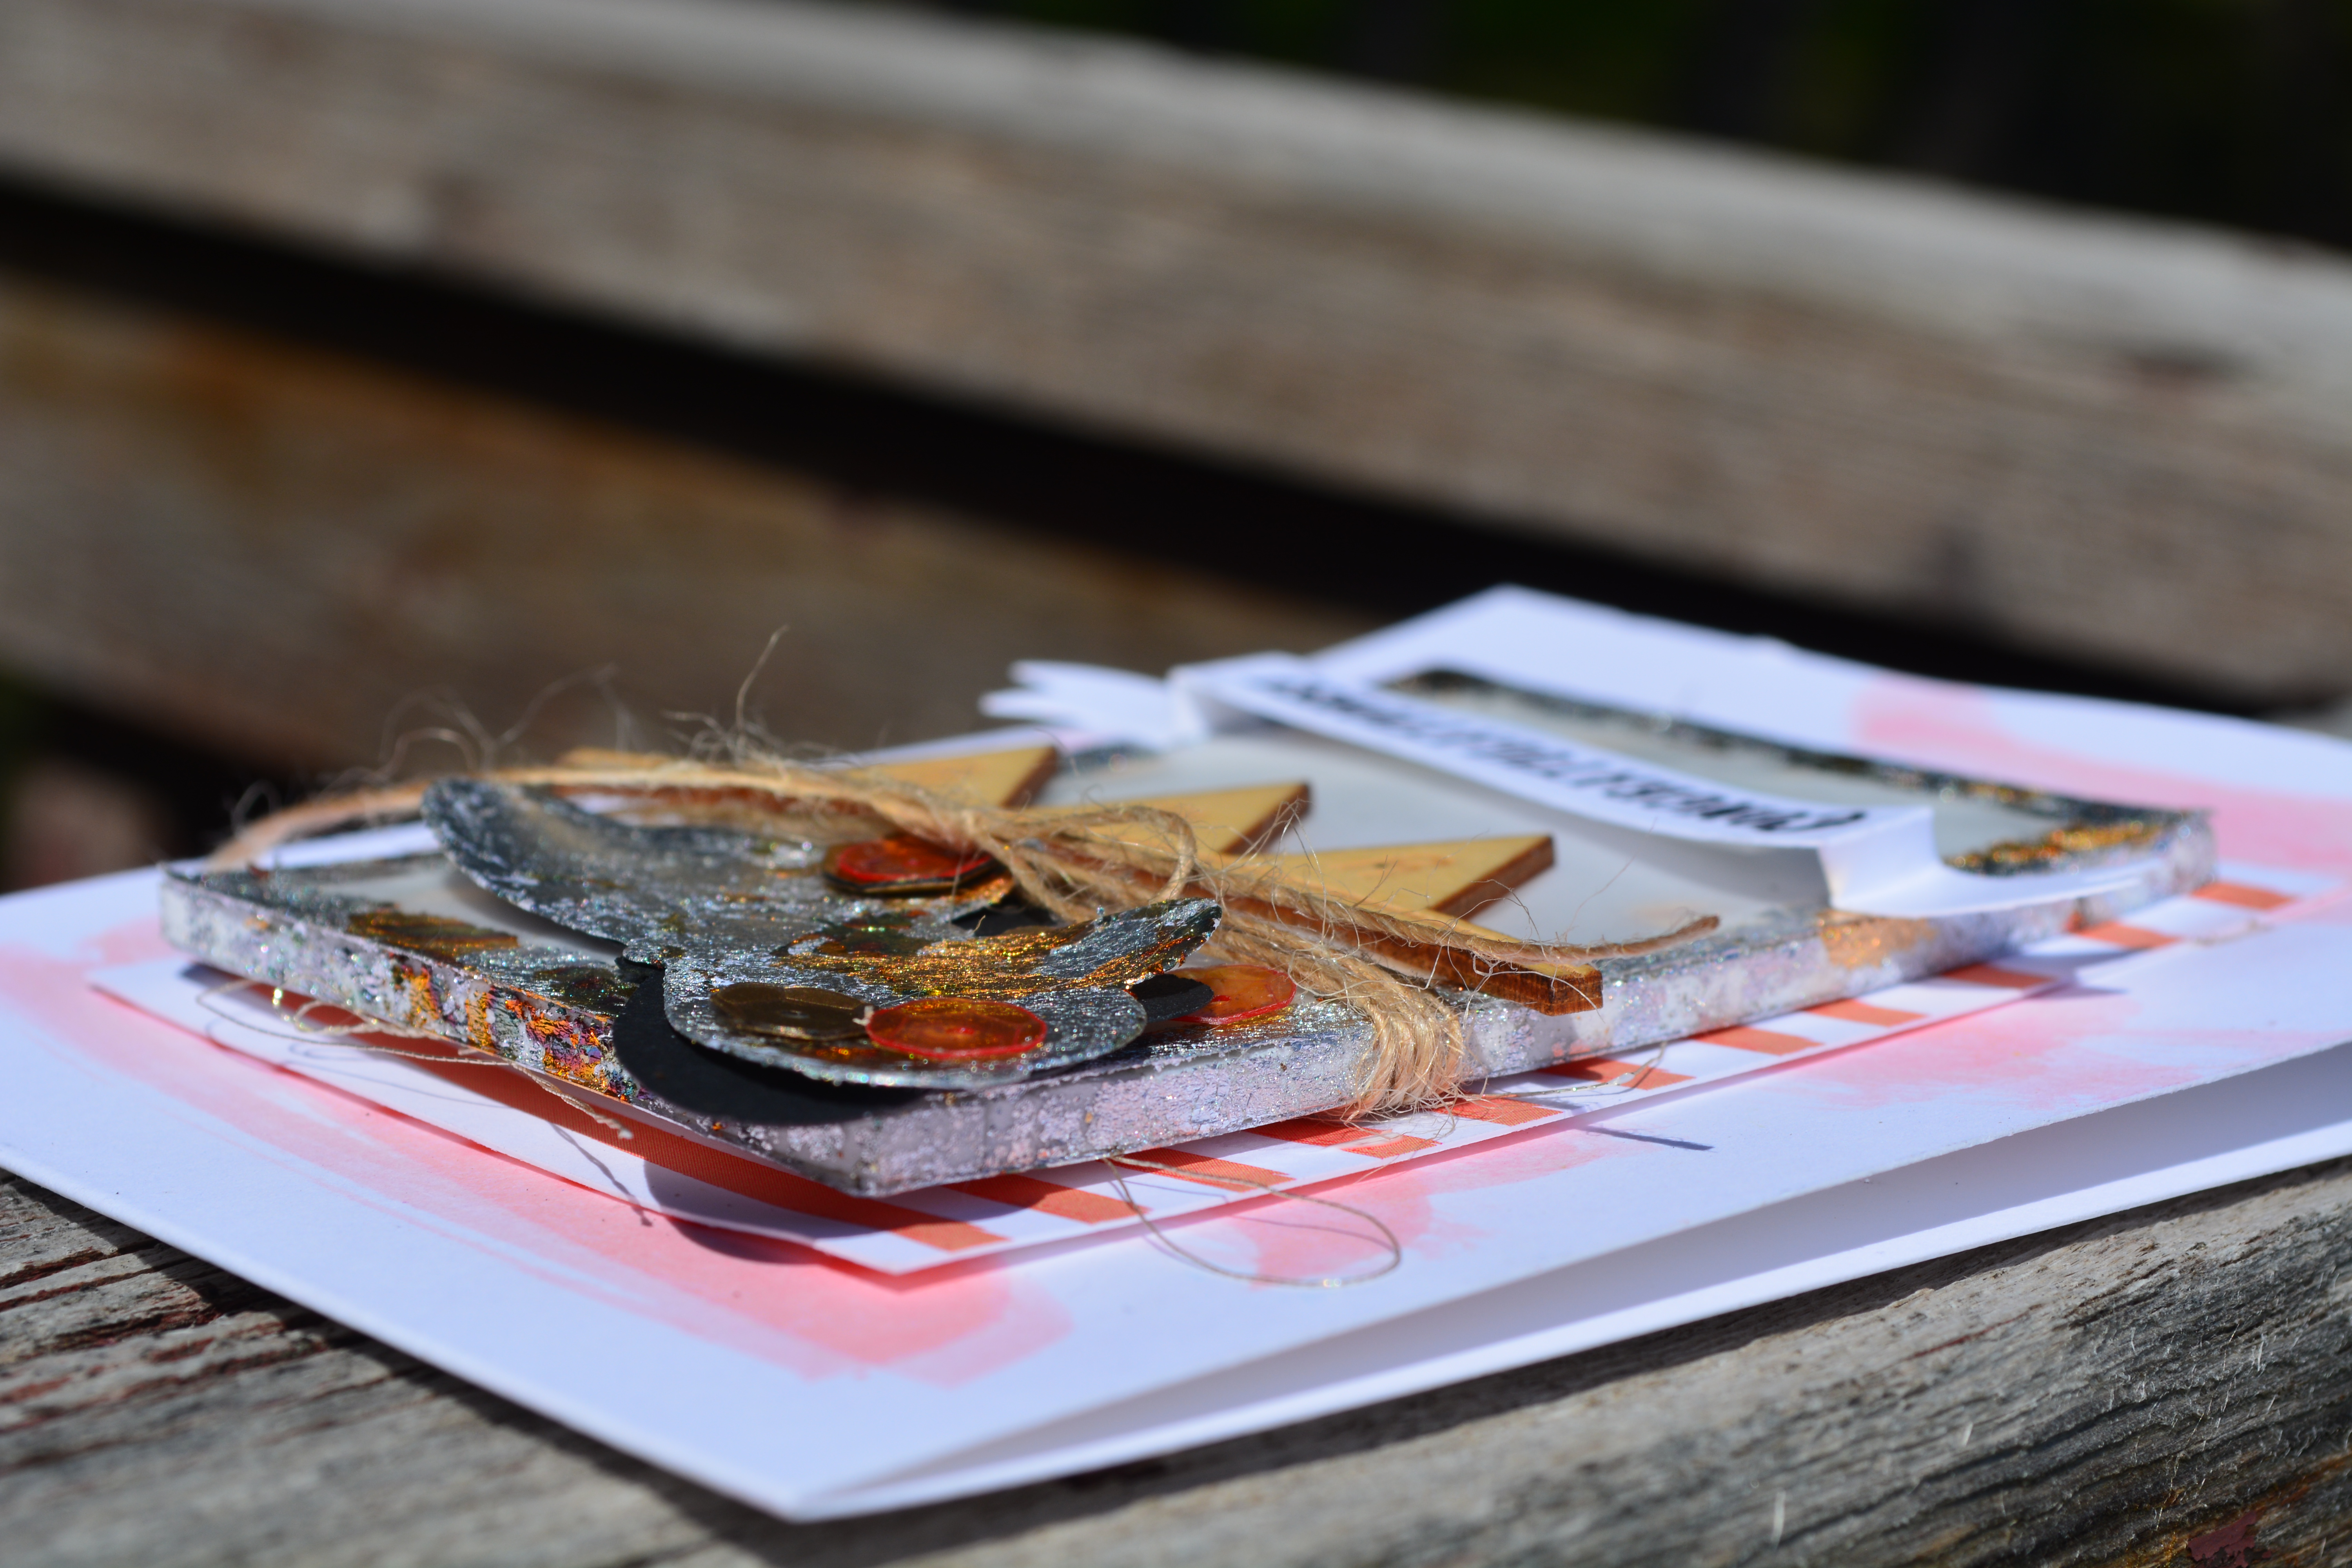
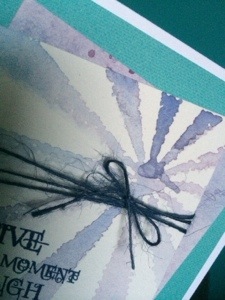
The backround paper is made using my Peerless Watercolours.  The banner is made with the EK Success Mini Pennant Punch Set .


yay 3


The little doilies on here are so cute, I love that die! The Cottage Cutz Mini Doily Die (there is one left in stock on the garage sale at Scrapadabadoo at the time of writing this blog post for $2!)

The enamel dots I used were from Prima, and are now sold out but there are lots of different ones in the store like these from Teresa Collins that would work wonderfully.

Congratulations…

DSC_0263

Here it is folks! My first project for the Scrapadabadoo Design Team. I got to play with the Indigoblu Kit in a Box, the gilding this creates is simply stunning and I am in love. Did you take notice that I made a shaker card with a vellum front and filled it with the mega flakes? I think it is so awesome that you can see them through, they move around its awesome.   DSC_0264   The shaker part of the card is 2 1/2″ x 3 3/4″, I used foam squares around the outside that are 1/4″ wide then created a mask for the center out of scrap paper 2″ x 3 1/4″, so that I could use flitterglue around it and on the sides of the foam and use the mega flakes on that as well. DSC_0265   The butterfly was covered in Flitterglu then I used the Mega Flakes on it as well. I then wrapped and tied some Twine, similar to the Burlap String around the shaker element and tied a pretty bow. The wood veneer saying yay is from my stash, I am not sure if you can use any fun little element here. Below it I stamped my sentiment on a banner I had die cut ages ago, you could easily cut a strip of paper, cut a V in each end and fold it to create a similar look.   DSC_0266   I then adheared the whole shaker onto a piece of scrap striped patterened paper, it looked like the cardbase needed something more to it so I took some Distress ink in Dried Marigold, and Worn Lipstick. Mixed those together and added a bunch of water and just did a light scribble of it with a brush right on the card base.   Thanks for stopping by Hugz Jess

Feather card…

DSC_0284


This card was seriously so much fun to create I started by using the Spellbinders Feathers Shapeabilities, which I die cut out of craft foam. The coolest thing about cutting it out of craft foam is that it picks up all the embossing into the foam, I think added some double sided tape to the back of the die cut piece and stuck it to an acrylic block. I mixed some Peeled Paint and Picket Fence Distress Paints together to make this lovely green colour and “inked” the craft foam stamp up with it and stamped it onto the white pannel. Its so cool, the image picks up all the detail of the embossing.


DSC_0285


I then mixed some Worn Lipstick and Picket Fence Distress Paint together and added some more water so that I could splatter it all over the back round, added a few sequins with some tiny bling in the centers. The sentiment is from Simon Says Stamps Handwritten Greetings set, with Versamark and embossed with black embossing powder

DSC_0286


I then tied some pink and green twine around it, I believe it is from American Crafts, then put that on some scrap paper from my scrap bin (I have no idea what line) and some vellim paper and put it all on a Neenah Solar White card Base.


Thanks for stopping by

Hugz,

Jess

Make a wish

DSC_0281


Hey everyone! Happy monday! I made a fun little shaker card here, and I must say that shaker cards have been really popular, which makes sense considering how popular sequins have become.

DSC_0282


The images (actually, all the stamps used) are from Lawn Fawn’s Critter Ever After stamp set and I coloured them with my Copic markers. I created my shaker card using a piece of Canson 140lbs Watercolour paper that I coloured using my Peerless watercolours that I recently recieved (they are heavenly but I will leave that for another post). then adheared the castle the 3 yellow stars and stamped some small stars right on the watercolour paper, then put foam sqares around the outside, filled with sequins from Neat and Tangled and 3 buttons,  and stuck of piece of acetate cut to the same size on the top (I believe the acetate is from spellbinders packaging). Then wrapped some pink Washi Tape around the outside to hide the ugliness that is the foam squares.

DSC_0283


So this got adhered to some cloud paper (its an Amy Tan design but I am not sure what collection) that was cut down from 12×12, and the grey woodgrain paper I believe is from Simple Stories DIY Boutique paper pad in 6×6.

Thanks for stopping by,

Hugz.

Jess

Finished the card.

DSC_0271


Last weekend I posted a picture of a fun little image I had coloured while visiting some family, and this week I finally got the card finished!!

DSC_0273


So I took the image, cut it down to the size I wanted, I die cut the poppy stamps grass die and the Papertrey Ink cloud dies out of some Copic Mask it paper and created the backround by latering the masks and using distress ink.


DSC_0275


Of course, in my typical fashion, a little twine and my own melted perler bead “enamel dots” and she is finished.


Thanks for stopping by

Hugz

Jess


Supplies:

Neenah Solar White Cardstock 110lbs

Copic X-press it Blending card

Simple Stories DIY 6×6 patterned paper

Some Odd Girl – Balloon Kaylee

Copic Markers

Distress Ink – mowed lawn, peeled paint, crushed olive, salty ocean, peacock feathers, broken china, weathered wood

Twine from Americian Crafts

Wood veneer *I think its from Freckled Fawn*

Glossy accents

Some things are not always as easy…

WC card


Wow, lets chat about this technique from the Watercolor For Cardmakers Class, Swarup Murthy taught this lesson, and boy what a lesson it was. I am semi pleased with the results. Would for sure skip the enamel dots when I attempt this again. But this lady makes it look ever so easy, and lets be honest, this was one of the most challenging lessons I had run into in this class. I will attempt it again, hopefully this weekend so be on the lookout for that.


wc card 1


There is a closer shot of the flower the lines you are seeing in the flowers are not the stamped line, they are actually dropped in with watercolour. I use a Windsor and Newton, compact Cotman watercolor pallet, on Canson 140lbs coldpress watercolour paper. The sentiment is from one of me flower sets from whimsy stamps, I believe it is on the Hibiscus and Lily set, but will have to check for sure.

wc card 2

Thanks for stopping by

Hugz

Jess

Butterfly Card

butterfly

So, as lots of you know I have been playing catch up with the Watercolor For Cardmakers Class. It is fun, challenging, and irritating all at the same time. All I can tell you is I am sick of flowers… hence the butterfly.

butterfly 1

The circle is made with Gelato’s in some random colours, blue, pink, yellow, orange, grey, and purple. The butterfly stamp is a Martha Stewart one from 2009, and is stamped in Distress ink .

butterfly 2

I stamped the image with Dusty Concord, then watercolored in peacock feathers, and picked raspberry. The sentiment comes from the Handwritten Greetings set from Simon Says Stamp, and is stamped in Versa Fine Onyx Black. As usual my card base is Neenah Solar white 110 lbs cardstock cut to a standard A2 size card, the pink pannel is out of my scrap bin, so I am unsure of where it came from and is 4x 5 1/4, and the front with image is Canson 140lbs coldpress watercolor paper cut to 3 3/4 x 5.

Thanks for stopping by

Hugz

Jess

Watercolor Card Class

Hey everyone. Sorry I have been missing life got in the way but I am back!

20140512-052113.jpg

So here is my first card from the class and I have a couple more on the go down in my craft room. I like the way this one turned out for the most part. If I was to do it again I wouldn’t add the solid colour panel.

20140512-052318.jpg

20140512-052505.jpg


Sorry for the quality in these, they were taken on my phone, early in the morning with crummy light but they will give you the idea


Thanks for stopping by

Hugz

Jessie

Supplies:

Canson 140 lbs watercolor paper

Distress ink: salty ocean, broken china, and peacock feathers

Sequins from Neat and Tangled

Americian craft jute twine in navy

Hero Arts Shadow Ink: Navy

Sentiment stamp is from Indigo Blu

My Cute stamps is where the butterfly came from, no longer available

The starburst stamp is an Allison Kreft Design for Webster’s Pages

Neenah Solar While 80lbs cardstock

Grandpa for Fathers Day

Dadgpa


Father’s day is coming! For a change, I am ahead of the game. (Don’t get use to it lol.) I have been having tons of fun playing with this set and doing some simple masculine cards, they always seem to be a challenge.

Dadgpa 2

Dadgpa 3


Really did keep this card super simple, inked through a stencil a little spray and jute and wood veneer.


Thanks for stopping  by

Hugz

Jess


Supplies not linked too, Americian Crafts Jute twine, Scraptastic Wood Veneer.


Oh, Hello

Oh Hello 1 Oh Hello 2 oh Hello 3 Oh Hello

So I was playing on my ustream channel, just making some cards, and I chose a wonderful little stamp set from Scraptastic. I am a subscriber to their PL kit, and their scrapbooking kit. Yes, I don’t only make cards, ha ha!

I thought it would be fun to use a stamp set that was designed for scrapbooking in a card! It can be done!

Oh Hello 1


I know the Iphone image did not stamp perfect, probably because I was using the rougher side of the watercolour paper, but I like it anyway. The sentiment also comes from the same set.

Oh Hello 2


oh Hello 3


Thanks for stopping by

Hugz

Jess