Lawn Fawn Christmas

DSC_0128


Hey everyone! Did you see Jani’s card yesterday (and the file that was in it) if you didn’t you should really go check it out!

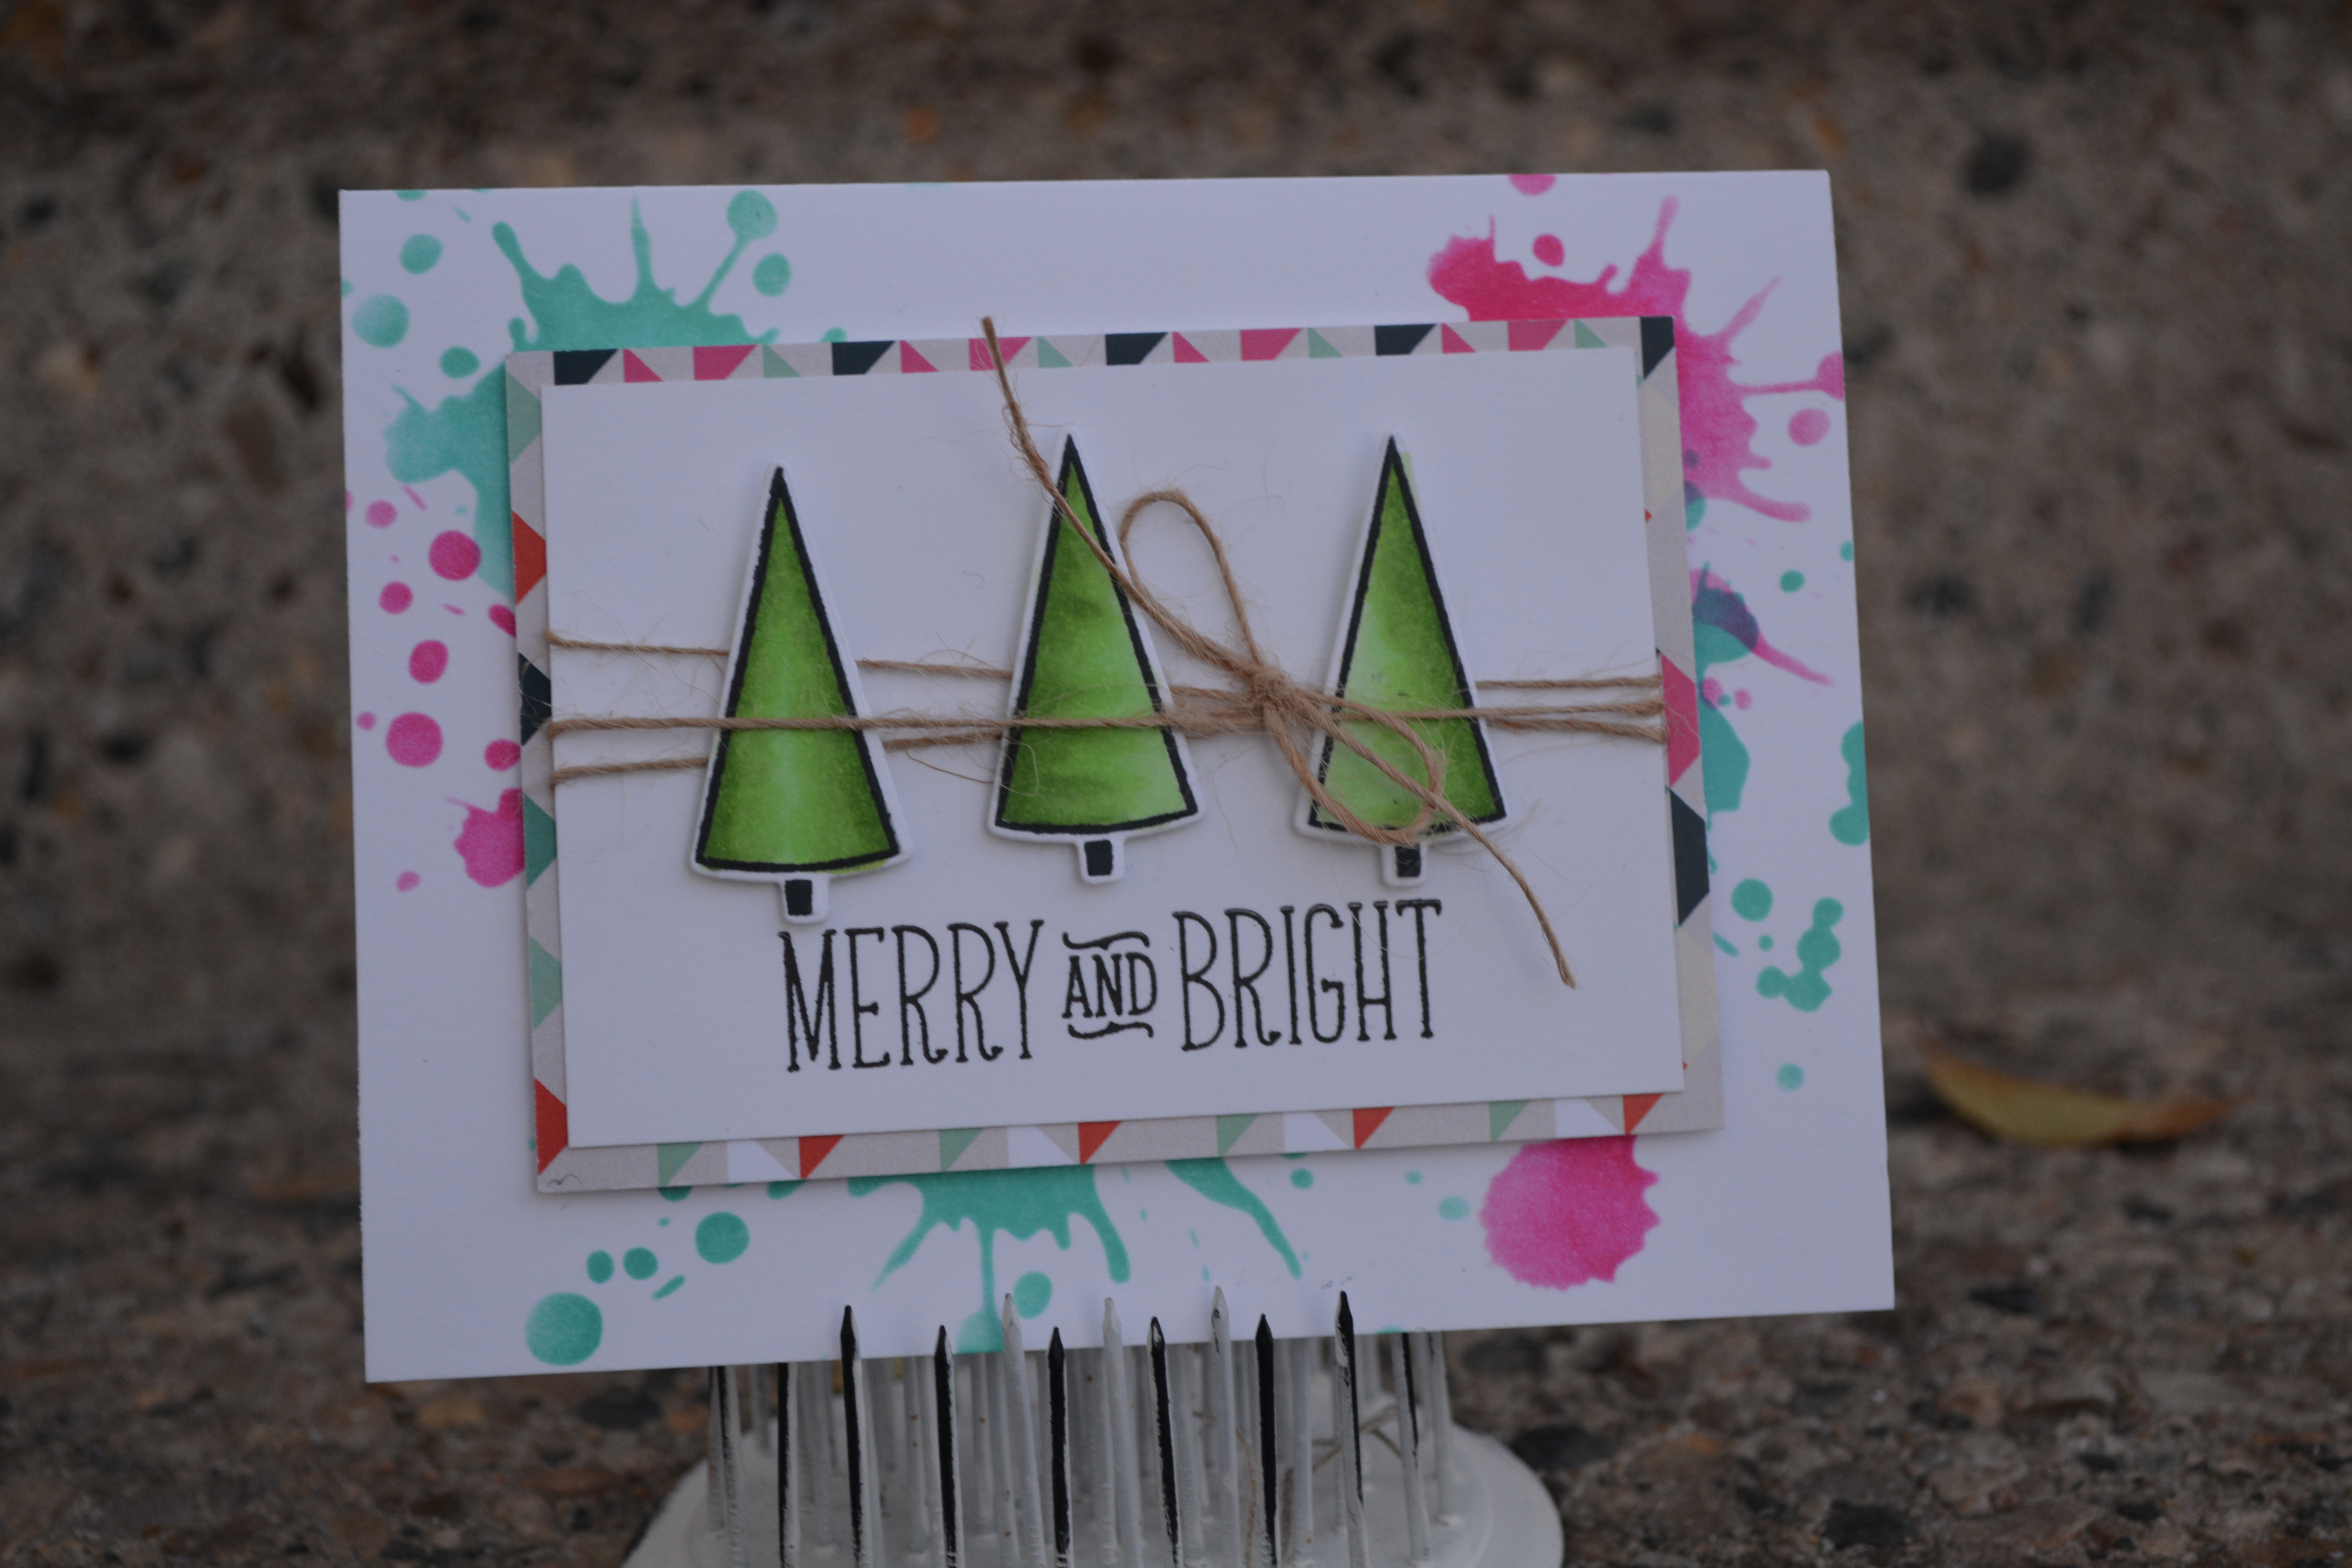
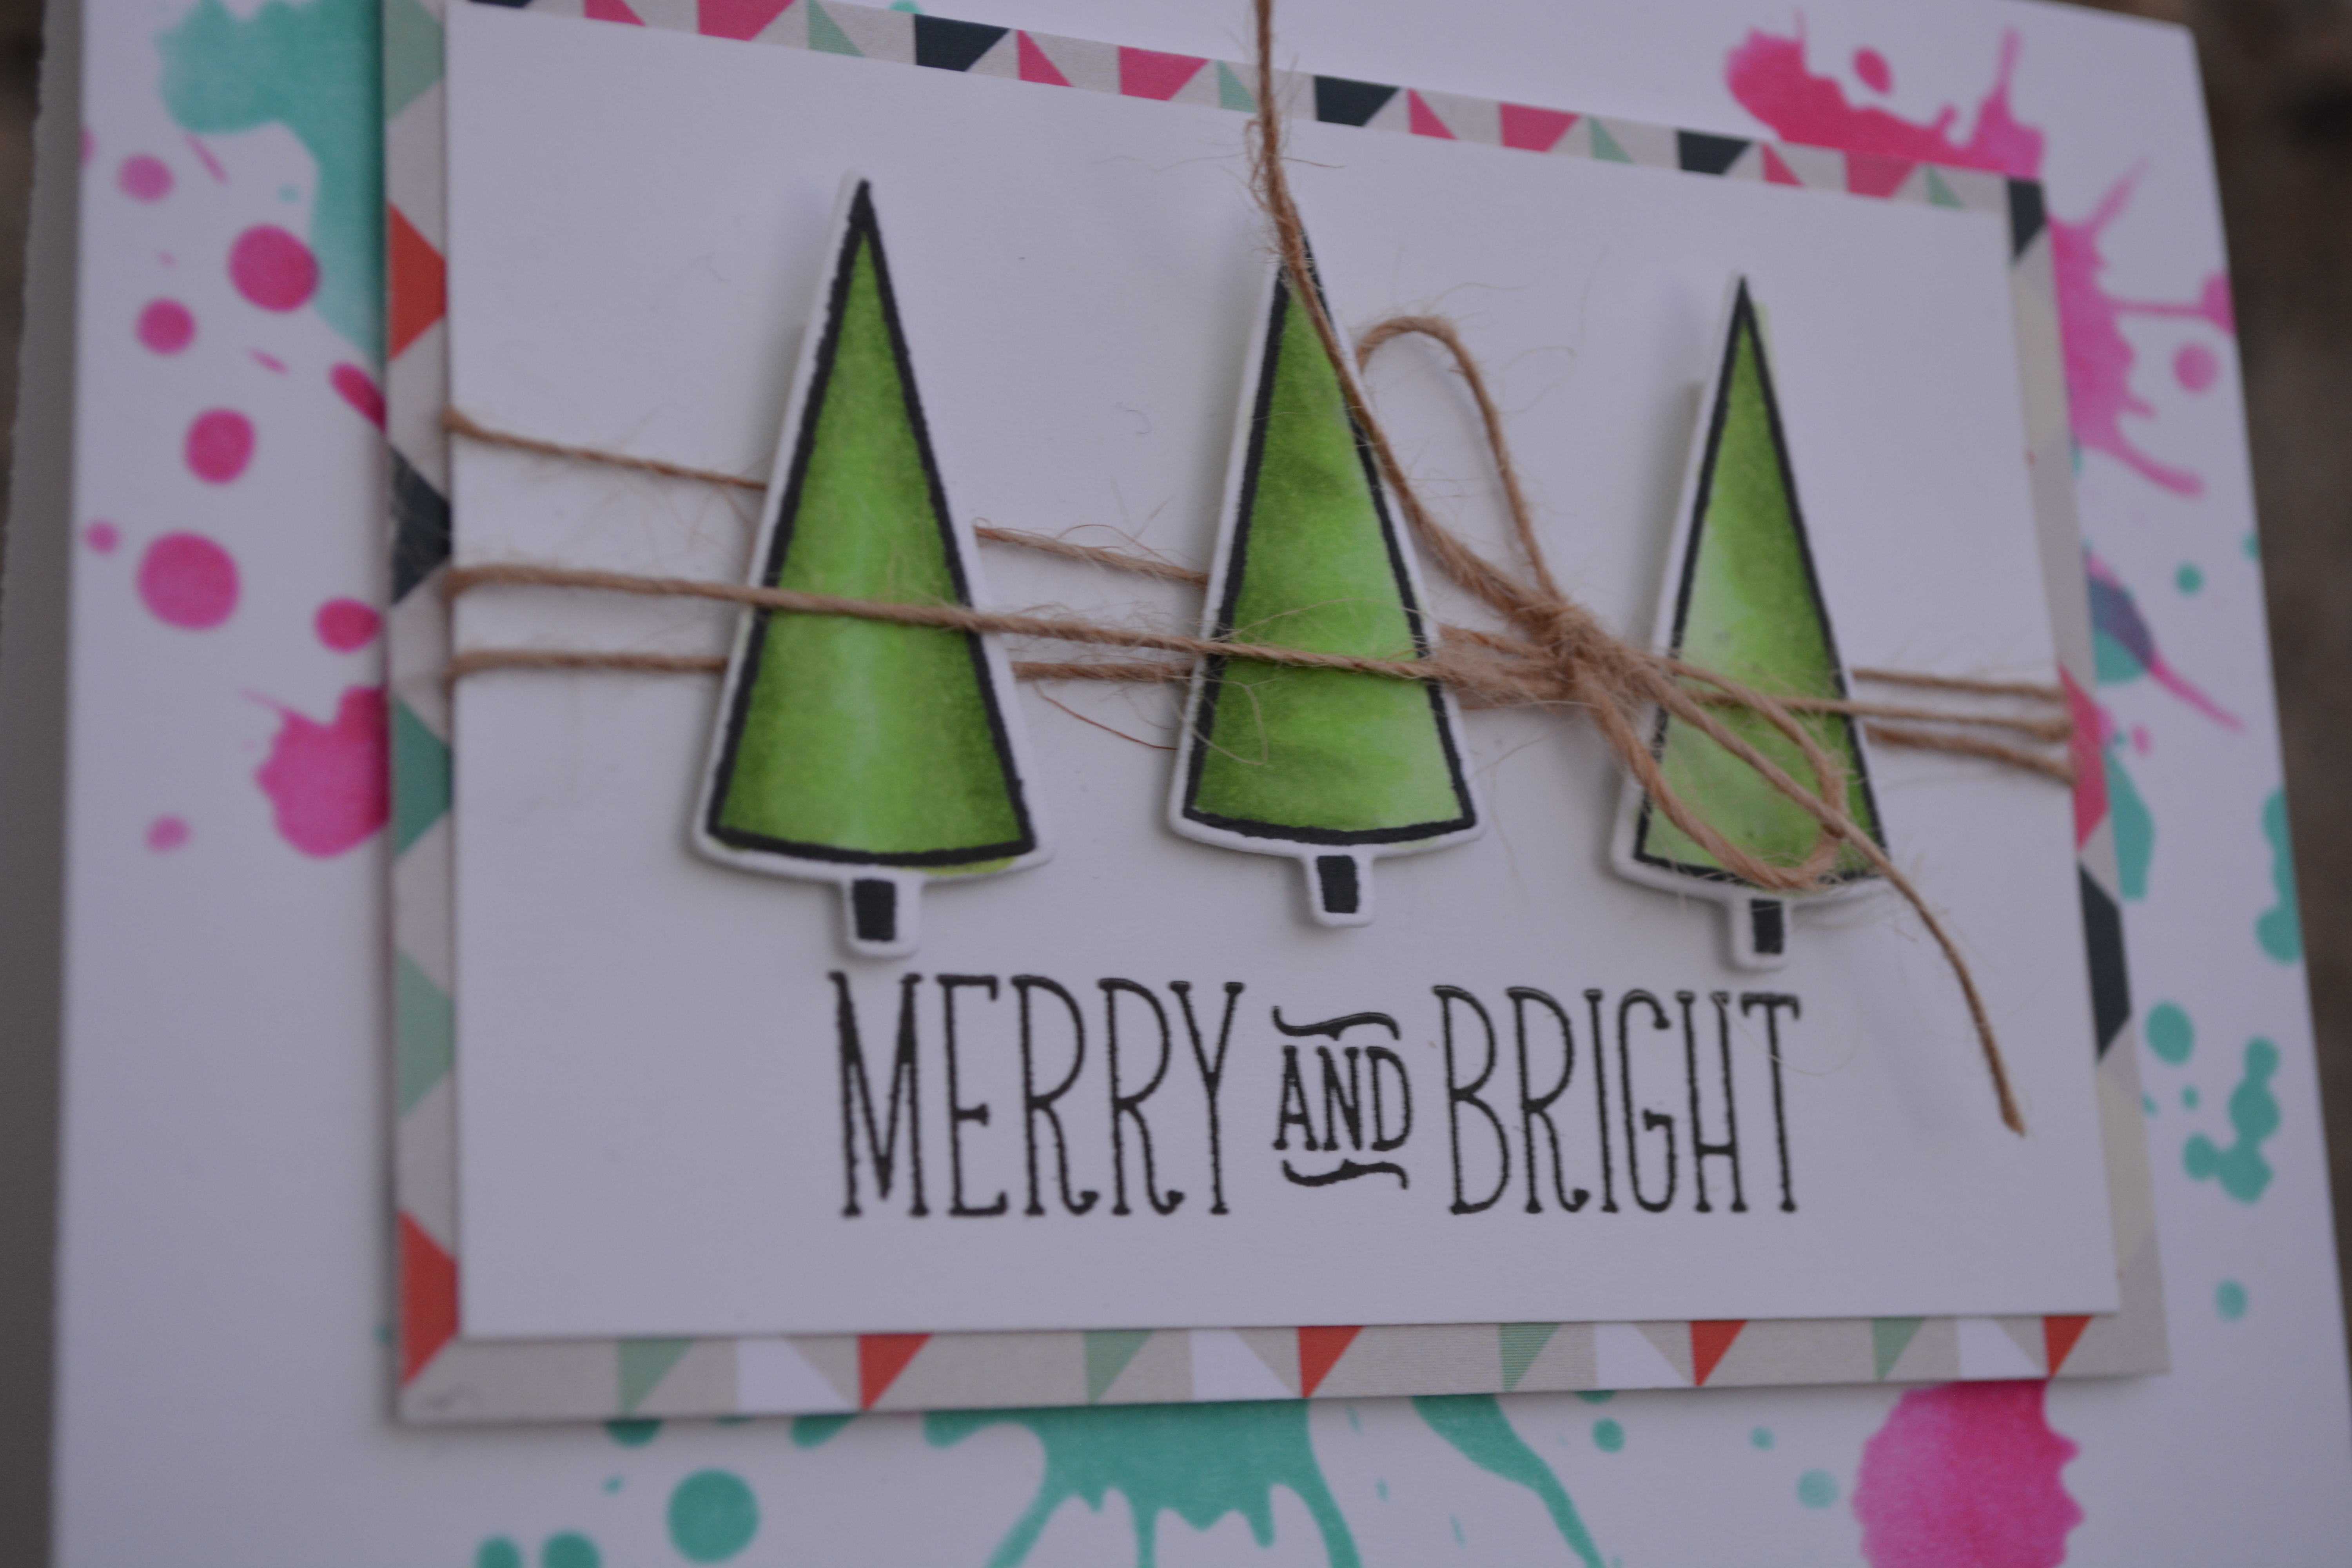
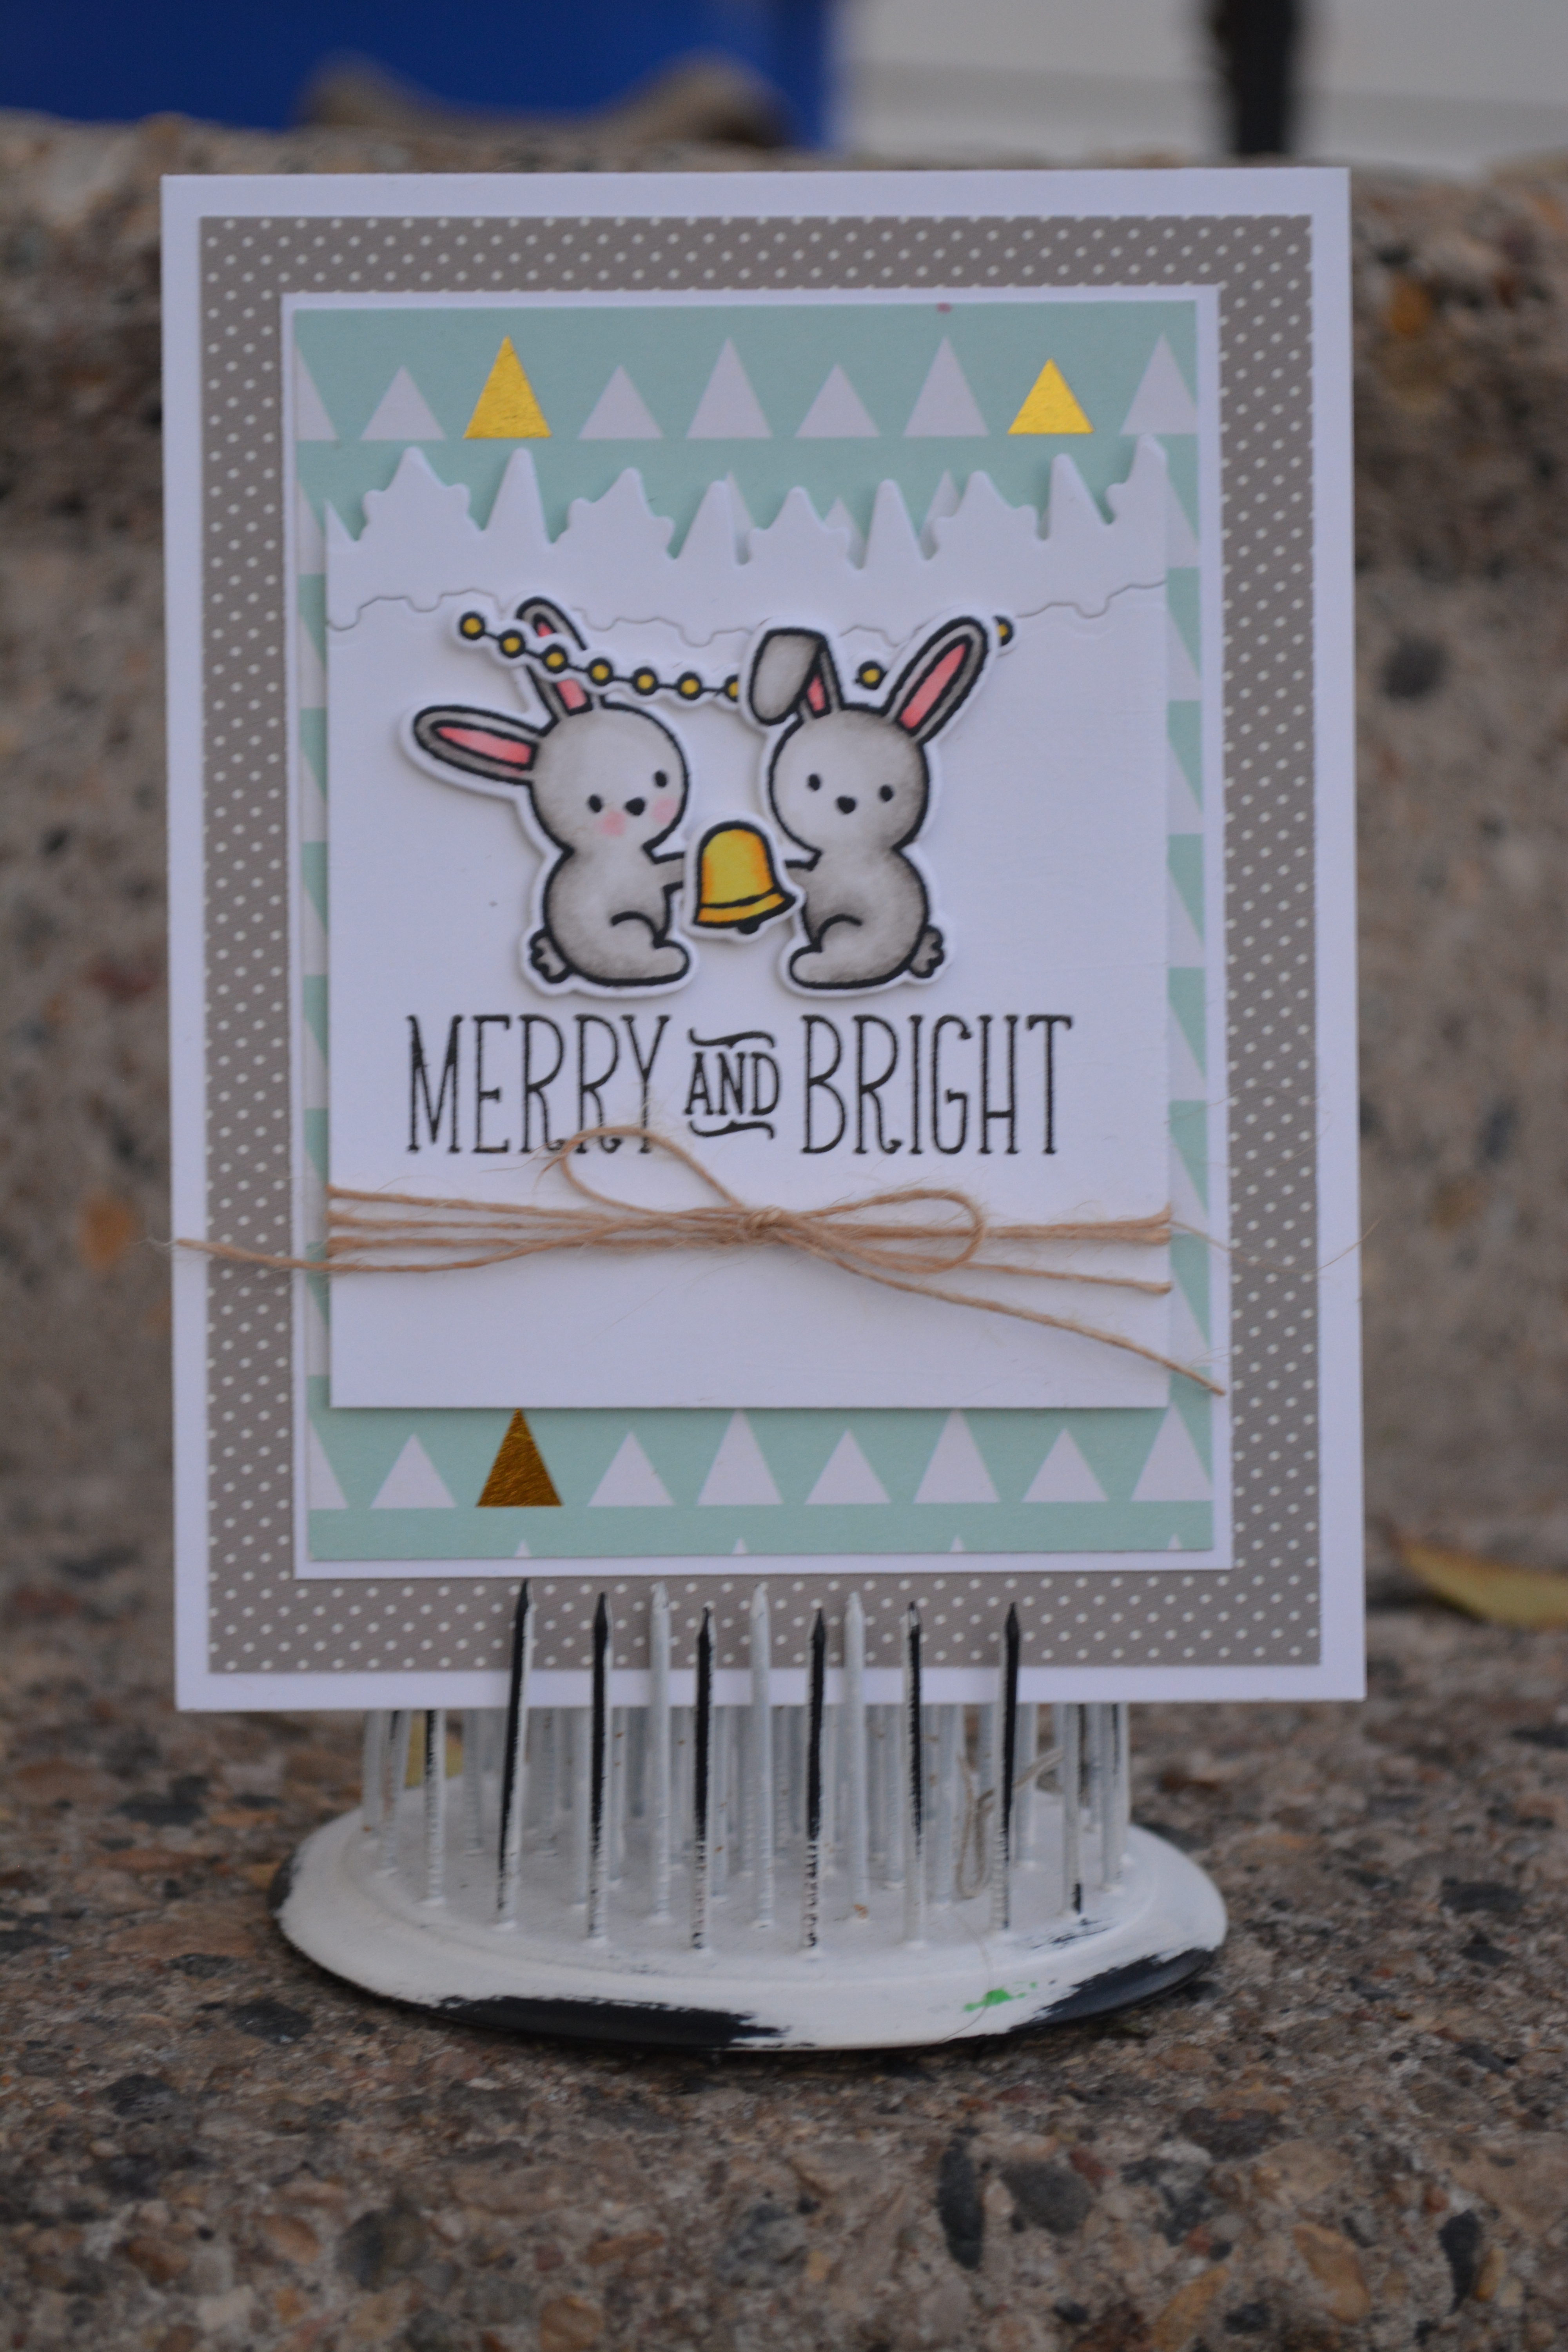
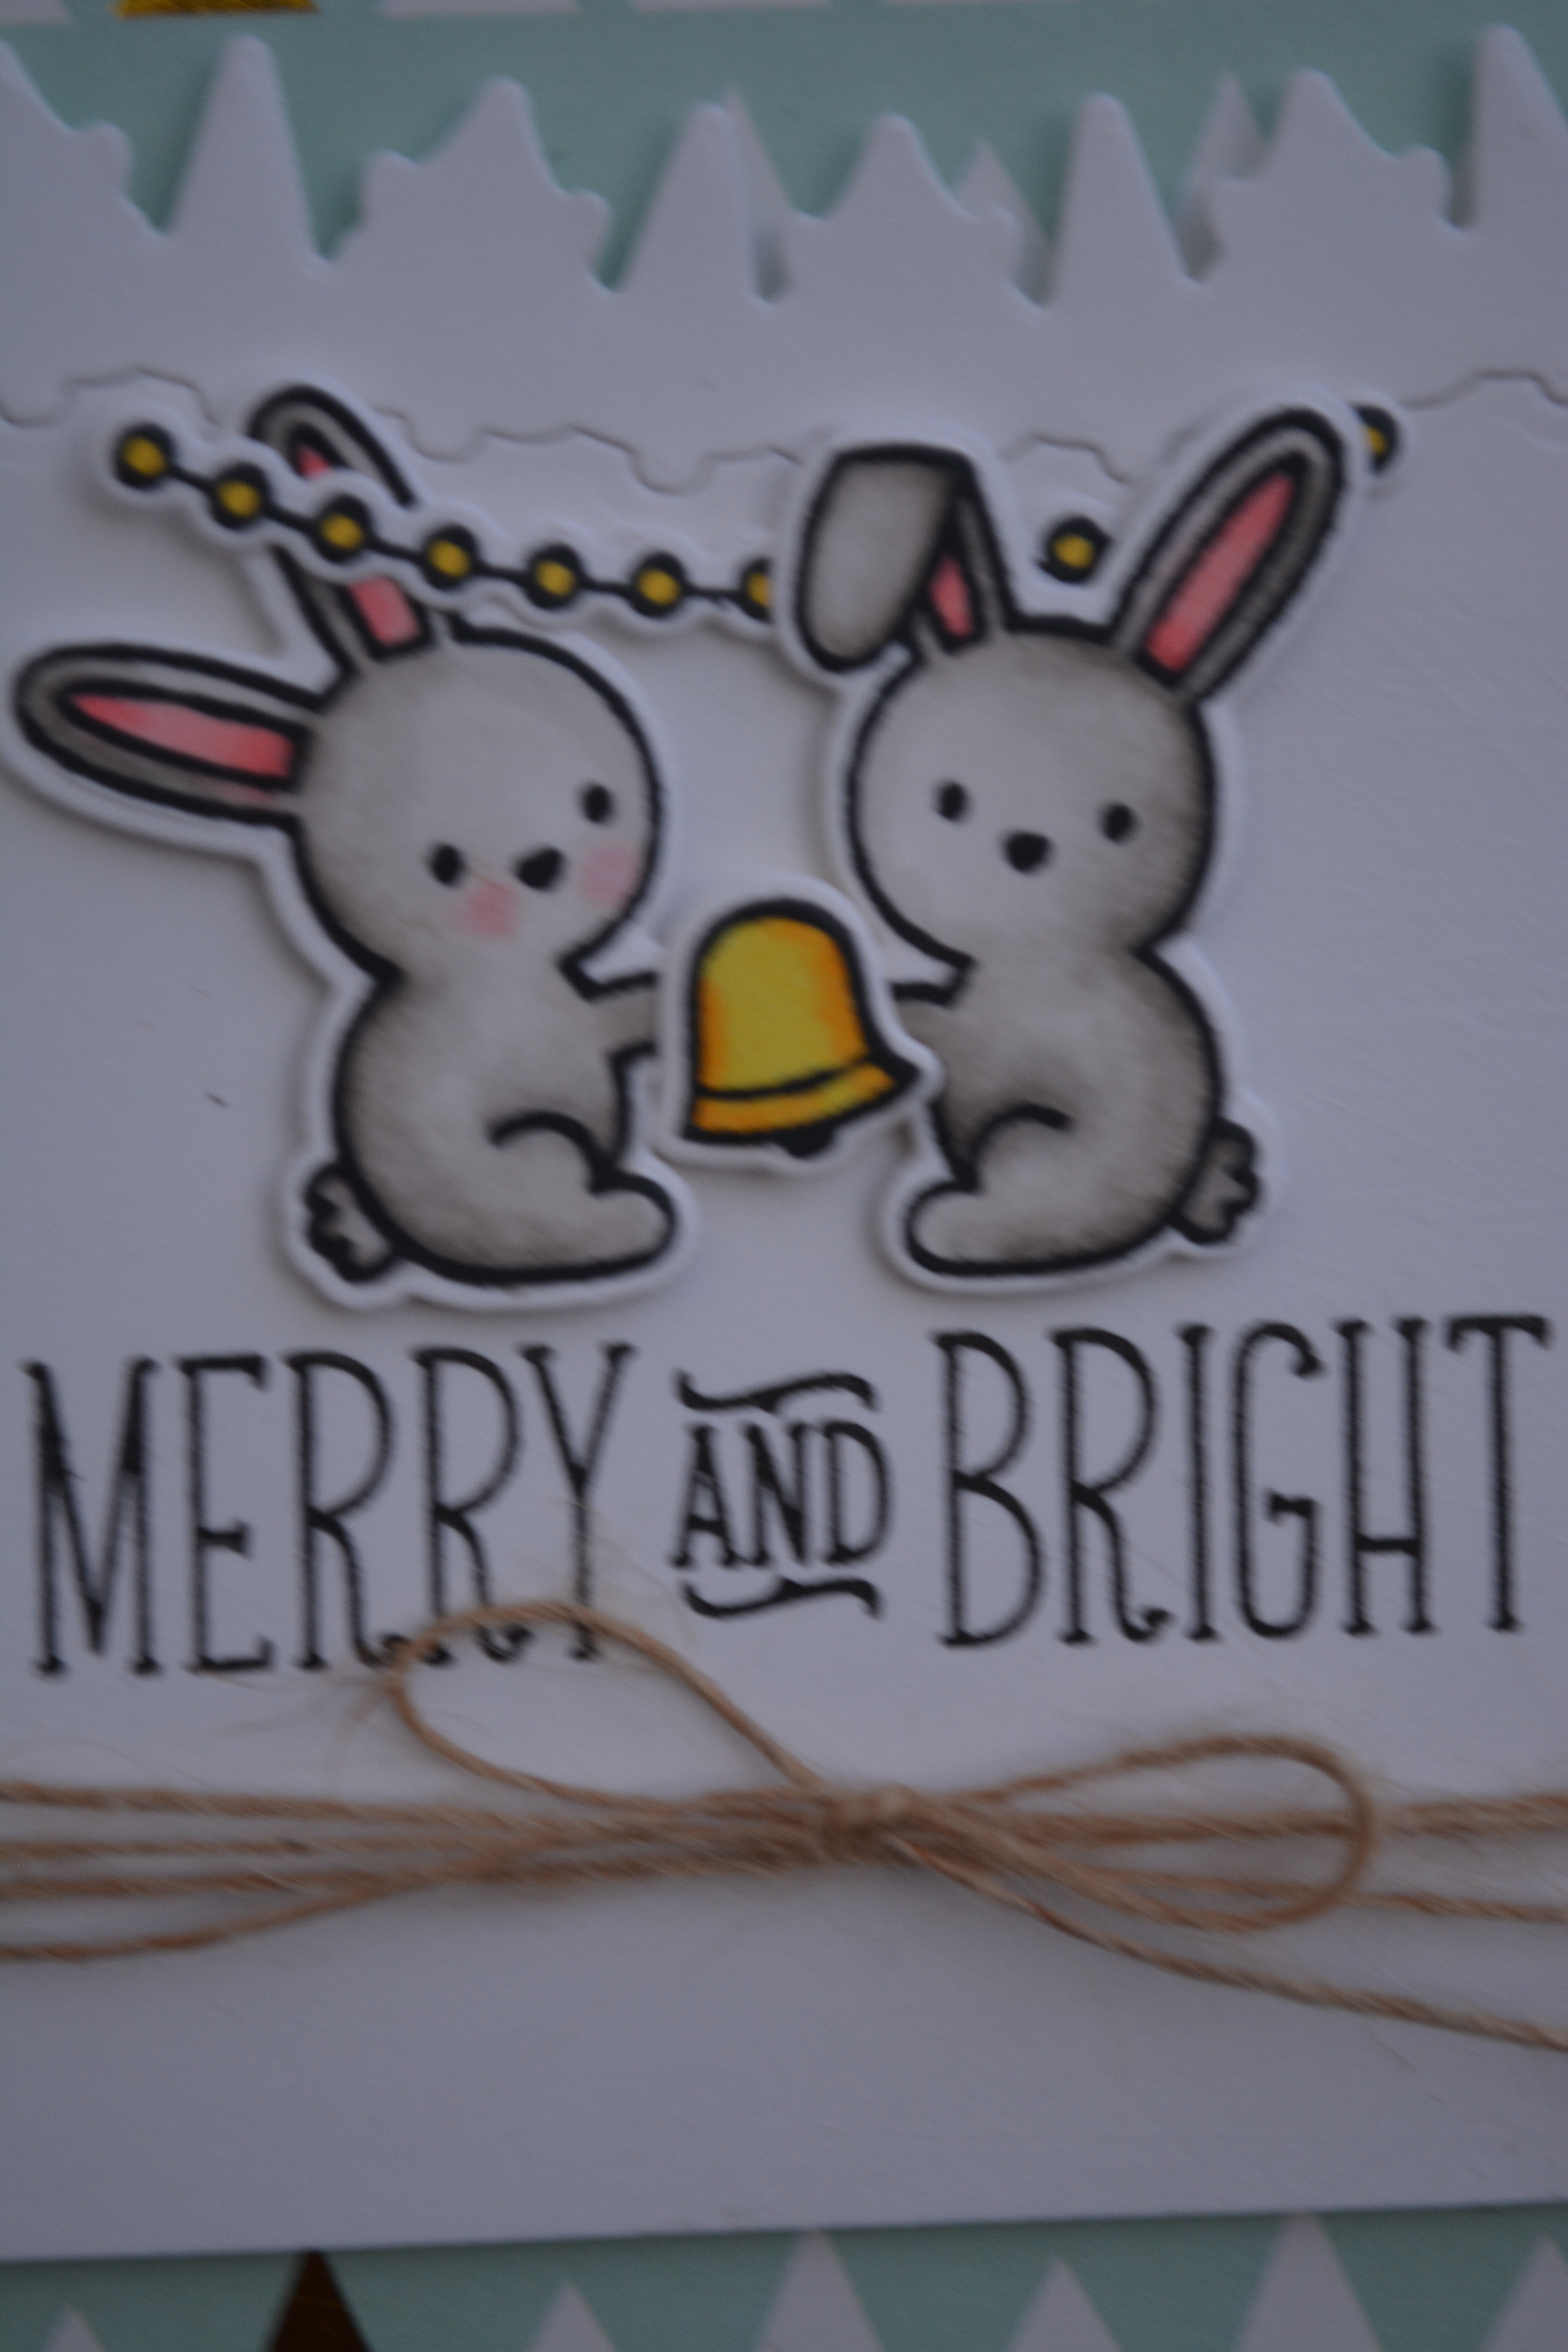
So I am continuing with my breaking of the using digital files thing for the month, I am so in love with this stamp set that I am still using it! So again this is using the Snow Day stamps and dies from Lawn Fawn. So I stamped 2 of the cute bunnies and coloured them with copics (W00, W01, W03, W05, W07, R20, R22), and the little bird (R22, R24, R27, R29). I then stamped the trees using Soft Leaf ink from Hero Arts, and Olive ink from Creative Memories, and the bow is stamped in Memento Tuxedo Black.

DSC_0129


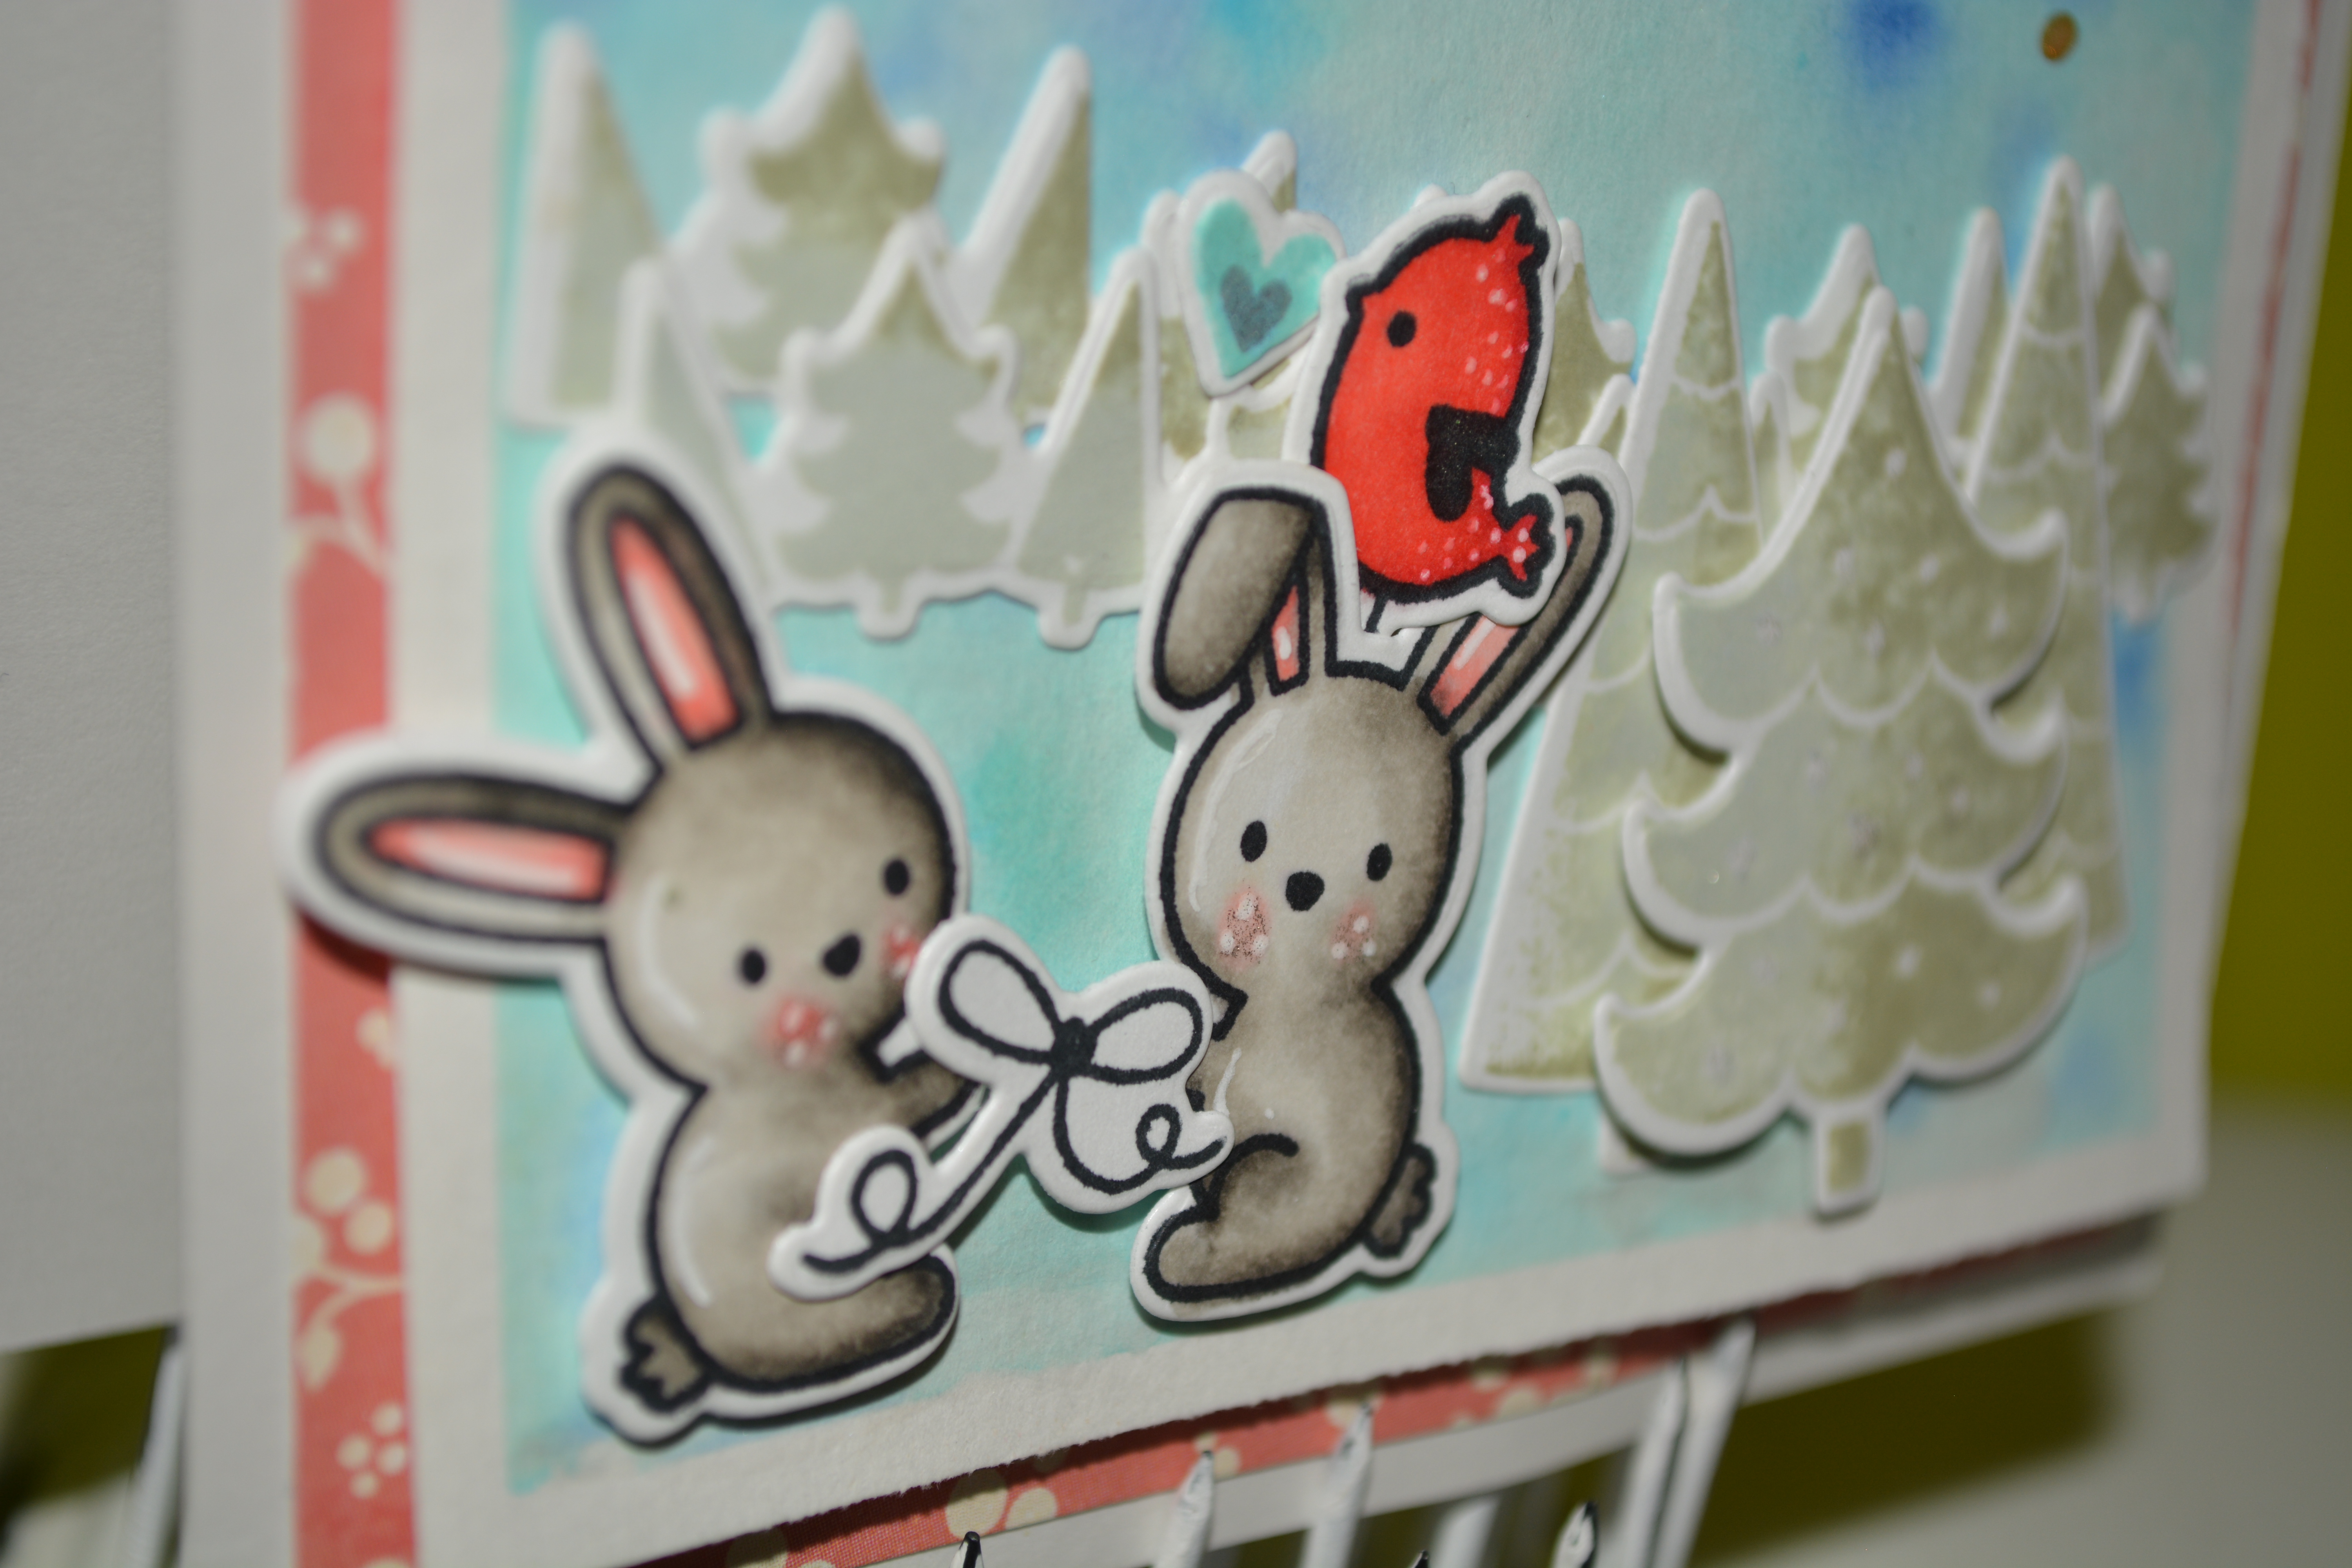
The background for my little scene is on Canson watercolour paper, painted with Peerless Watercolors. I then splattered it with Heidi Swapp Gold Lame ink and put it on a patterned paper stash from my Simon Says Stamp card kit patterned paper stash (in otherwords I can not remember who this paper came from lol), put it on a grey card base and called it finished,

DSC_0130


Thanks for stopping by

Hugz

Jess


Simple trees

DSC_0111


Hey everyone! Jess here again using the same stamp and die set as yesterday, the Snow Day set from Lawn Fawn,  This card I kept rather simple stamping the tree outline and colouring them in with my Copic’s, G111, G14, G17, and G28, then cut them out with the coordinating die.


DSC_0112


I then wrapped some May Arts twine around the white panel and stamped my sentiment in Versafine Onyx Black Ink, and attached my trees with foam tape. Then finished off the twine by tying it in a bow over top.

I dug in my Scraptastic Life Noted card stash and found this fun triangle one and cut it down to fit behind the white panel. Noticing that it looked rather plain on the Neenah Solar white card base I took out my most used and loved stencil (Tim Holtz Spatter stencil) masked off the areas I didn’t want to use and then used distress ink in Peacock Feathers, and picked raspberries through the stencil to create a lovely backround. Attatched my focal panel on some foam tape and it was complete.

DSC_0114


Thanks for stopping by,

Hugz

Jess

Bunny Christmas

DSC_0107


Good morning everyone! Did you check out Annette’s card yesterday! I really loves the traditional colours she used! If you didn’t you should go back and check out her post!

So confession time, I went to put today’s card up this morning, because yesterday got away from me. Attempted to pull the photo’s off of the memory card, and well the card is fouled and I can not get anything off of it. Would normally not be a big deal, but I live 20 minutes out of the city, and nothing is open at 6:30 am on a statutory holiday where I can purchase a card. So today and tomorrows card, unfortunately will not be using my cameo. They are cards I had photographed and already pulled off for a couple posts in November. Plus note, you get to see them now!

So this card was made using the Lawn Fawn Snow Day Stamps and Dies, as well as the Lawn Fawn Trim the Tree Stamps and dies. I stamped the two bunnies that face eachother and coloured them with my copics W00, w01, w03, w05,w07, R22, and R20. I also stamped a row of lights and the bell from the Trim the tree set and coloured them with Y11, Y13, and Y15, Using the coordinating dies I cut them all out.

DSC_0109


I then cut a piece of Neenah white with the row of trees in the Snow Day set and pieced it back together creating a back panel for my bunnies to rest on.  The sentiment is stamped with Versa Fine Onyx Black ink and then a piece of May arts Twine is tied in a bow underneath it. All the patterened paper is scraps from my scrap bin, I know the triangle paper is from Simon Says Stamps christmas card kit last year (I can not remember who the manufacturer was) and the other paper I do not even have a guess but its just a simple grey paper with a white dot pattern.

DSC_0110


Thanks for stopping by

Hugz

Jess.

Die Cutting for Christmas Cards- Susan

JESS BLOG CHRISTMASHi everyone! Susan here, taking over Jess’s blog, you can find my blog here. Jess is a wonderful card maker and I have learned so much from her U Stream Classes. Today’s focus is on using digital die cutters for Christmas cards. I have used my Silhouerre Cameo for this card.

For this card I selected the Silhouette file Nested Poinsettia (Design ID #15148) and resiced it for the front of an A2 card. I then used my Cameo to cut it on some Neenah Solar White cardstock. Once I had all the flowers cut I colored each with Copic Markers. I followed Sandy Allnock’s tutorial on colouring poinsettias here. She was using a stamped image but I wanted mine to be dimensional.

I used R12 on all the flowers which are really leaves by the way! And then proceeded to color them in with the darkest being on the bottom. To achieve this I used R32, R35, R39 and R89. Once finished I sketched the leaf veins with a fine line black pen. I adhered the flower together using Glossy Accents and then added silver glass beads to the center with Glossy Accents.

I embossed the back later of the card with a Life Style Crafts embossing folder – I think it is called Links. I die cut a circle out of another panel of Neenah Solar white using My Favorite Things Circle Stax dies – I LOVE those! I adhered the front panel to the back panel using some foam tape.

The sentiment is from Simon Says Stamp Big Holiday Wishes and the sequins from Pretty Pink Posh!

Thank you to Jess for having me on her blog and thanks for looking. I hope this inspires you to use your digital die cutting tool for your Christmas cards. It makes quick work of die cutting lots of pieces!


Yay!

yay


Well here it is! I love this card! The layout is based on the bi-weekly challenge over at the Scrapadabadoo Facebook Page.


biweekly challenge This is the sketch for the card!


I used a fun little image Pollycraft Breeze Rubber Stamp from CC Designs, she is coloured with my Copic Markers. All the patterned paper used in this card is from Bo-Bunny Lemonade Stand 6×6 paper pad.

yay 2


The backround paper is made using my Peerless Watercolours.  The banner is made with the EK Success Mini Pennant Punch Set .


yay 3


The little doilies on here are so cute, I love that die! The Cottage Cutz Mini Doily Die (there is one left in stock on the garage sale at Scrapadabadoo at the time of writing this blog post for $2!)

The enamel dots I used were from Prima, and are now sold out but there are lots of different ones in the store like these from Teresa Collins that would work wonderfully.

Stencil Card Challenge

This weeks challenge is to use a stencil on your card… and here is mine.


MY B 1


Here it is! I am happy with the way this card turned out, aside from the flowers everything on this card is made from white paper and coloured using Distress Inks (weathered wood, crushed olive, dusty concord, seedless preserves, fired brick). The Stencils used were Prima’s Chevron stencil, and the Tim Holtz Ray stencil.

MY B 2


The image is from Sherry Baldy’s My Besties (the first time I have coloured one of her images) and coloured using my Copic Markers.


MY B 3


The Feathers are die cut from Spellbinders Shapeabilities Peacock Feathers dies, and the frame around the Happy Birthday sentiment (from Simon Says Stamp) is from Spellbinders Fancy Frames 1. All the feather on the card are from Wild Orchid Crafts.


Thanks for stopping by and don’t forget to link up your card below. (you will be able to see all cards linked using this tool as well)

Hugz

Jess

Make a wish

DSC_0281


Hey everyone! Happy monday! I made a fun little shaker card here, and I must say that shaker cards have been really popular, which makes sense considering how popular sequins have become.

DSC_0282


The images (actually, all the stamps used) are from Lawn Fawn’s Critter Ever After stamp set and I coloured them with my Copic markers. I created my shaker card using a piece of Canson 140lbs Watercolour paper that I coloured using my Peerless watercolours that I recently recieved (they are heavenly but I will leave that for another post). then adheared the castle the 3 yellow stars and stamped some small stars right on the watercolour paper, then put foam sqares around the outside, filled with sequins from Neat and Tangled and 3 buttons,  and stuck of piece of acetate cut to the same size on the top (I believe the acetate is from spellbinders packaging). Then wrapped some pink Washi Tape around the outside to hide the ugliness that is the foam squares.

DSC_0283


So this got adhered to some cloud paper (its an Amy Tan design but I am not sure what collection) that was cut down from 12×12, and the grey woodgrain paper I believe is from Simple Stories DIY Boutique paper pad in 6×6.

Thanks for stopping by,

Hugz.

Jess

Finished the card.

DSC_0271


Last weekend I posted a picture of a fun little image I had coloured while visiting some family, and this week I finally got the card finished!!

DSC_0273


So I took the image, cut it down to the size I wanted, I die cut the poppy stamps grass die and the Papertrey Ink cloud dies out of some Copic Mask it paper and created the backround by latering the masks and using distress ink.


DSC_0275


Of course, in my typical fashion, a little twine and my own melted perler bead “enamel dots” and she is finished.


Thanks for stopping by

Hugz

Jess


Supplies:

Neenah Solar White Cardstock 110lbs

Copic X-press it Blending card

Simple Stories DIY 6×6 patterned paper

Some Odd Girl – Balloon Kaylee

Copic Markers

Distress Ink – mowed lawn, peeled paint, crushed olive, salty ocean, peacock feathers, broken china, weathered wood

Twine from Americian Crafts

Wood veneer *I think its from Freckled Fawn*

Glossy accents