Feb. Farm Fresh Challenge – 3D

farmfreshchallenge

Hey all! It’s Feb 1, that means its time to start a new Farm Fresh Challenge on The Greeting Farm Blog!

The challenge for this month is 3D, and this is so out of my comfort zone!!! But I did come up with something for you all!

TGF - Carnival wm.jpg

I coloured up SSSC no. 25 – Carnival  with my copic markers a while ago, and thought this was the perfect little project for it!

I broke out my Cameo and cut a square pillow box and all the pattern paper layers with the file, once it was all cut out I inked up all the pattern papers and then glued them onto the pillowbox, adding my image, some chipboard and wild orchid craft flowers and this little box was done!

I can’t want to see what you create this month!

Thanks for stopping by,
Hugz,
Jess

Tilda with Dexter Dragon

Tilda with Dexter dragon 1

Hey everyone! Today I have a card featuring Magnolia’s Tilda with Dexter the Dragon. This image was stamped on Fabriano Artistico 140lbs extra white hot press watercolour paper and painted with Derwent Inktense pencils

Tilda with Dexter dragon close up

Derwent Inktense Colours used:
Skin – Saddle Brown, Baked Earth, Carmine Pink
Dress- Scarlet Pink, Neutral Grey
Sash – Sherbert Yellow, Neutral Grey
Hair – Tan, Oak, Neutral Grey
Dragon – Apple Green, Fern, Light Olive
Dragon Belly – Mallard Green, Dark Aquamarine
Wings – Leaf Green, Mustard
Spikes – Fern, Hookers Green

Tilda with dexter dragon 2

All of my die cuts on this card are from the Silhouette Store (if you would like me to start listing the ones I use leave me a comment and I will be sure to start keeping track for you). The patterned papers used come from the 7 Dots Studio Cold Country Collection, Wild Orchid Crafts flowers, Dusty Attic chipboard, and berries and stamens finish off the front of this card.

Tilda with Dexter dragon 3

You can purchase this card here.

Thanks for stopping by,
hugz,
Jess

Sympathy Bugs

Wee Stamps Sympathy Bugs 1

Hey everyone! Today I am back with a lovely shaped shabby card using Wee Stamps Sympathy Bugs, available in rubber as well as in digital form. I coloured them up with my copic markers.

Wee Stamps Sympathy Bugs close up

Copics Used:
Background – E42
Bugs – E49, E47, E44, E43, E42, E41
Stick – E59, E27, E53
Purple – V99, V95, V93, V91
Leaves – YG99, YG97, YG95, YG93, YG91, YR23, YR24, Y11

Wee Stamps Sympathy Bugs 2

My shaped card base is cut on my Silhouette Cameo layered with cardstock and patterned paper, the butterflies are from a Memory Box die, cheese cloth, lace, bulap, and a few gems finish off the front of this card.

Wee Stamps Sympathy Bugs 3

You can purchase this card here.

Thanks for stopping by,
hugz,
Jess

Just a simple Christmas.

DSC_0134

Hey everyone! Jess here again, have you been looking at the cards for the past few days! It is astounding how talented these wonderful people are.

So while I was planning out my cards for this series, I decided that not everything that you cut on your machine has to be a detailed cut, sometimes you can cut something as simple as the bottom piece for this card, just a simple half circle cut at the bottom. Honestly, unless you are cutting chipboard, or something of that nature, you can do all of your die cutting with an electronic die cutter.

So this card is rather simple, on top of the piece I cut on the cameo, I attached a green polka dot strip, and then took a piece of white cardstock that I punched with a Martha Stewart punch (sorry the name of the punch escapes me at the moment). Then I tied some chocolate brown bakers twine around that.

DSC_0135

Then I stamped the Season’s Greeting sentiment from my go to Hero Art’s stamp set, matted that on patterned paper then added a white banner behind it, added some faux stitching around the bottom panel and put it all on a standard size, top folding card base.

DSC_0139

That’s it for today’s card.

Thanks for stopping by

Hugz

Jess

Yuletide Blessings by Kay Roussel

104

106


Hi There Its Kathleen from Morgan’s Fancies here with my contribution to the October Holiday Cards hosted by the lovely Jessie Banks.

I have acquired the Silhouette Cameo this year and have been in love with it and want to thank Jess for the inspiration for using this wonderful machine in my card making efforts.

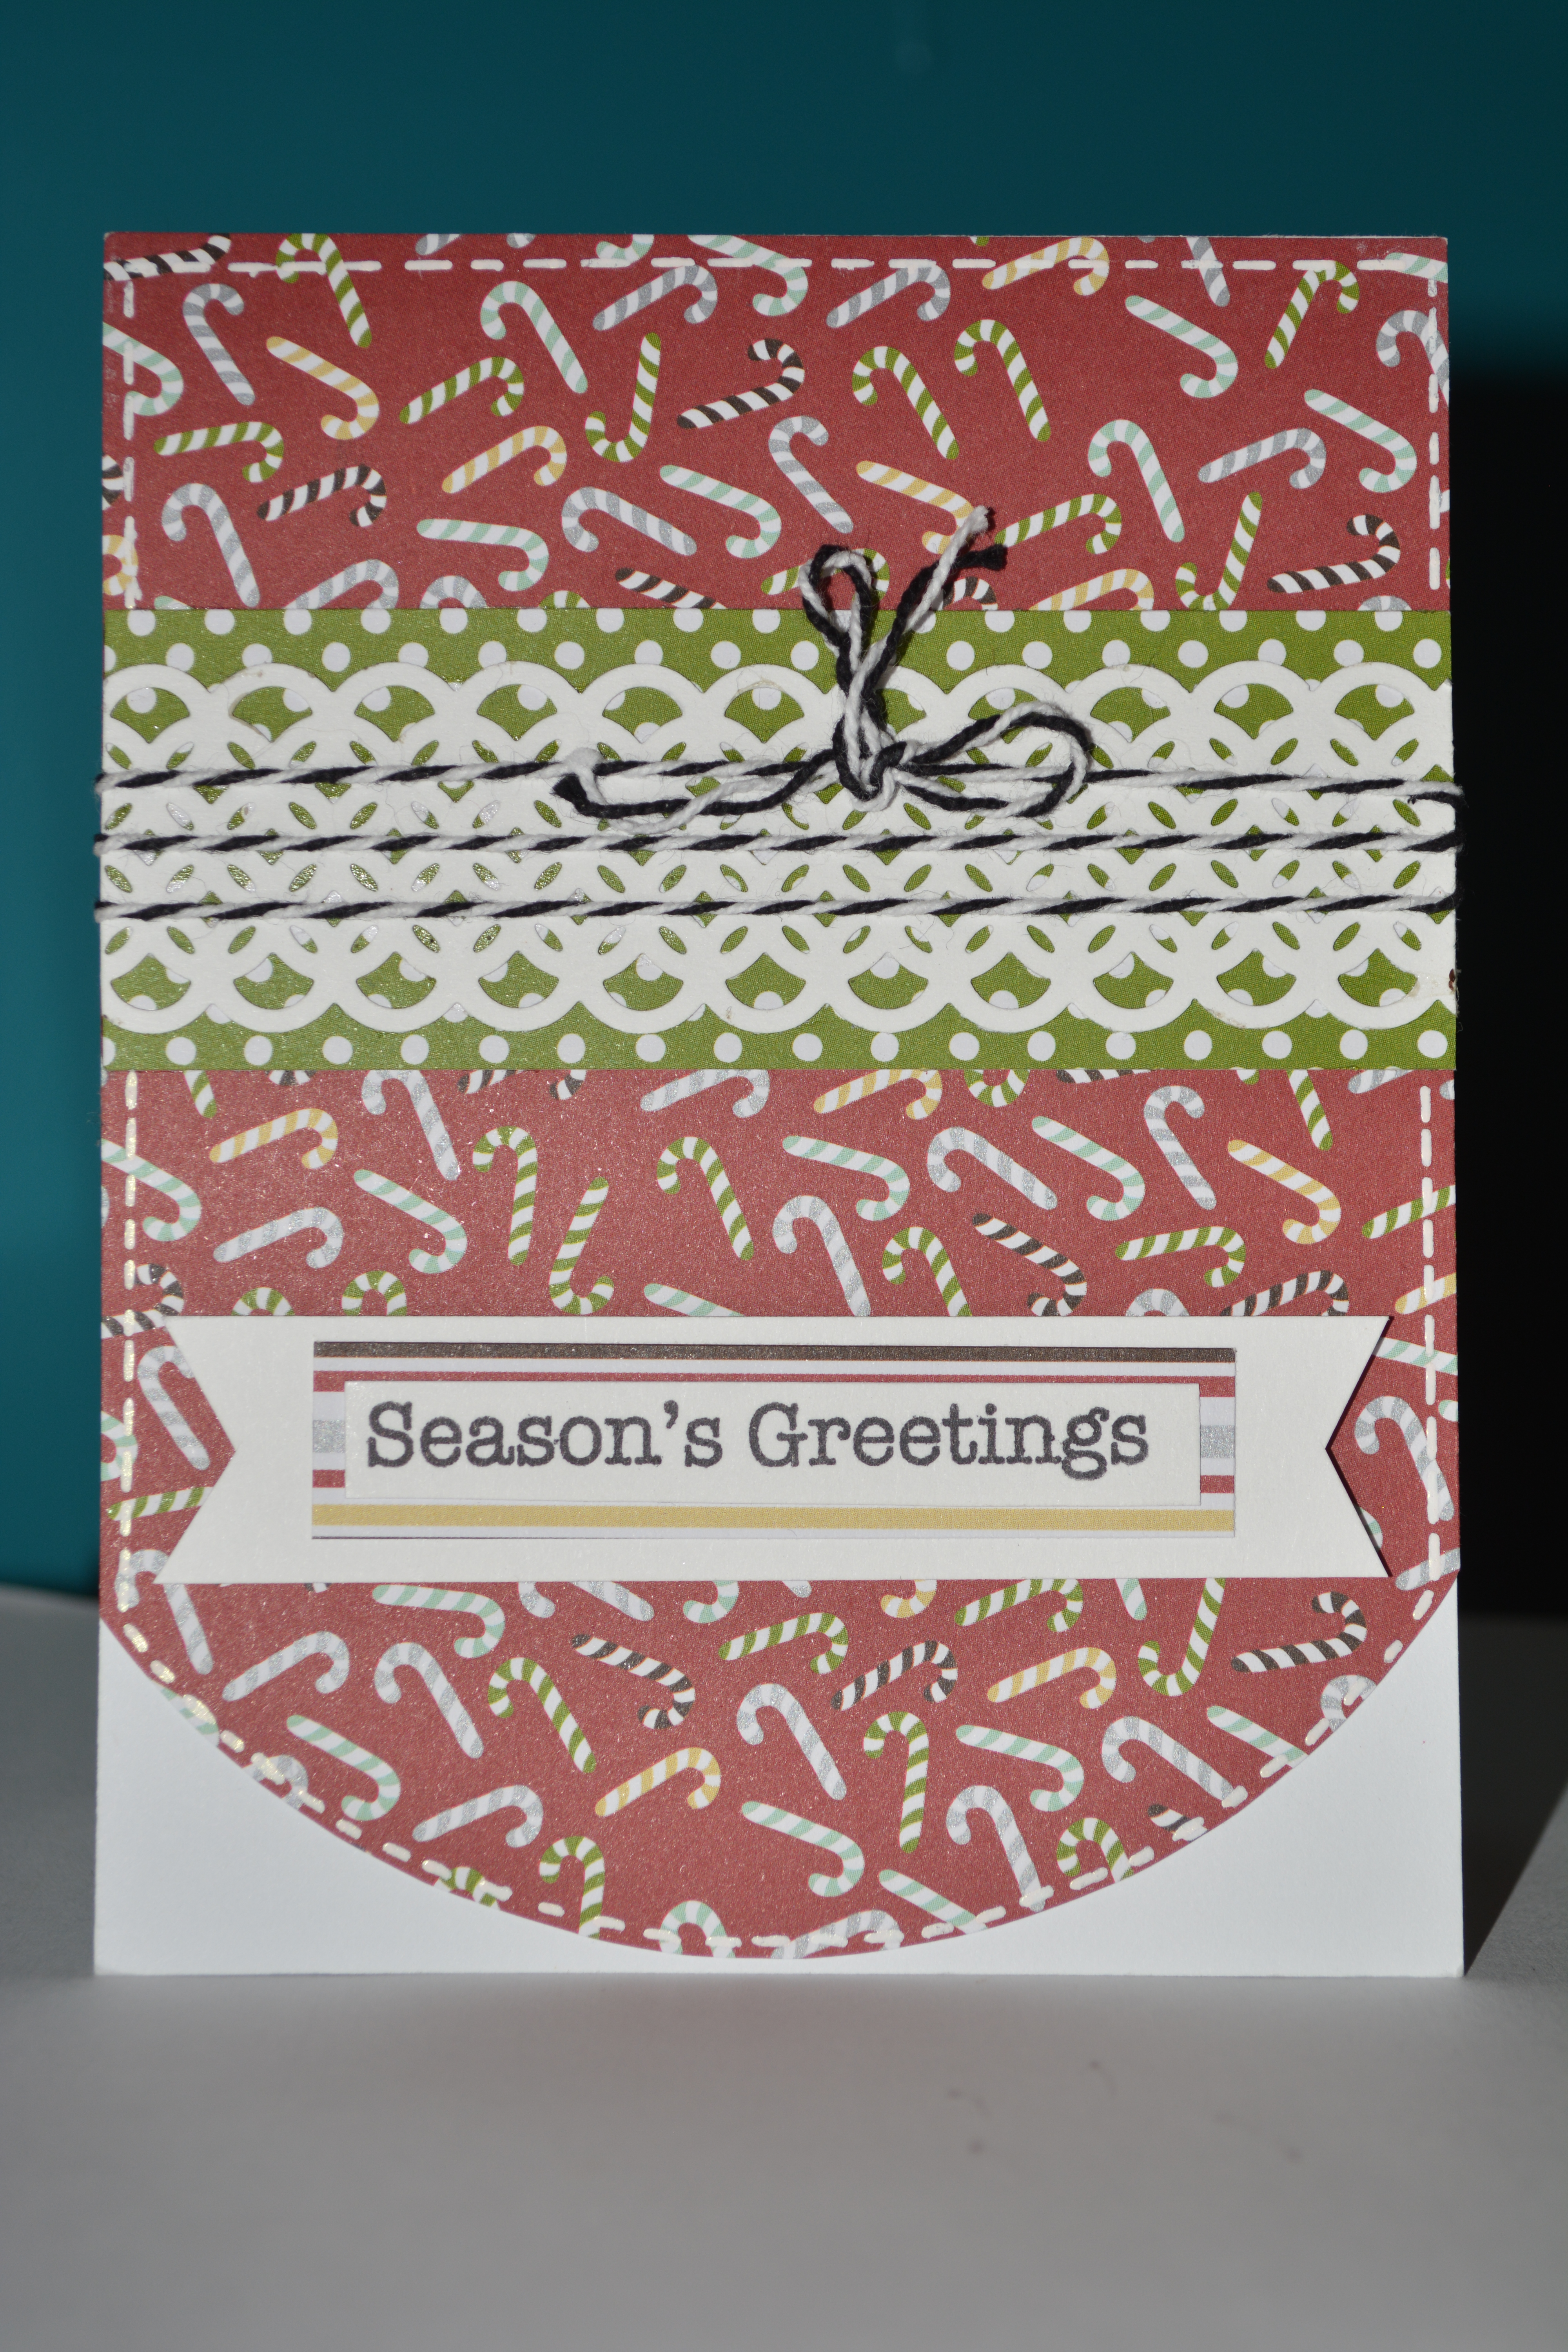
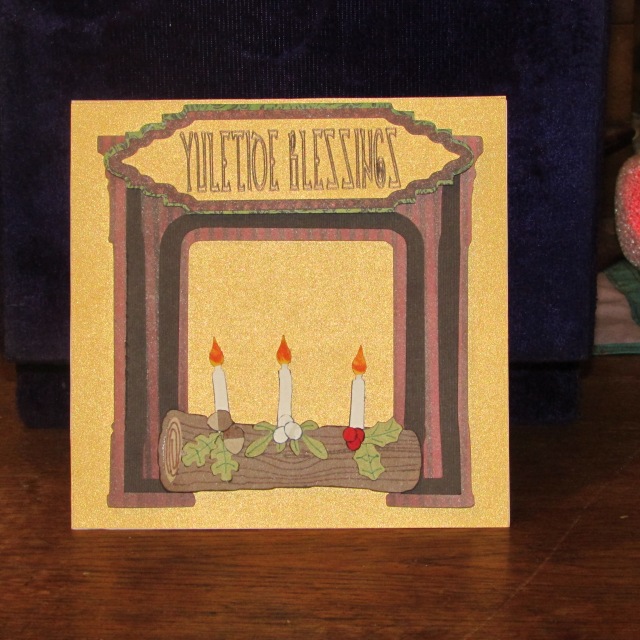
This card is built upon a white cardstock 6 x 6 card base. All files were either free files from a wonderful designer named Penny Duncan, her site is http://pennyduncancreations.blogspot.com or were created by yours truly.

Here is the material list I used:

  • DCWV: The Christmas Stack 12 x 12 pad
  • Darice Core’dinations: Cardstock in Golden Pearl
  • My Mind’s Eye: Lost & Found Christmas 6 x 6 pad
  • Momenta Textured Cardstock 6 x 6 pad
  • American Crafts Cardstock
  • Various Cardstock scraps from my stash

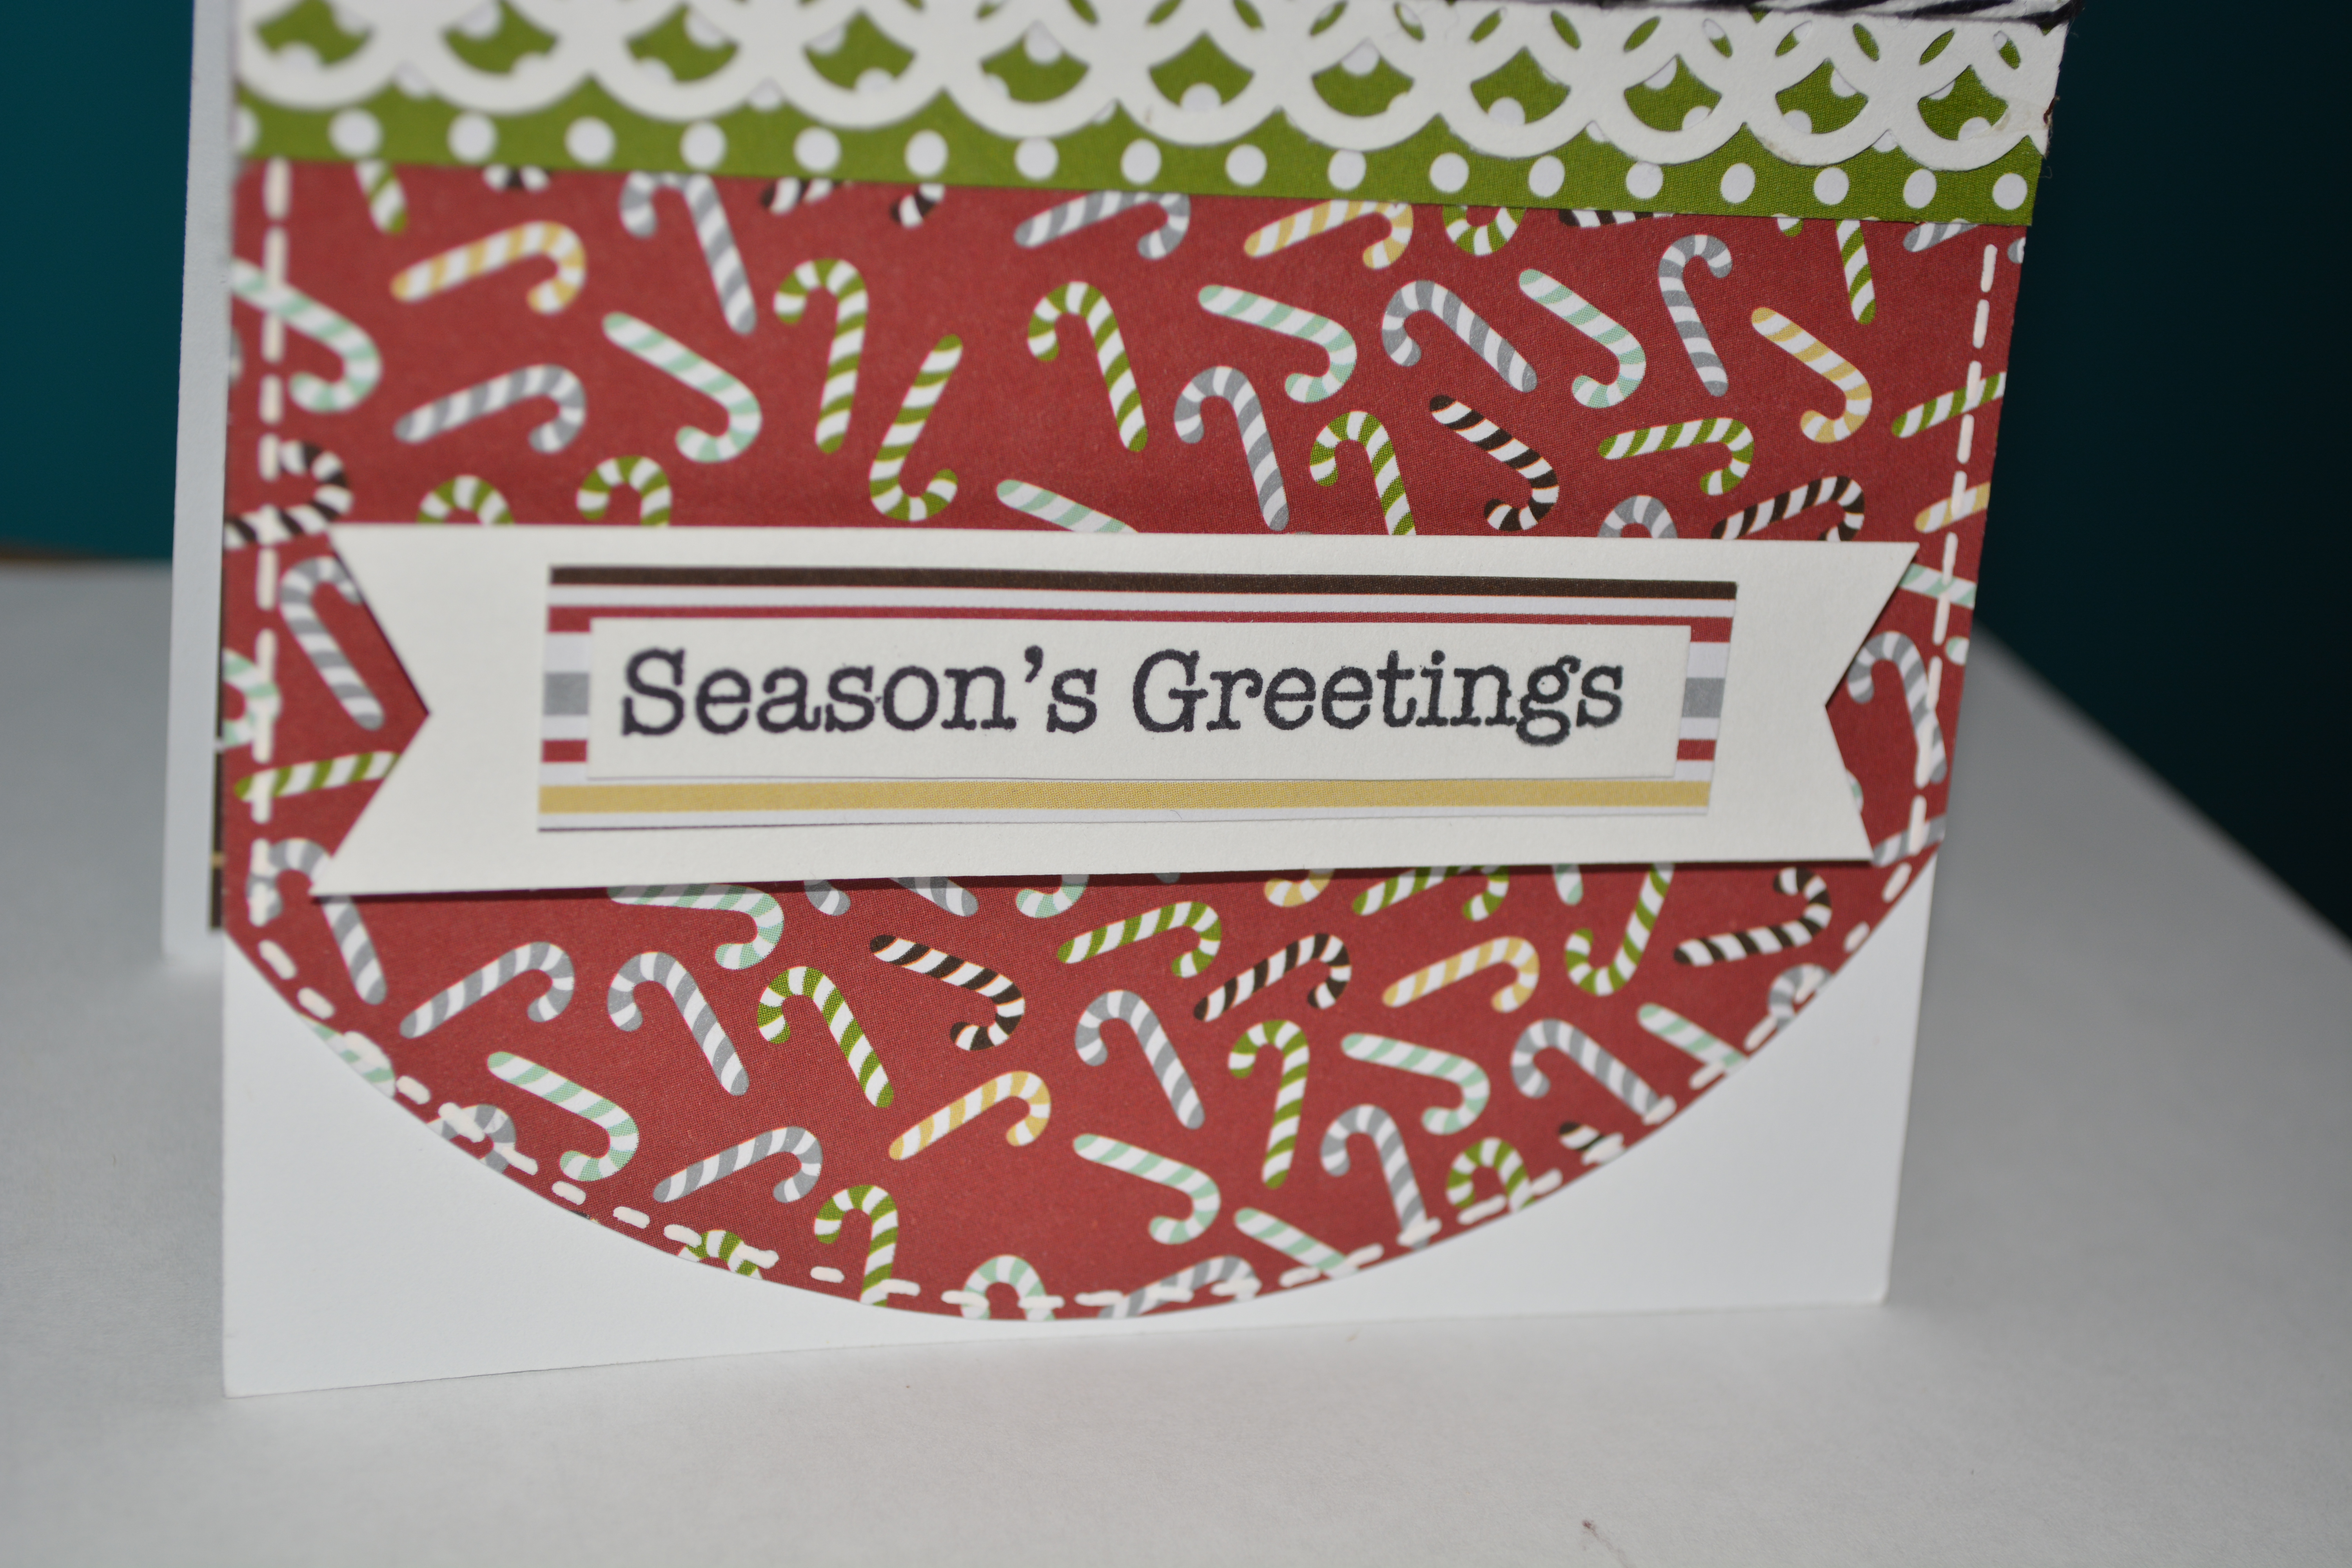
I used a label cut file from Penny Duncan and altered it to fit my needs for this card. I then offset it twice to get the resulting two mats. The font used for the sentiment is called British Outline Masculine.

For the Fireplace I used Google to find a clip art picture and traced it in the Studio software. I then did two internal offsets to get the other layers.

For the Yule log, candles and flora I again used Google to find reference photos and drew out the log, candles, leaves and shapes. I added with fine line markers the texture lines on the log and leaves and used Bazzinks! Squares to outline it all. The candles are actually two layers. One white and one yellow I just snipped the white flame parts off and glued it down to the yellow. To make the flames stand out I also inked them lightly with Memento Ink in Morocco.

Once assembled the sentiment, fireplace and Yule Log were mounted on the Golden Pearl cardstock and popped up on some pop dots from my stash.

Inside of the card has a few layers from a Shapely cut file from Penny Duncan and printed a lovely poem about Yuletide I found while doing some picture reference researching for this project. This was printed using the sketch function of the Cameo and the font used was Black Chancery.

Thanks for checking out October Holiday Cards and stay tuned for more great cardmakers and ideas as the month continues.

If you liked what you saw here and would like to keep in touch you can find me on Facebook: https://www.facebook.com/MorgansFancies or on my blog: http://morgansfancies.wordpress.com/

Happy Crafting!

Kathleen

Snowman

DSC_0078


Hey everyone, did you see yesterday guest post.. if you didn’t you should really go back and look at it! Today I am back and this card could be a cop out… lol. But I really like it anyway. I used some paper out of my scrap bin and stuck it through my cameo to cut square mats (What can I say my creativity was a no show this day cut me a break. Then when I didnt like the square edges I rounded them with my 1/2″ corner chomeer from We R Memory Keepers.


DSC_0079


I used my Tim Holts Distress Paint in Picket Fence to white wash the Scraptastic woodveneers. The sentiment is stamped in Archival ink the colour is Potting Soil, and the Sentiment is from my trusty Hero Arts Christmas stamp. I finished it all off with some of my May Arts Natural jute twine.


DSC_0080


Thanks for stopping by,

Hugz,

Jess

A Holiday Hello

DSC_0056


Welcome everyone to day 3 of this Christmas Marathon on my blog. Did you see Susan’s card yesterday!!! Wow she did amazing. This card is ever so simple, I started by using my Silhouette Cameo to cut a snowflake from an Echo Park Snowflake set (Design ID# 51859), I then cut off some of the bottom whisps just to make it slightly more simple, finished these little snowflakes off by putting 2 coats of Hero Arts silver embossing powder.

DSC_0057

The white cardbase and layers are from Neenah 80lb Solar White cardstock, the red layers of cardstock I am not 100% sure where it is from but I would guess it is a Bazzil Cardshoppe Cardstock. The silver and cream patterned paper as well as the stripes behind the sentiment is from the SSS Christmas card kit from last year and I can not remember who it was from as it was in my scrap bin. The shape behind the sentiment is a Spellbinders Die from my stash, unfortunately I have misplaced the packaging to it and can not remember what set it is from. The stamp is from a SSS Set called Holiday Hellos (SS101365), the sequins and small pearls are from my stash.

DSC_0058


Thanks for stopping by,

Hugz

Jess

Die Cutting for Christmas Cards- Susan

JESS BLOG CHRISTMASHi everyone! Susan here, taking over Jess’s blog, you can find my blog here. Jess is a wonderful card maker and I have learned so much from her U Stream Classes. Today’s focus is on using digital die cutters for Christmas cards. I have used my Silhouerre Cameo for this card.

For this card I selected the Silhouette file Nested Poinsettia (Design ID #15148) and resiced it for the front of an A2 card. I then used my Cameo to cut it on some Neenah Solar White cardstock. Once I had all the flowers cut I colored each with Copic Markers. I followed Sandy Allnock’s tutorial on colouring poinsettias here. She was using a stamped image but I wanted mine to be dimensional.

I used R12 on all the flowers which are really leaves by the way! And then proceeded to color them in with the darkest being on the bottom. To achieve this I used R32, R35, R39 and R89. Once finished I sketched the leaf veins with a fine line black pen. I adhered the flower together using Glossy Accents and then added silver glass beads to the center with Glossy Accents.

I embossed the back later of the card with a Life Style Crafts embossing folder – I think it is called Links. I die cut a circle out of another panel of Neenah Solar white using My Favorite Things Circle Stax dies – I LOVE those! I adhered the front panel to the back panel using some foam tape.

The sentiment is from Simon Says Stamp Big Holiday Wishes and the sequins from Pretty Pink Posh!

Thank you to Jess for having me on her blog and thanks for looking. I hope this inspires you to use your digital die cutting tool for your Christmas cards. It makes quick work of die cutting lots of pieces!


October full of Christmas…

Hey everyone, welcome to the month of October, this month is all about Christmas on my blog. Not only Christmas but out electronic die cutters as well. I know many of us that have these machines in our stash, some of us use them faithfully. Others, like myself, don’t use them nearly enough. So myself, with the help of some of my friends, hope to inspire you to get those Christmas cards made, and those machines uncovered, dusted and let them cut like crazy for you.

DSC_0059


Here we go, I personally use a Silhouette Cameo, so all the cut files for my first card this month come directly from the silhouette store. I started with the circle card file cutting it in white, I then found a pretty layered snowflake and cut that so it just slightly over hung on the card base. Continuing working that machine hard I found a fun little ornament to use, and a pretty bow to top the ornament off. the banner is a layered banner where I stamped a very simple merry christmas sentiment that is from a Hero arts set ( CL343).

DSC_0060


As much as this card looks full and layered it really did come together quickly, no inking, minimal stamping, just later all the pieces togehter and adhere them to the card.

DSC_0061


Thanks for stopping by,

Hugz,

Jess